Quick navigation:
- General information
- Custom Libraries
- Prototyping
- MOSFETs
- Arduino in Action
- Potentio Meter
- LED Cycler
- Light-Controlled Theremin
General information: Arduino Uno
Websites
-
Arduino

- Arduino (Wikipedia)
- Shieldlist.org
-
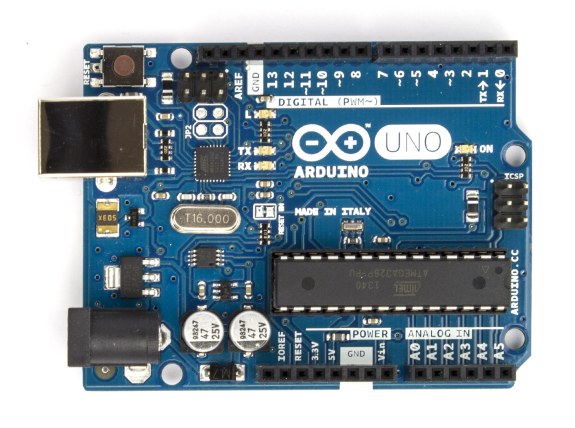
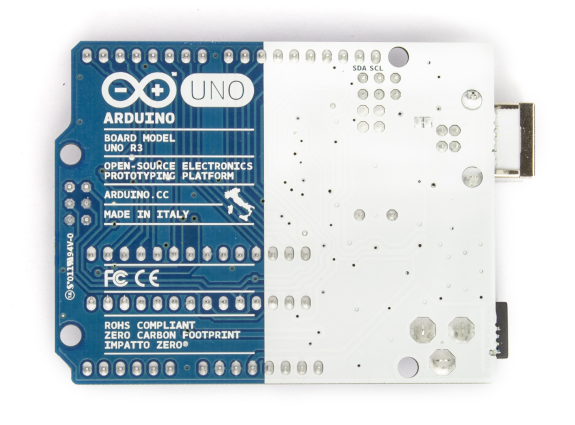
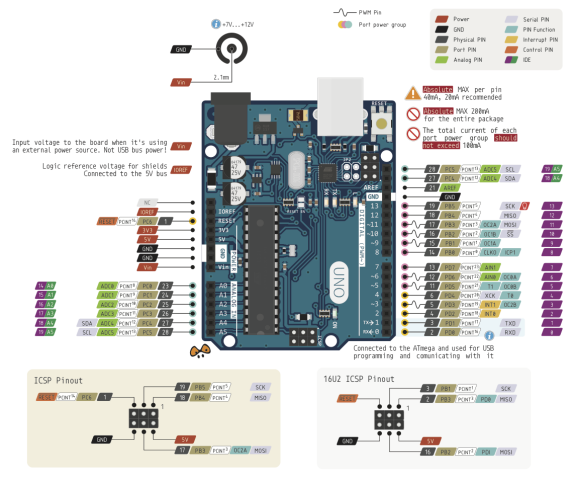
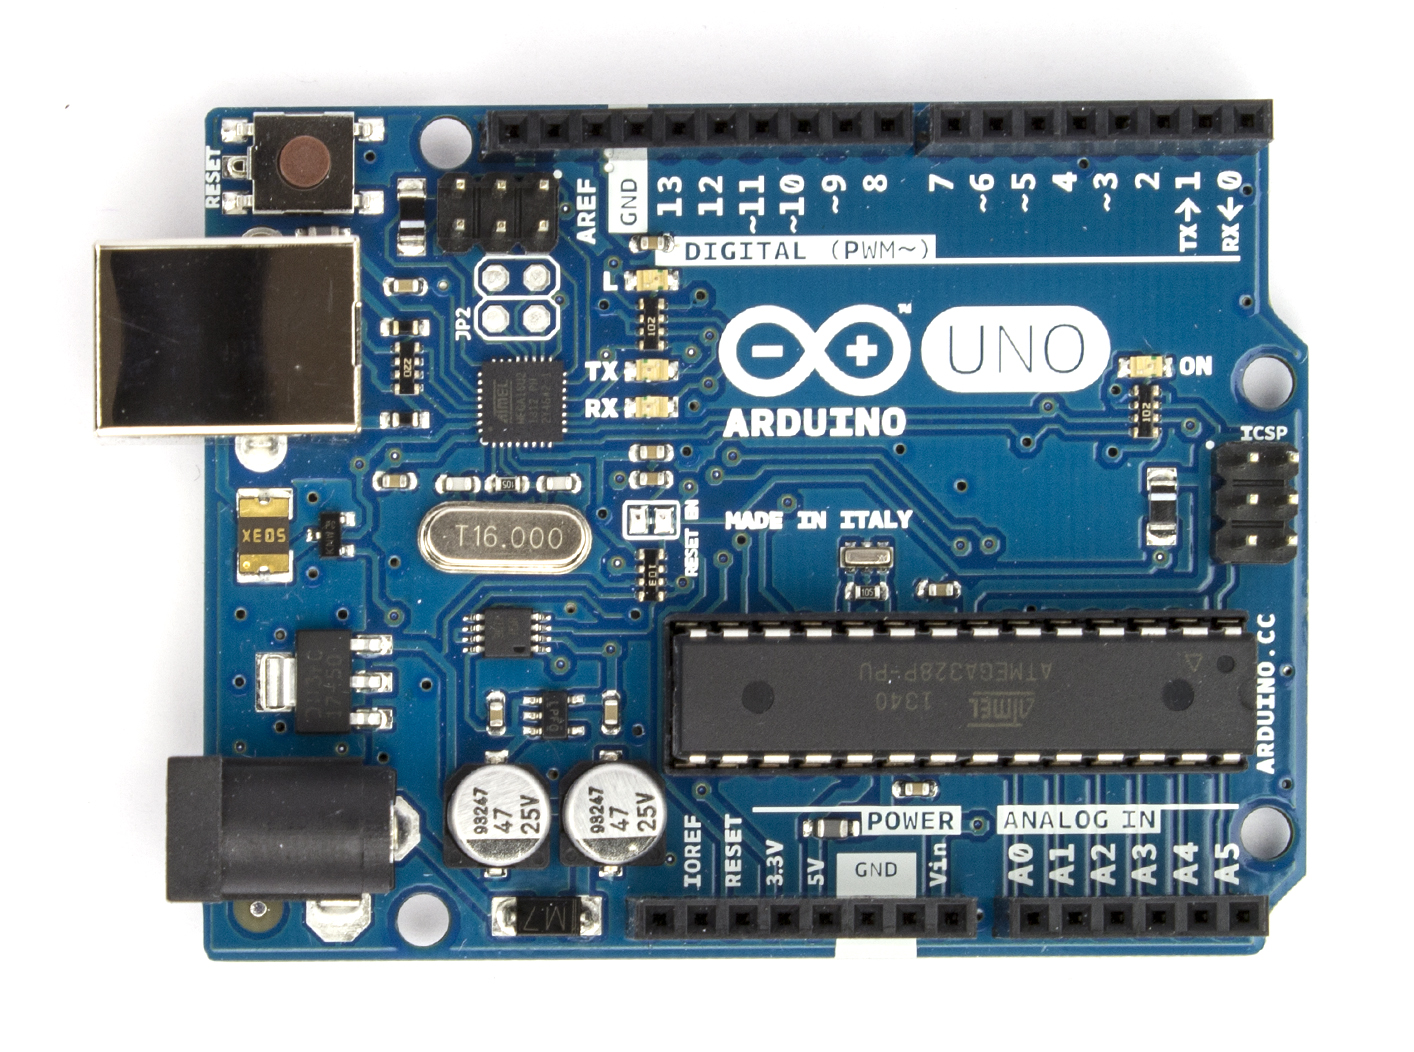
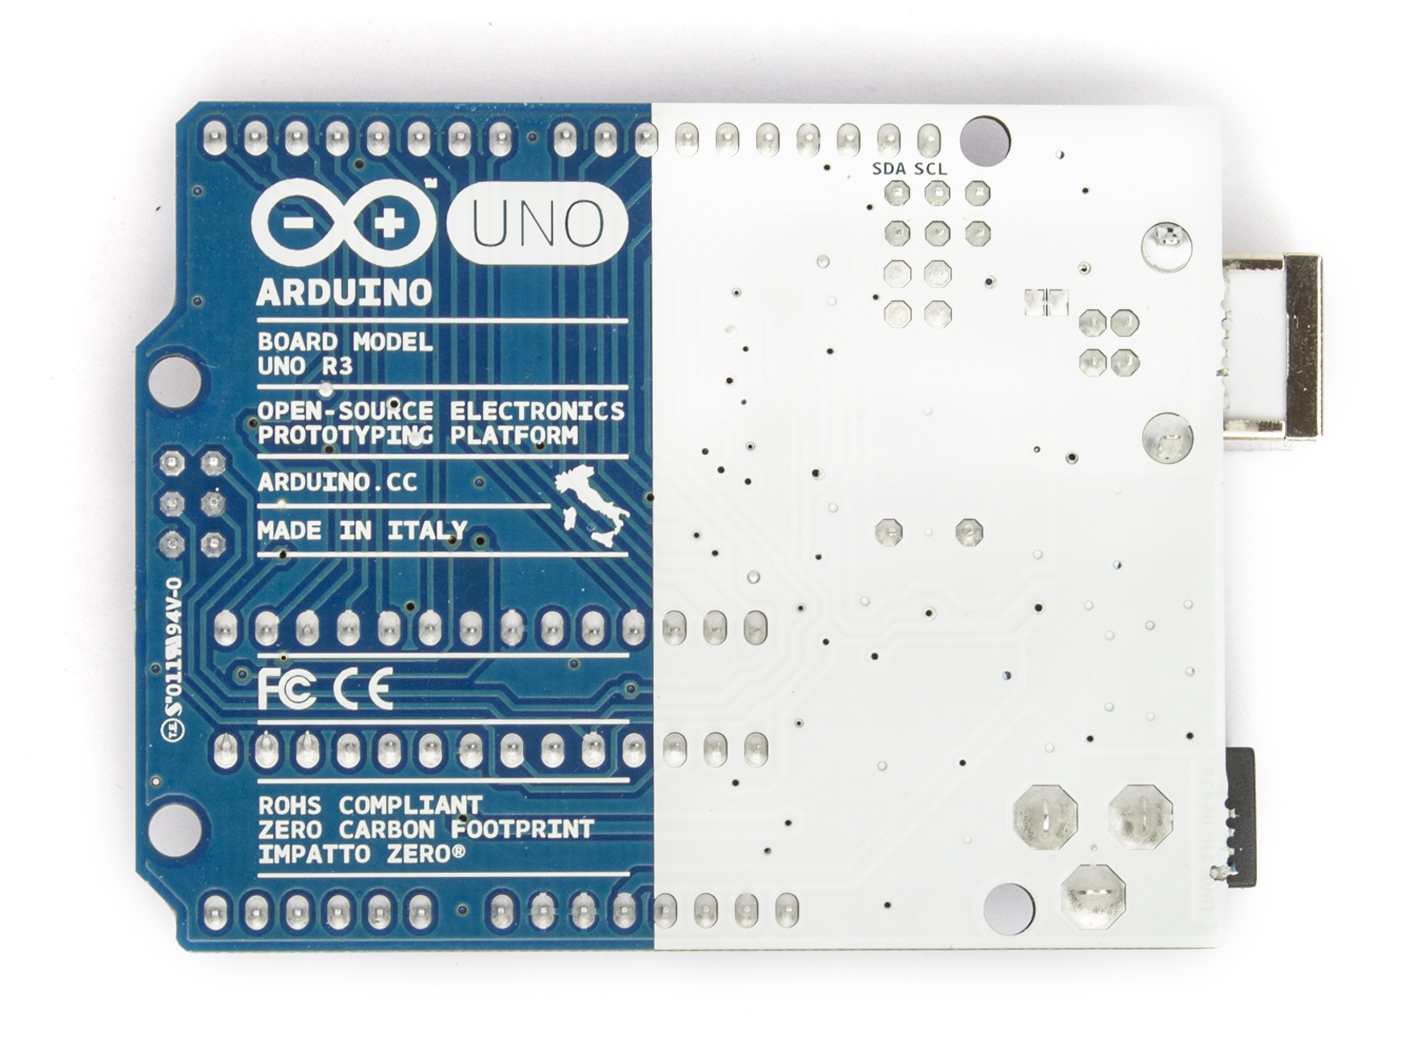
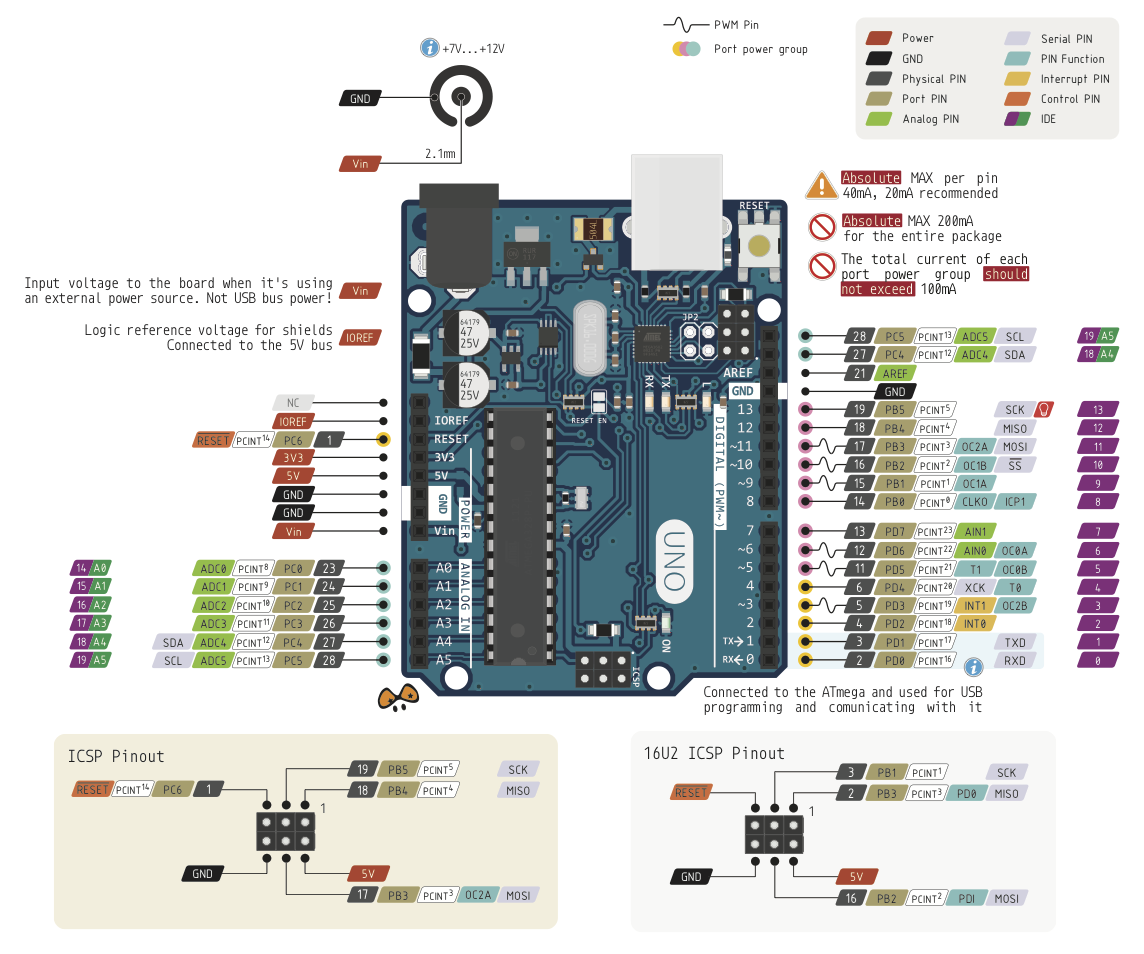
Arduino UNO R3
ATmega328P microcontroller with 5V regulated operating voltage (7V - 12V input voltage), 14 digital I/O pins (of which 6 provide PWM output), 6 analog input pins (10 bit resolution), 20 mA per pin (50 mA for 3.3V pin), 32 KB flash memory of which 0.5 KB used by the bootloader, 2 KB SRAM, 1 KB EEPROM, 16 MHz clock speed, 68.6 x 53.4 mm, 25 g.
-
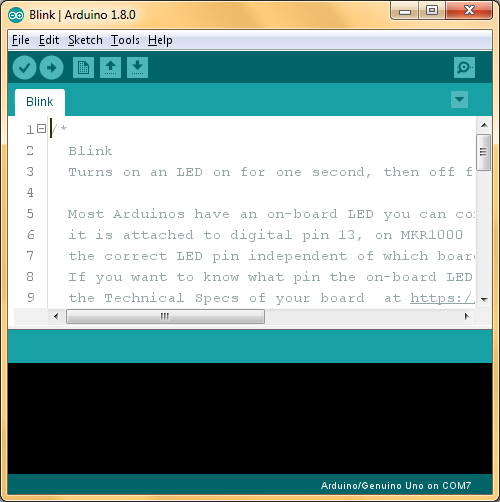
Arduino IDE v1.8.10
-
PuTTY 0.70 (serial monitor, 64-bit, EXE-file, 834 KiB)

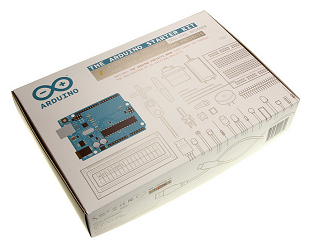
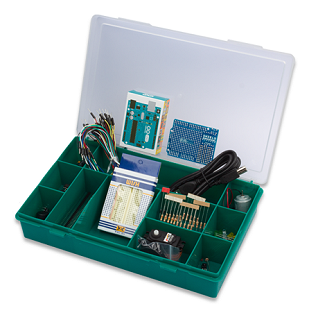
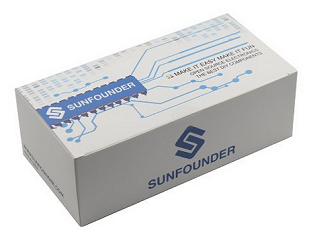
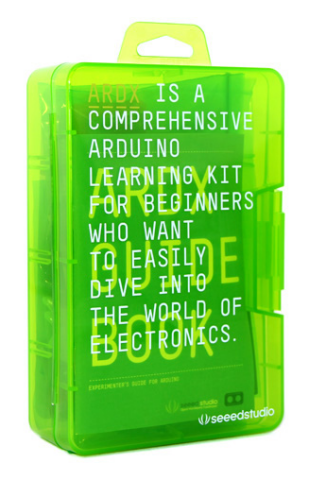
Starter kits
General information: Arduino and Electronics Guidebooks, Component Datasheets
- Arduino
- Getting Started with Arduino
- Arduino Cheat Sheet v02c
- Language Reference
- Examples
- Learn DIY Electronics with the Sparkfun Inventor's Guide
- Arduino Cookbook
- Arduino in Action
- 30 Arduino Projects for the Evil Genius
- Practical Arduino: Cool Projects for Open Source Hardware
- 18 Random Nerd Tutorial Projects for Arduino
- Make: Arduino Bots and Gadgets
- Visualizing Data
- Electronics
- Getting Started in Electronics
- Make: Electronics
- Make: Making Things Talk
- Make: Making Things Talk (Using Sensors, Networks, and Arduino to See, Hear, and Feel Your World)
- Practical Electronics for Inventors
- Physical Computing: Sensing and Controlling the Physical World with Computers
- The Art of Electronics
- The Circuit Designers Companion
- Designing Embedded Hardware
- Electrical components datasheets
- The Pinouts Book
- Atmel ATmega328P
- Atmel ATmega328P (summary)
- Atmel ATtiny25/45/85
- Data Logger Shield
- IR receiver TSOP22
- LDR GL5528
- LED 8x8 dot matrix KWM-30881XVB
- LED (green)
- LED (yellow + red)
- LED display driver MAX7219
- MOSFET IRF530N
- RTC DS1307 (manual)
- Shift register 74HC595
- Siemens DLl1414T
- Thermistor MCP9700
- Thermistor NJ28/NI24/NK20
- Transistor NPN P2N2222A-D
- Transistor NPN BC337
- Ultrasonic Ranging Module HC SR04
- Peltier Element TEC1-12706
- LM2596s DC-DC adjustable voltage step-down module
- MM108 3.3V/5V/9V power supply board
- LM2596d 3.0A step-down DC-DC switching regulator
- LM2596d 3.0A step-down DC-DC switching regulator (adjustable buck converter module)
- XL6009E1 3.0A step-up DC-DC switching regulator (for adjustable boost converter module)
- Automatic 3.0A buck-boost step up/down adjustable DC-DC switching regulator
- DC-DC boost module (2.5-5 V) 600 mA to USB 5 V, VMA403)
- Infrared transmitter module 5B3AIR10 (VMA316)
- 3-axis digital acceleration module MMA8452Q (VMA208)
Tools: Fritzing
Tools: Oscilloscope
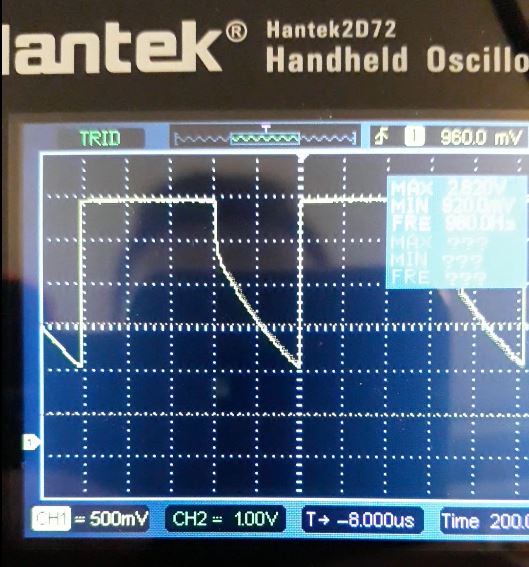
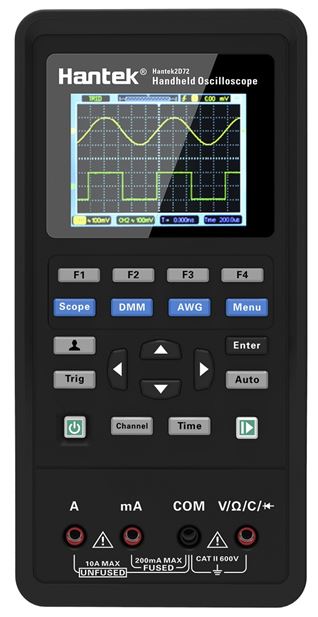
My current oscilloscope is a handheld Hantek 2D72; it combines an oscilloscope with a arbitrary function (waveform) generator (AF(W)G) and a digital multimeter (DMM). There are two channels, with a bandwith of 70 MHz and 250 million samples per second. The vertical resolution goes from 10 mV to 10 V. The AFG supports sine, square, triangular, and trapezoid waves. Power is supplied through two ICR 18650 3.7 V rechargeable Lithium batteries.
Downloads:
- The operating manual and quick guide.
- The software for Windows.
- The firmware update.
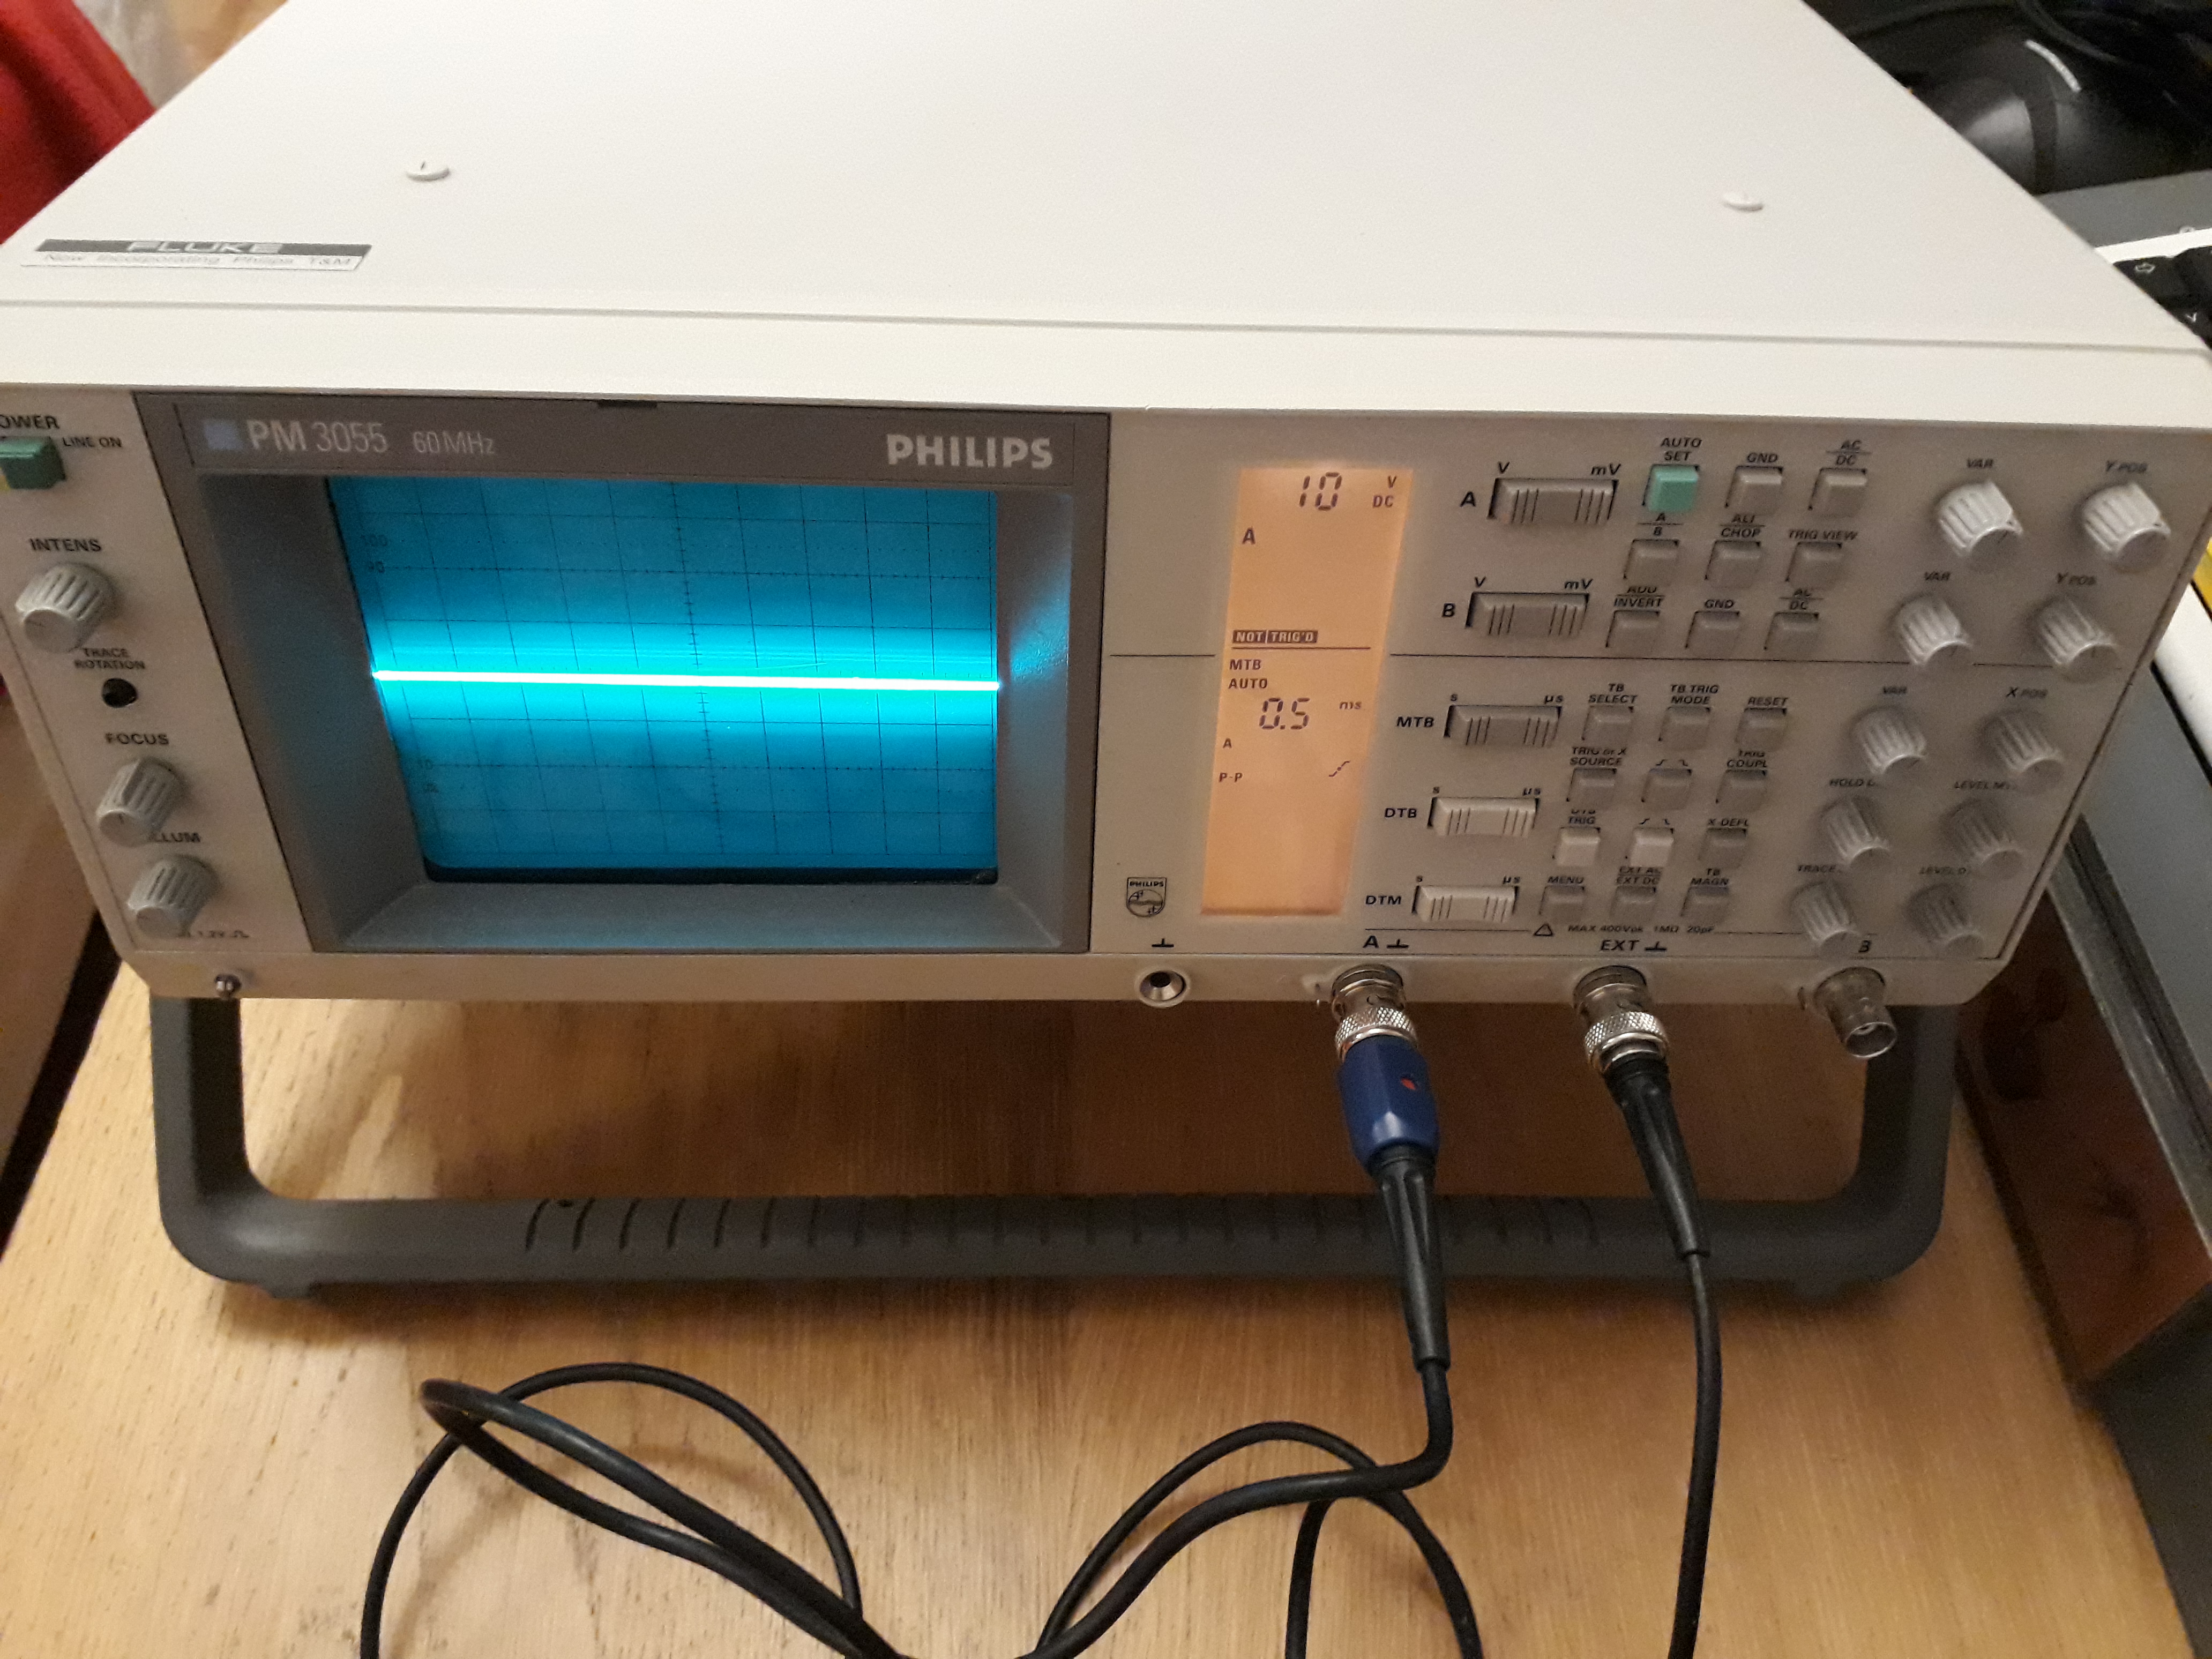
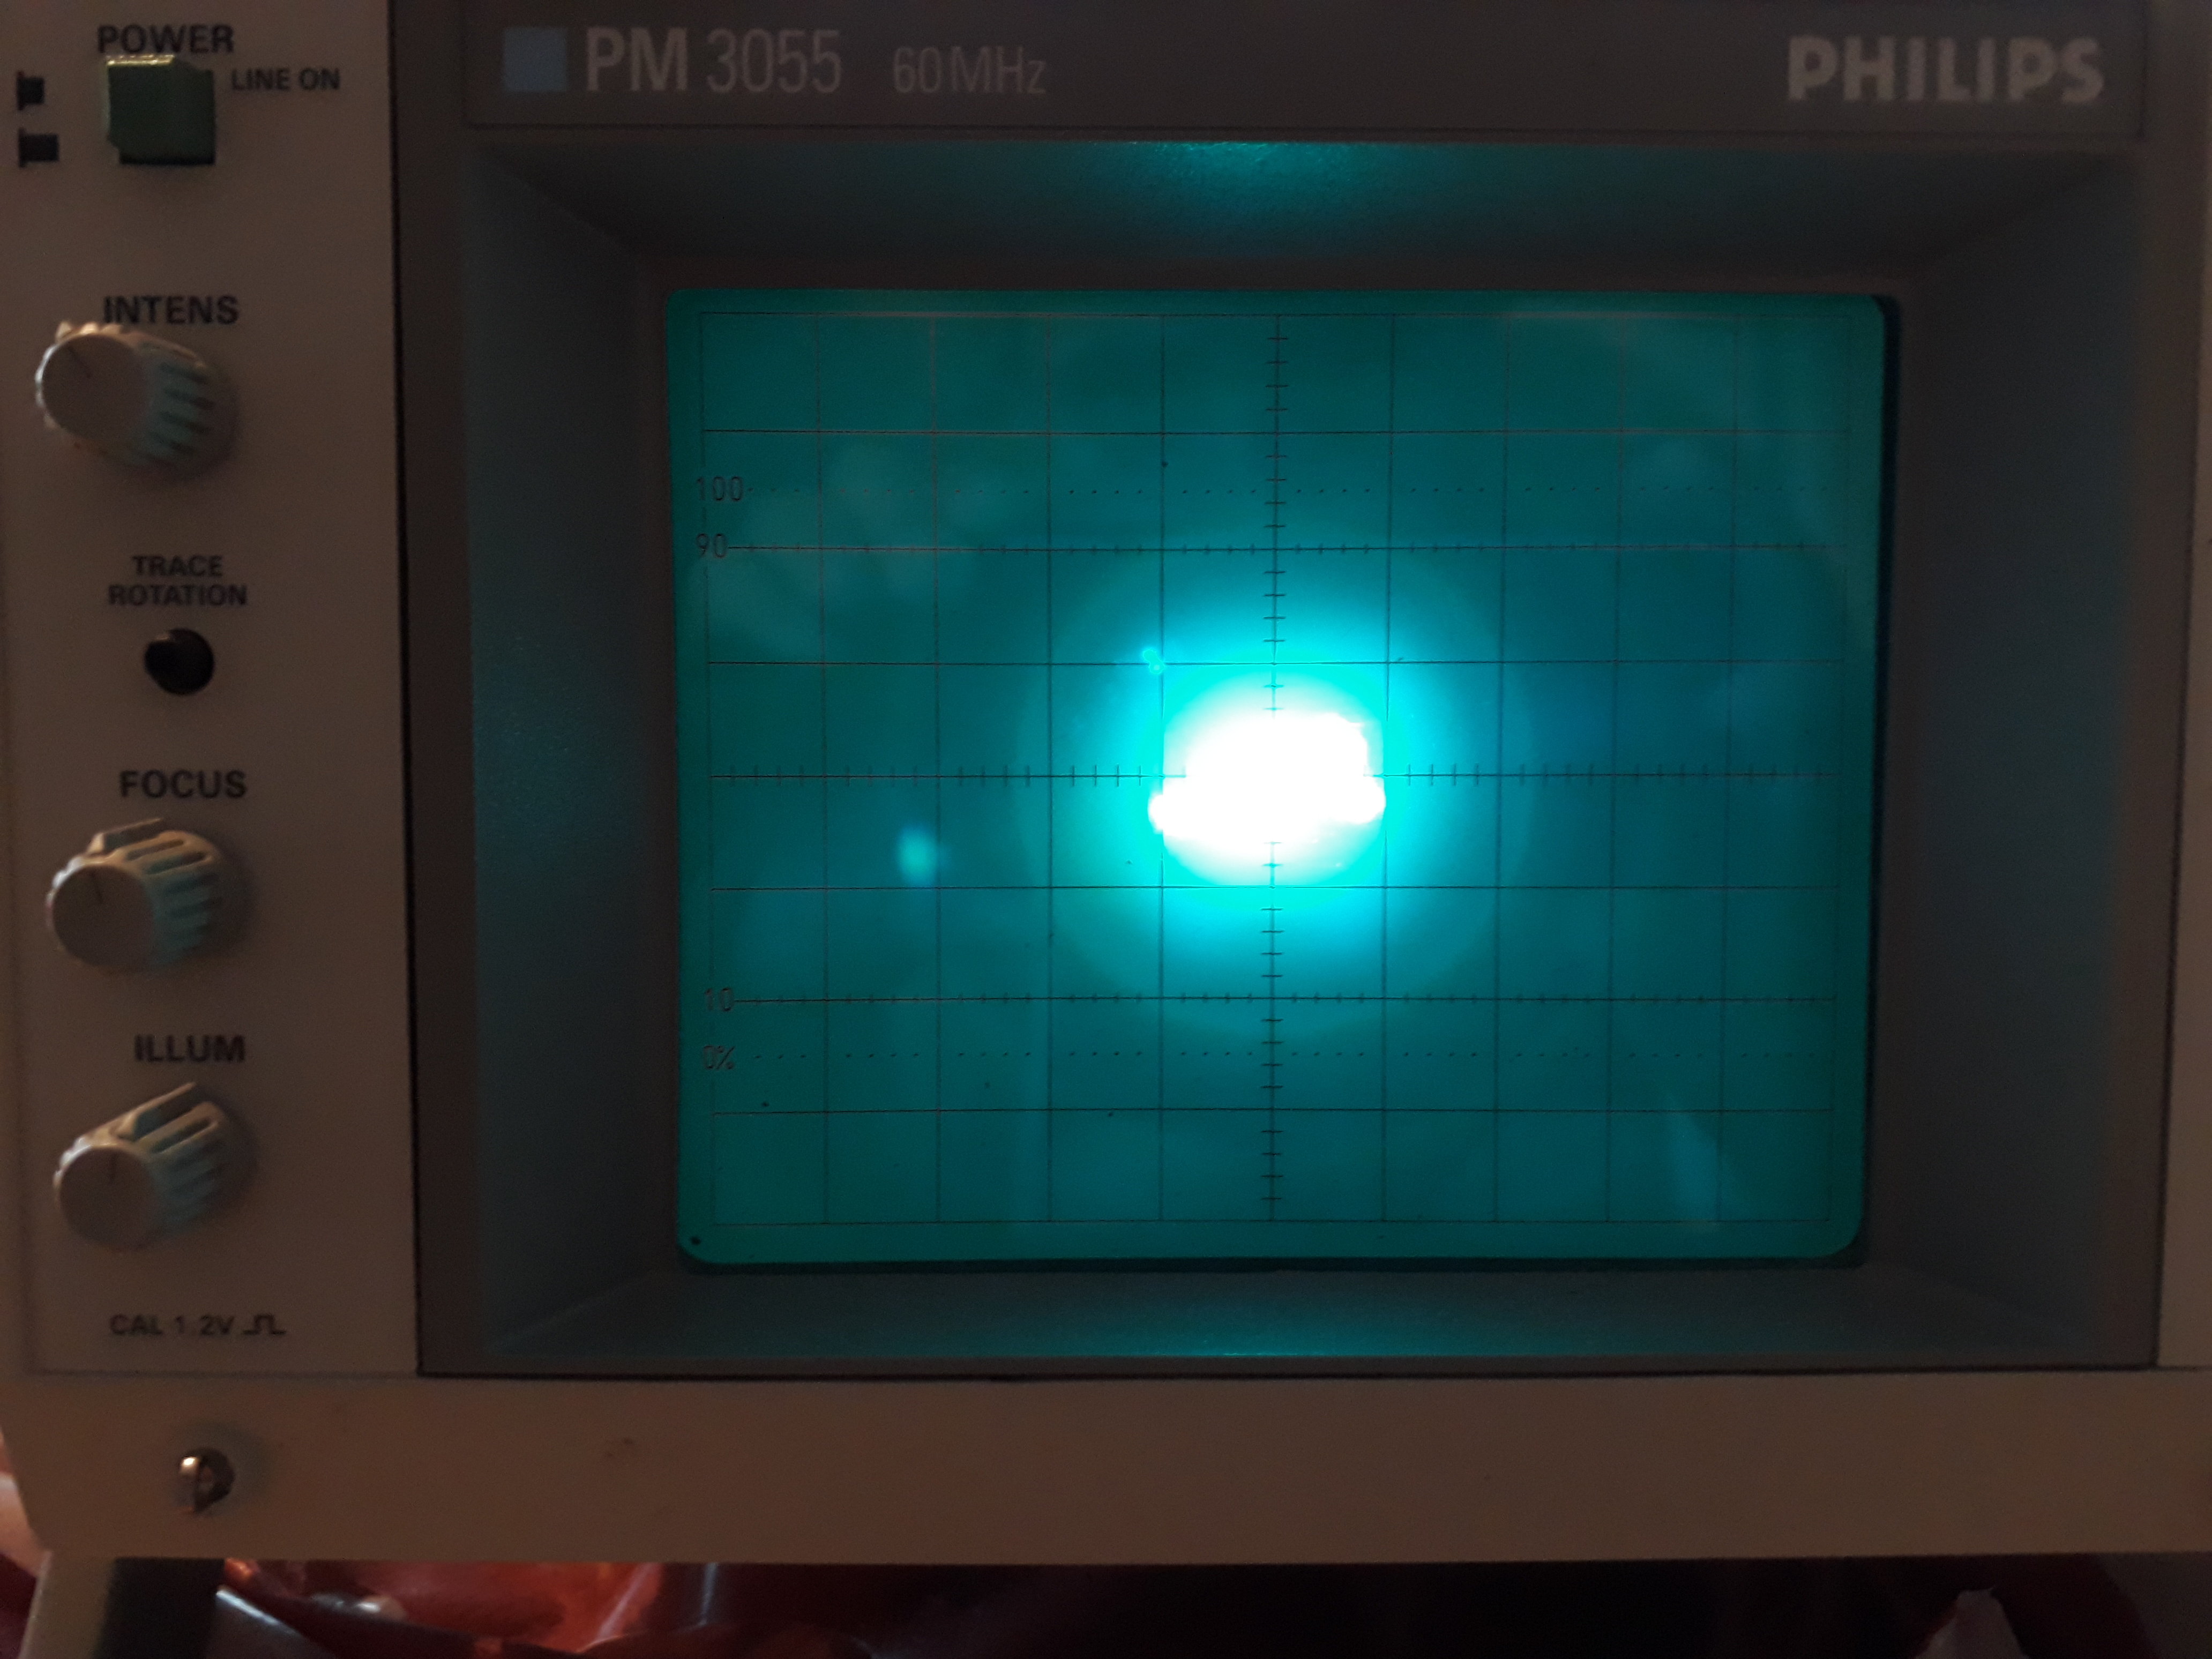
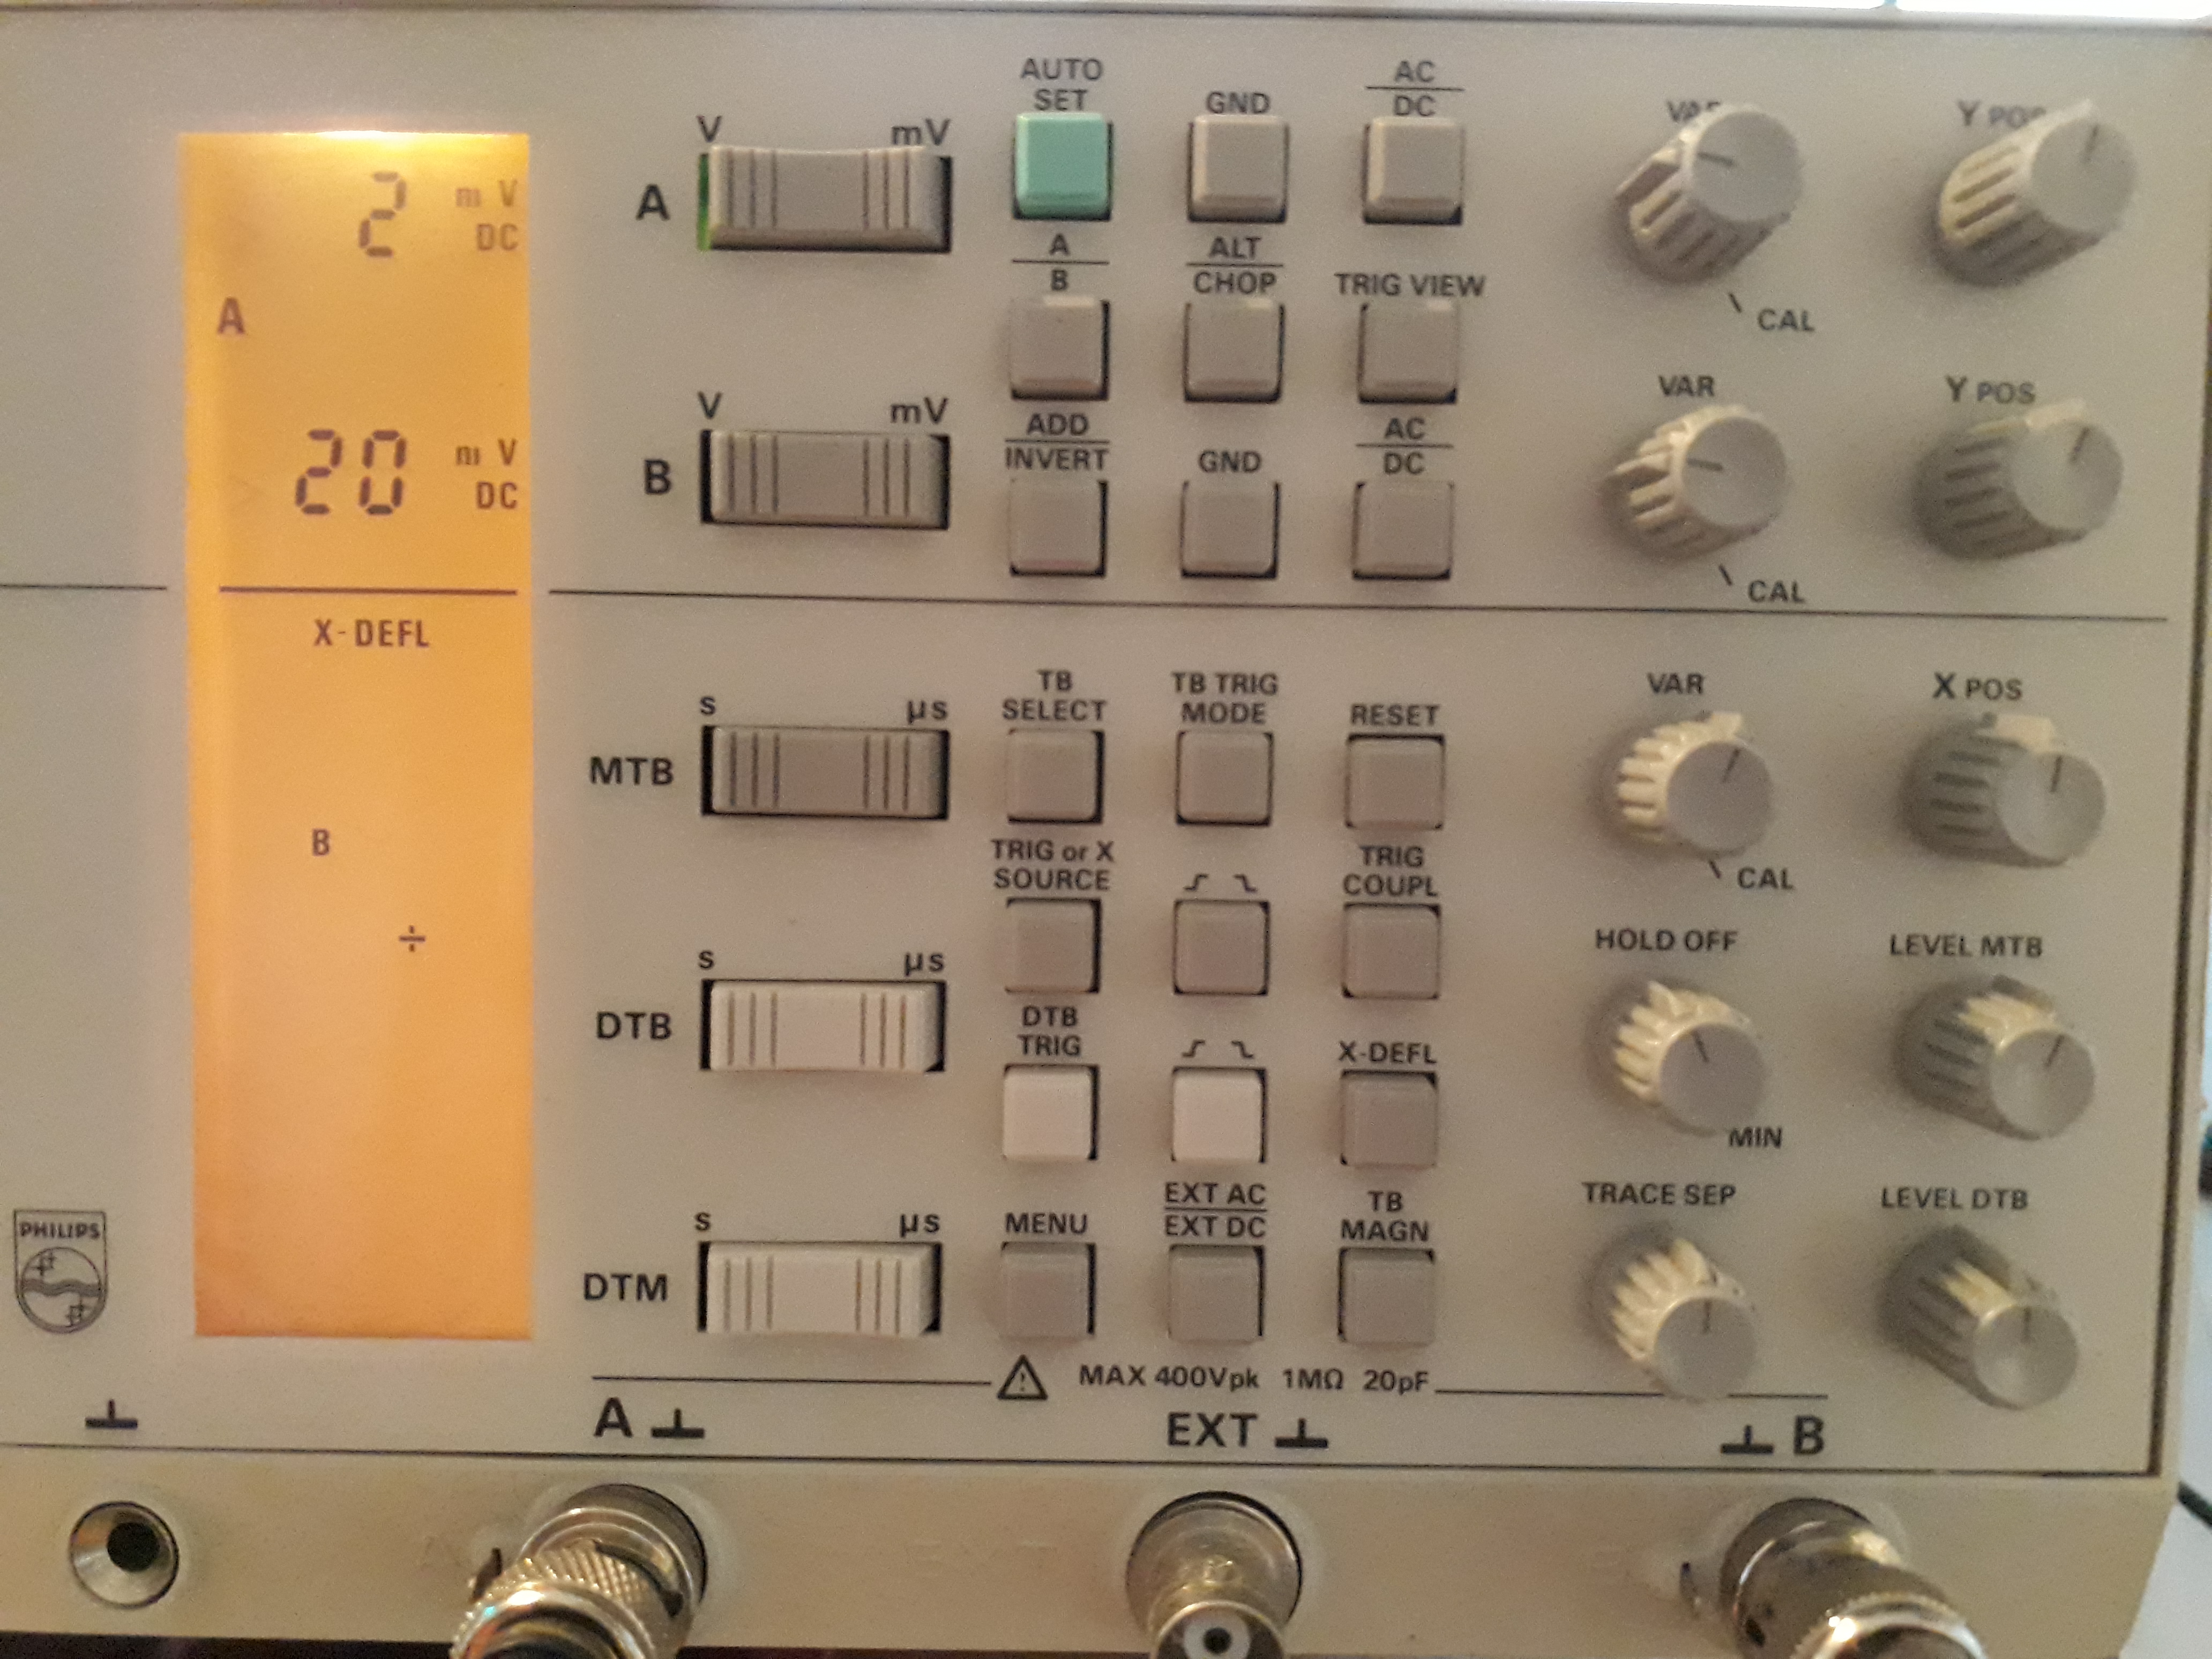
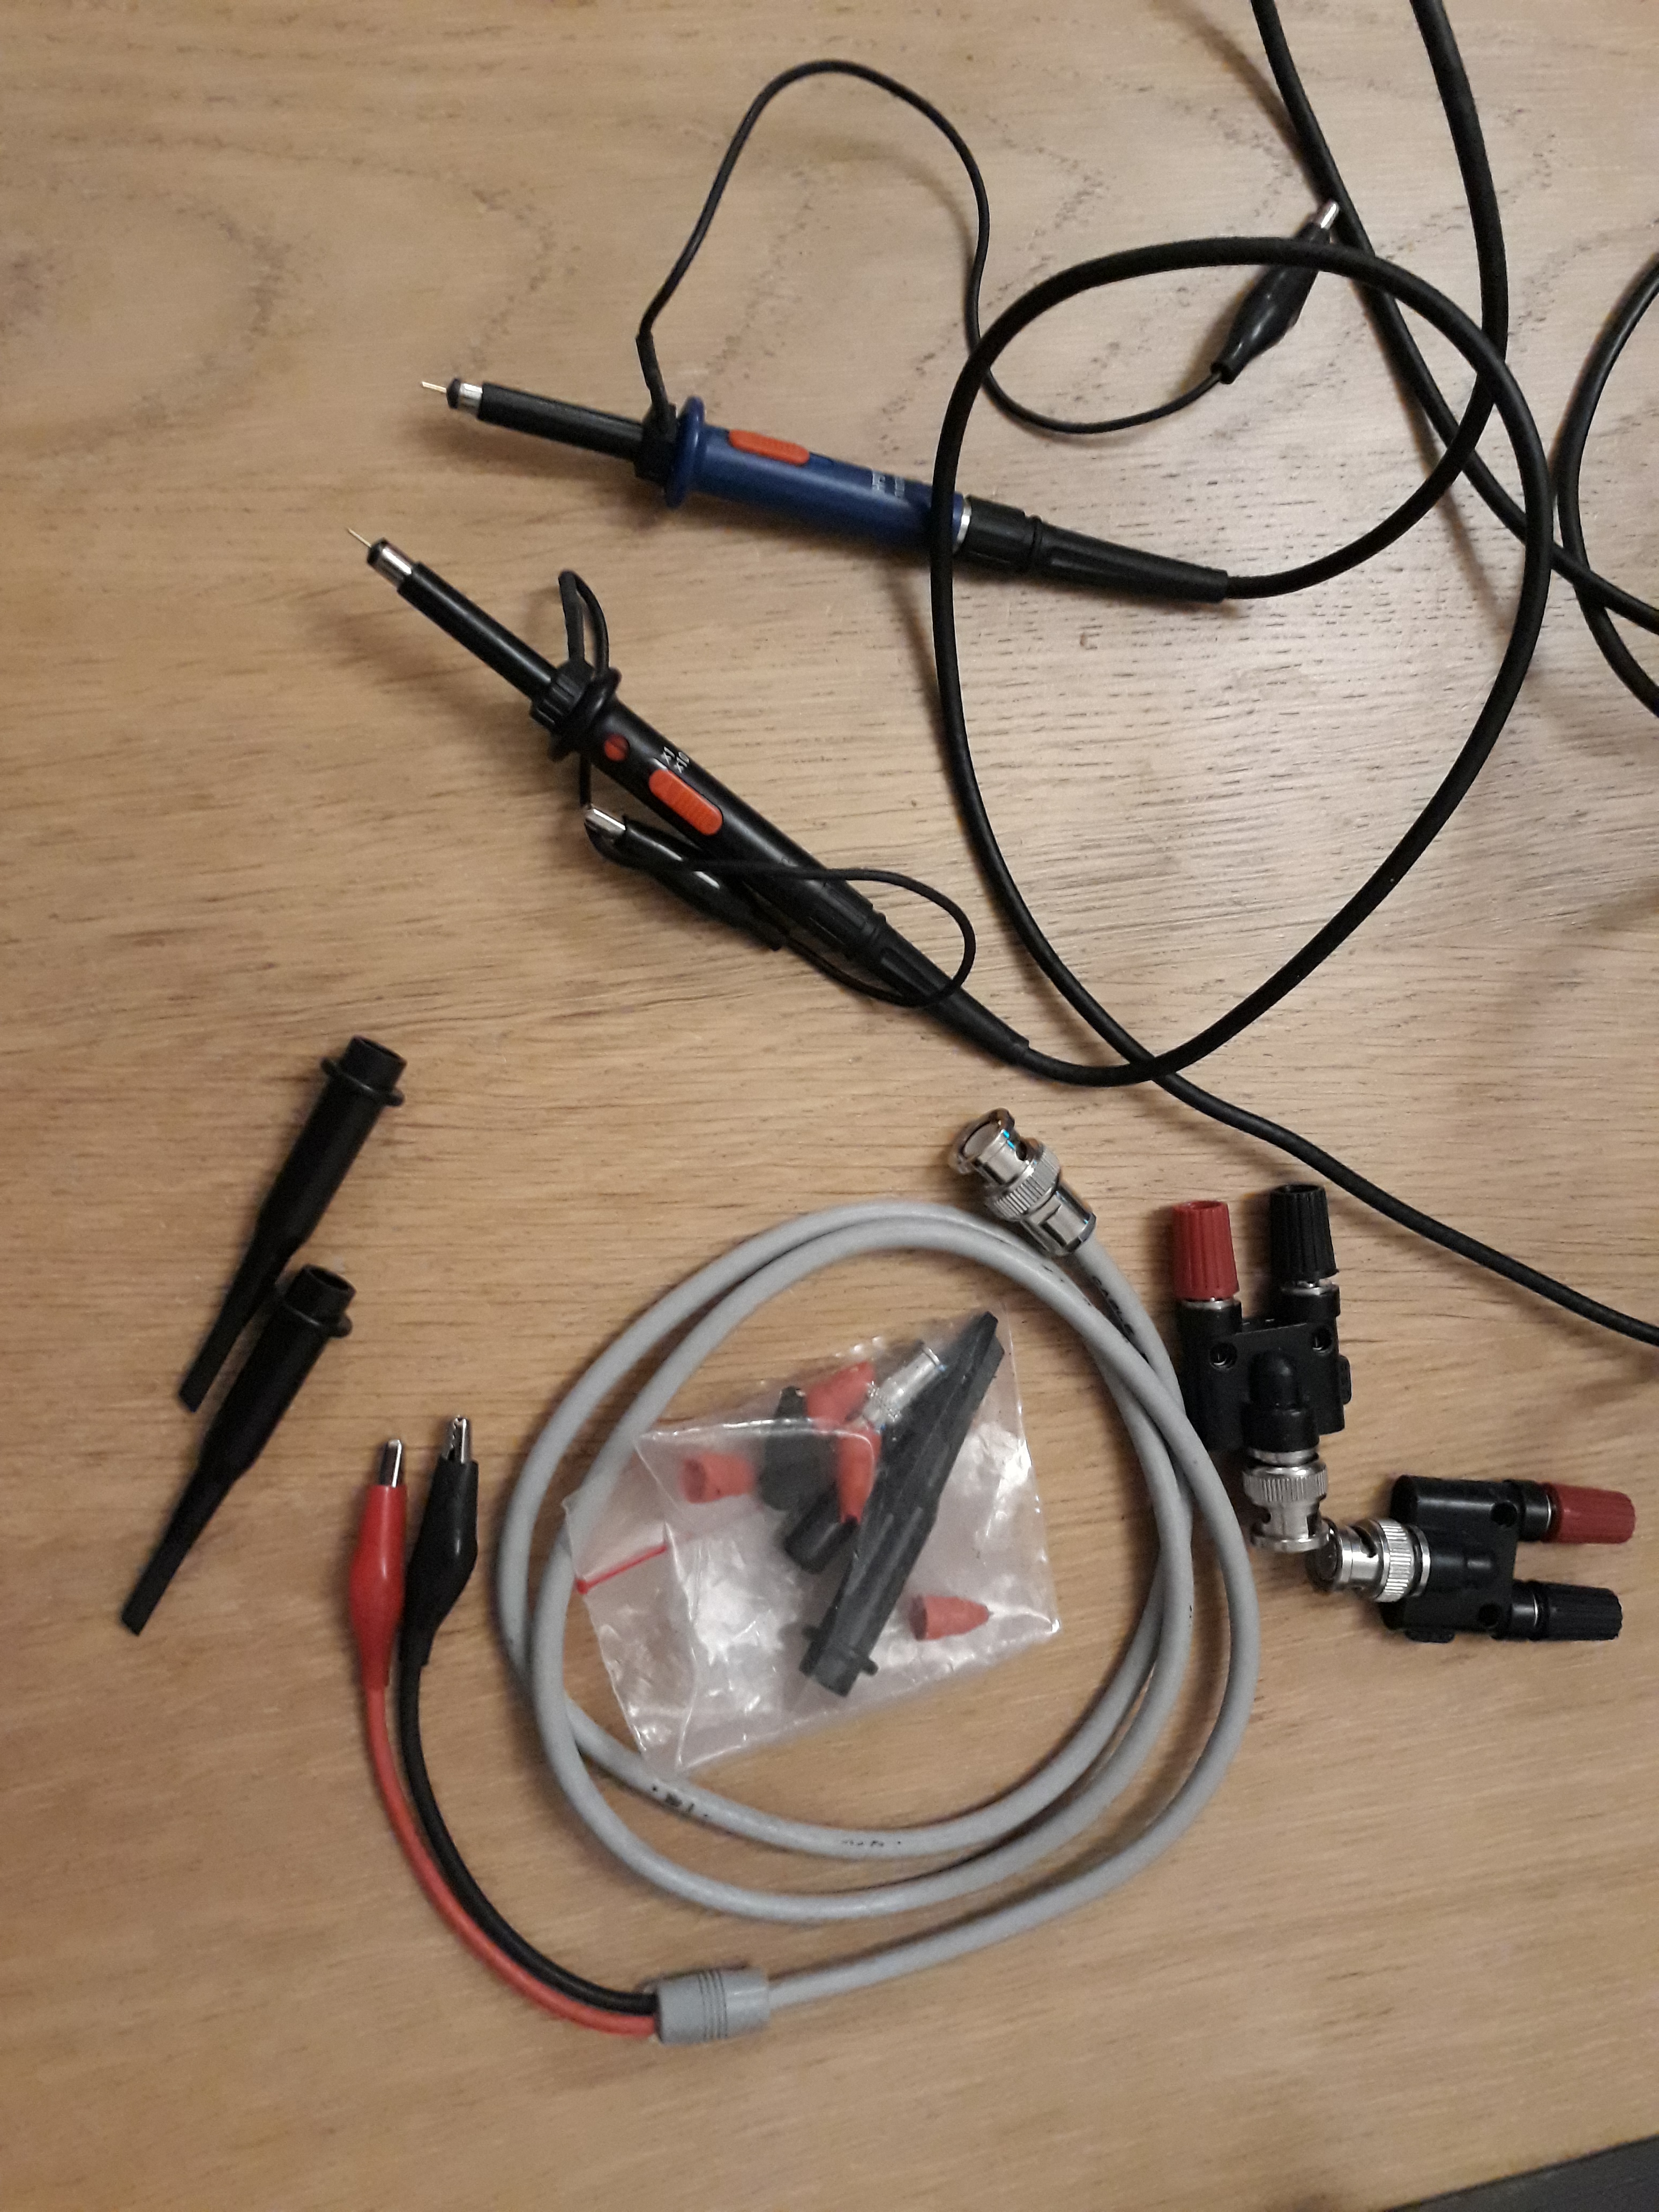
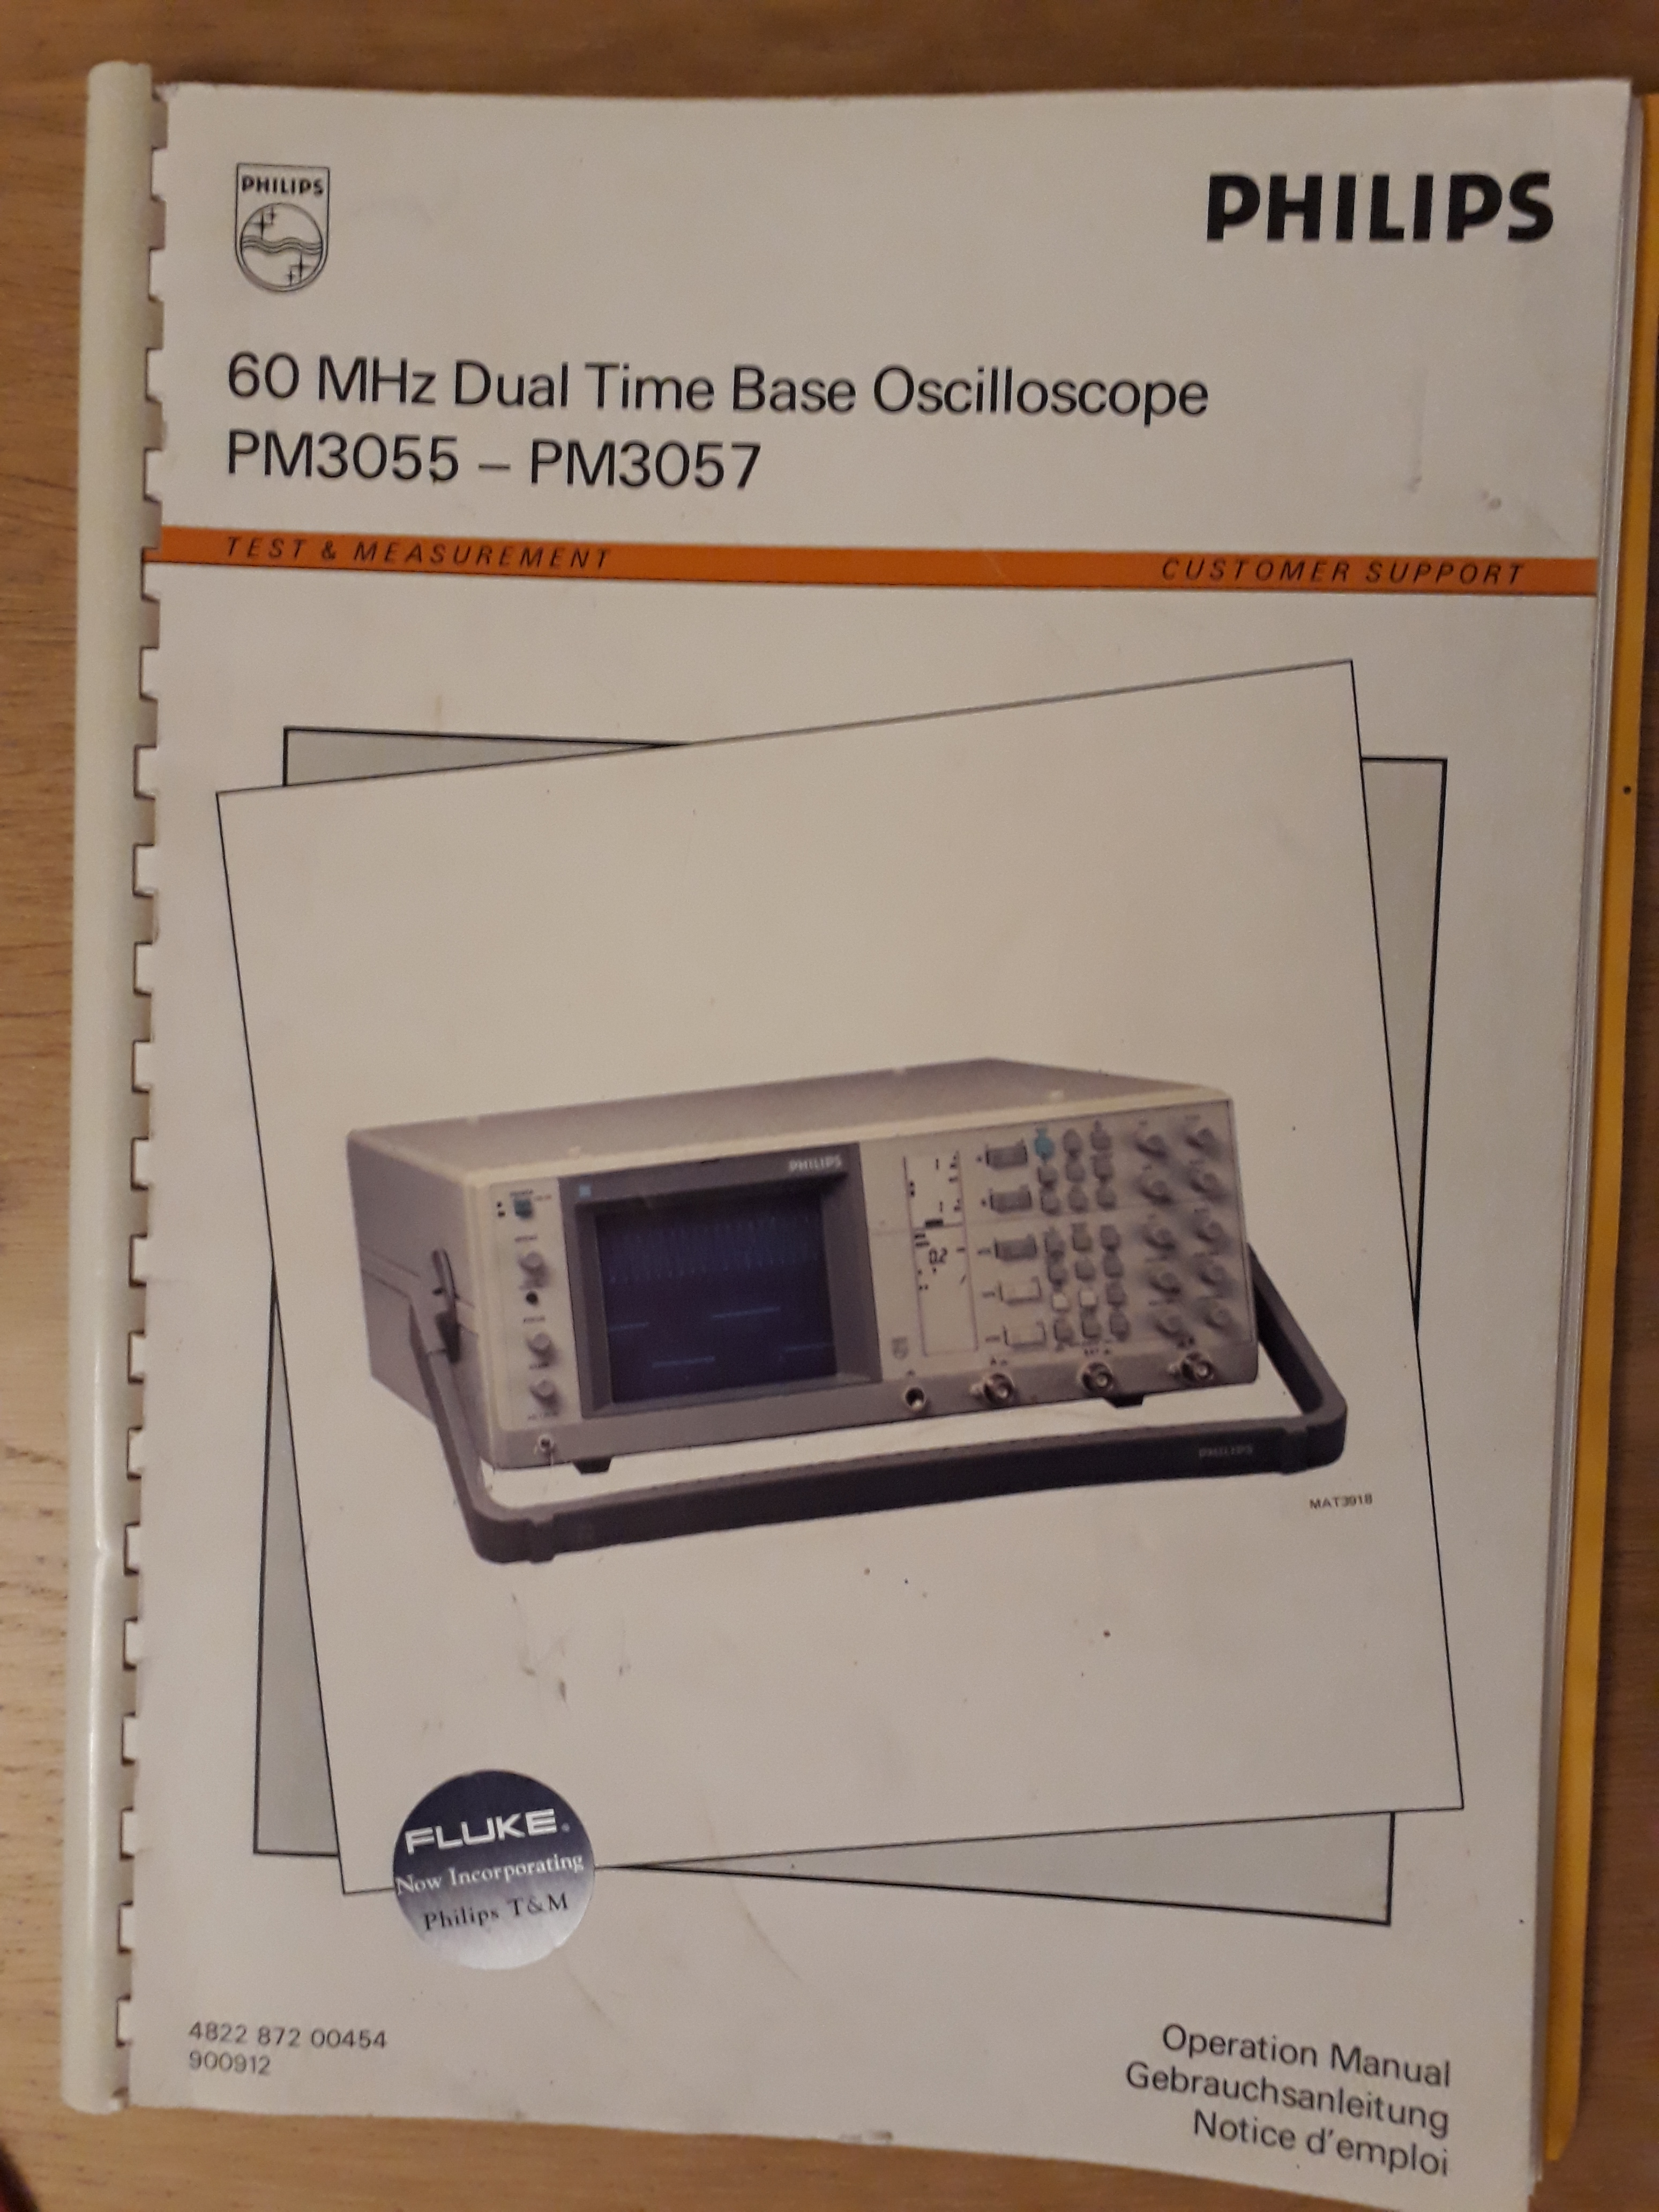
Before that, I had a second-hand Philips Fluke PM3055 (60 MHz) portable analog oscilloscope. Its dimensions are 387 x 531 x 147 mm, with a weight of 7.5 kg. It's CRT (80 x 100 mm) is coloured green, and the control panel features operations for 2 channels (with a maximum input voltage of 400 V each). In addition, there are 2 1x-10x probes, as well as a variety of Bayonet Neill- Concelman (BNC) connectors.
Download the operating manual.
![]() YouScope demonstration (AVI, 52.28 MiB)
YouScope demonstration (AVI, 52.28 MiB)
![]() Sound spirals demonstration (AVI, 38.43 MiB)
Sound spirals demonstration (AVI, 38.43 MiB)
![]() Sound spirals demonstration (AVI, 52.07 MiB)
Sound spirals demonstration (AVI, 52.07 MiB)
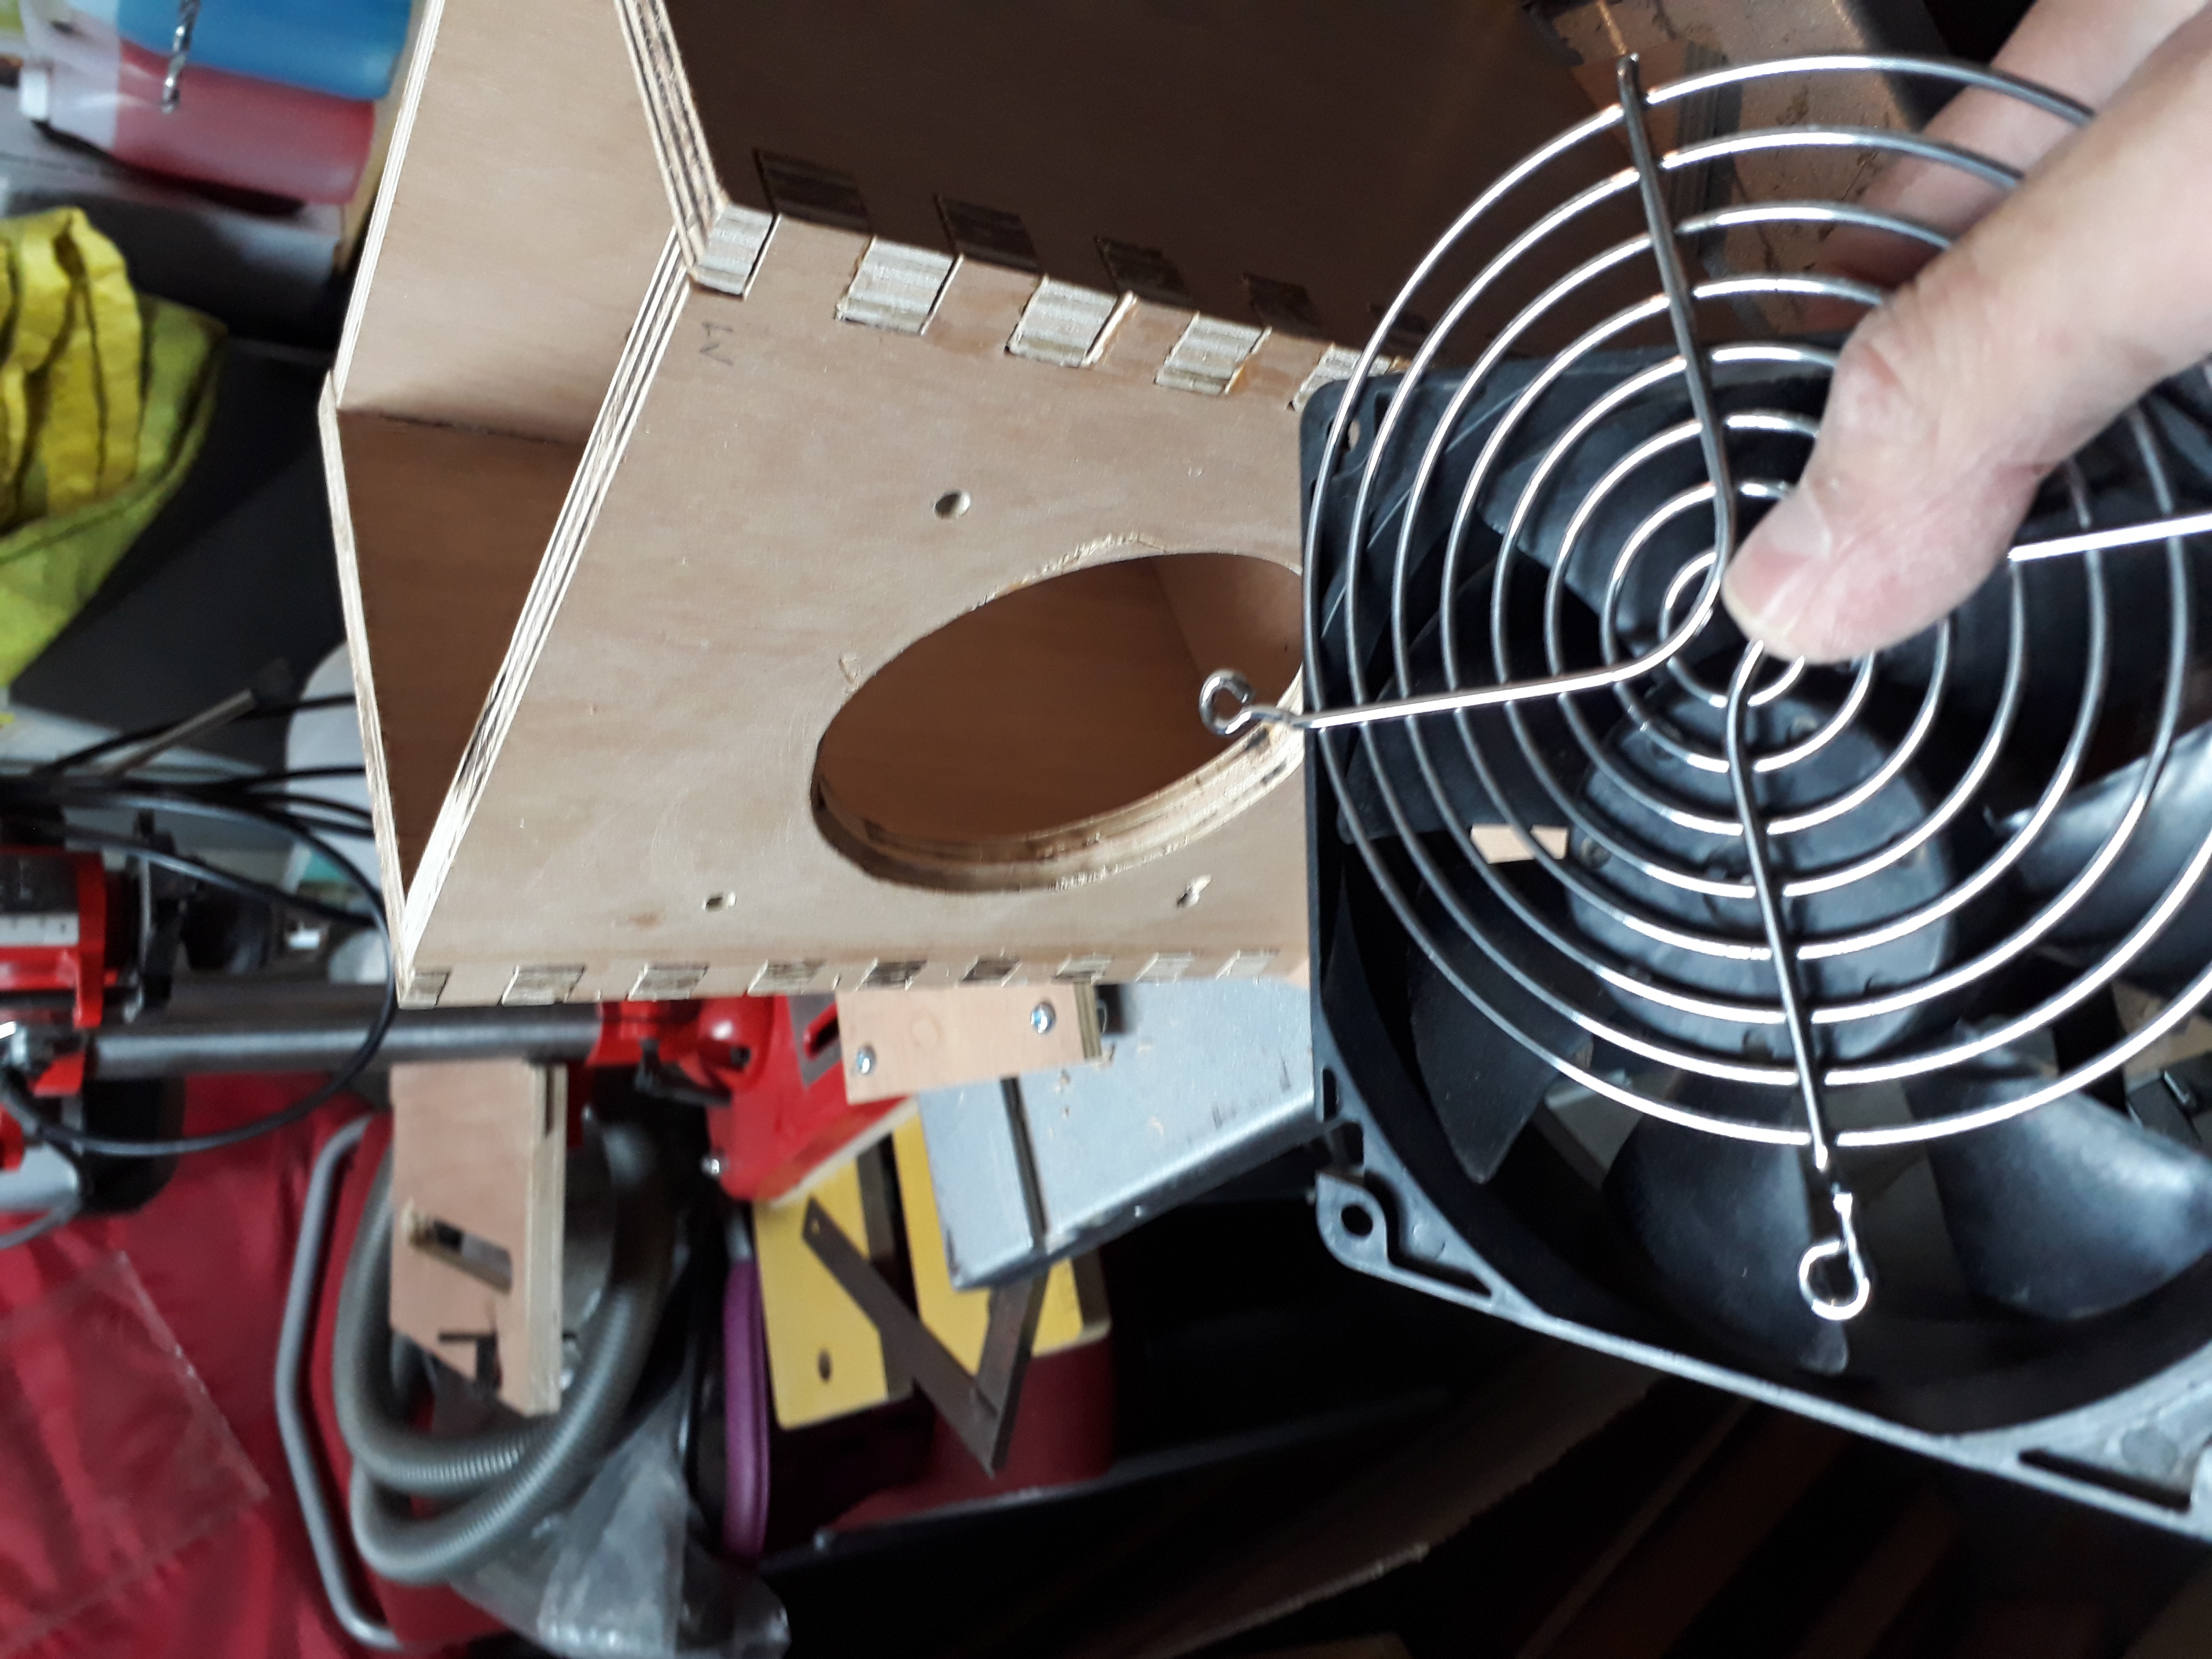
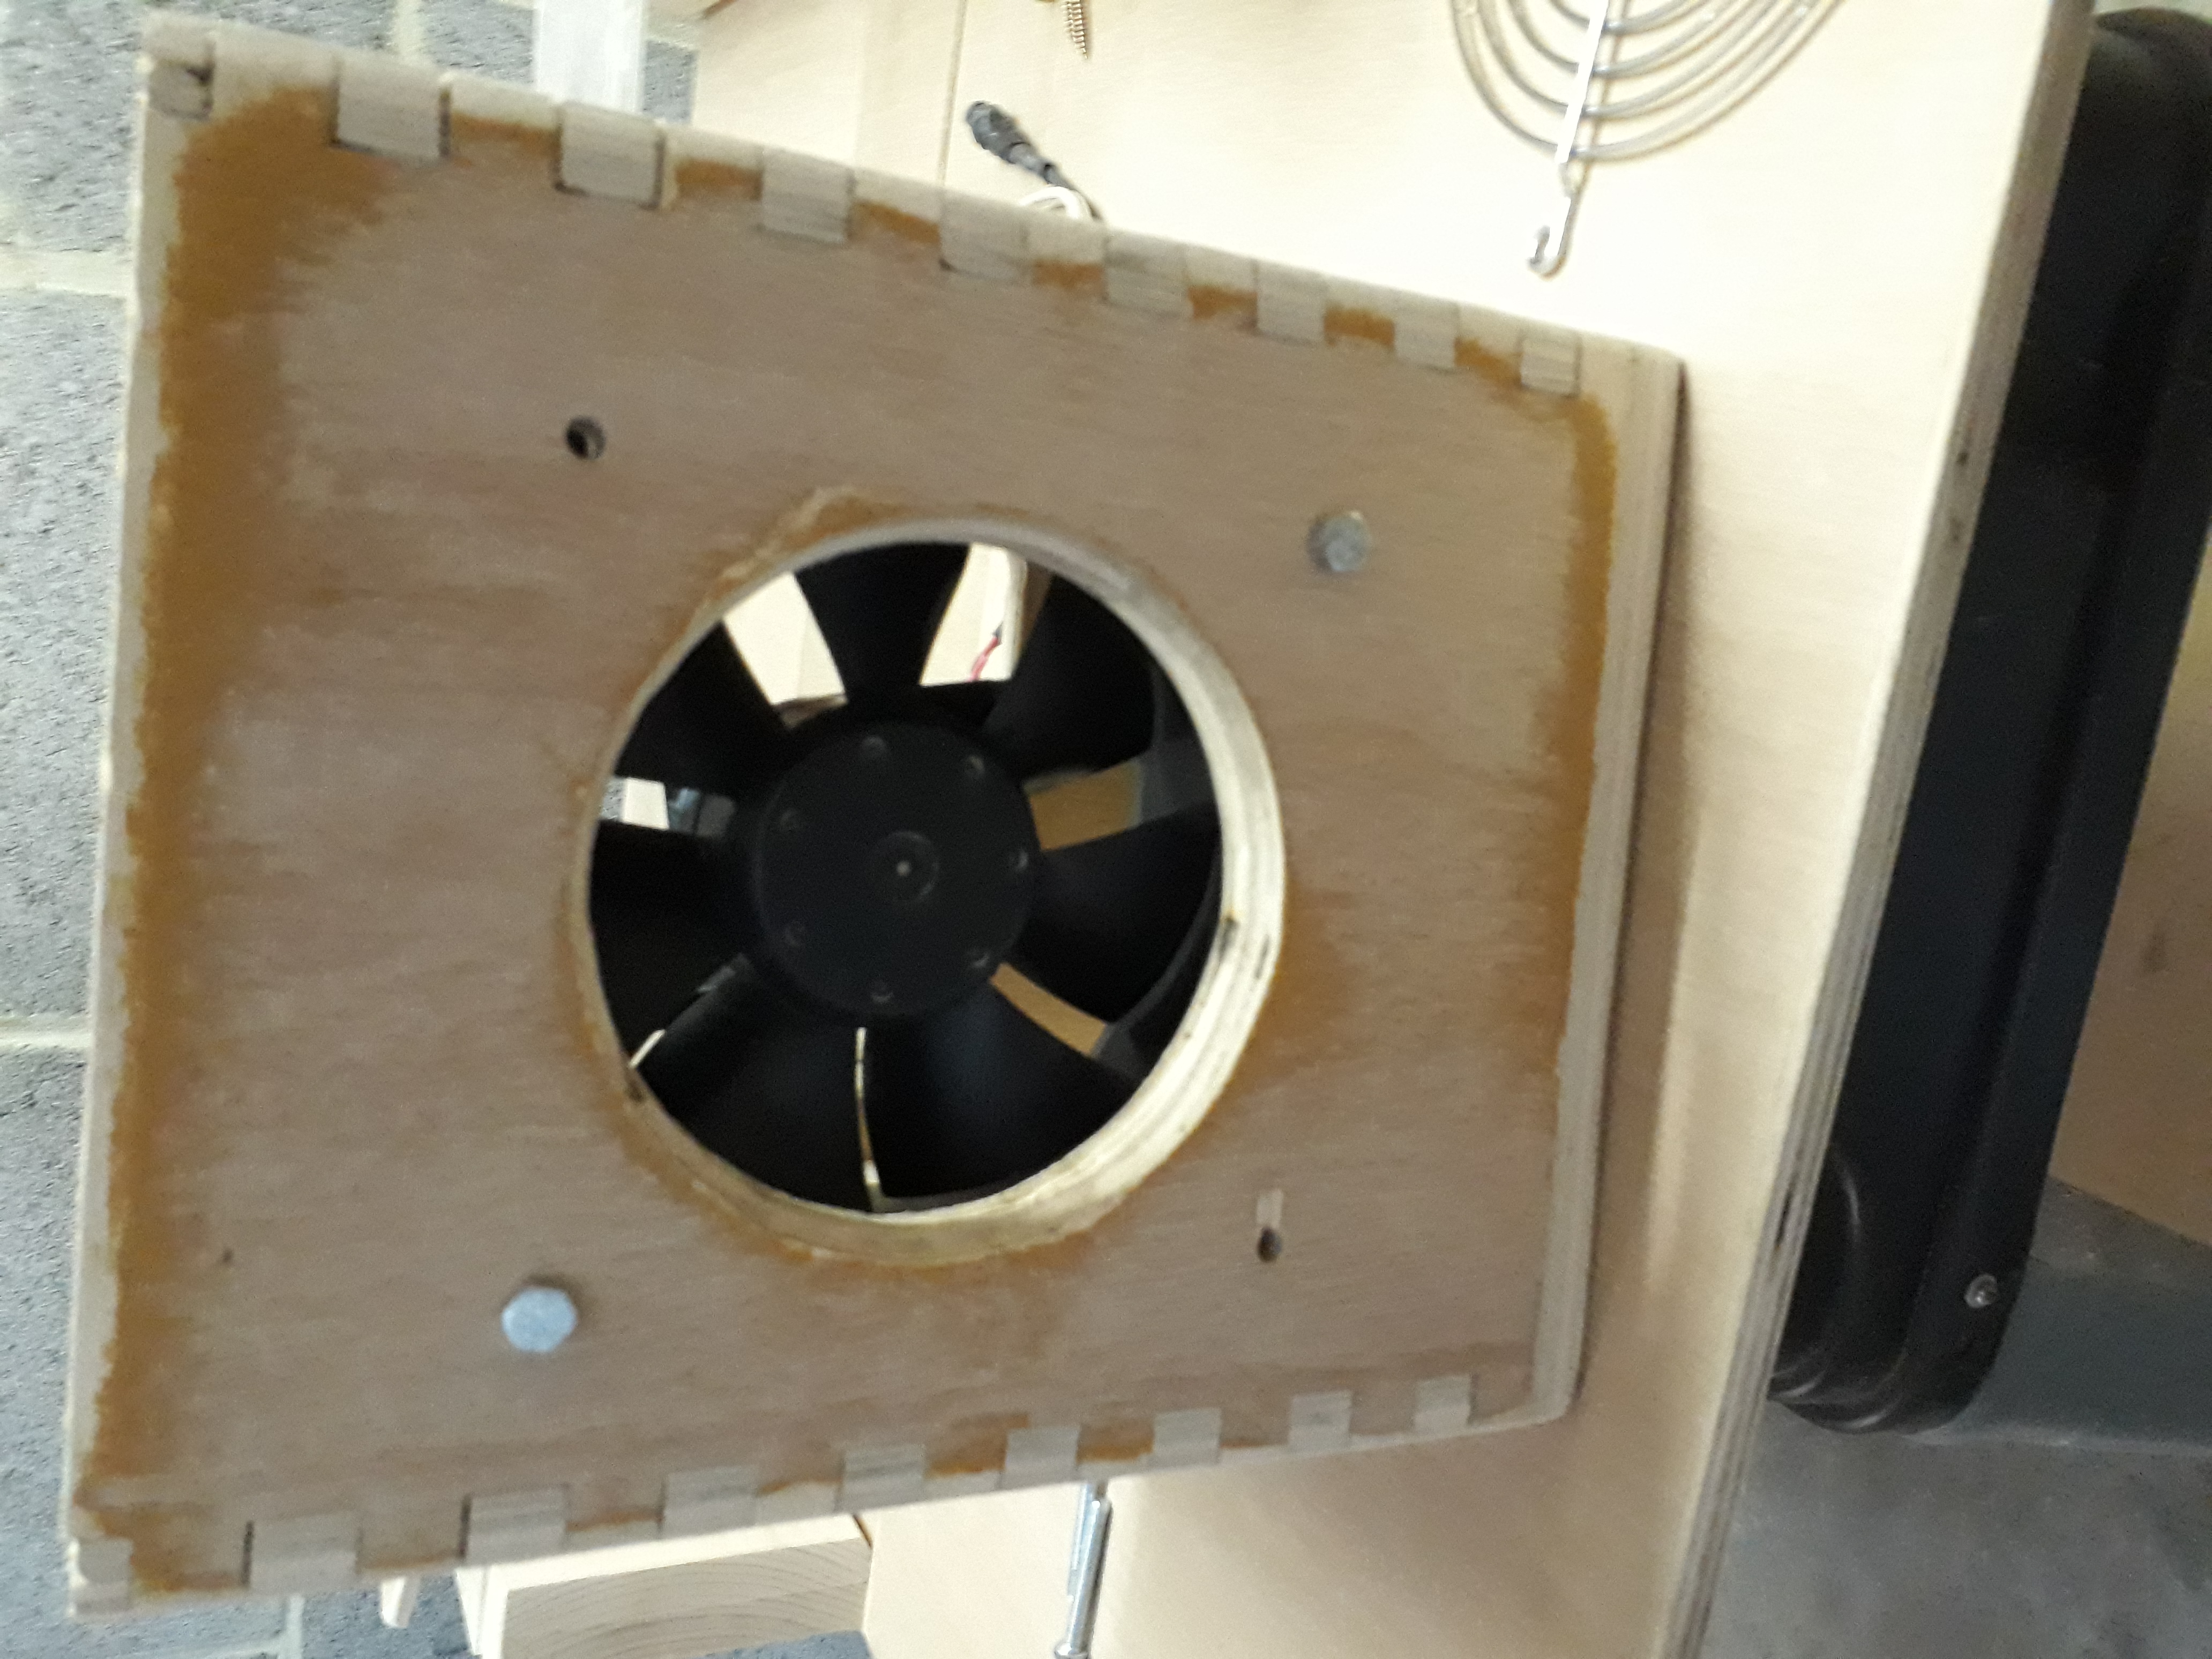
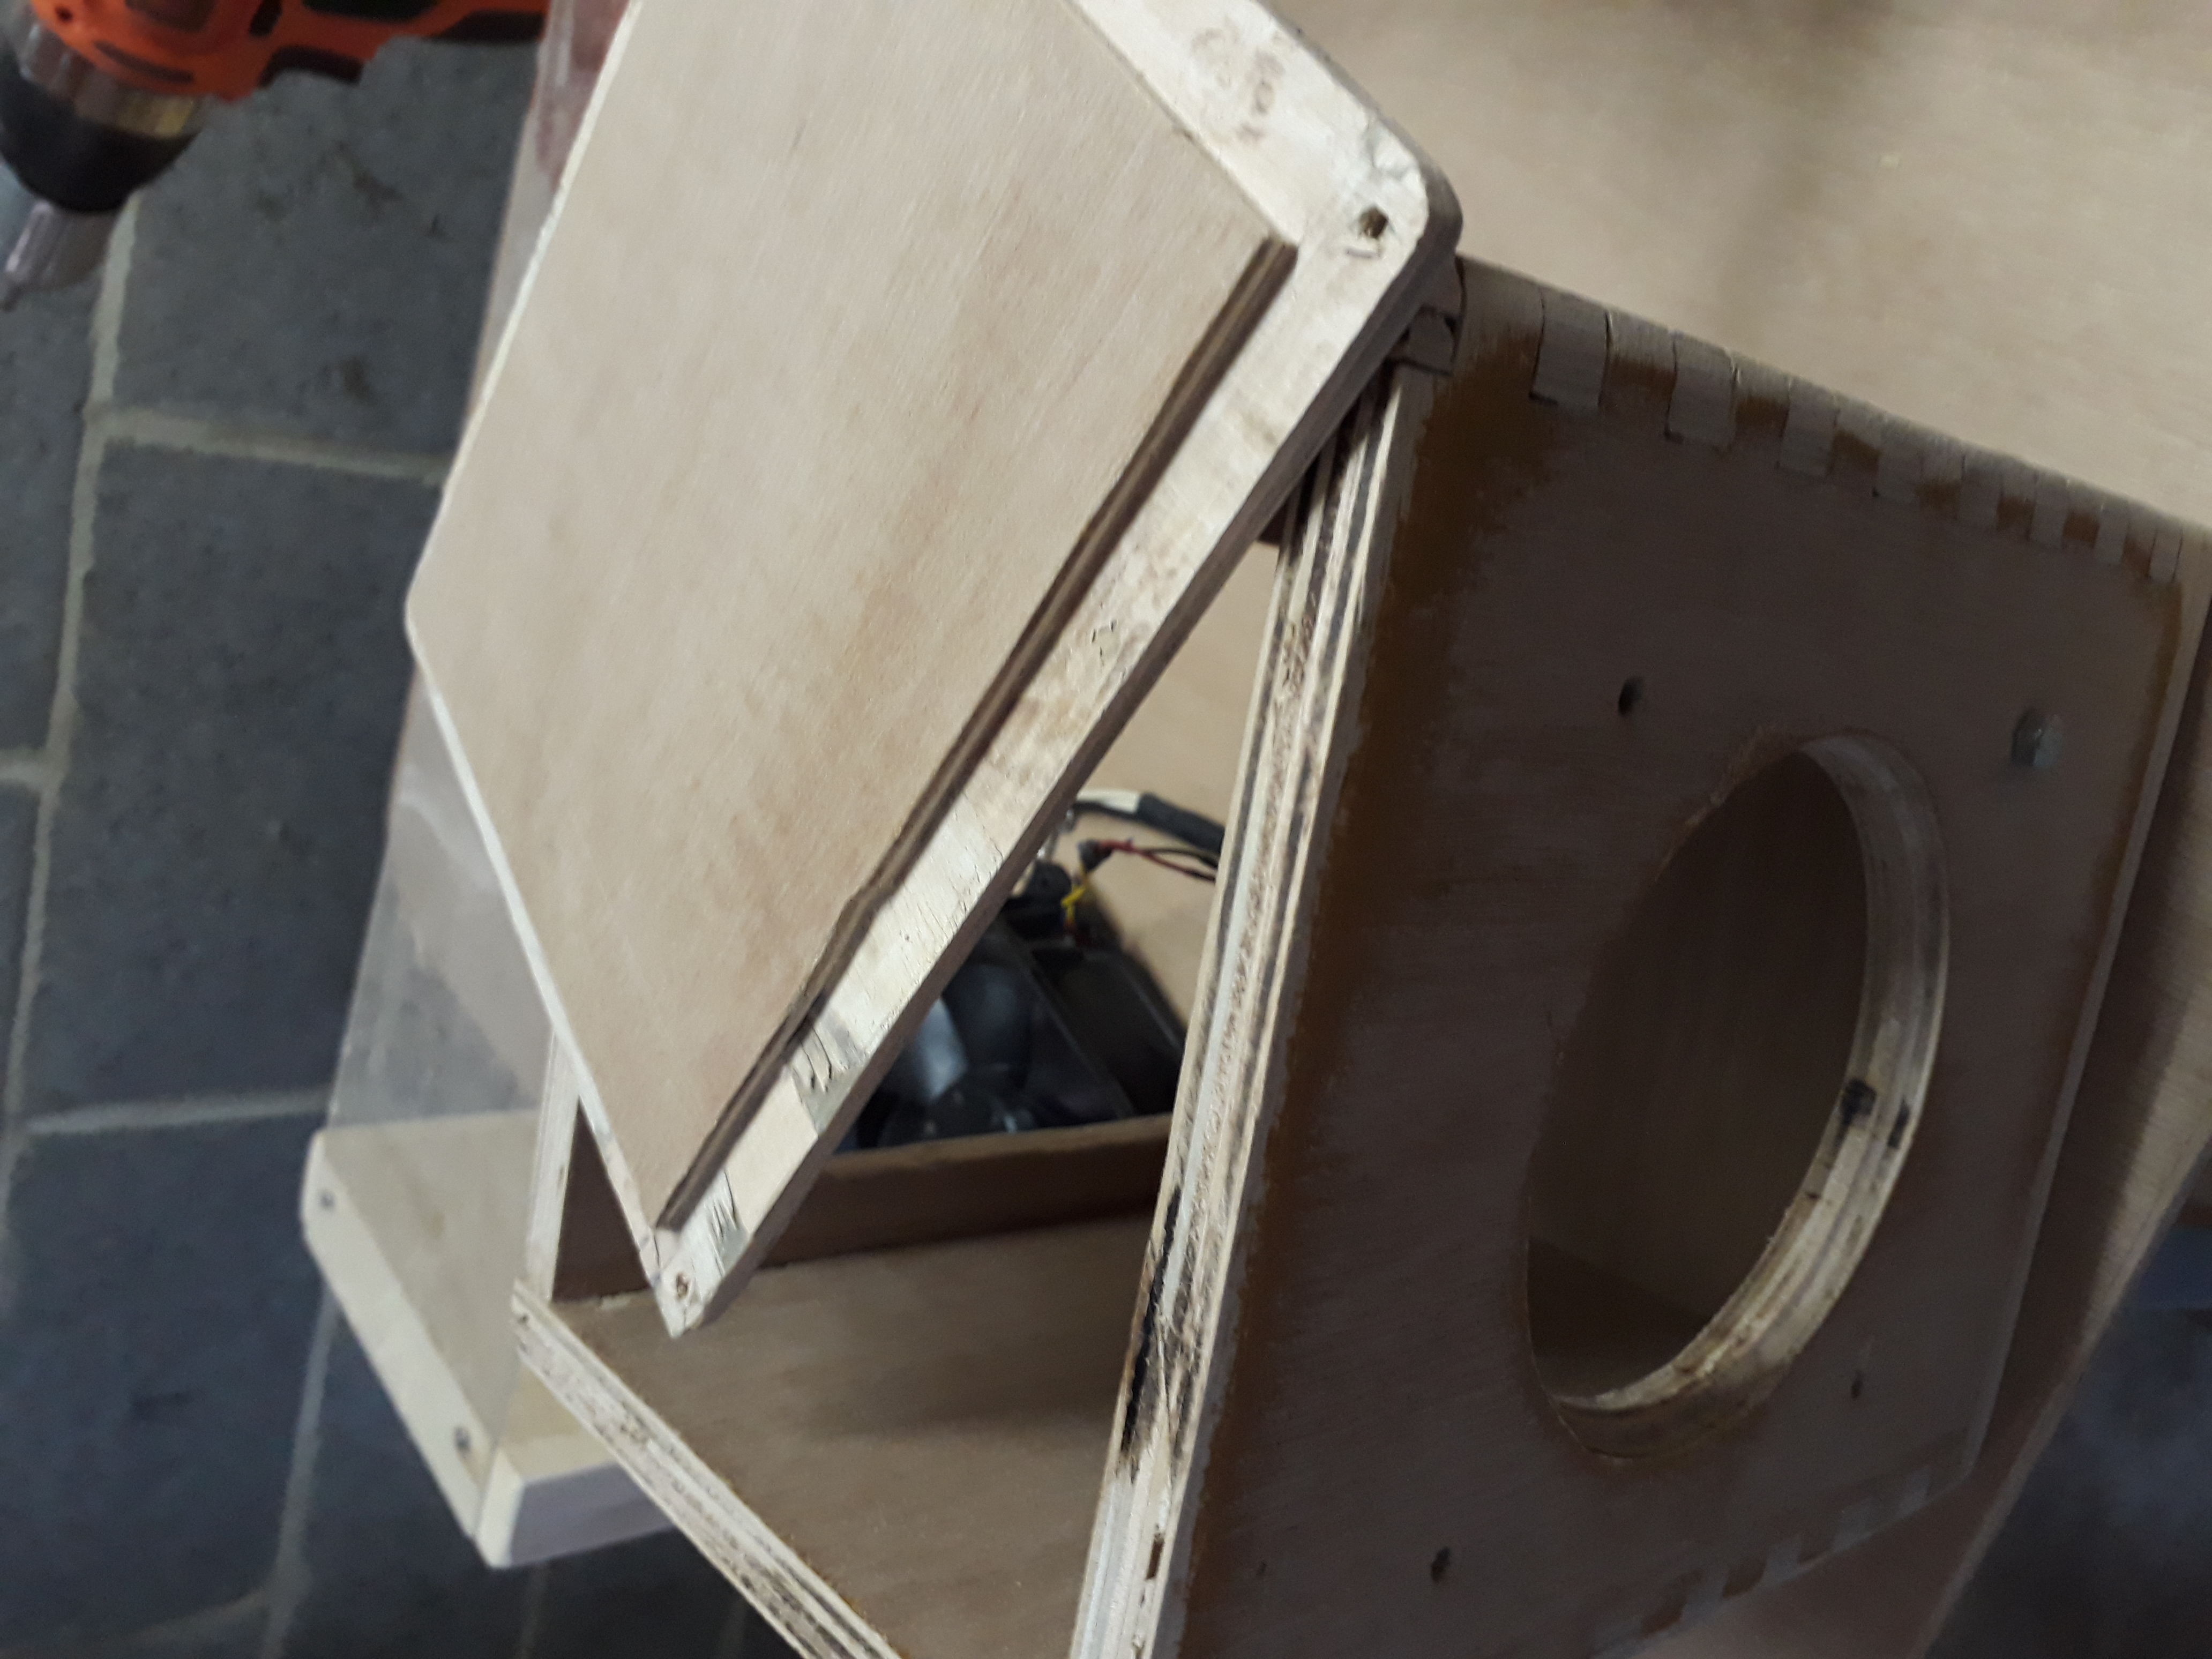
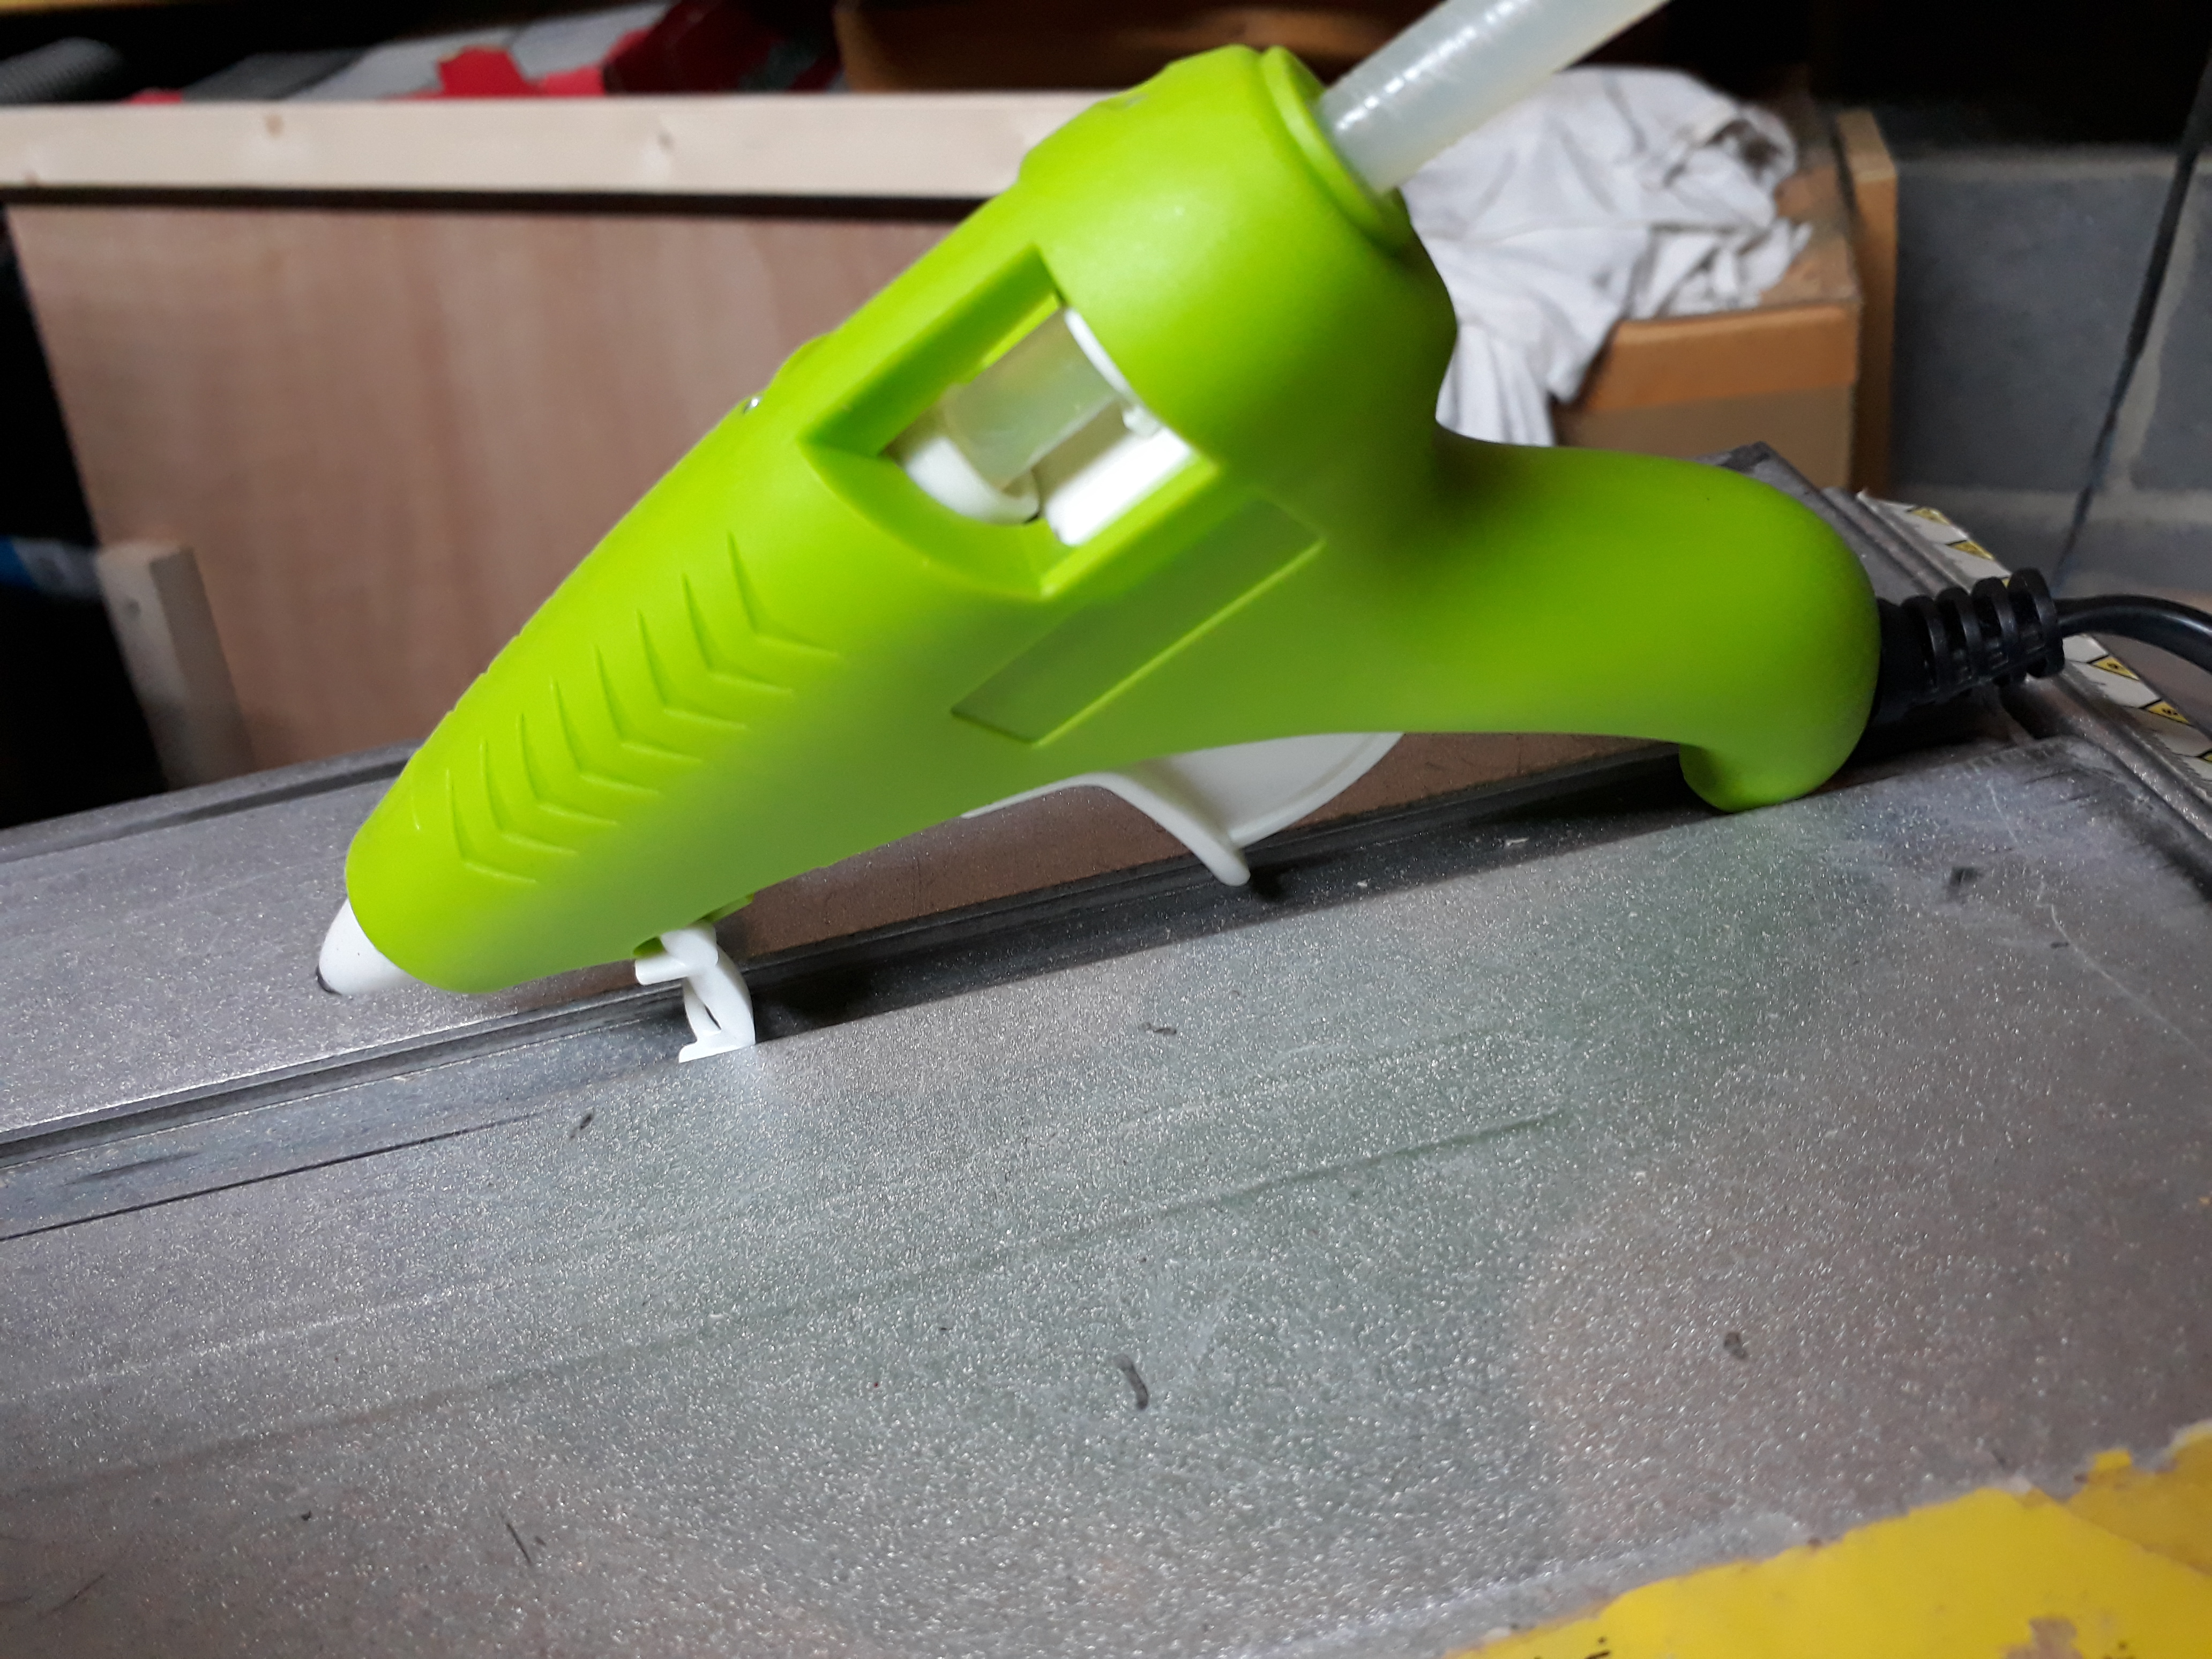
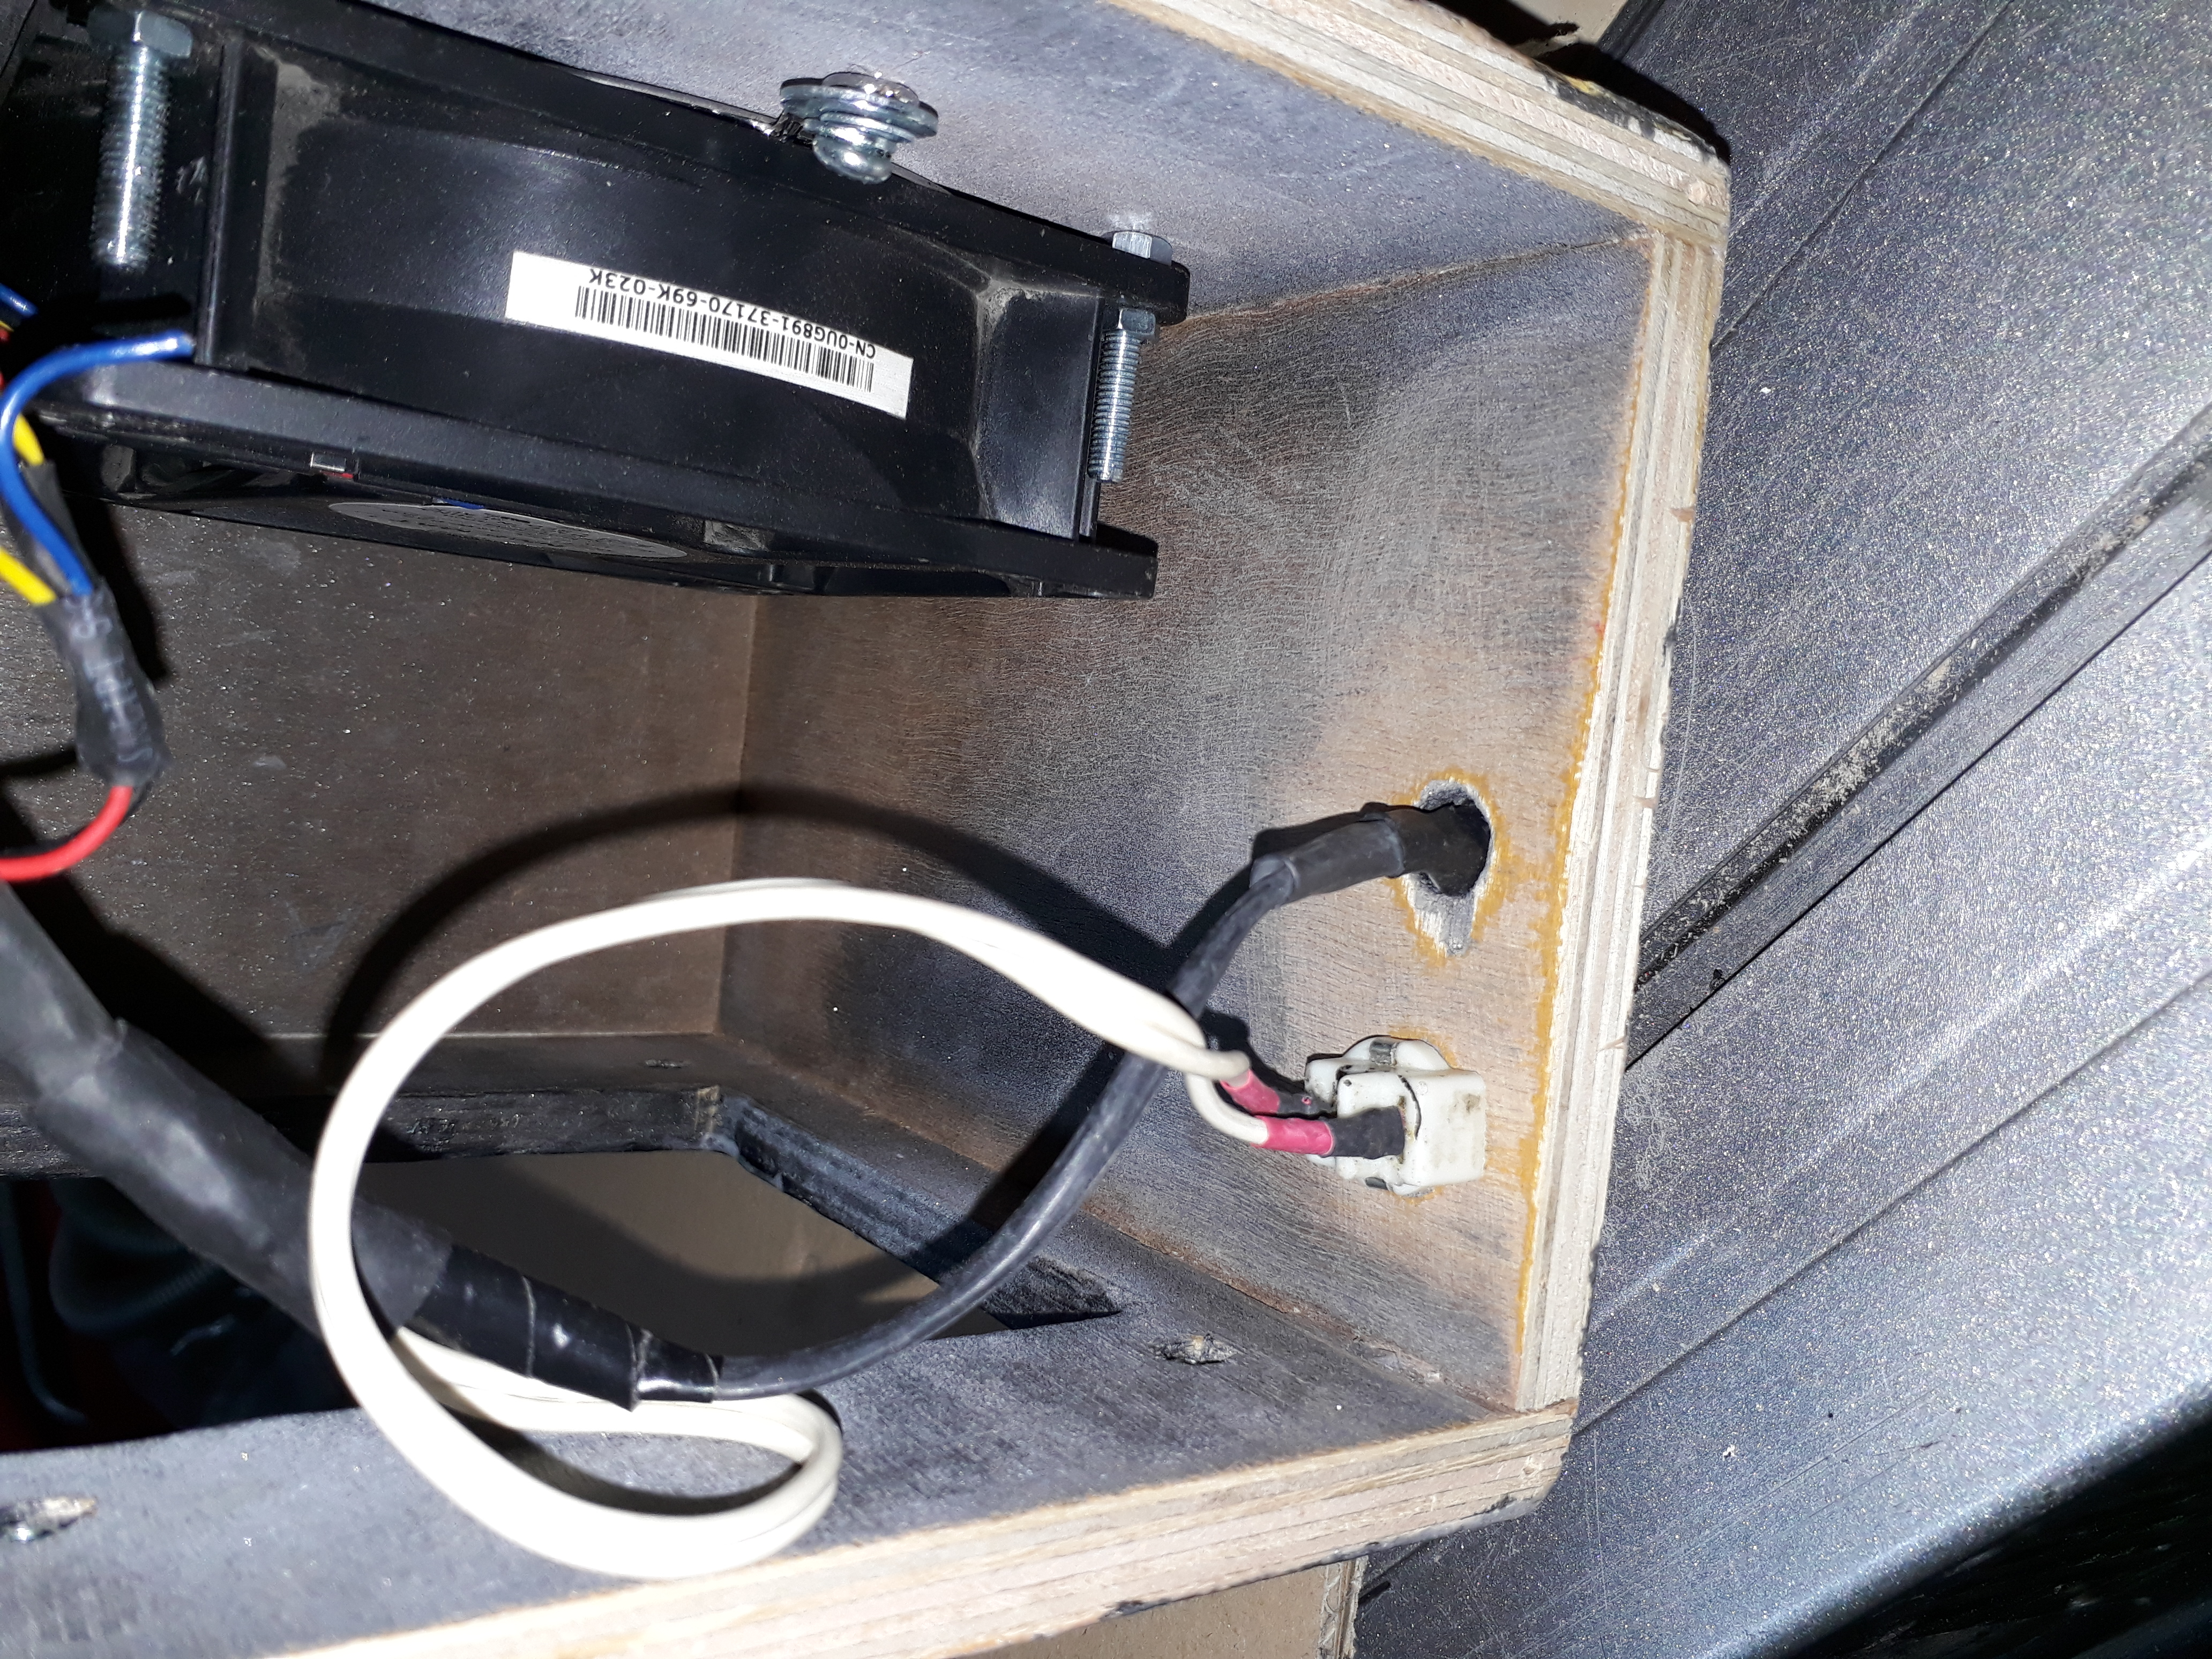
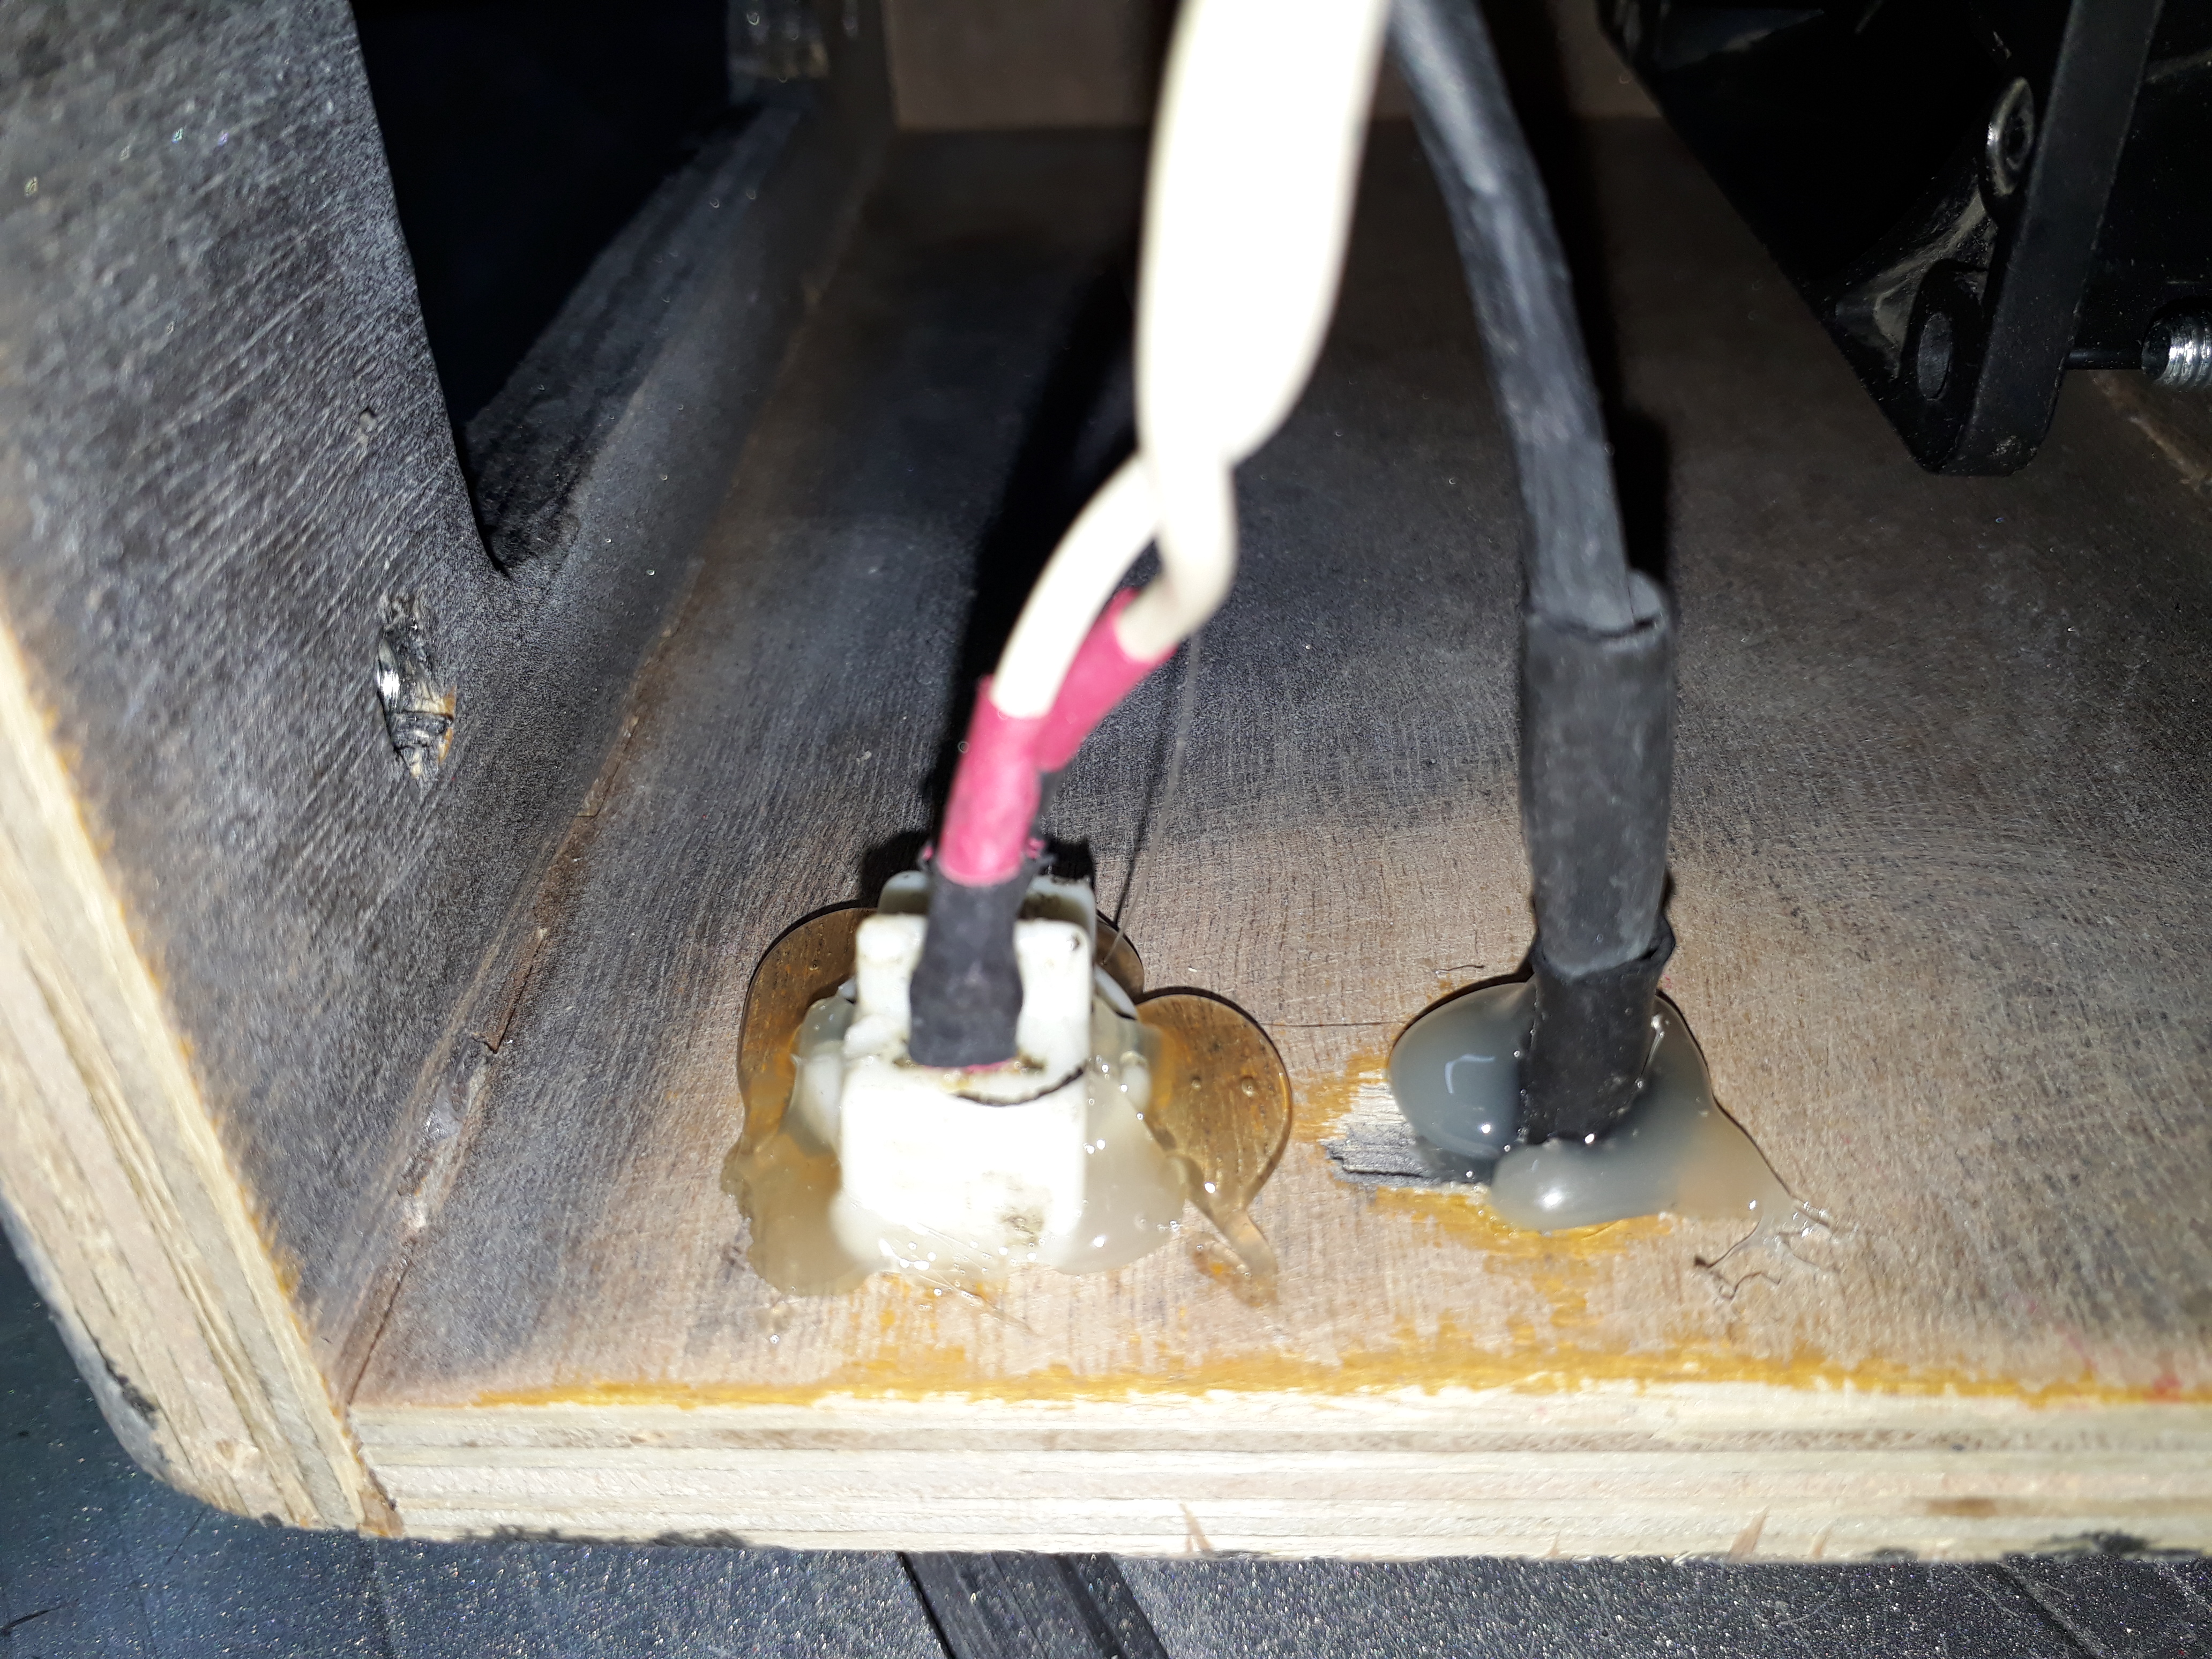
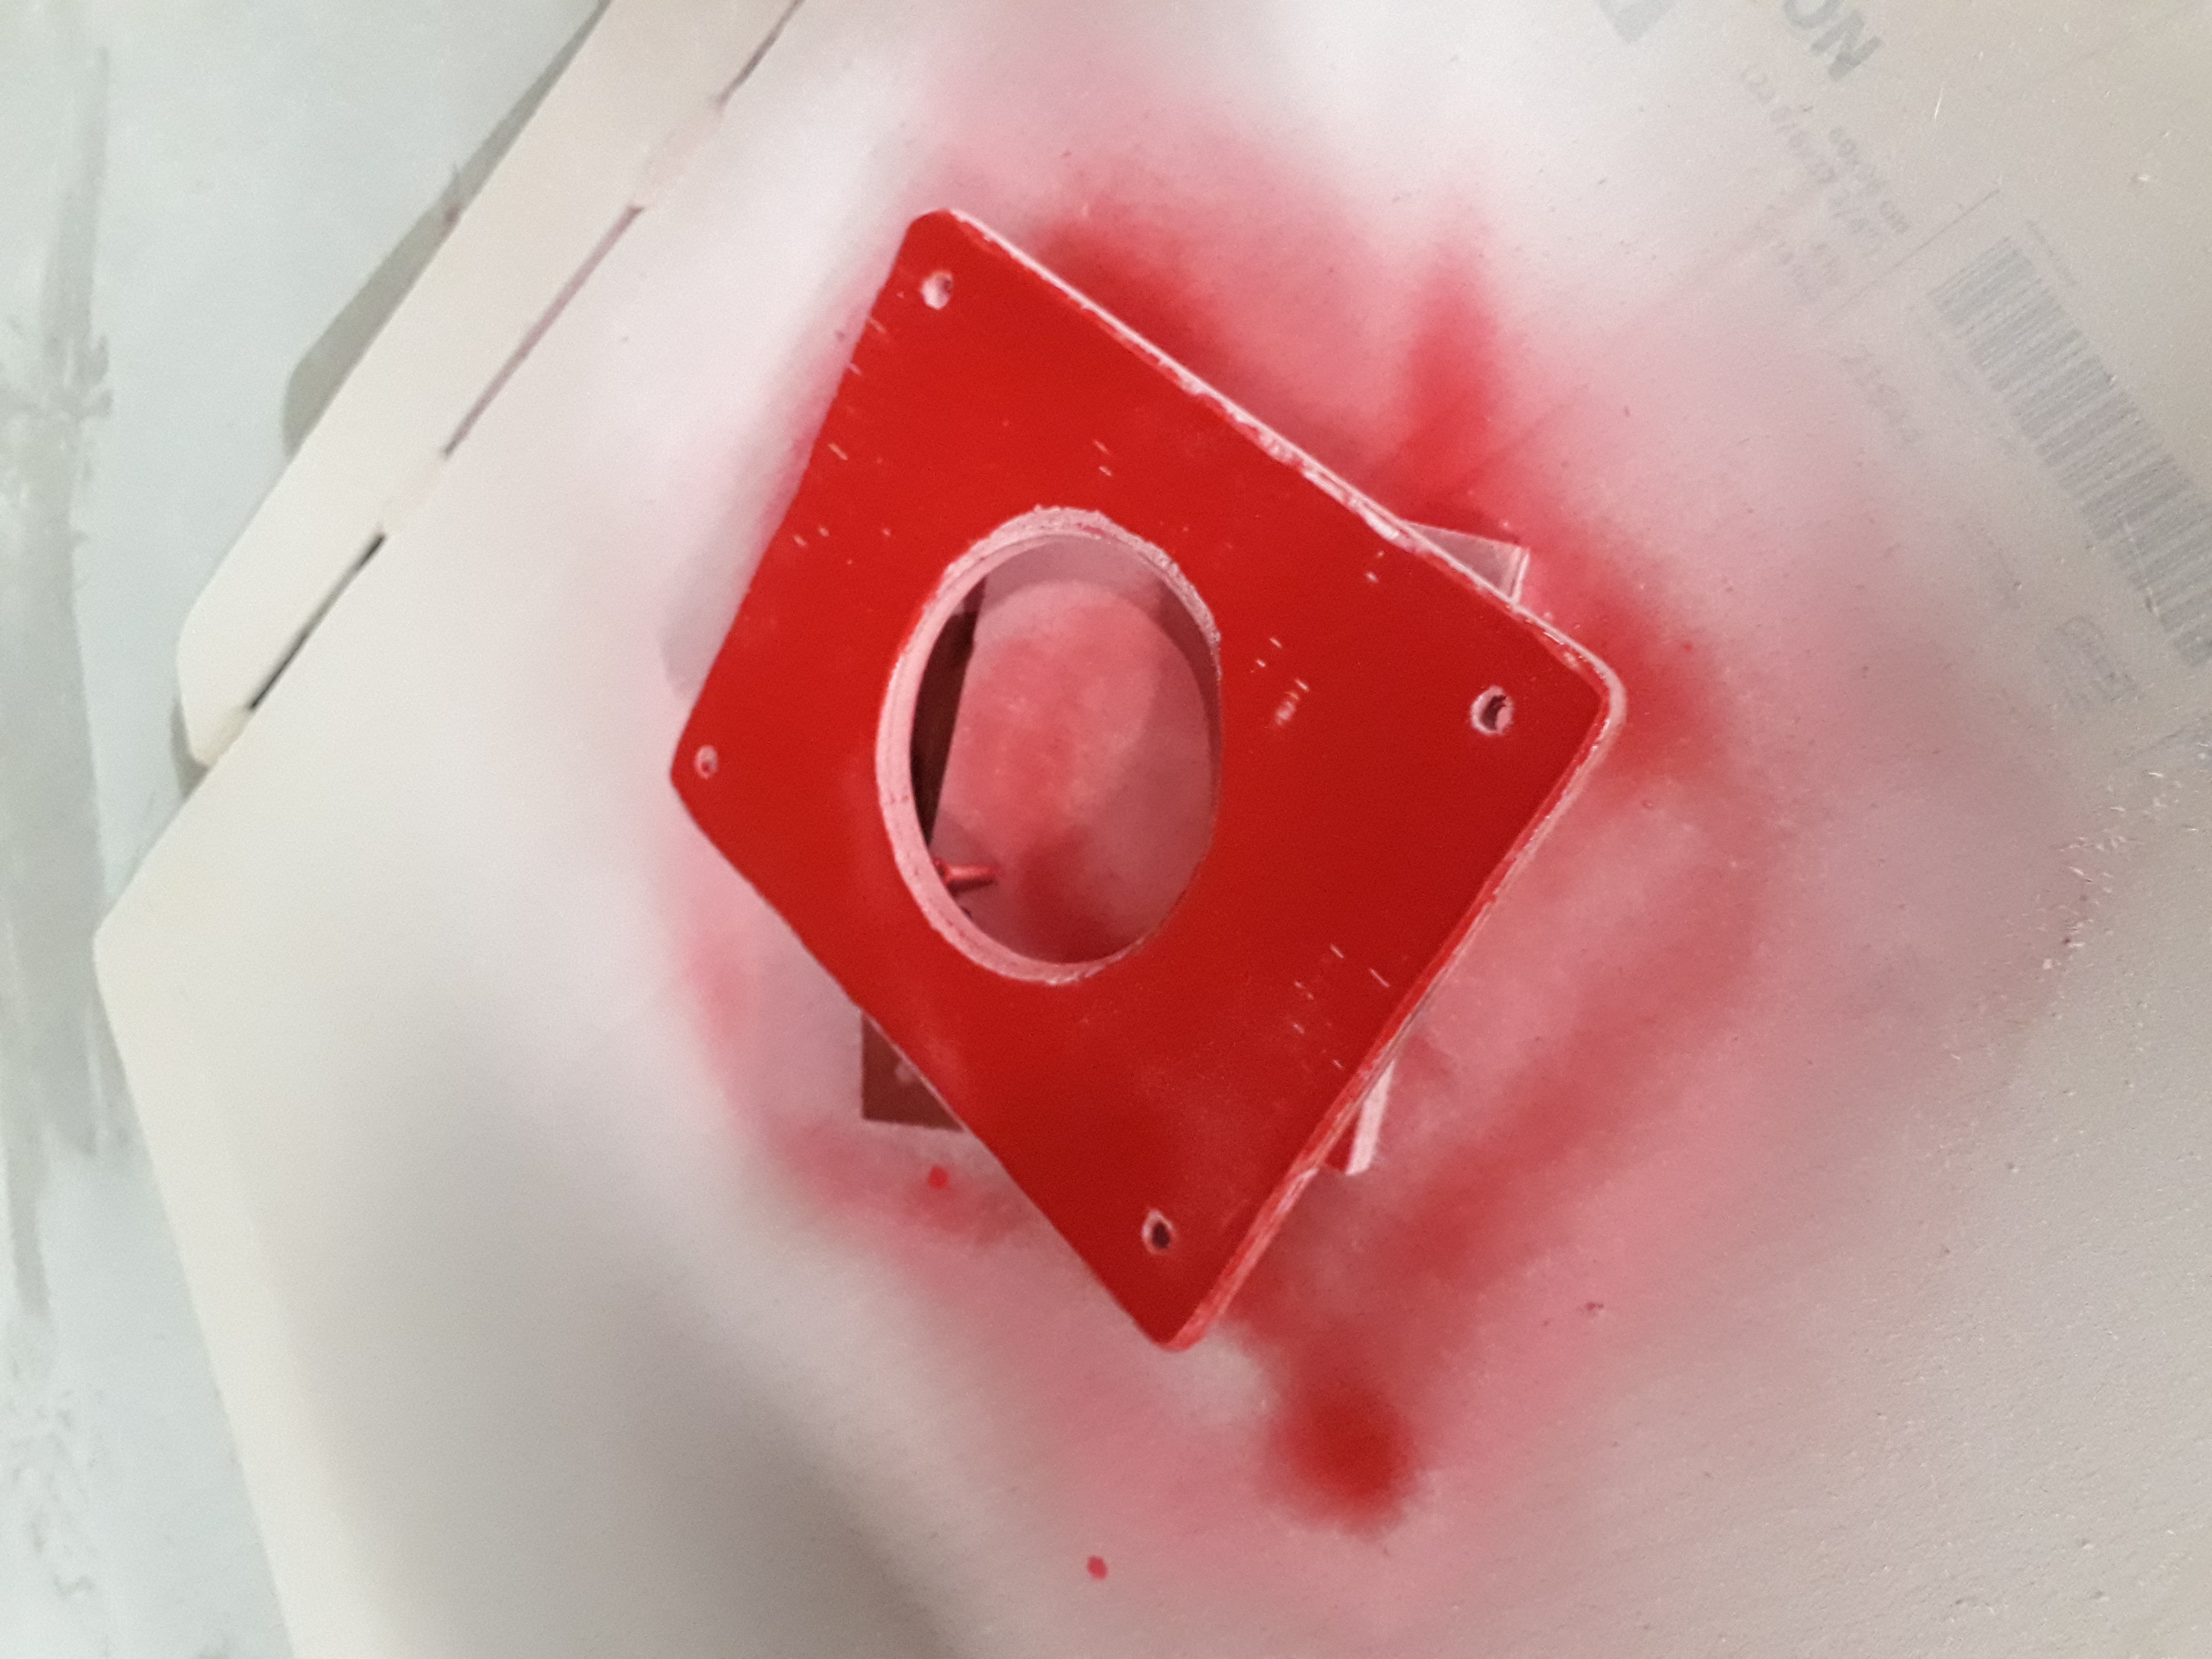
Tools: Solder fume extractor
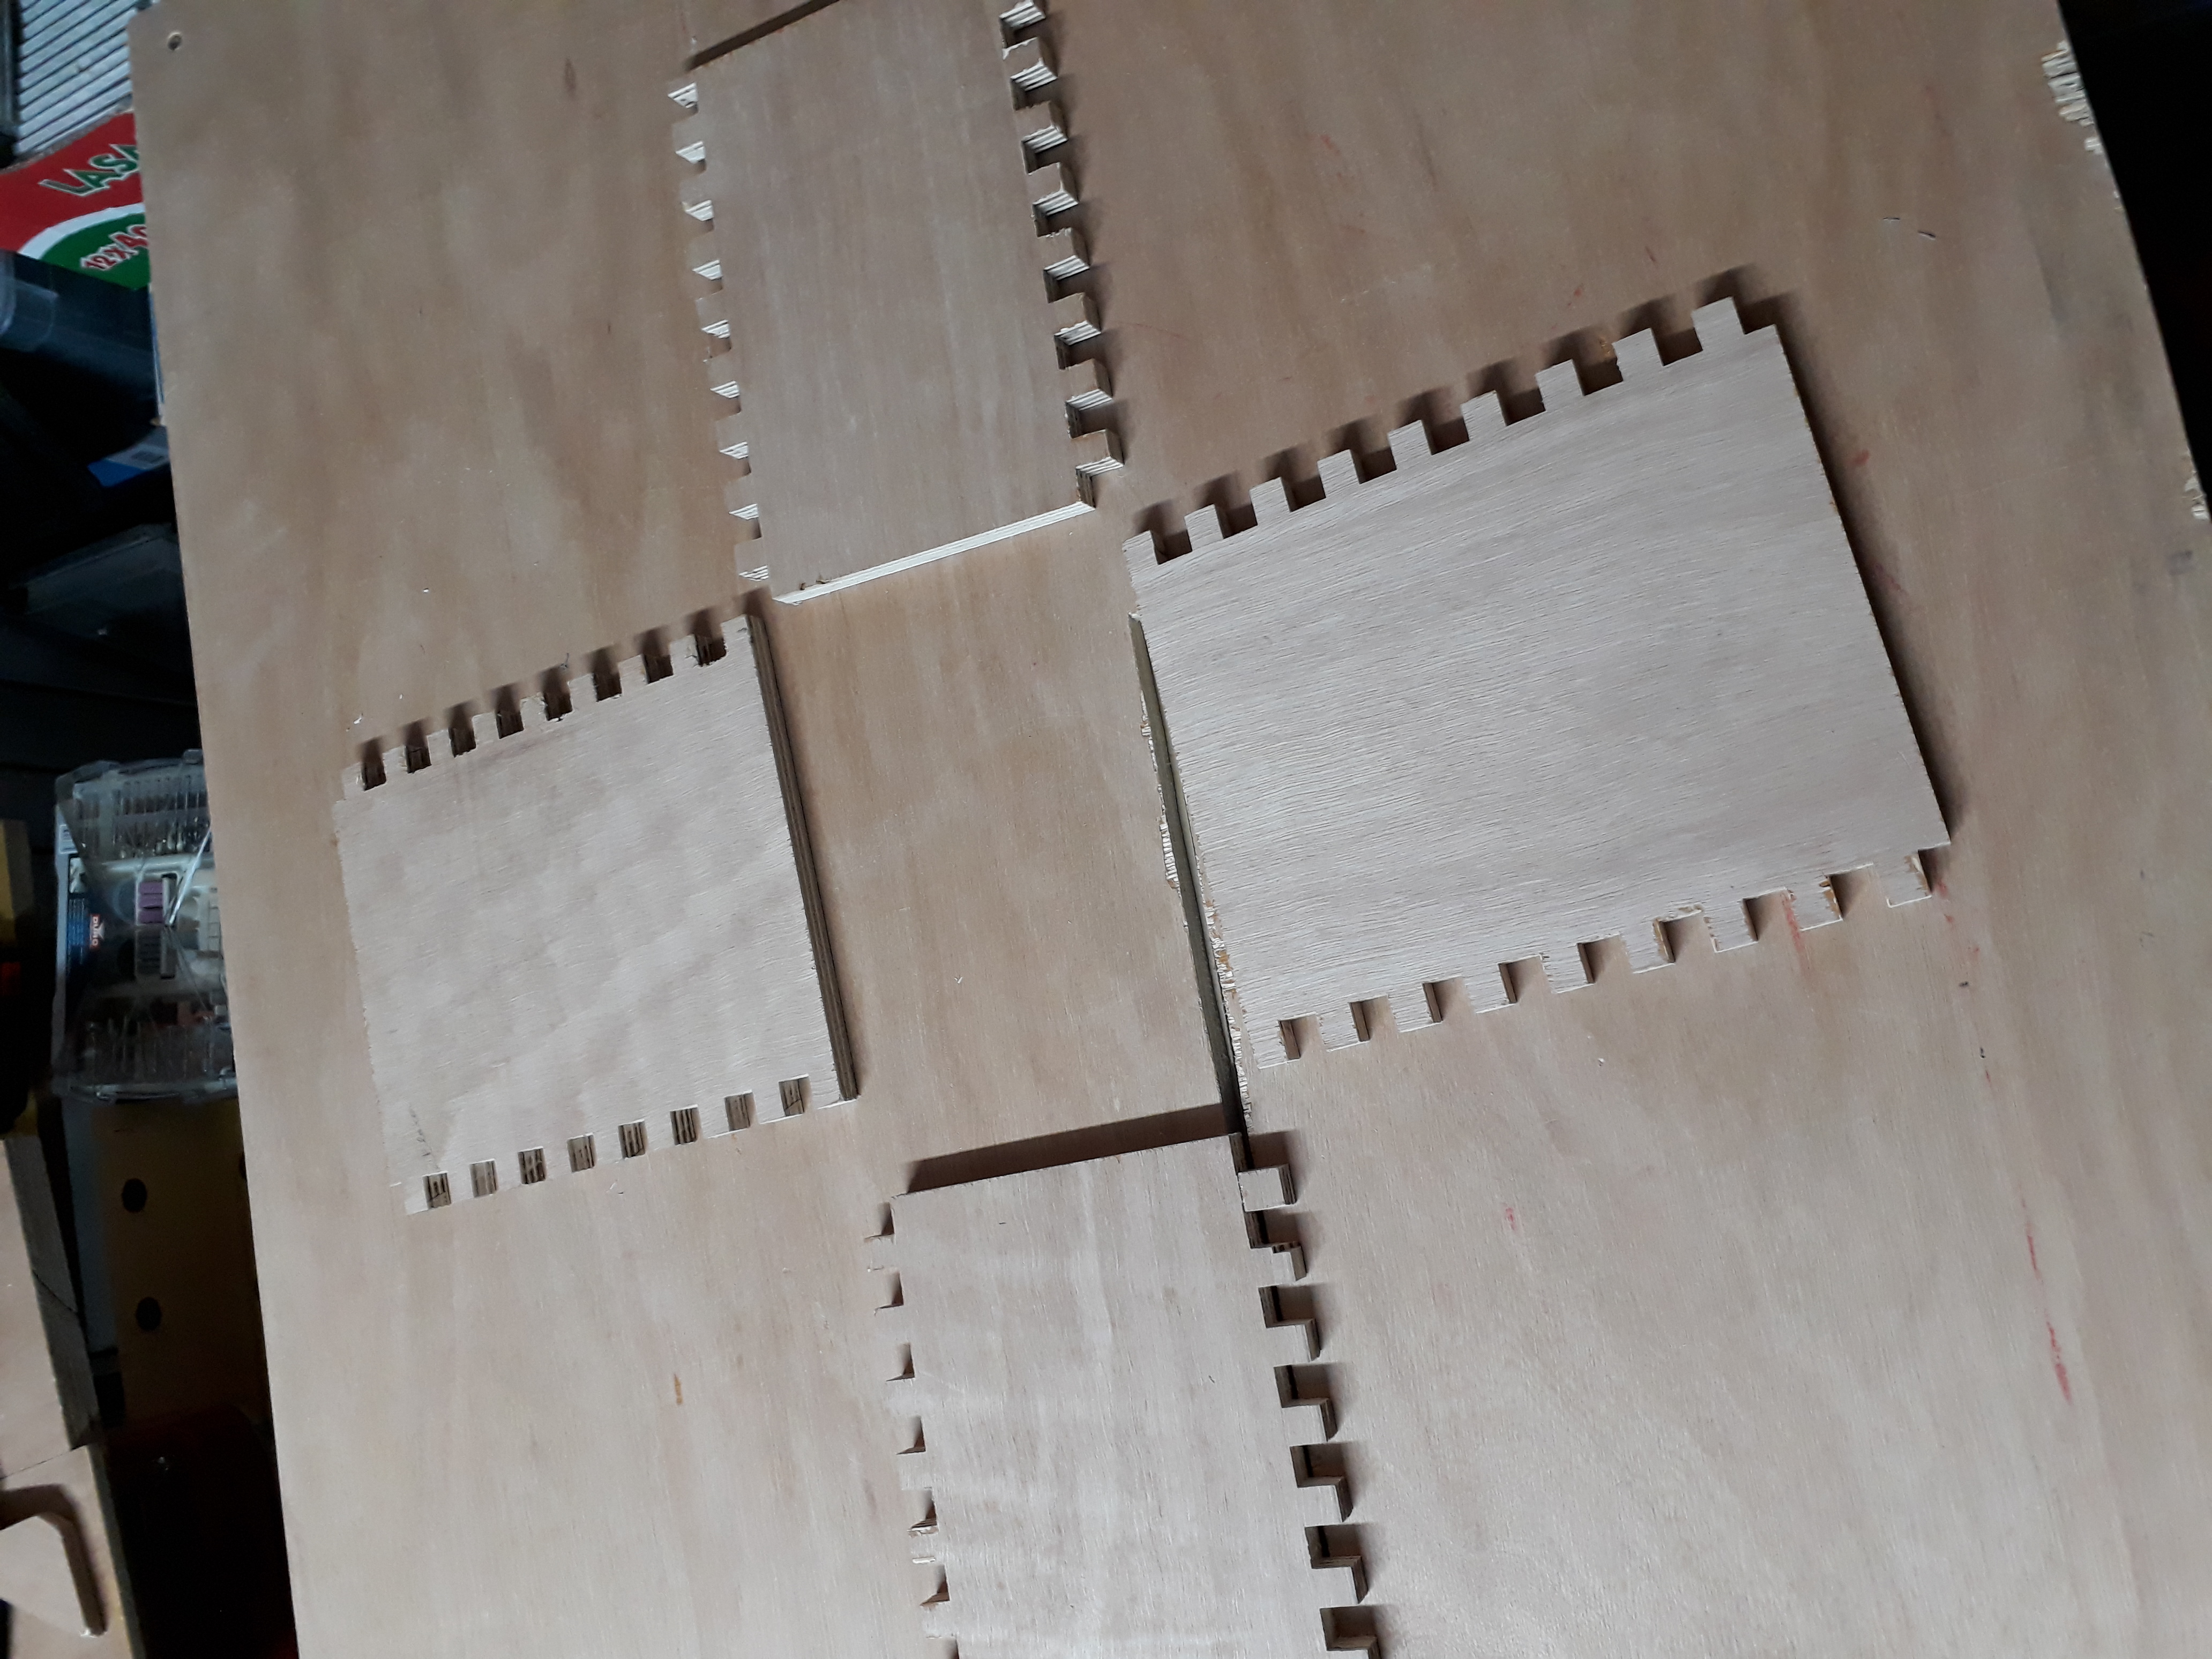
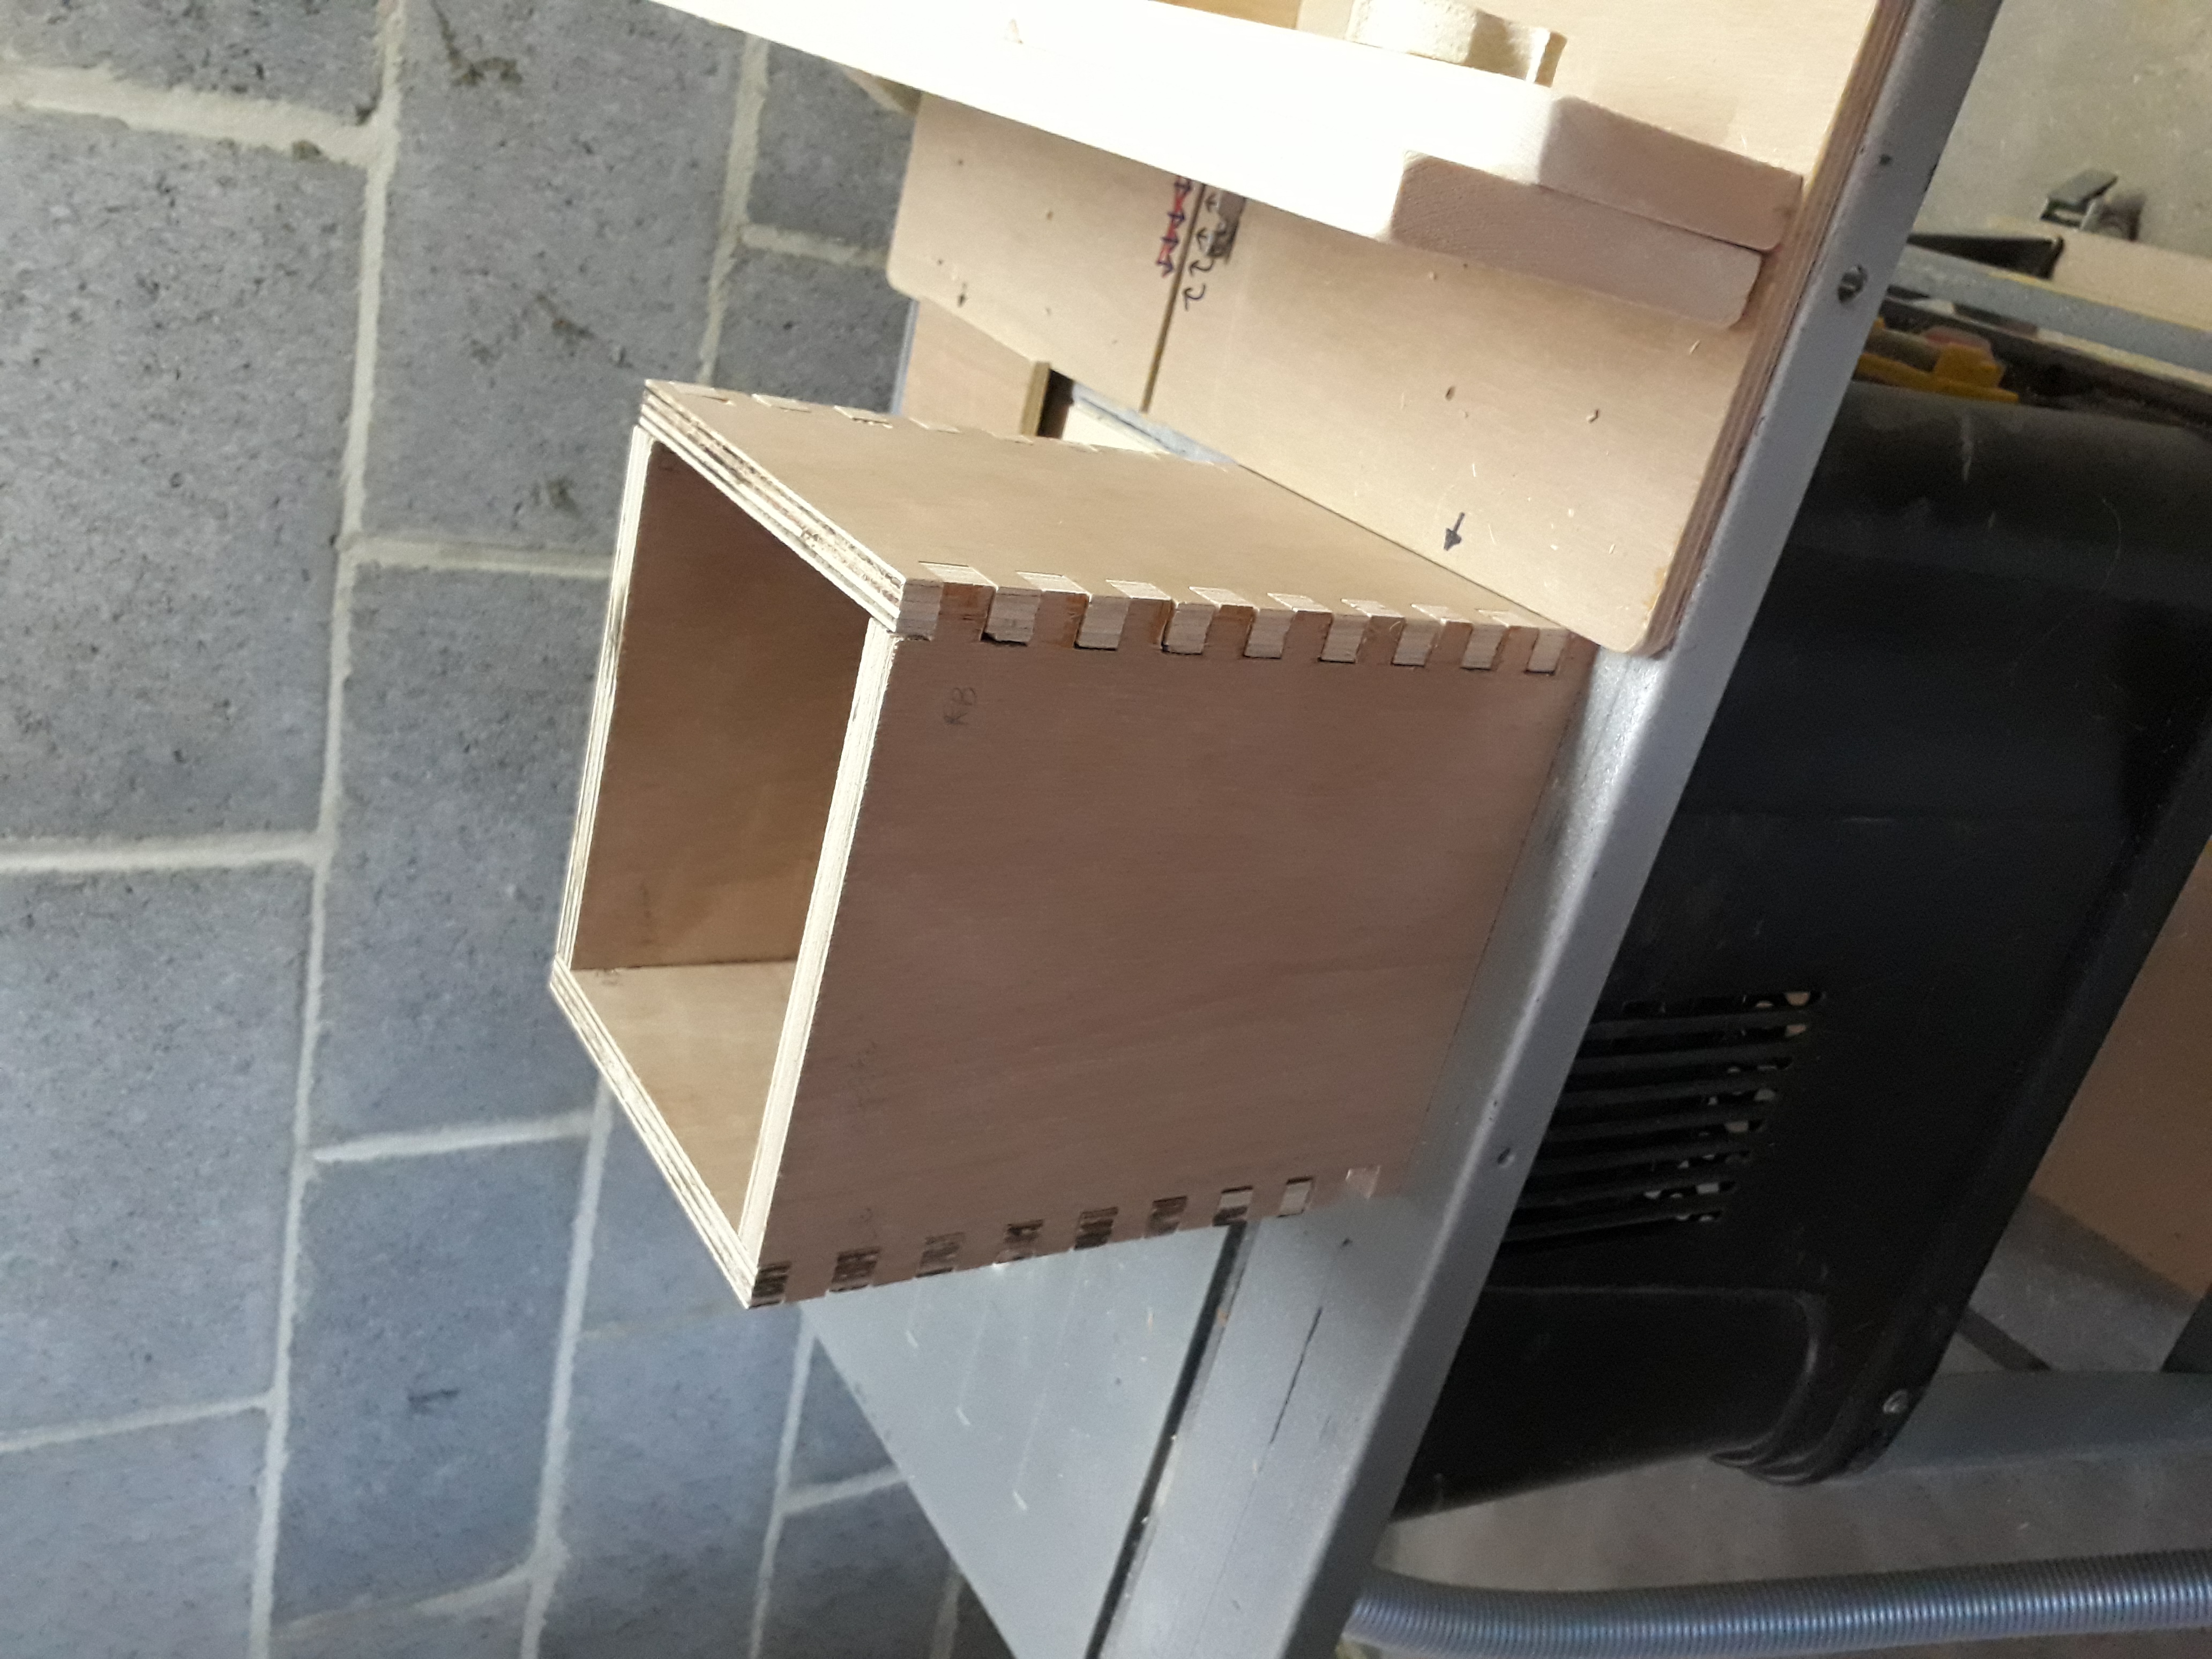
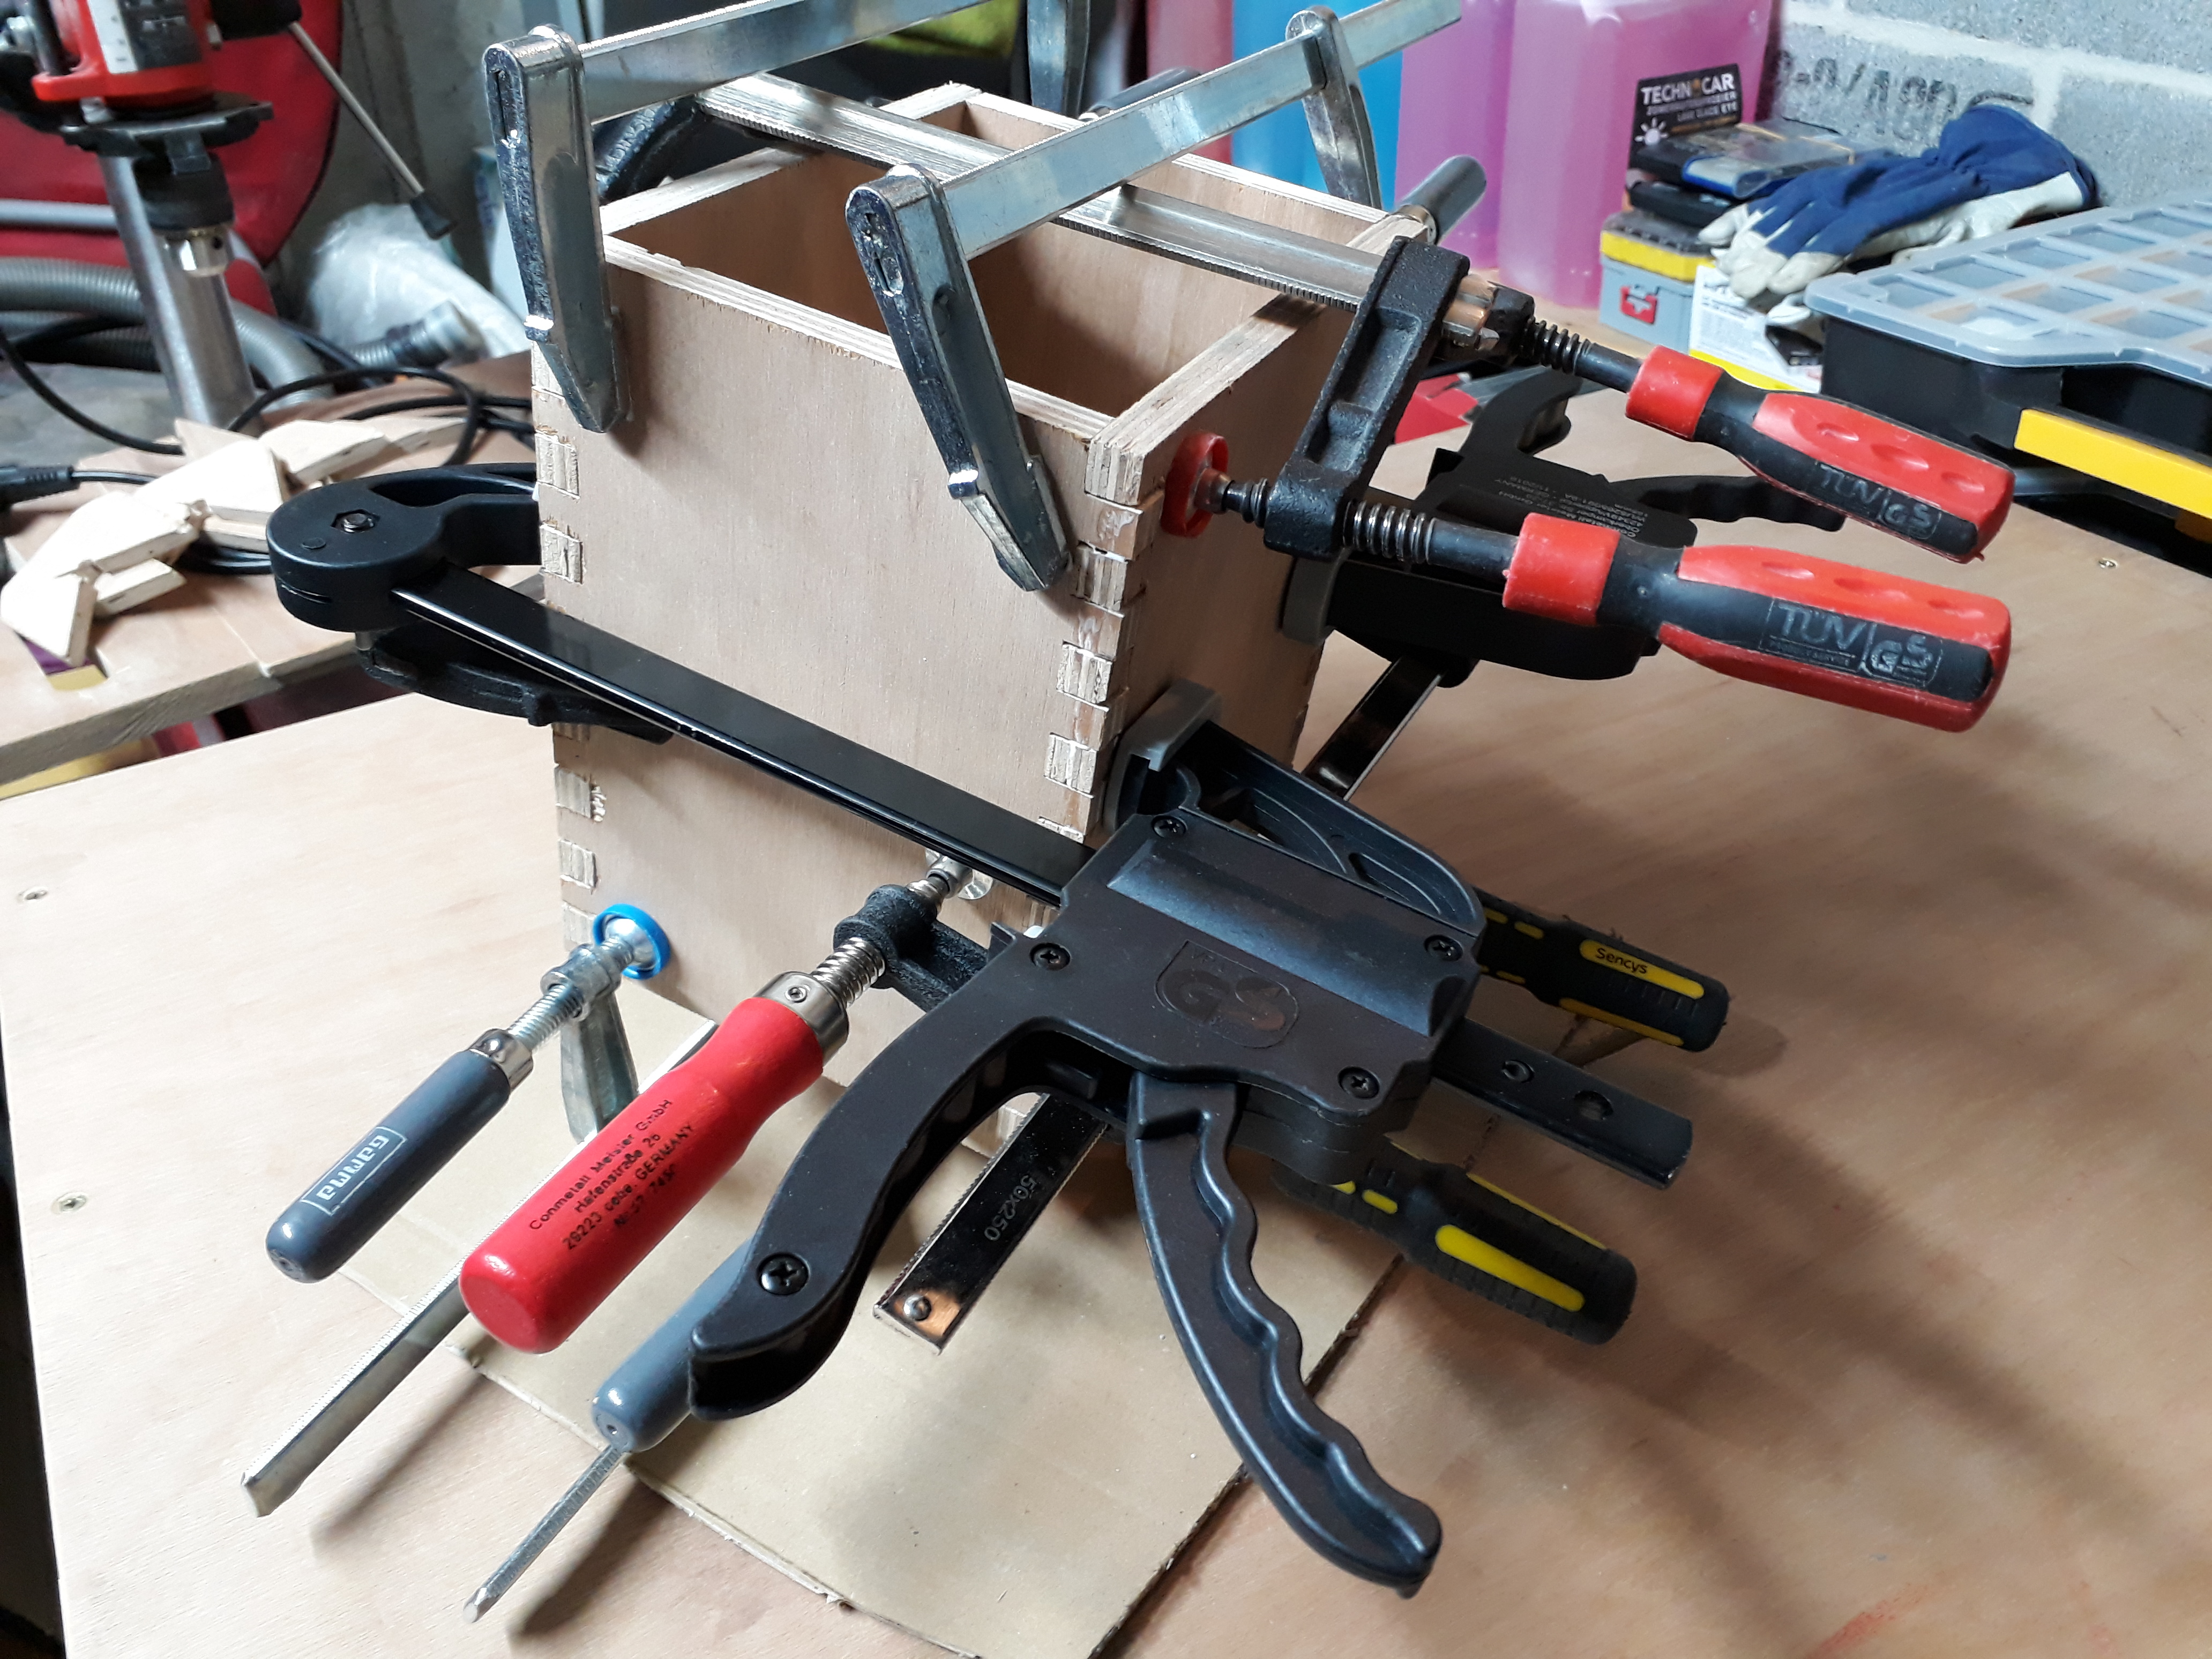
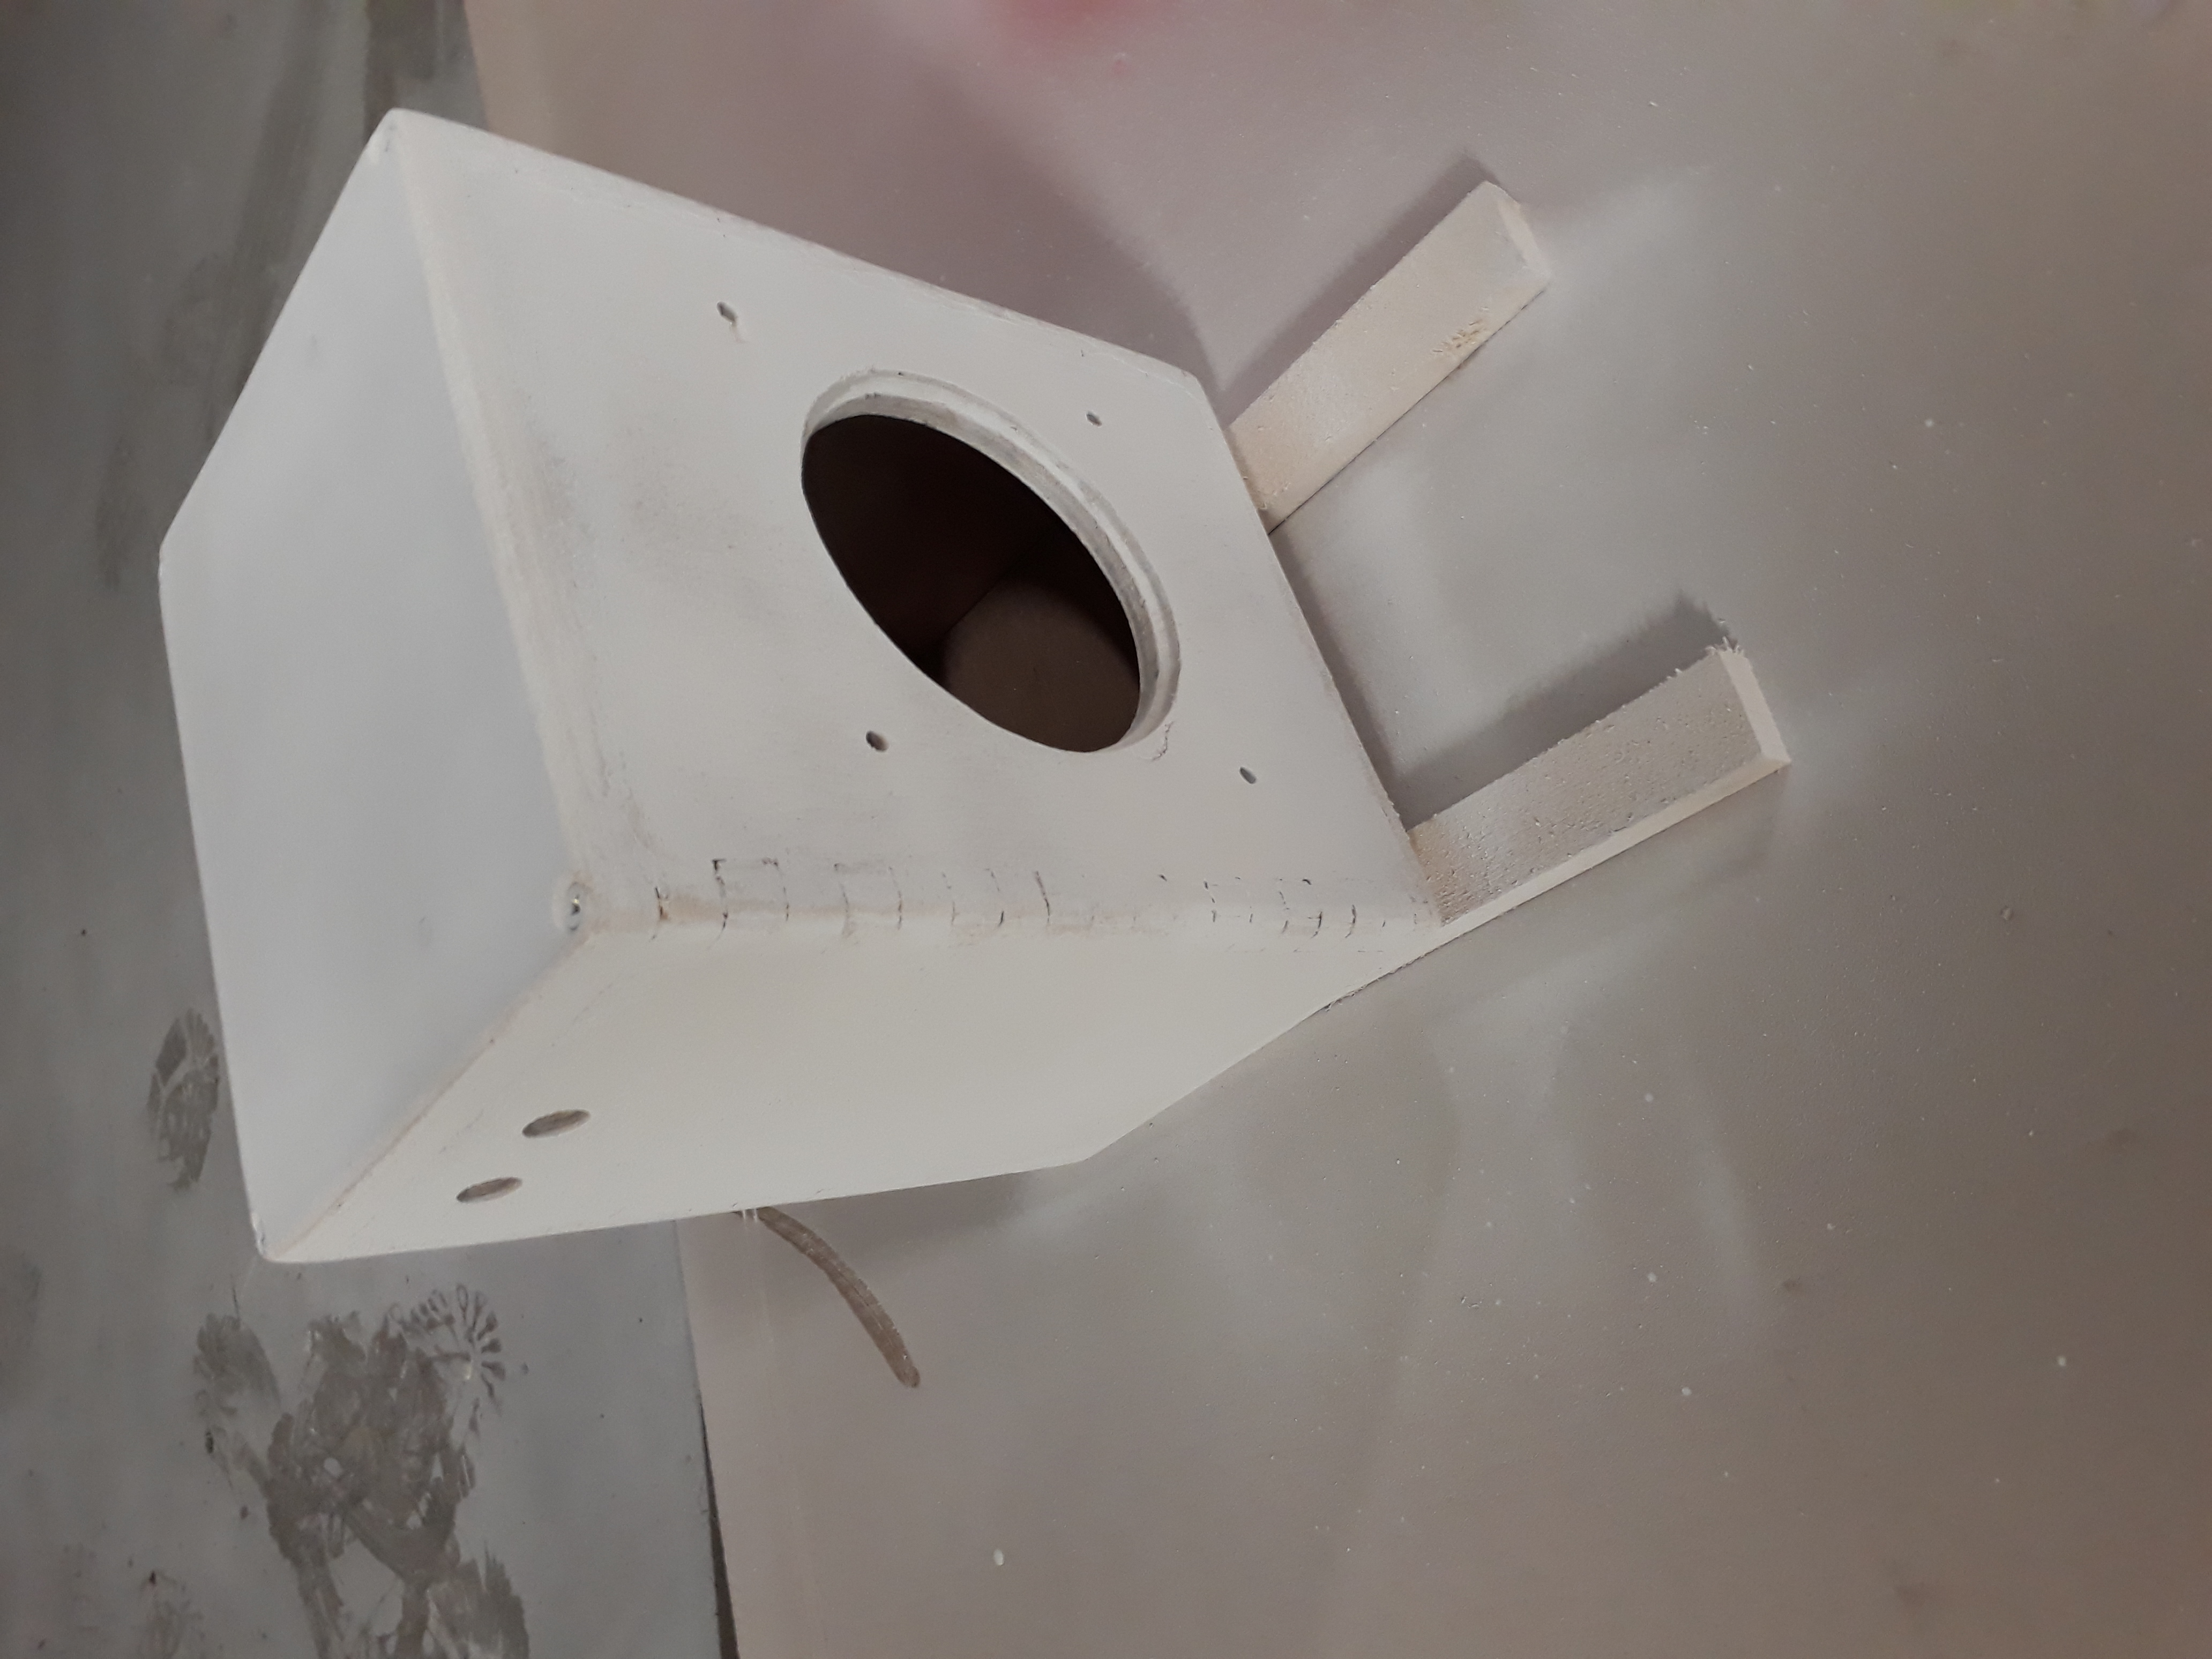
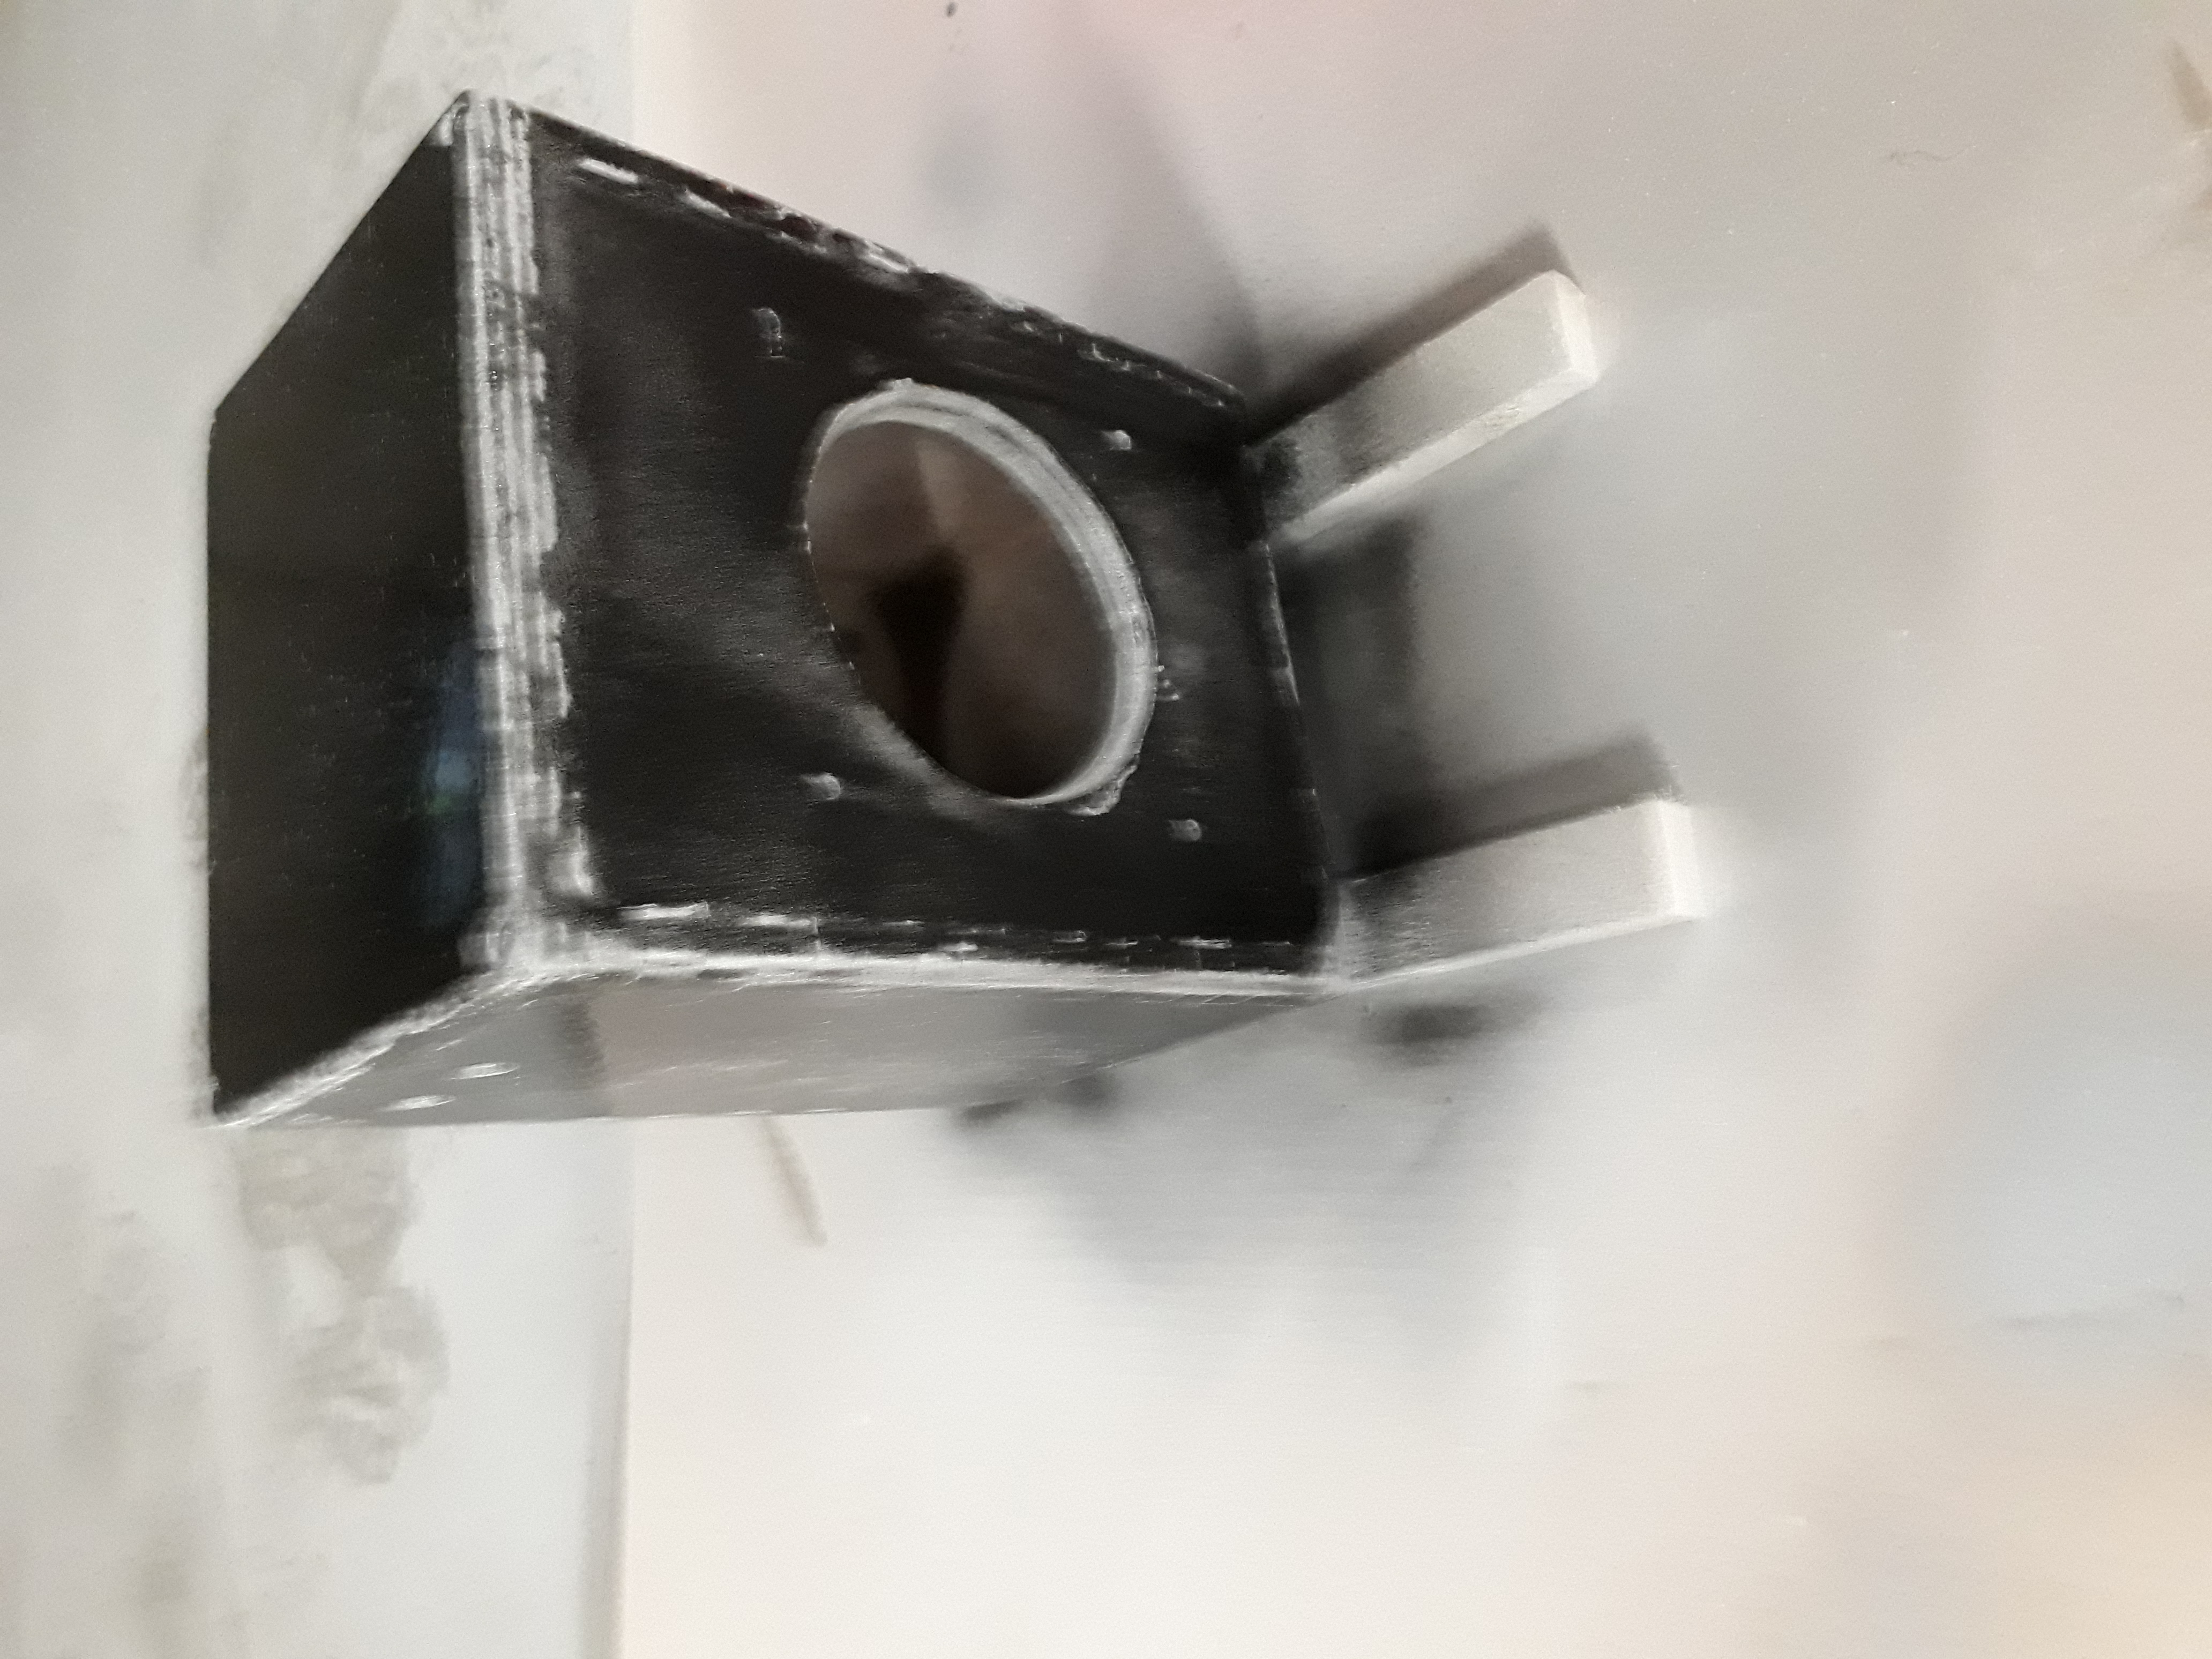
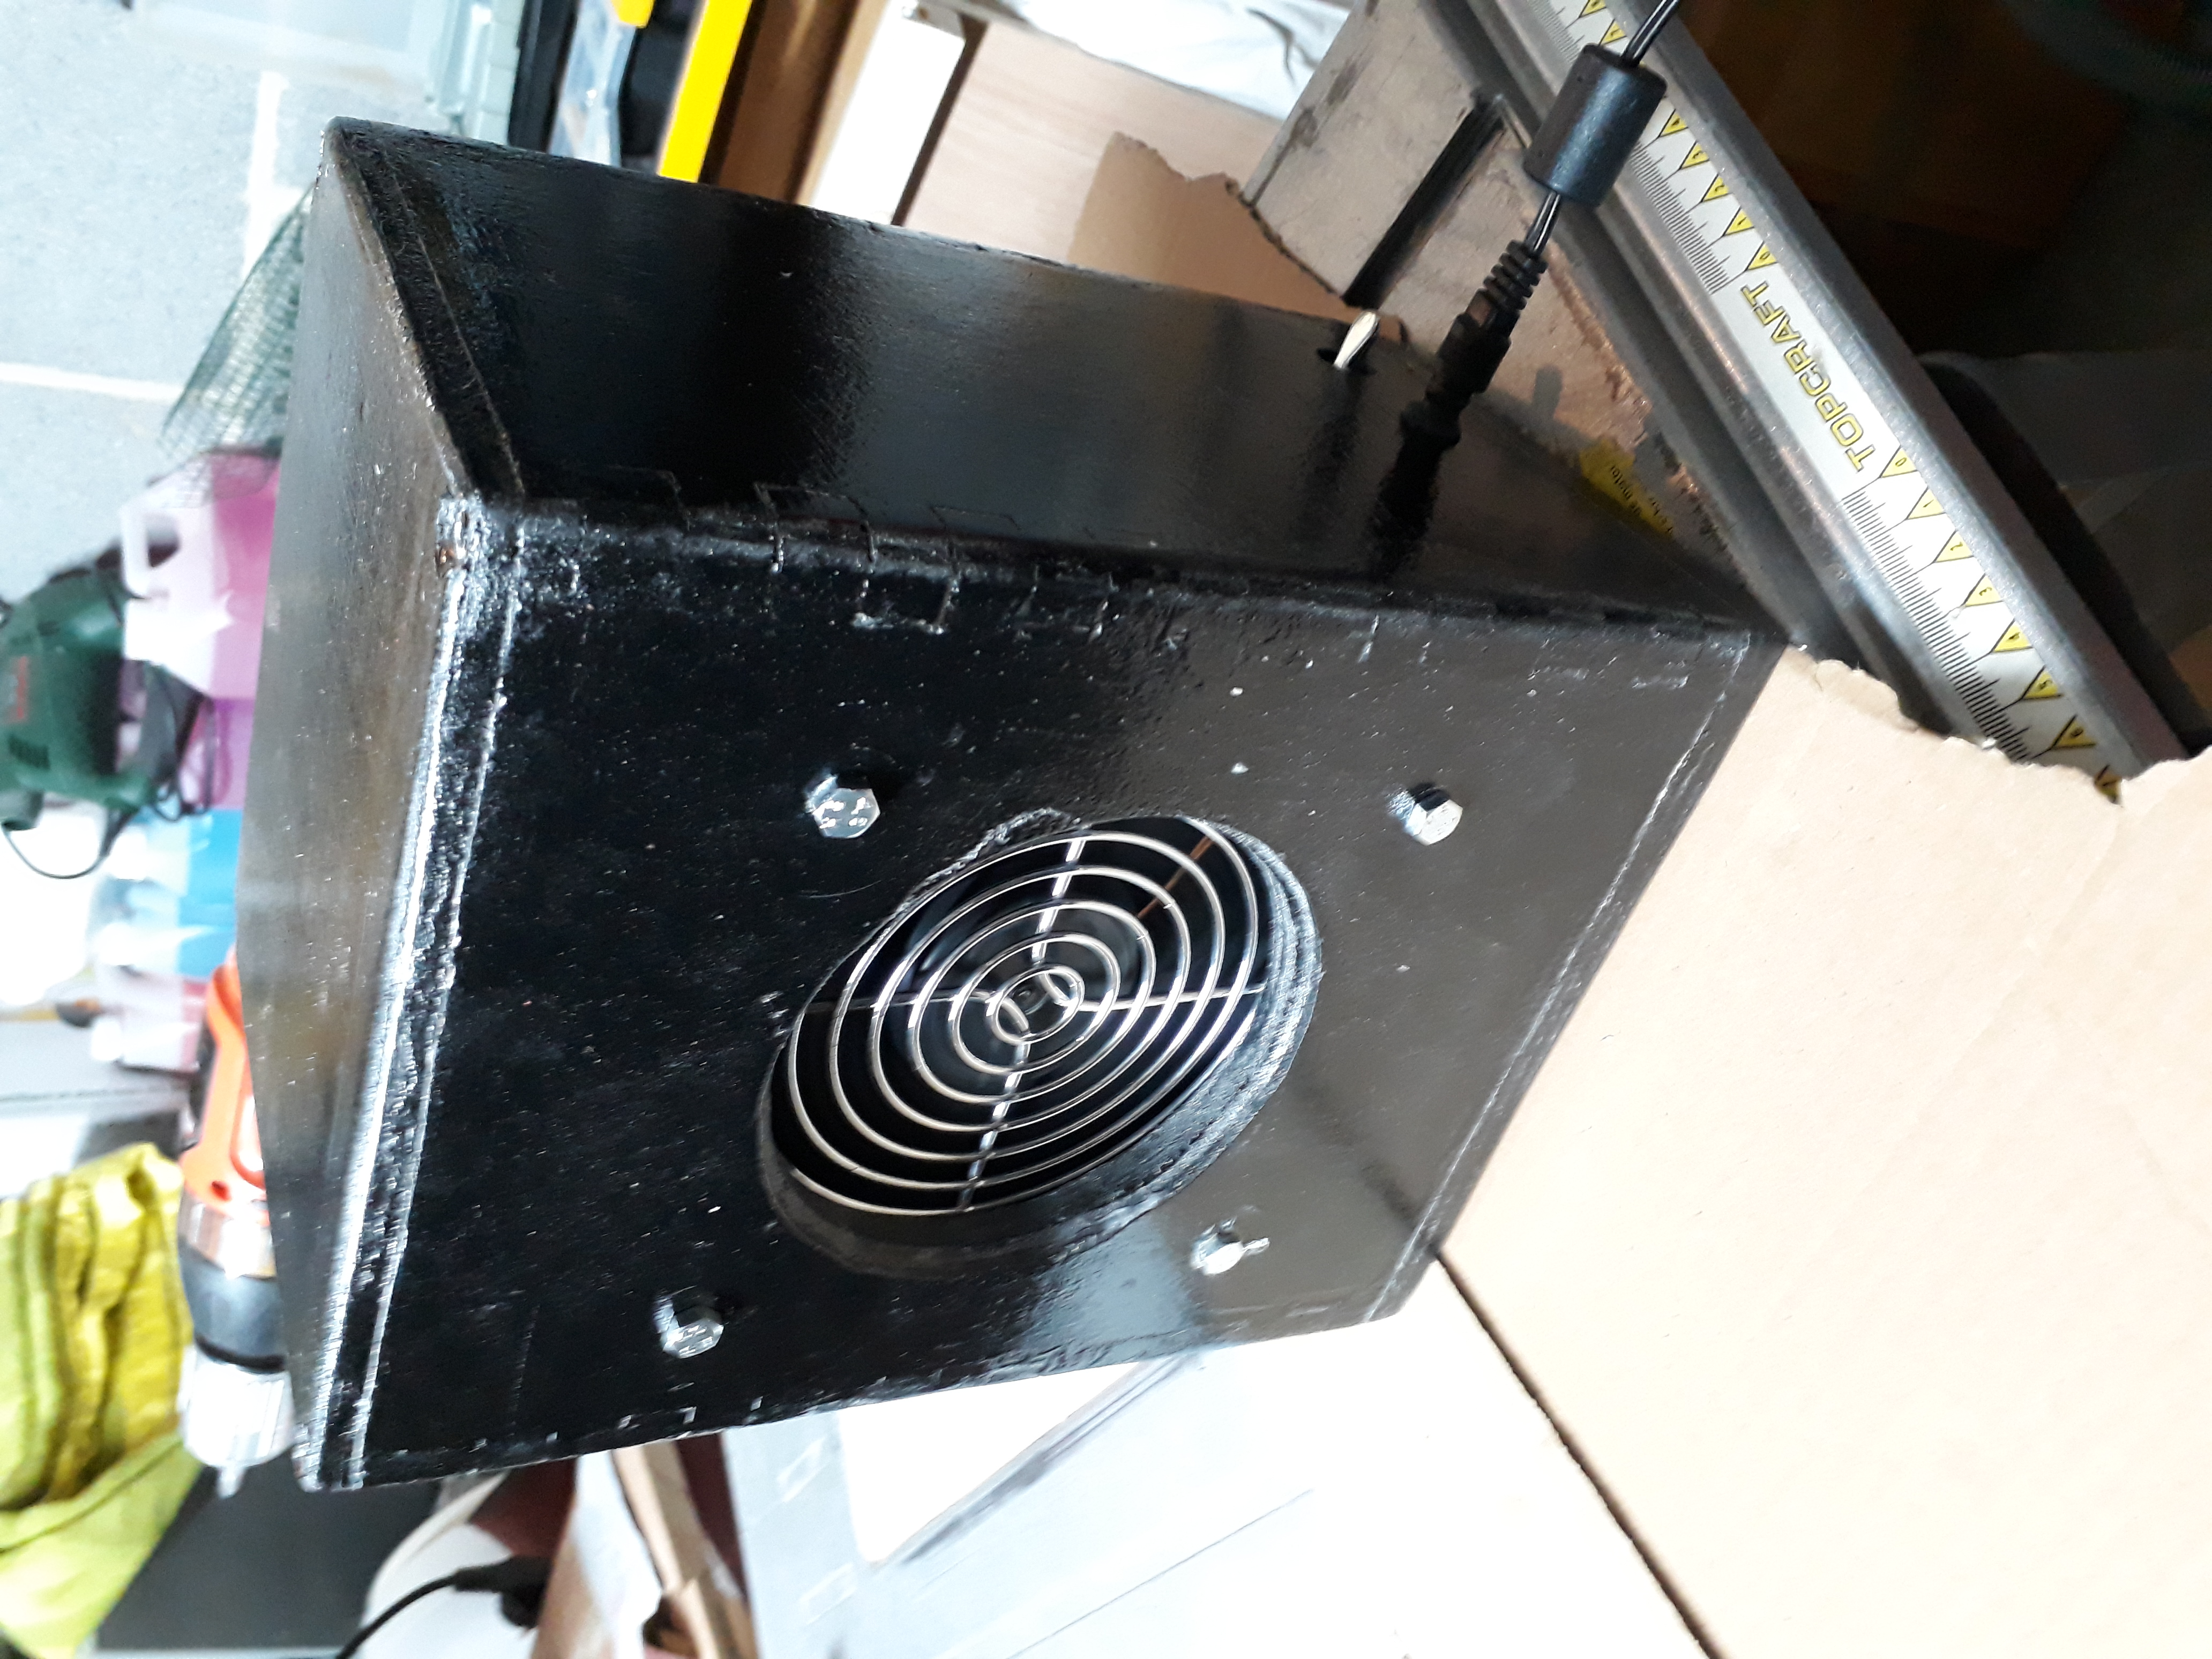
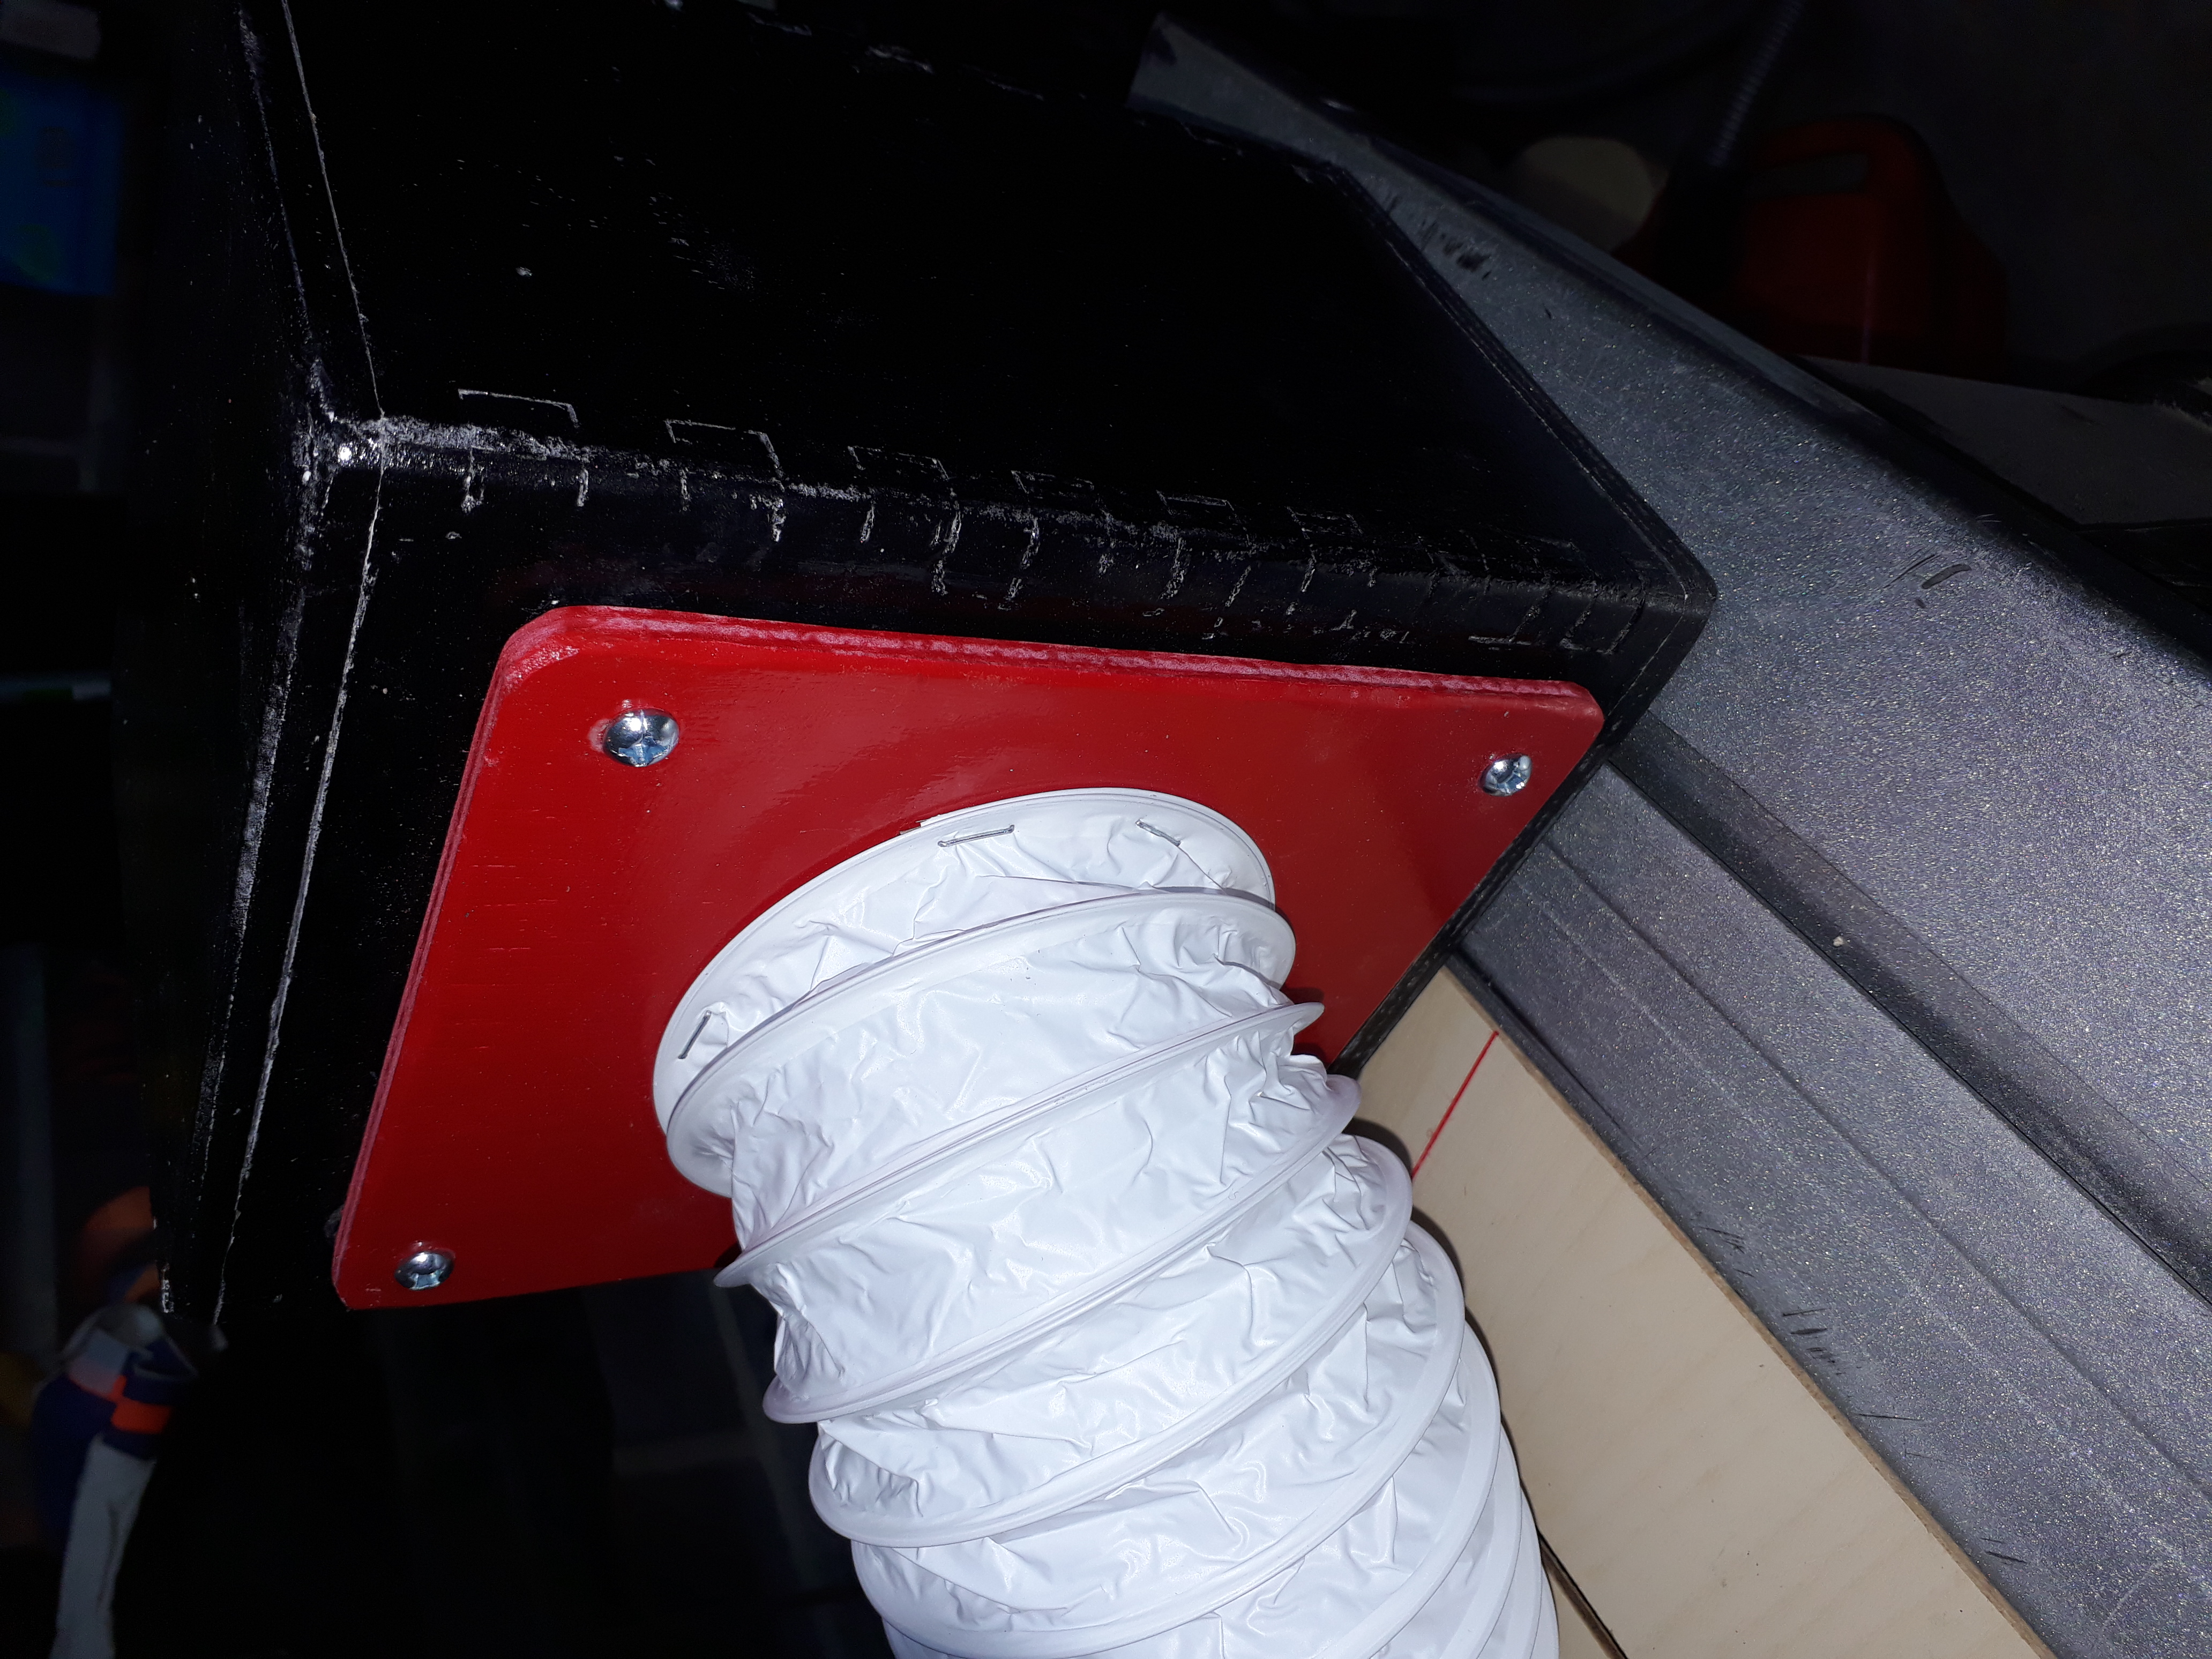
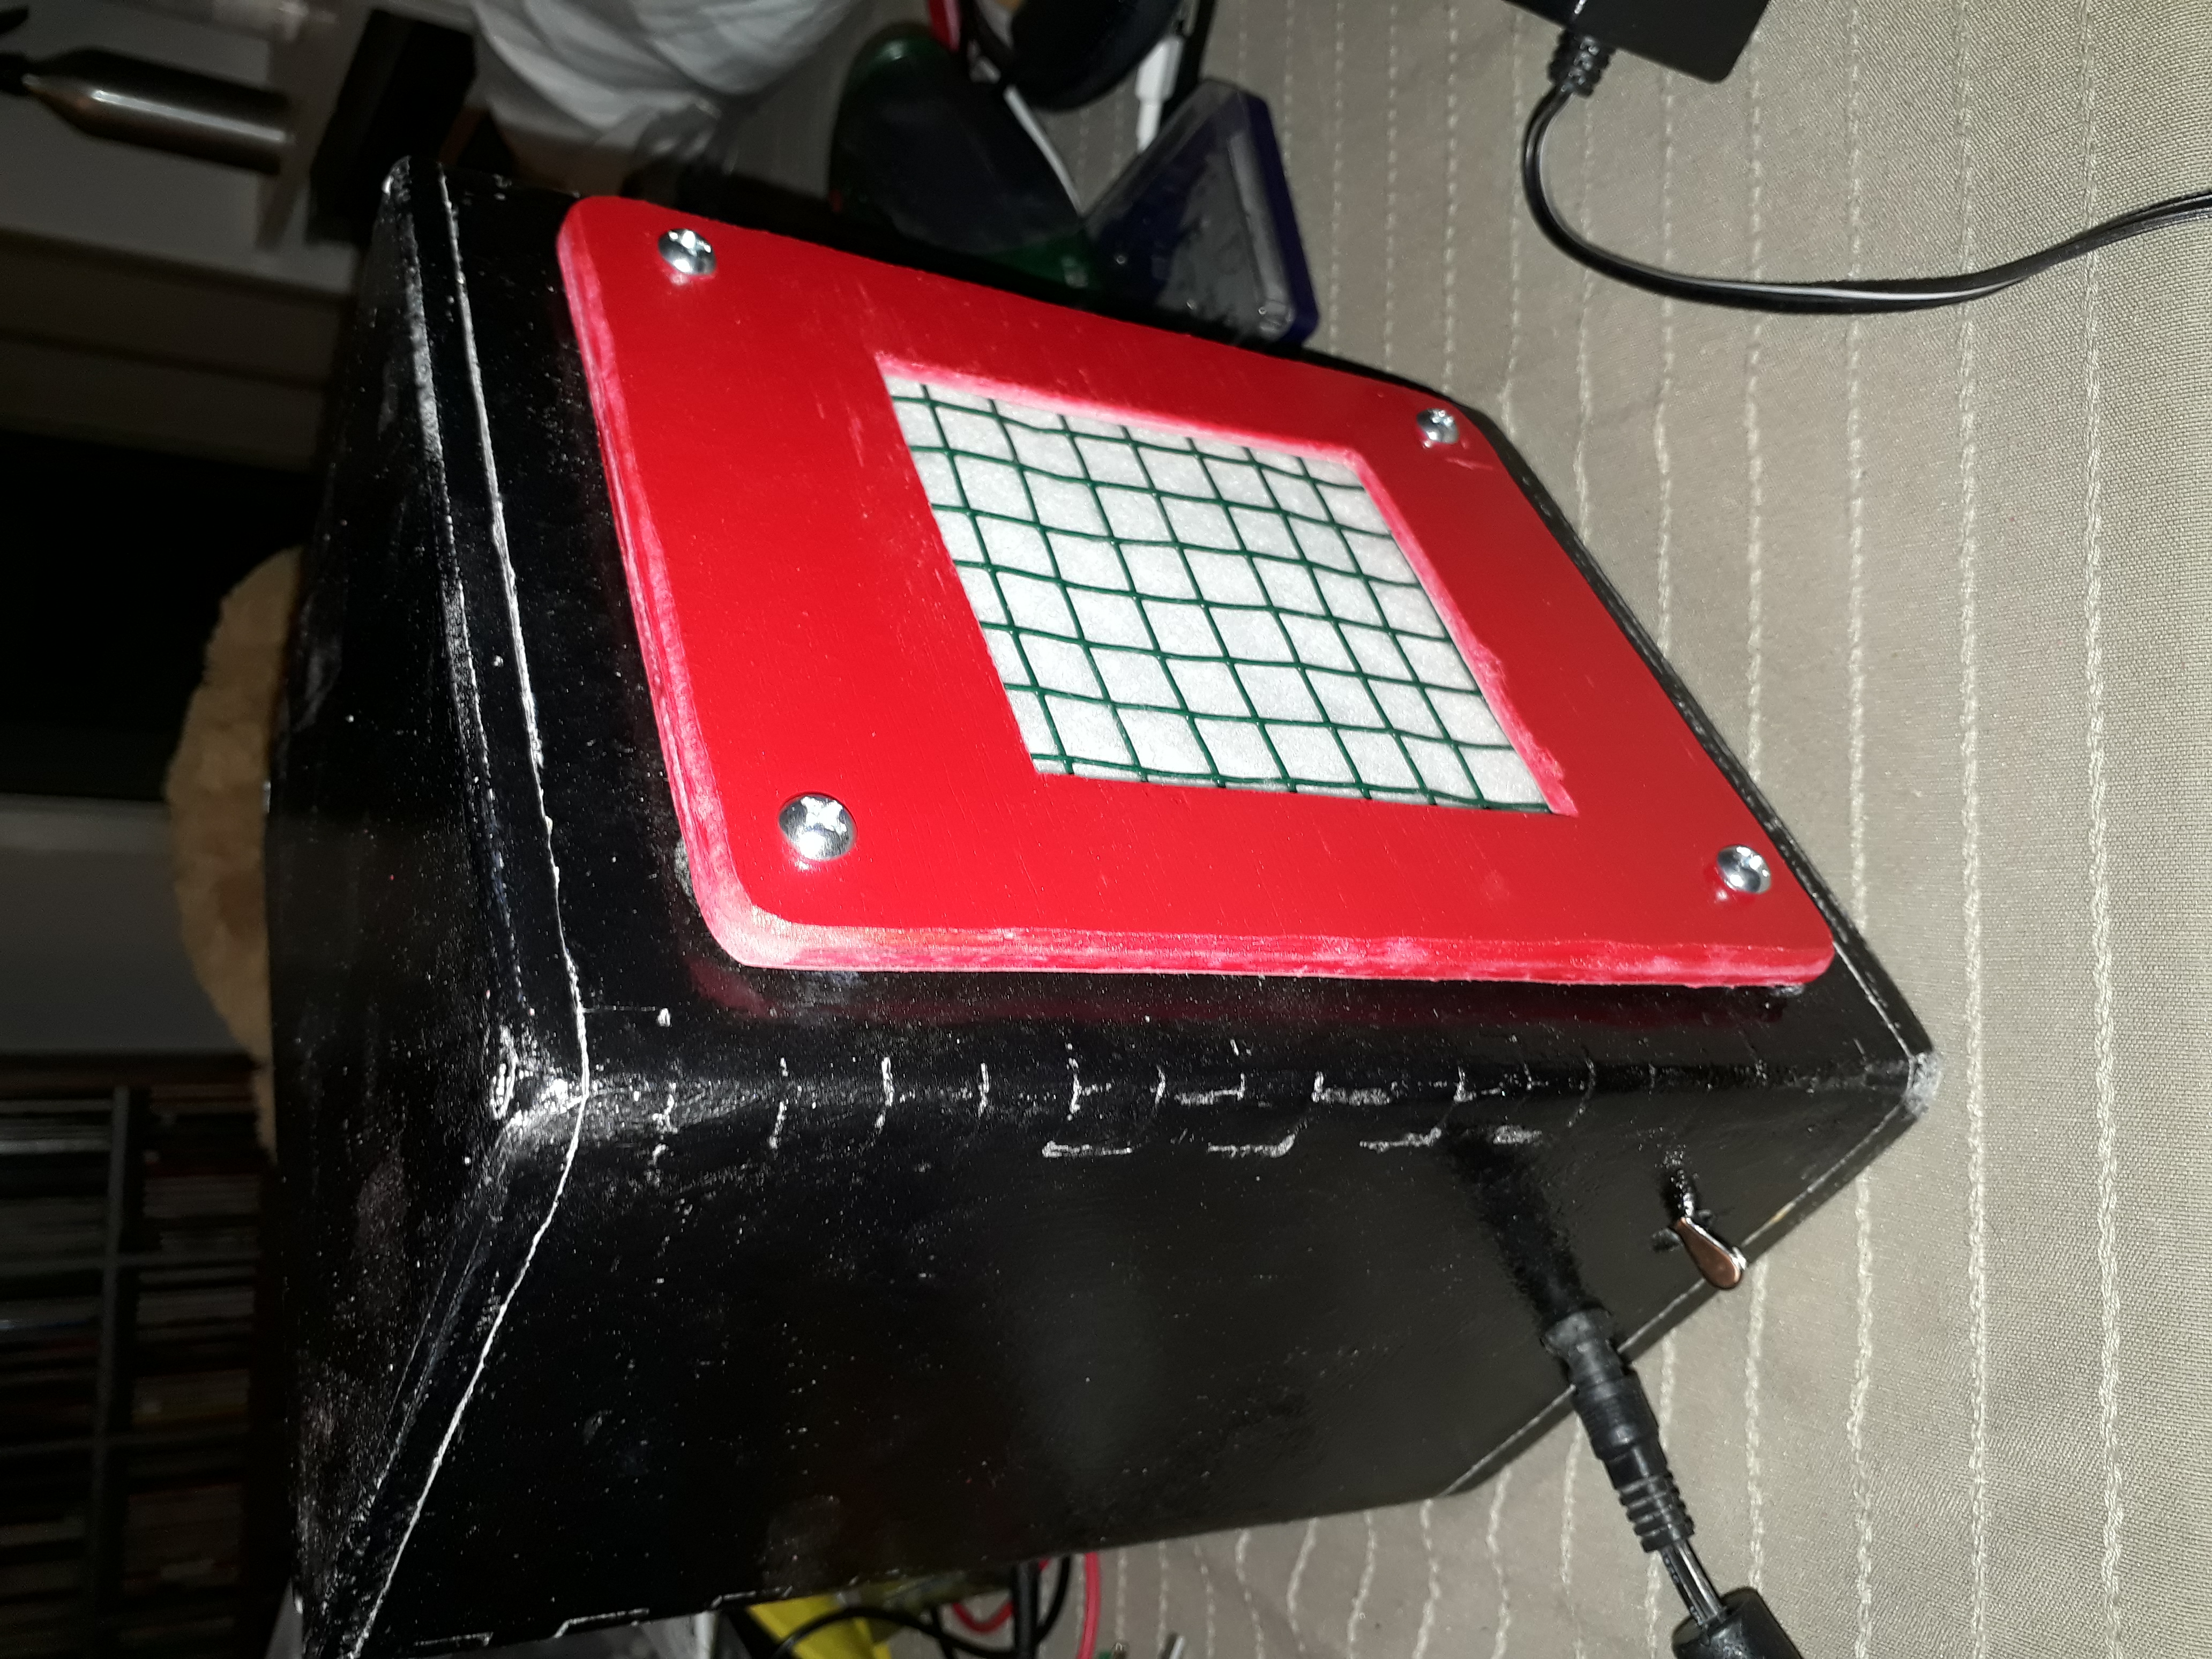
Wood version
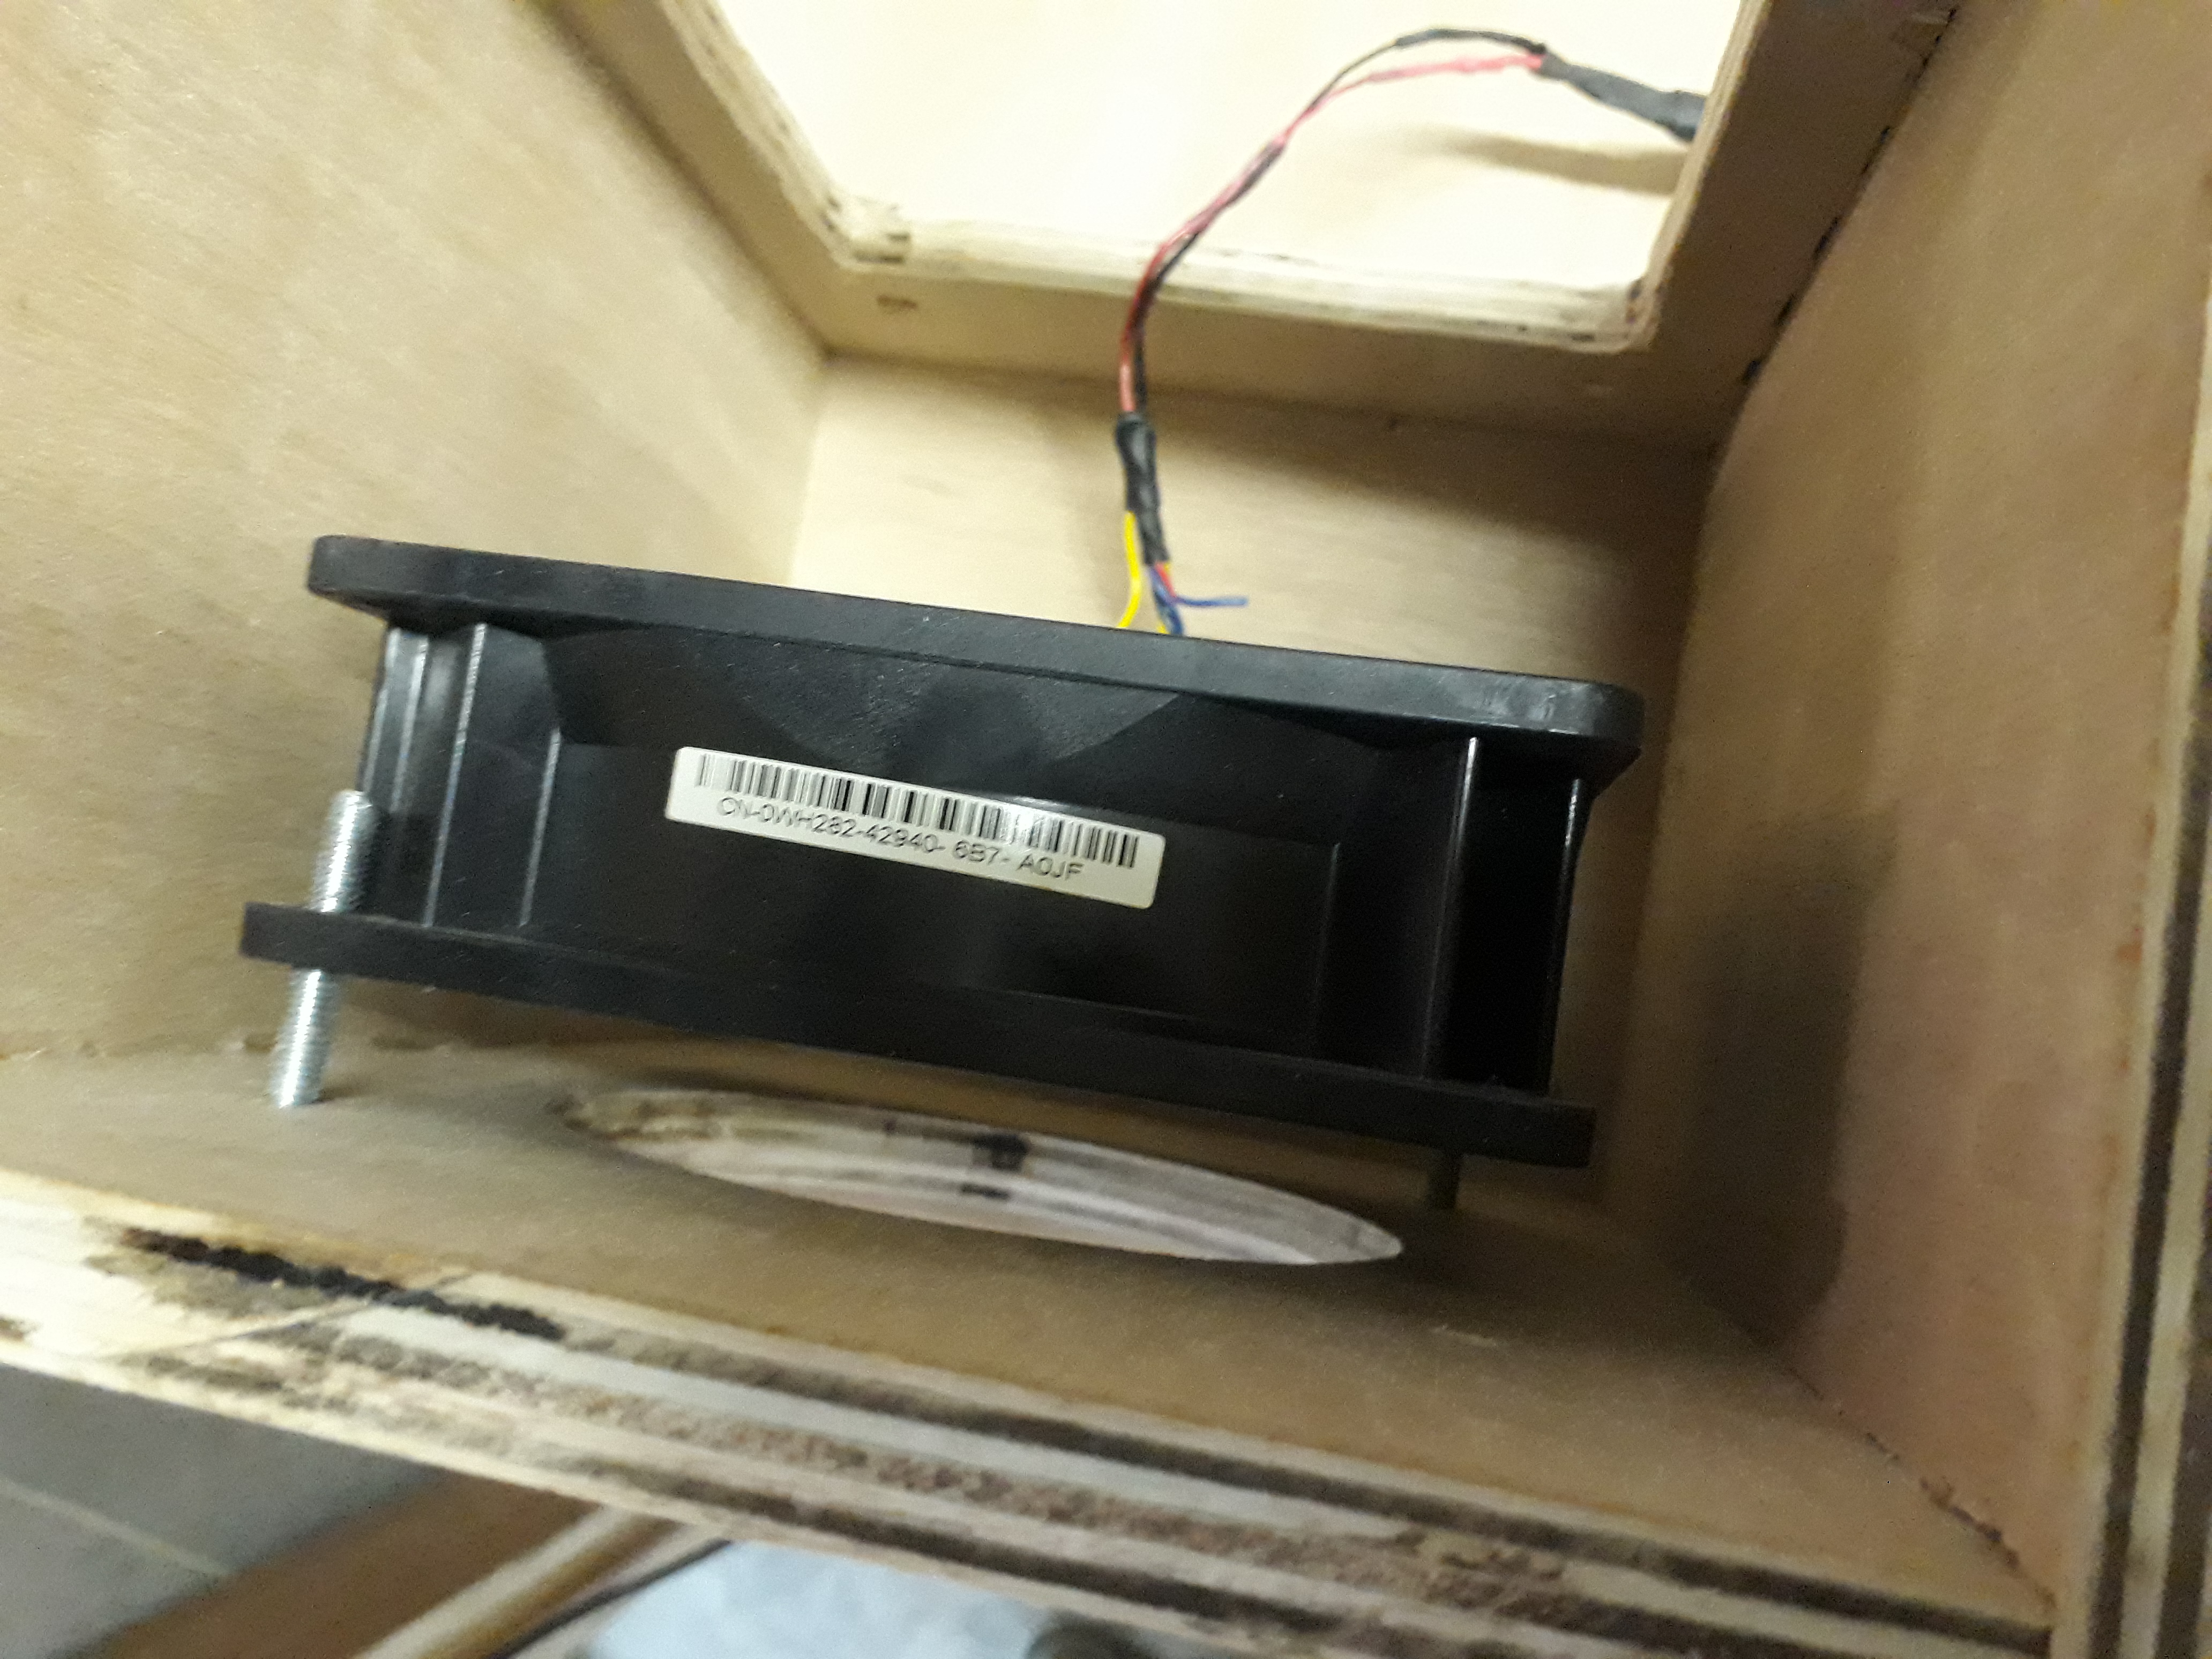
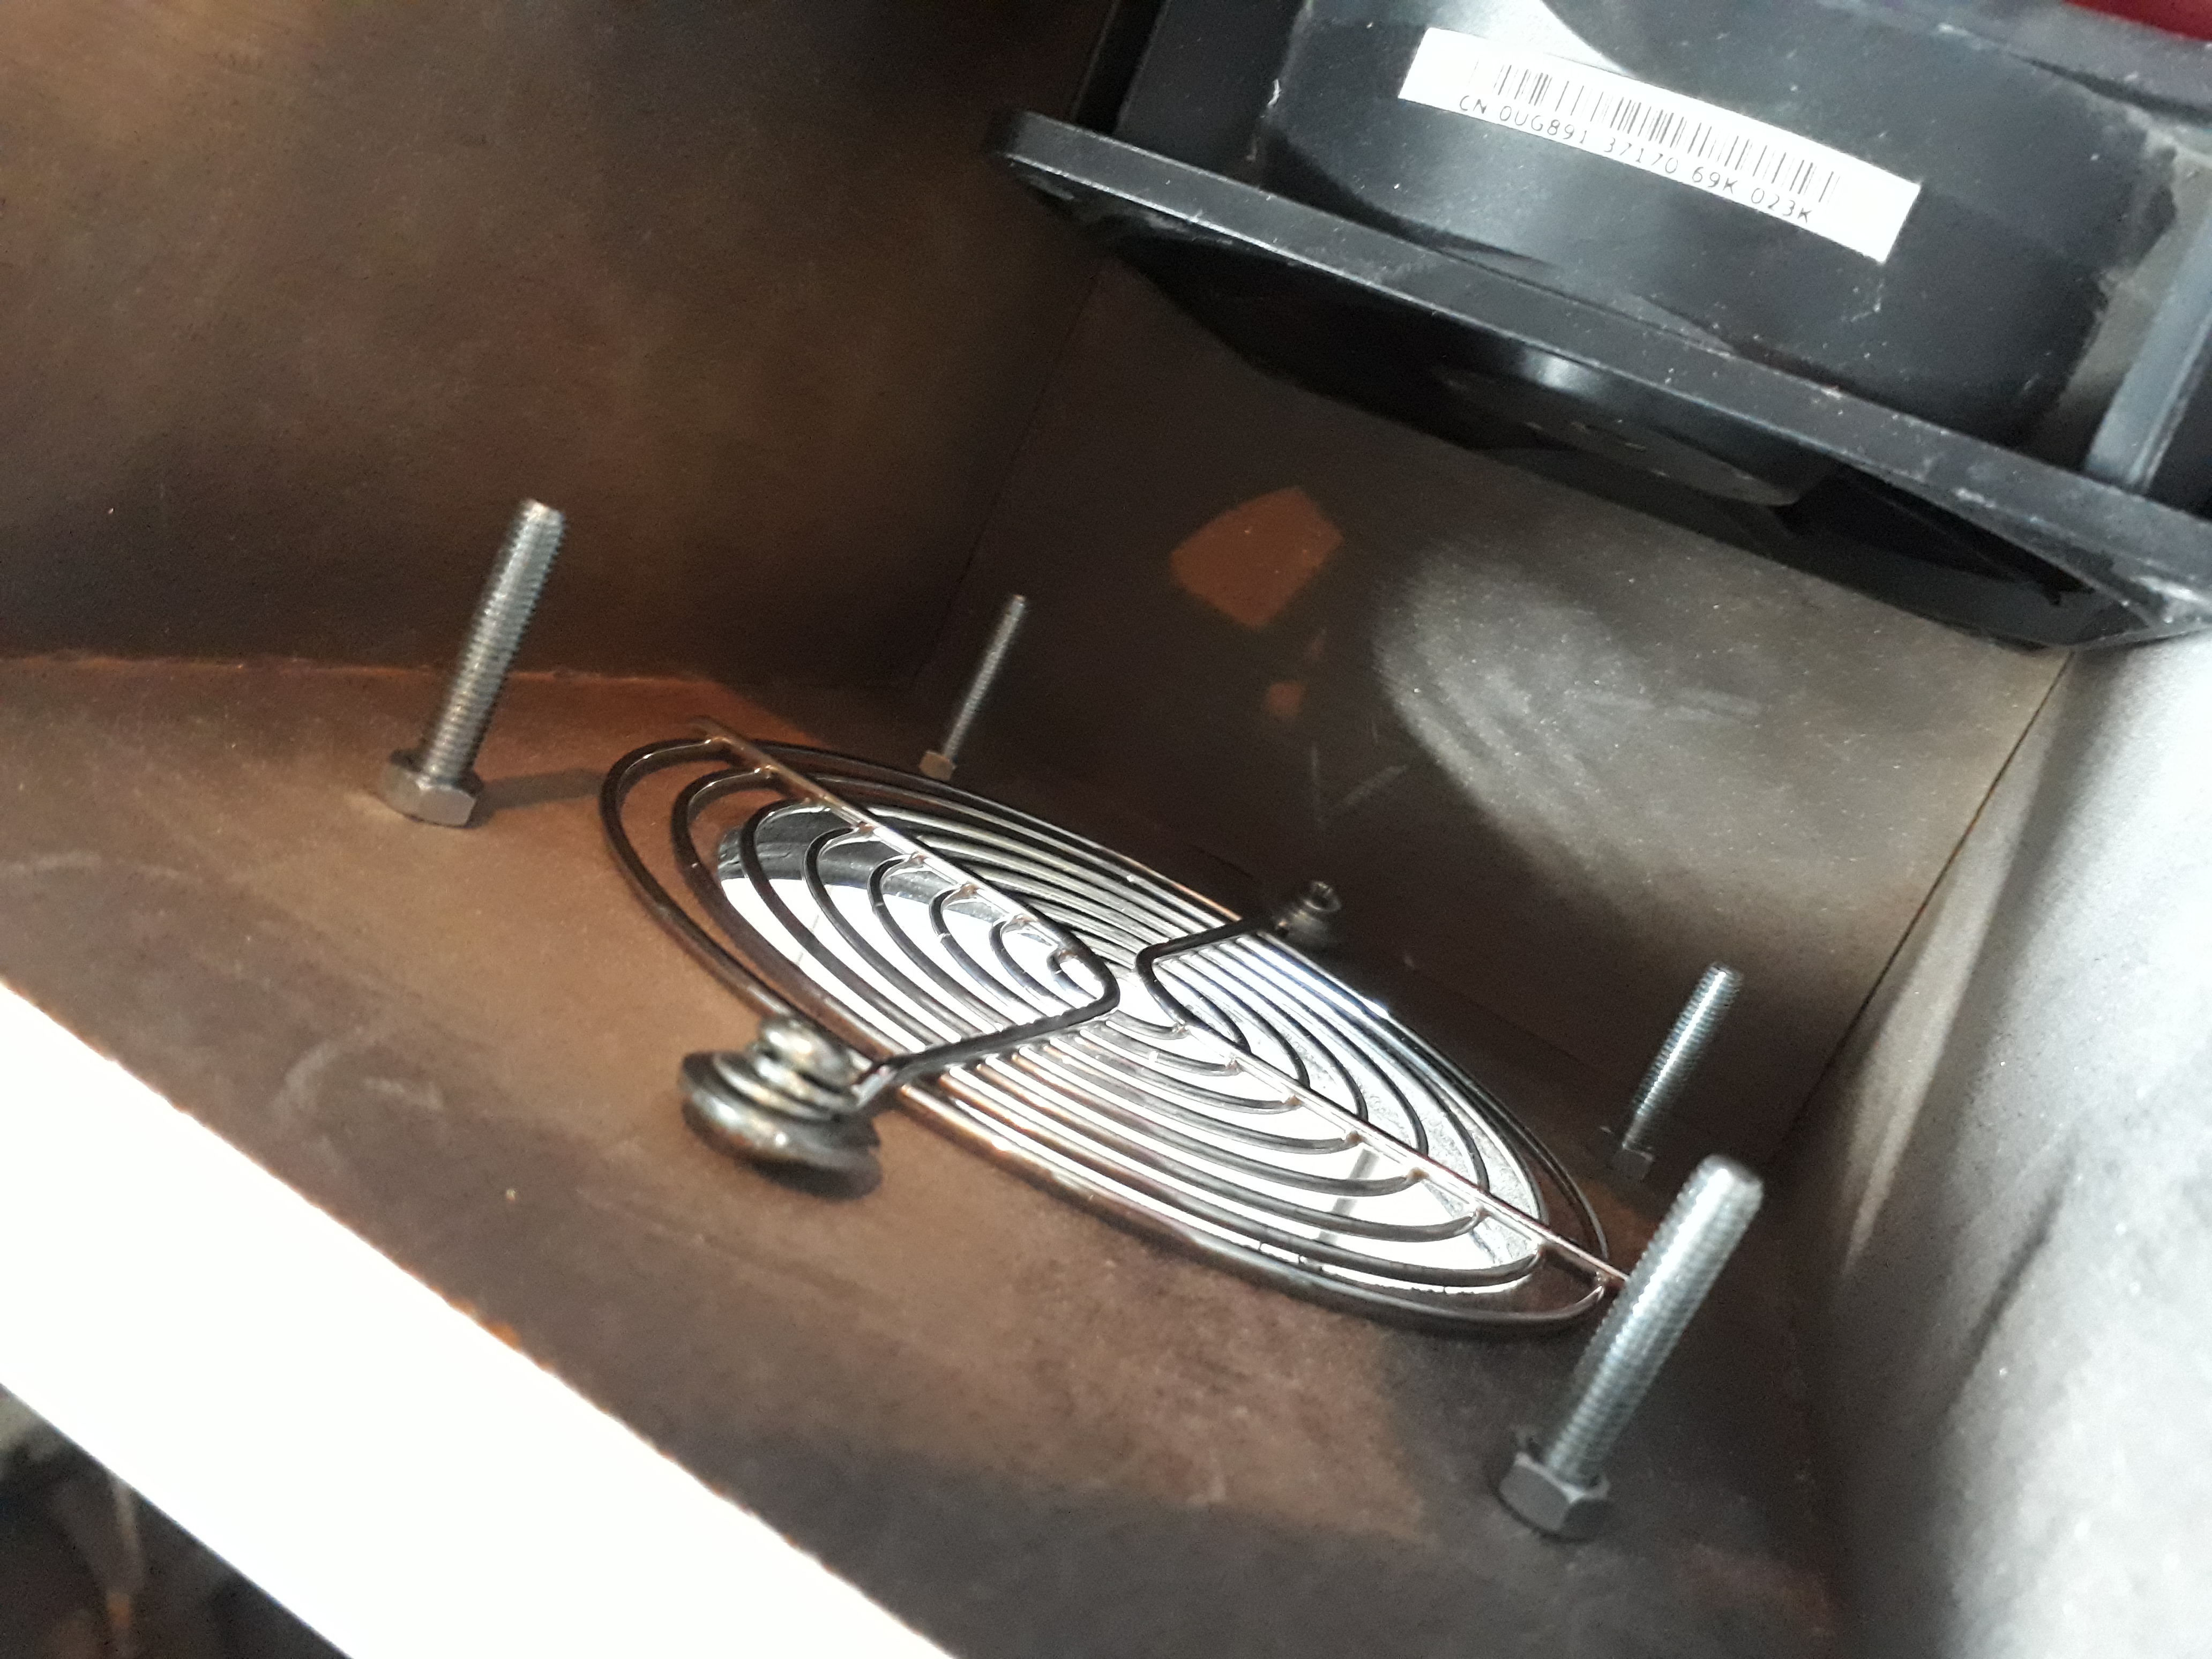
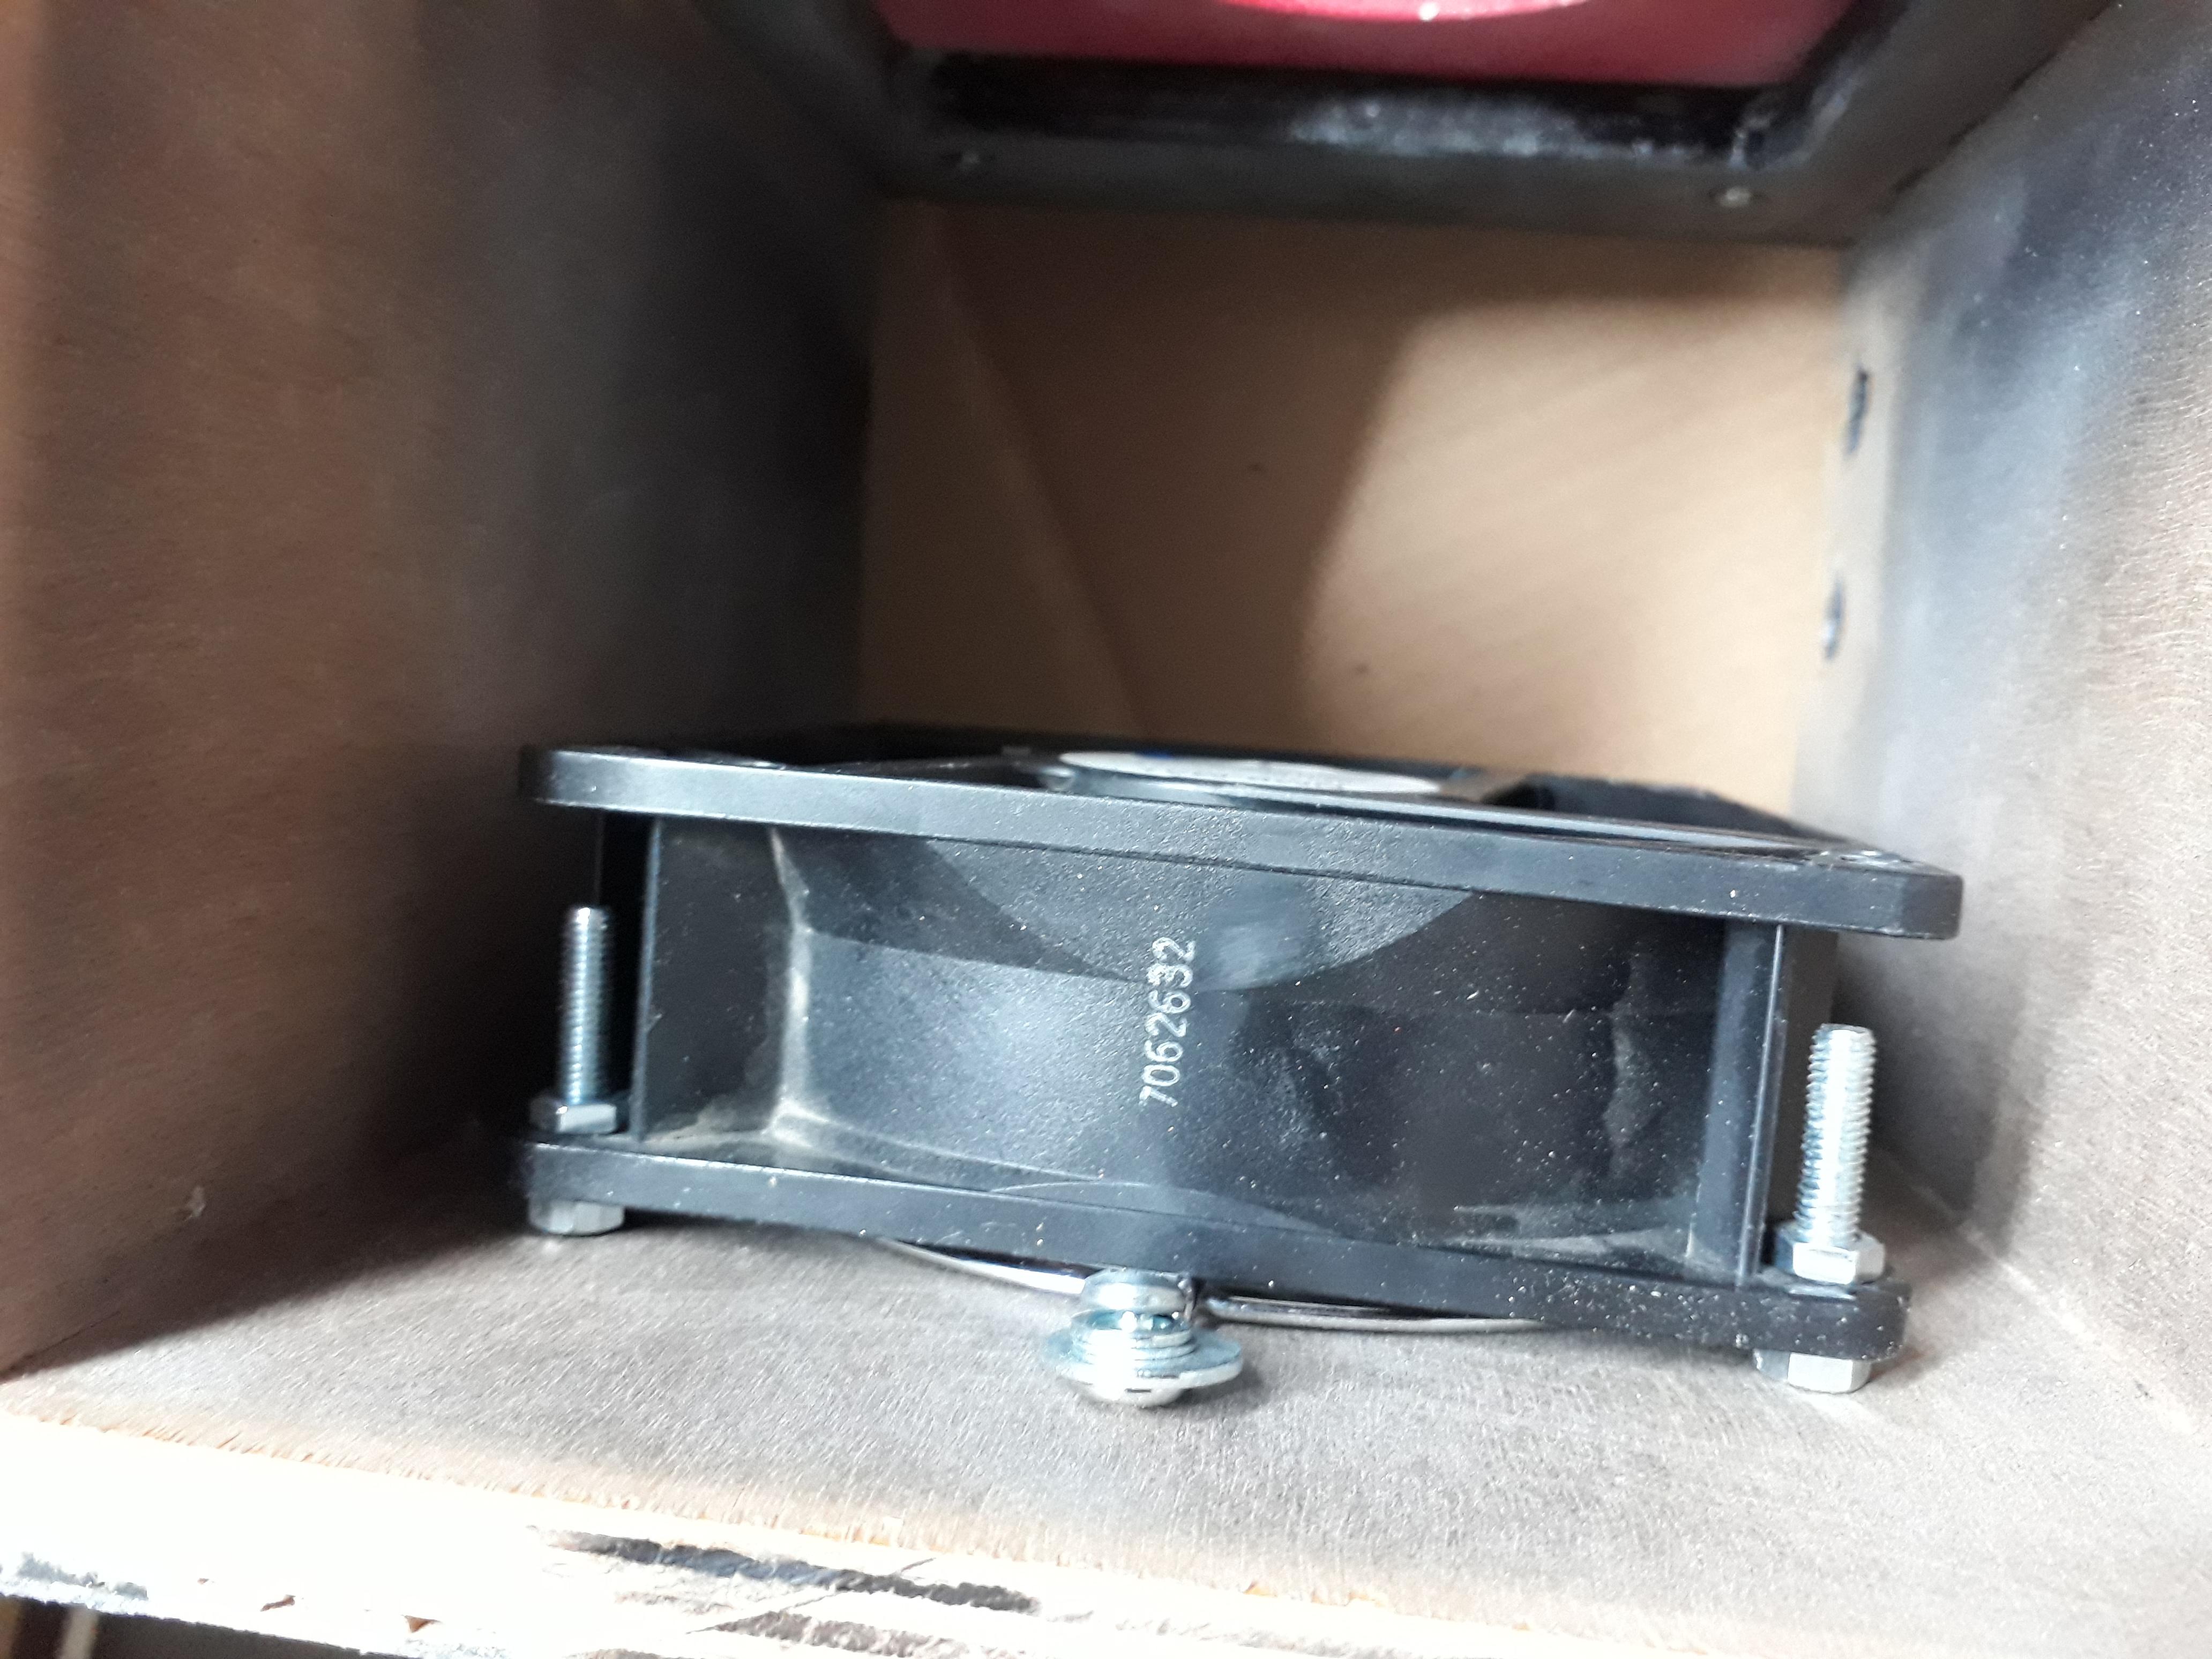
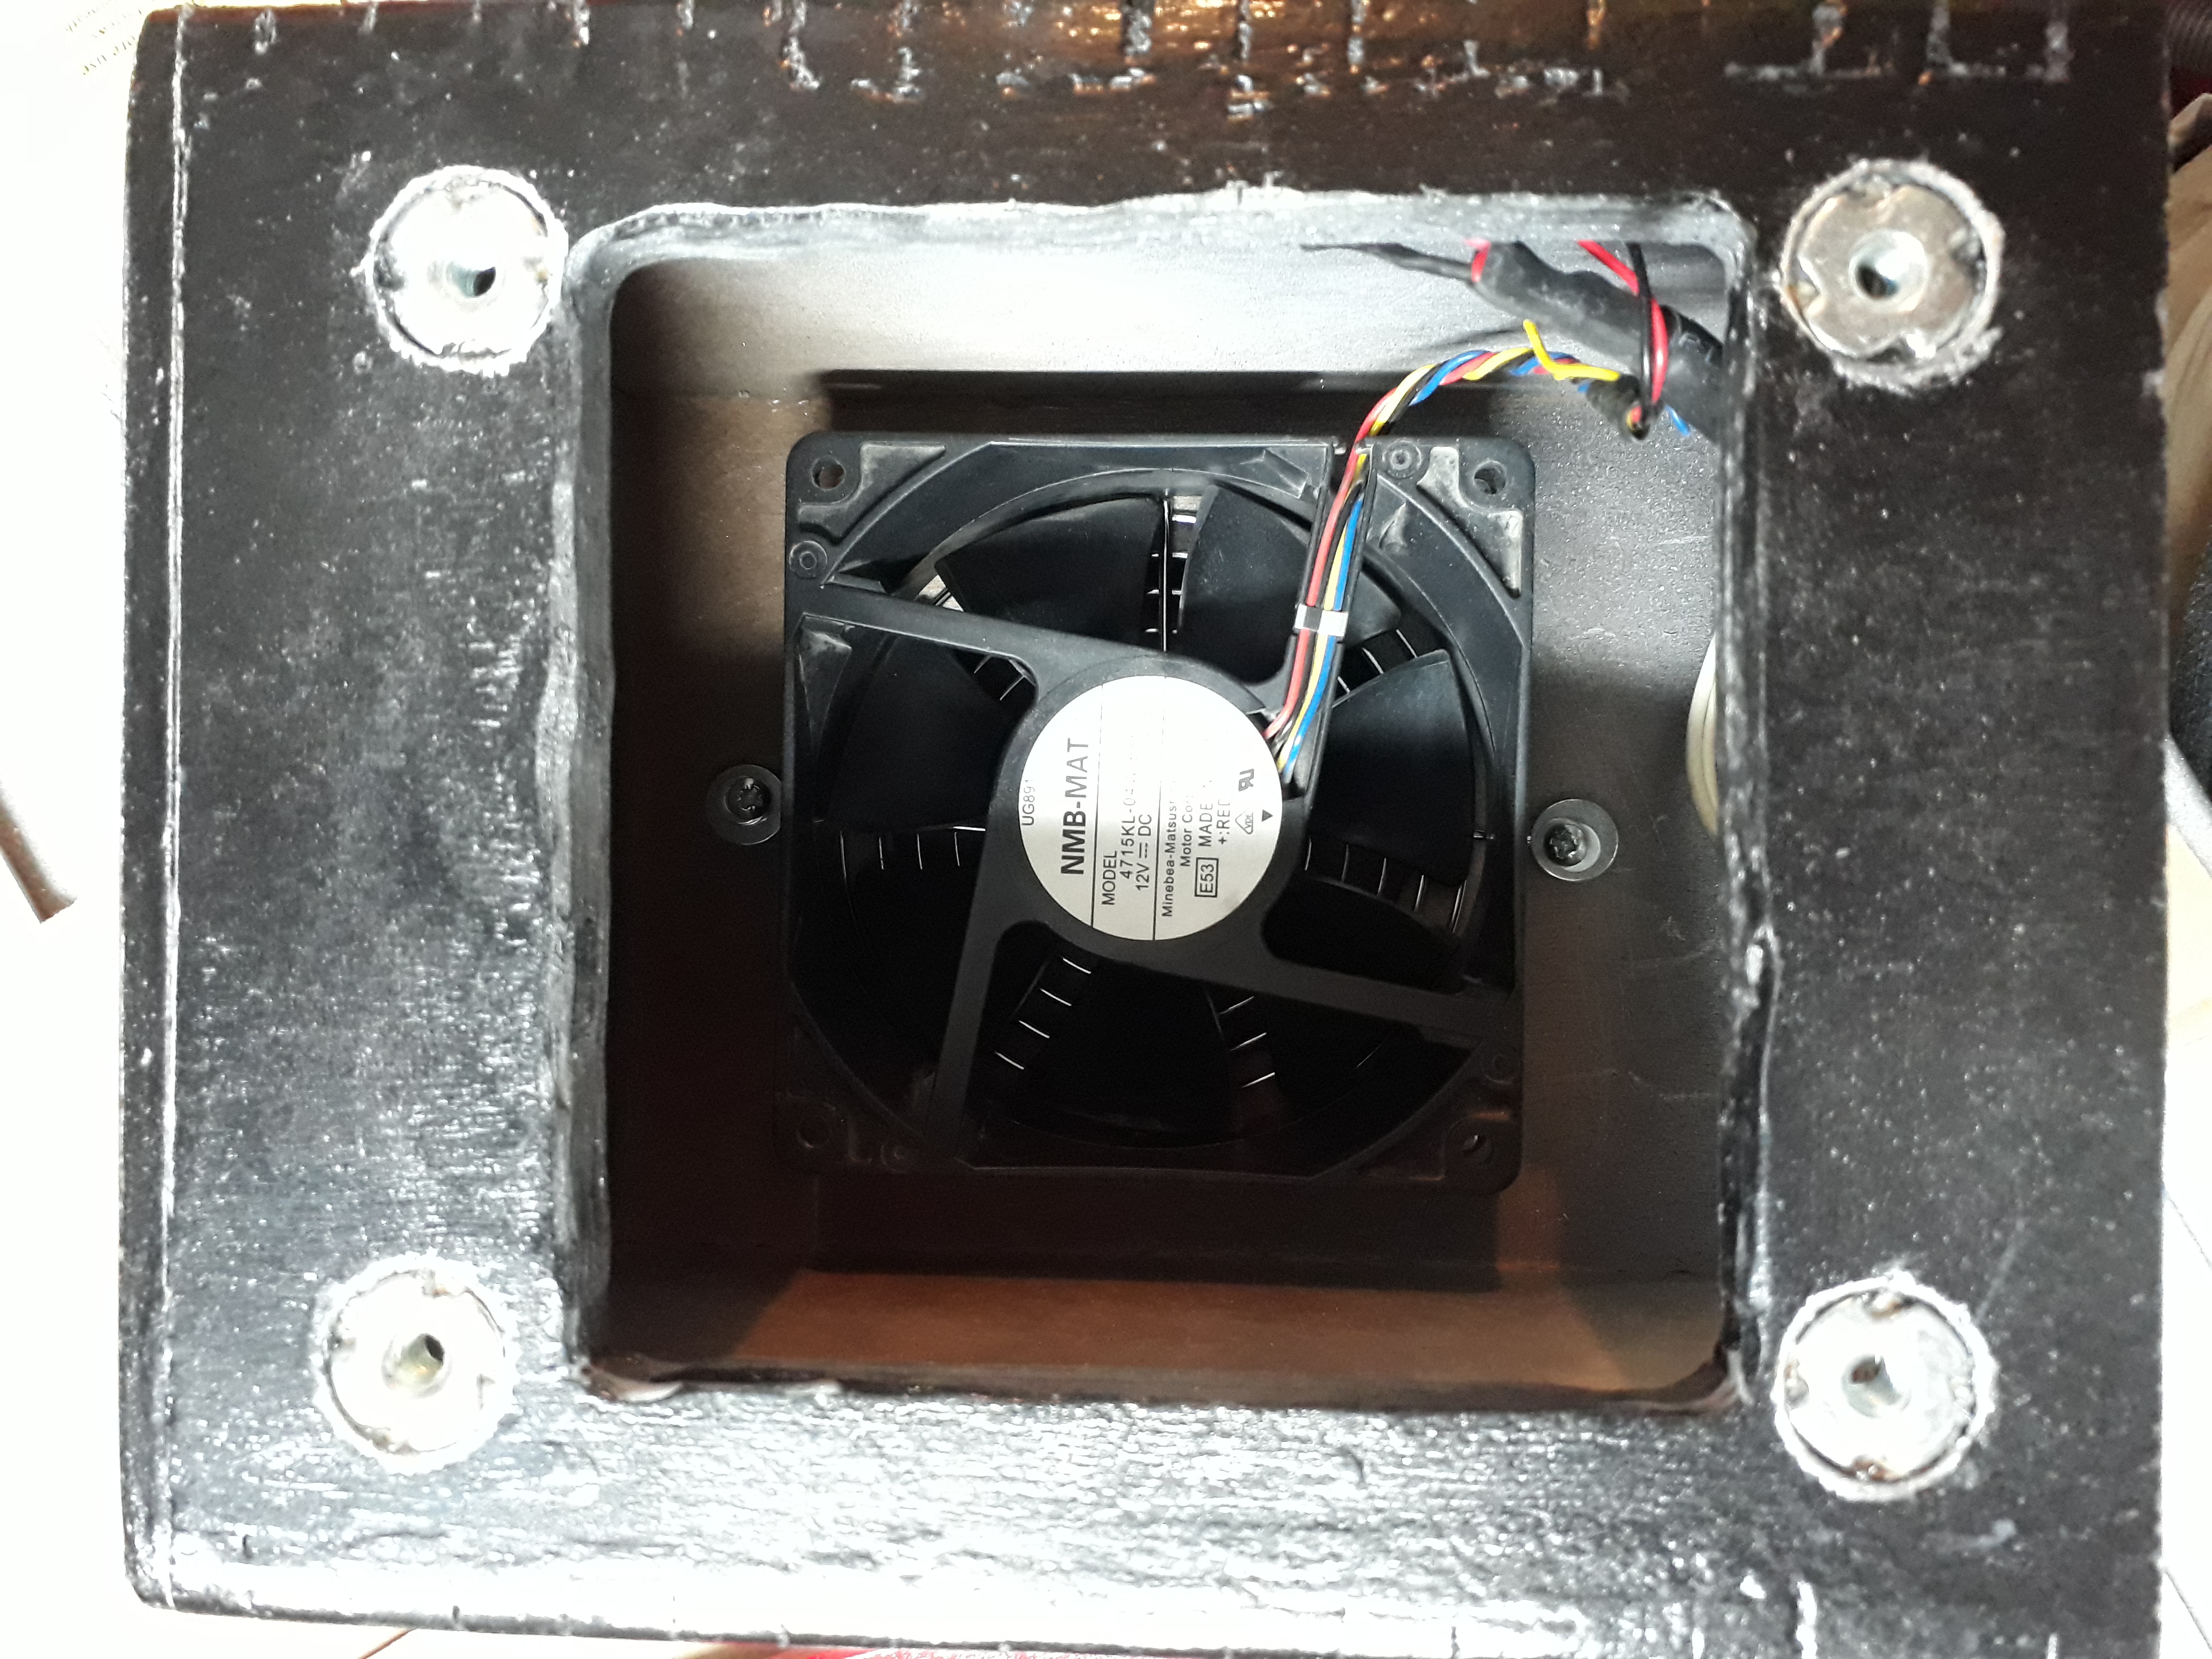
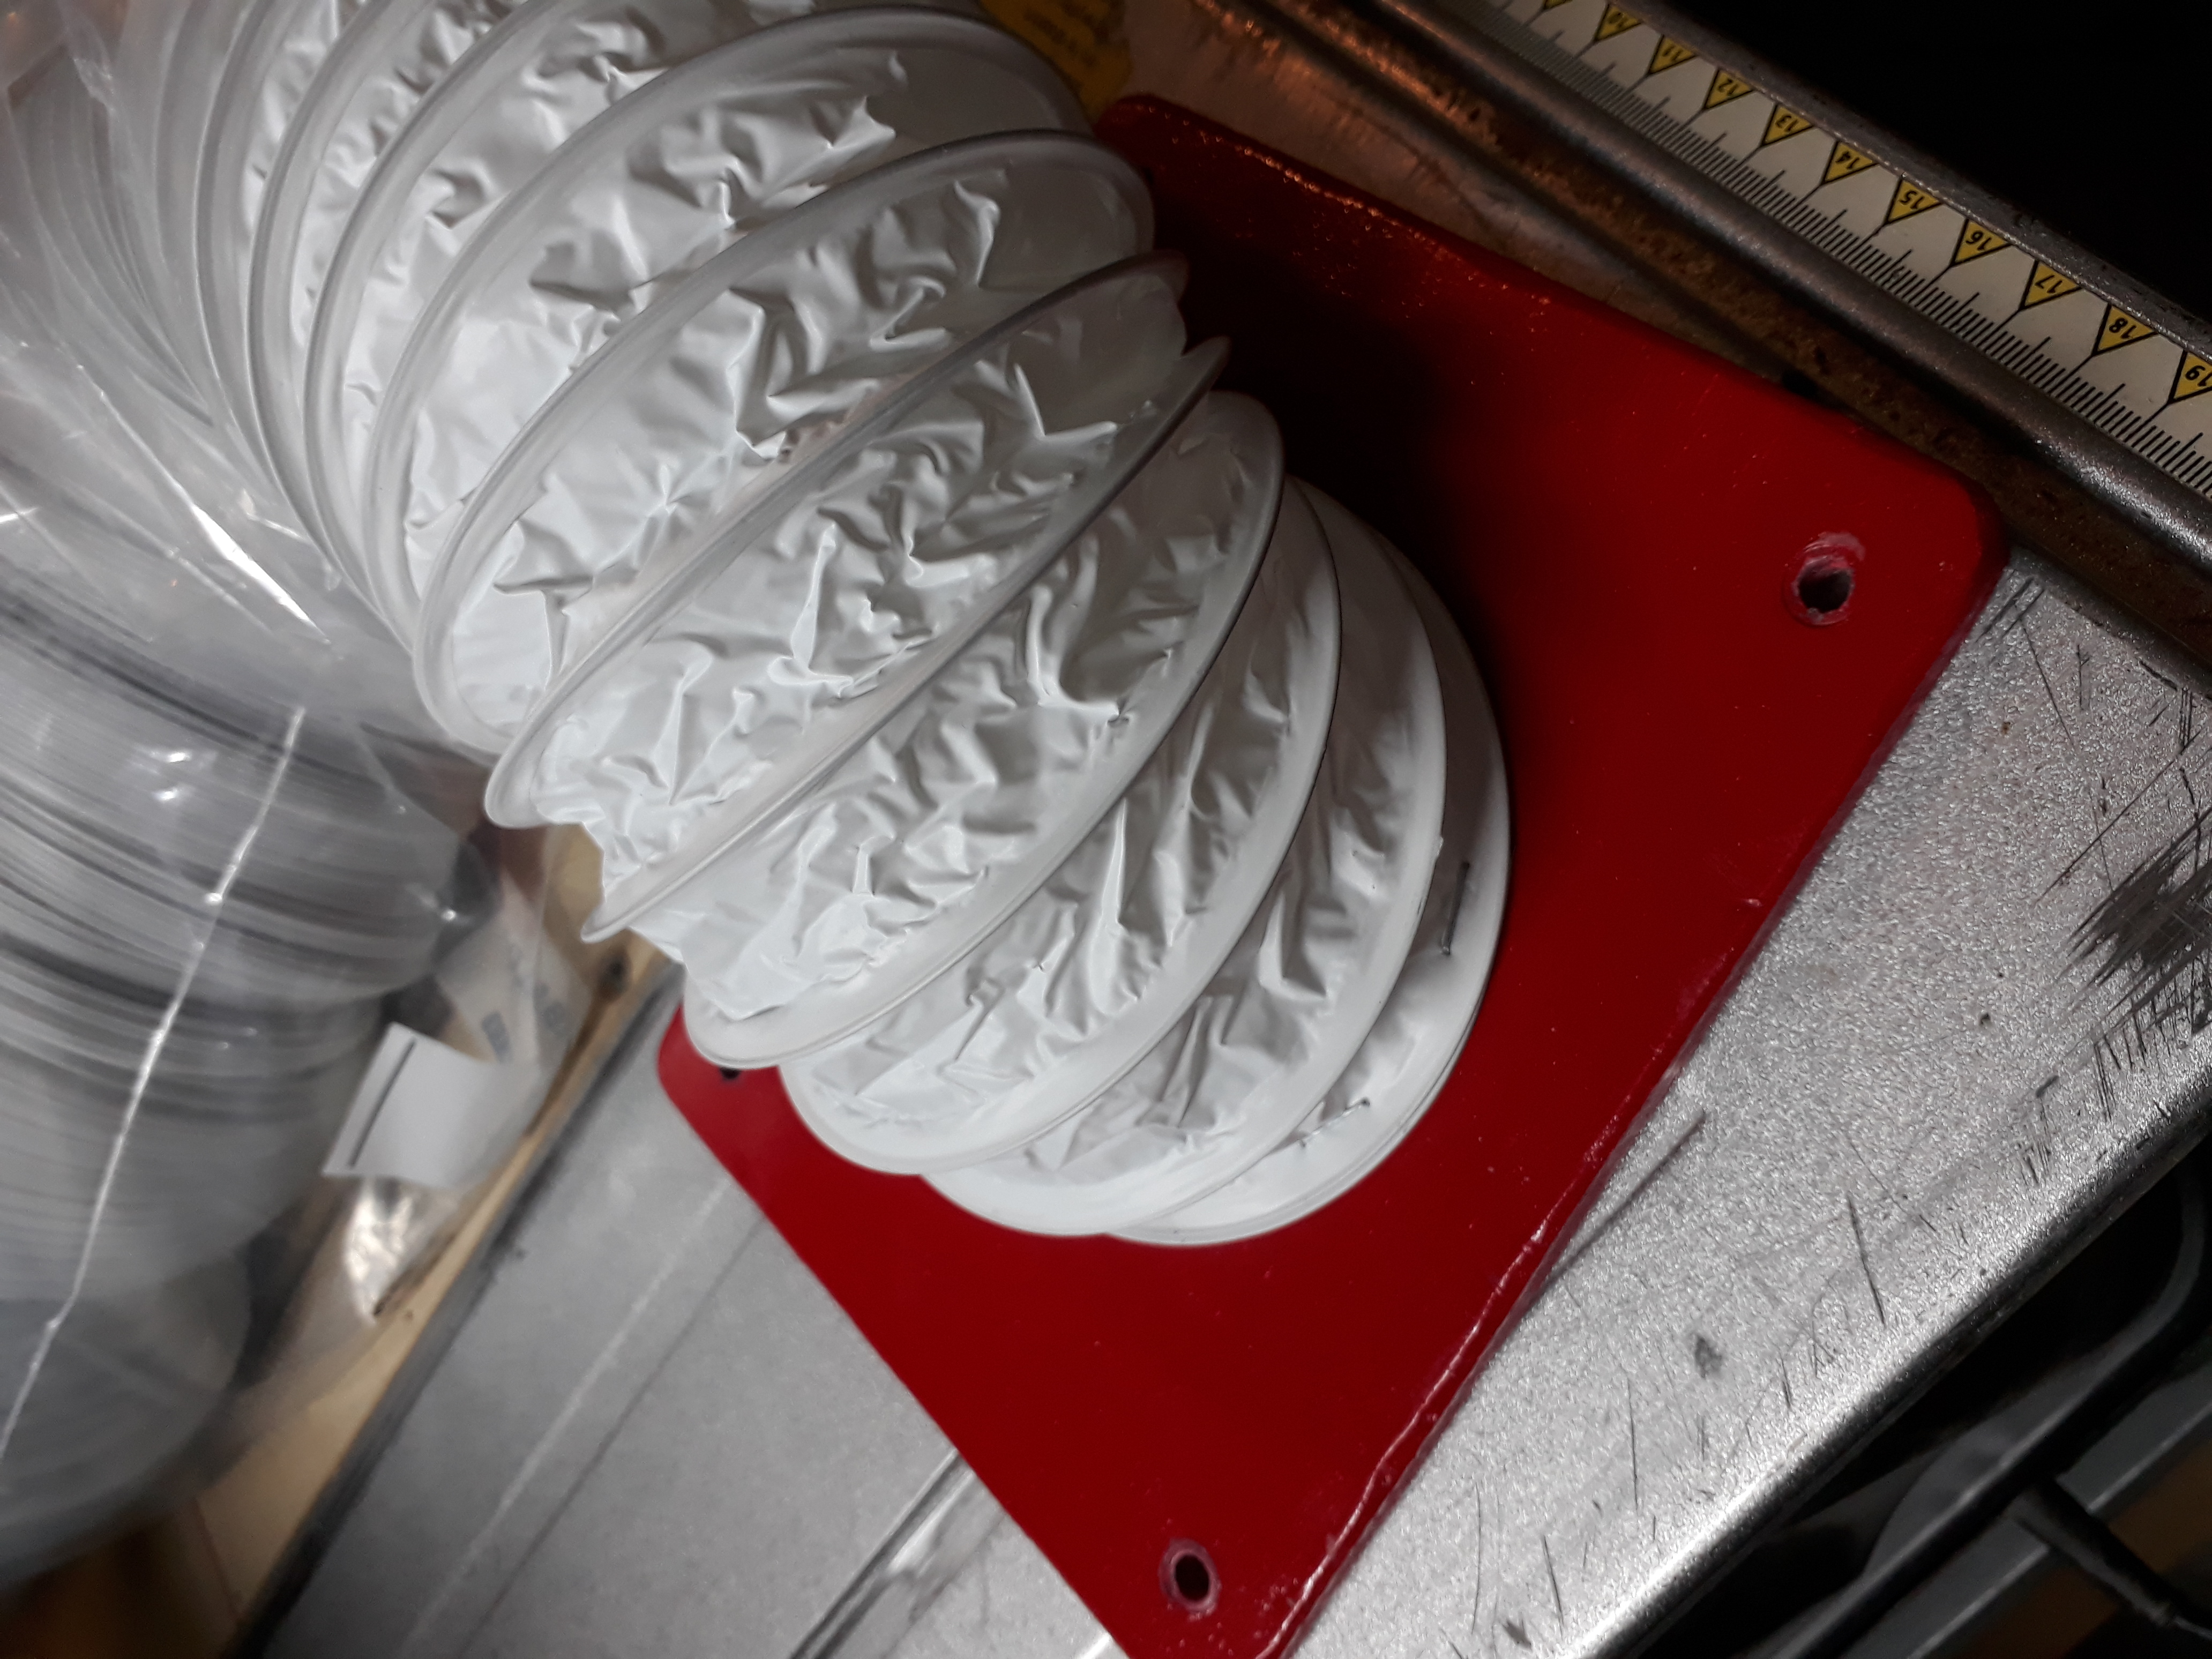
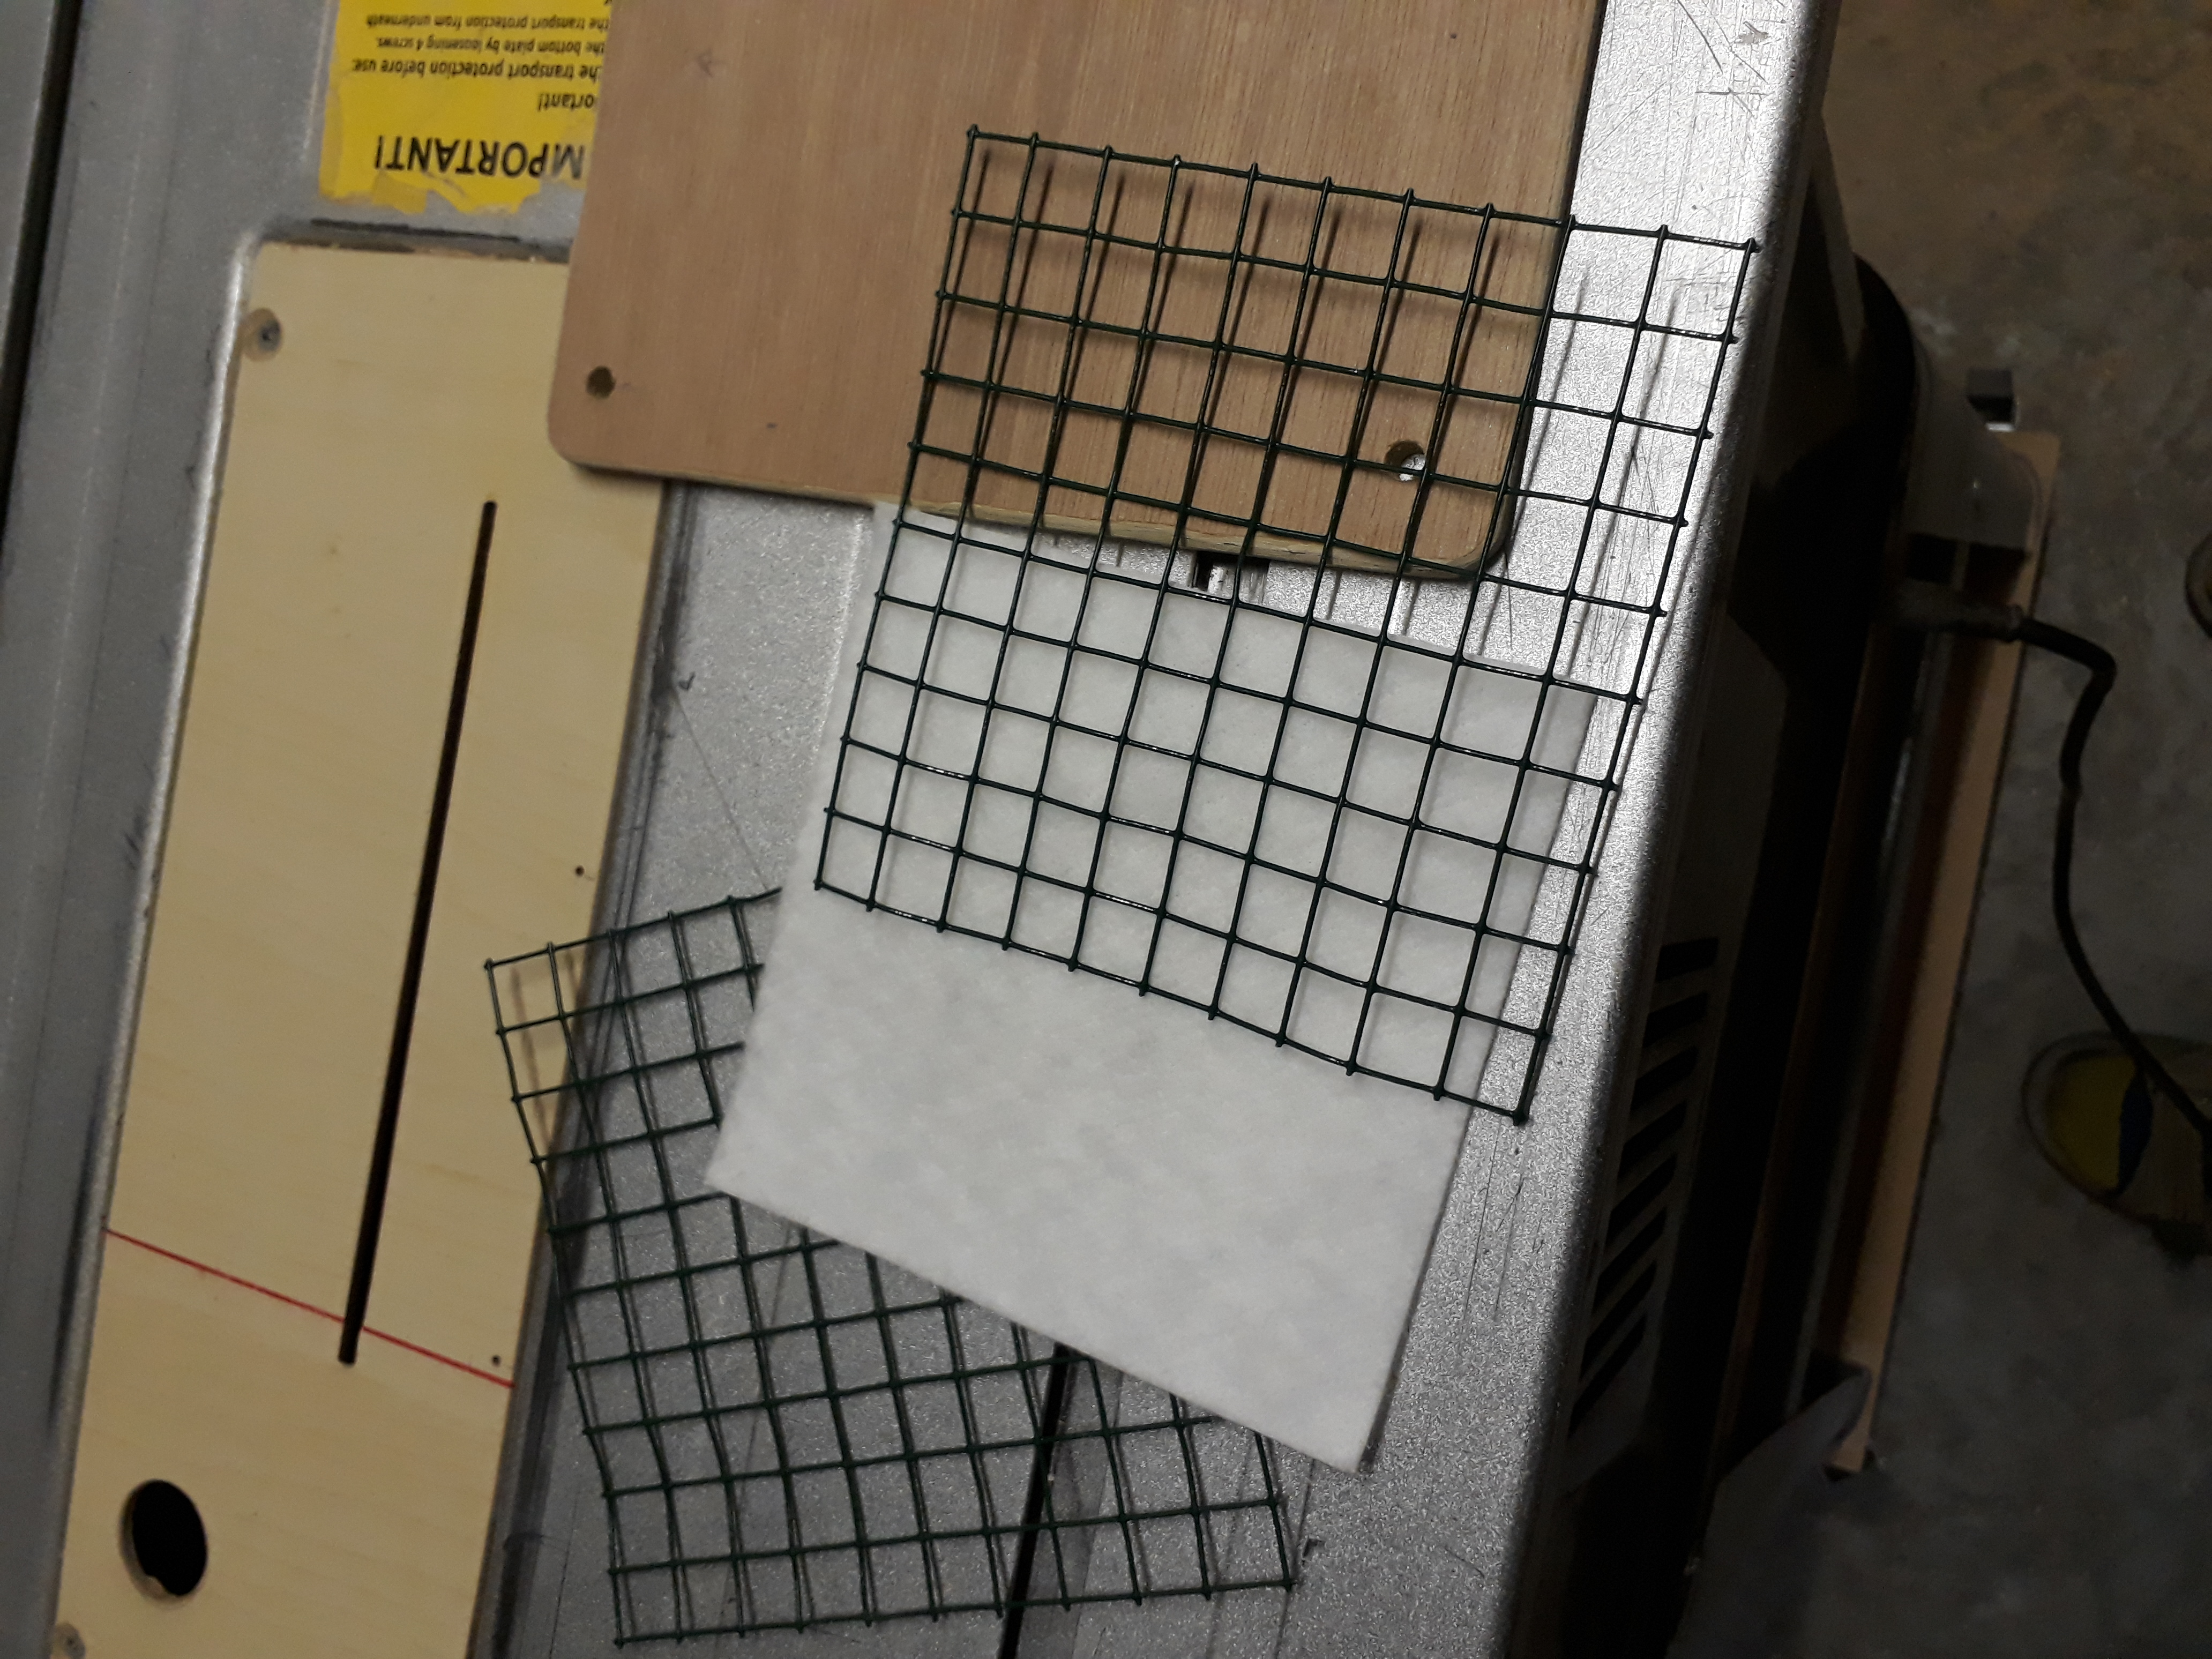
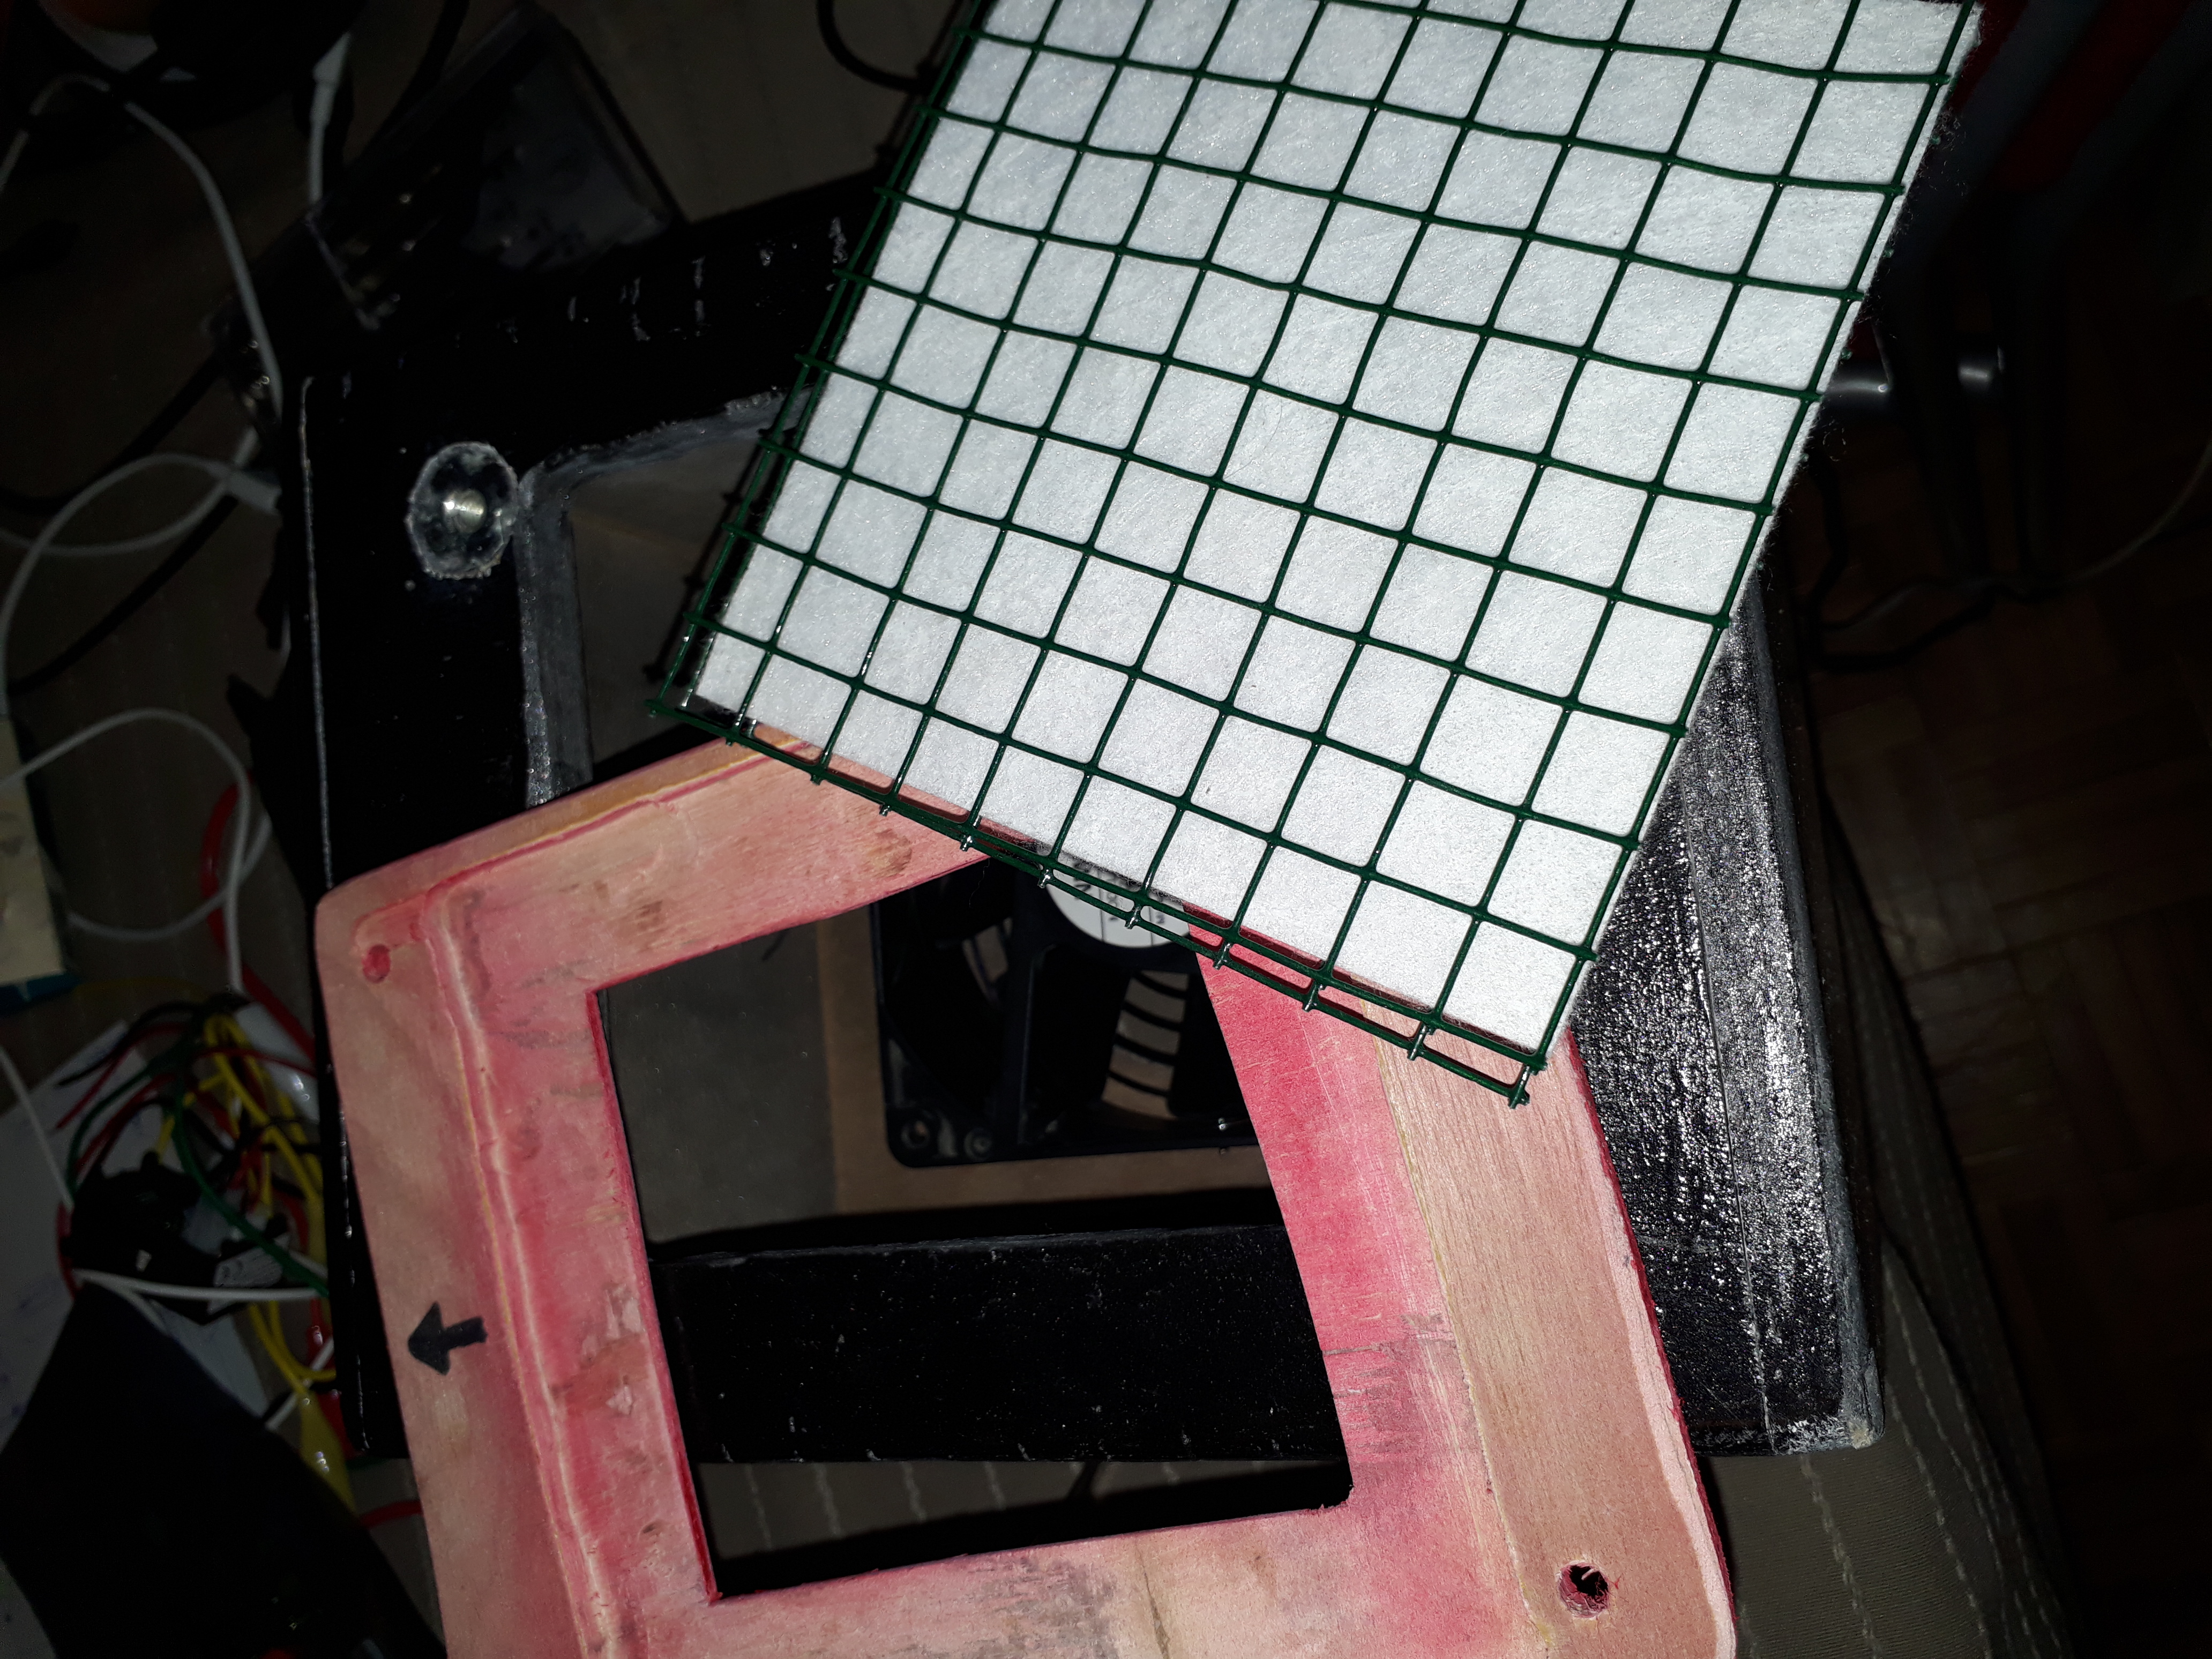
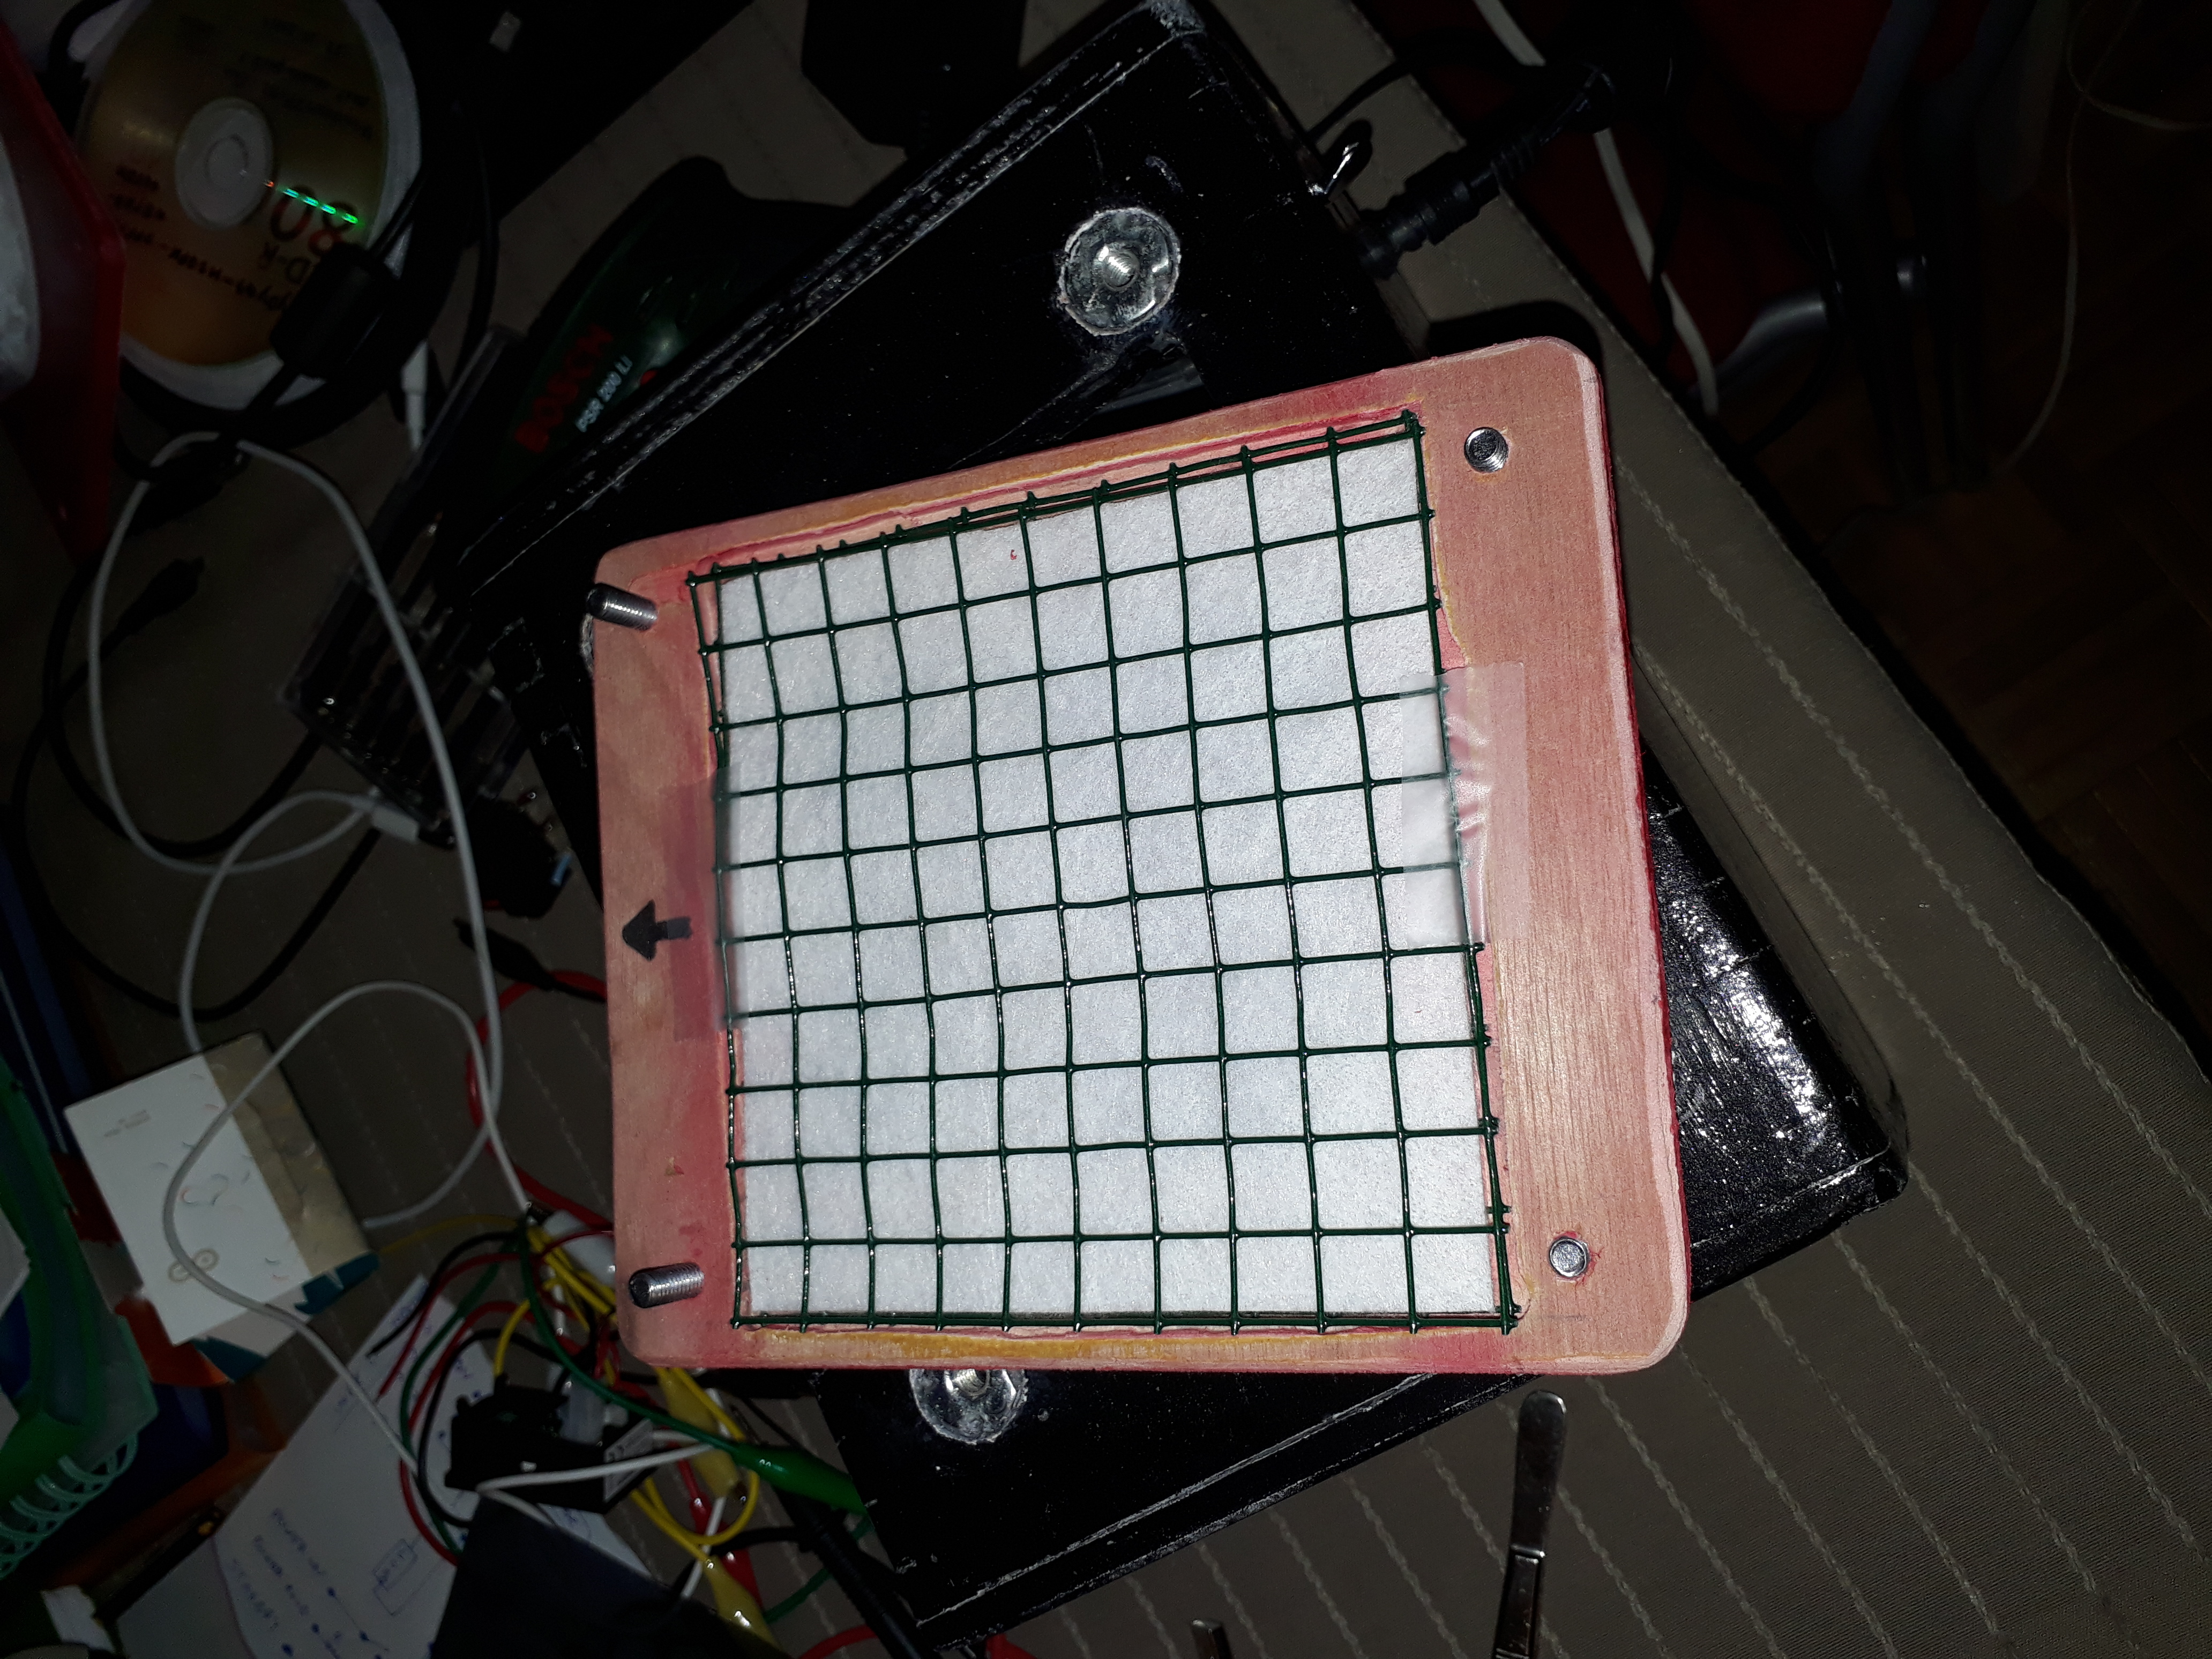
In order to get rid of the toxic fumes when soldering, I created a fume extractor out of a custom-built finger-joint wooden box. The box contains a powerful 12V fan which is turned on and off using a toggle switch. Power comes from an external power adapter. The fan is mounted at the front of the box; at the back there is the possibility to either attach a long flexible ventilation hose, or an active carbon filter.
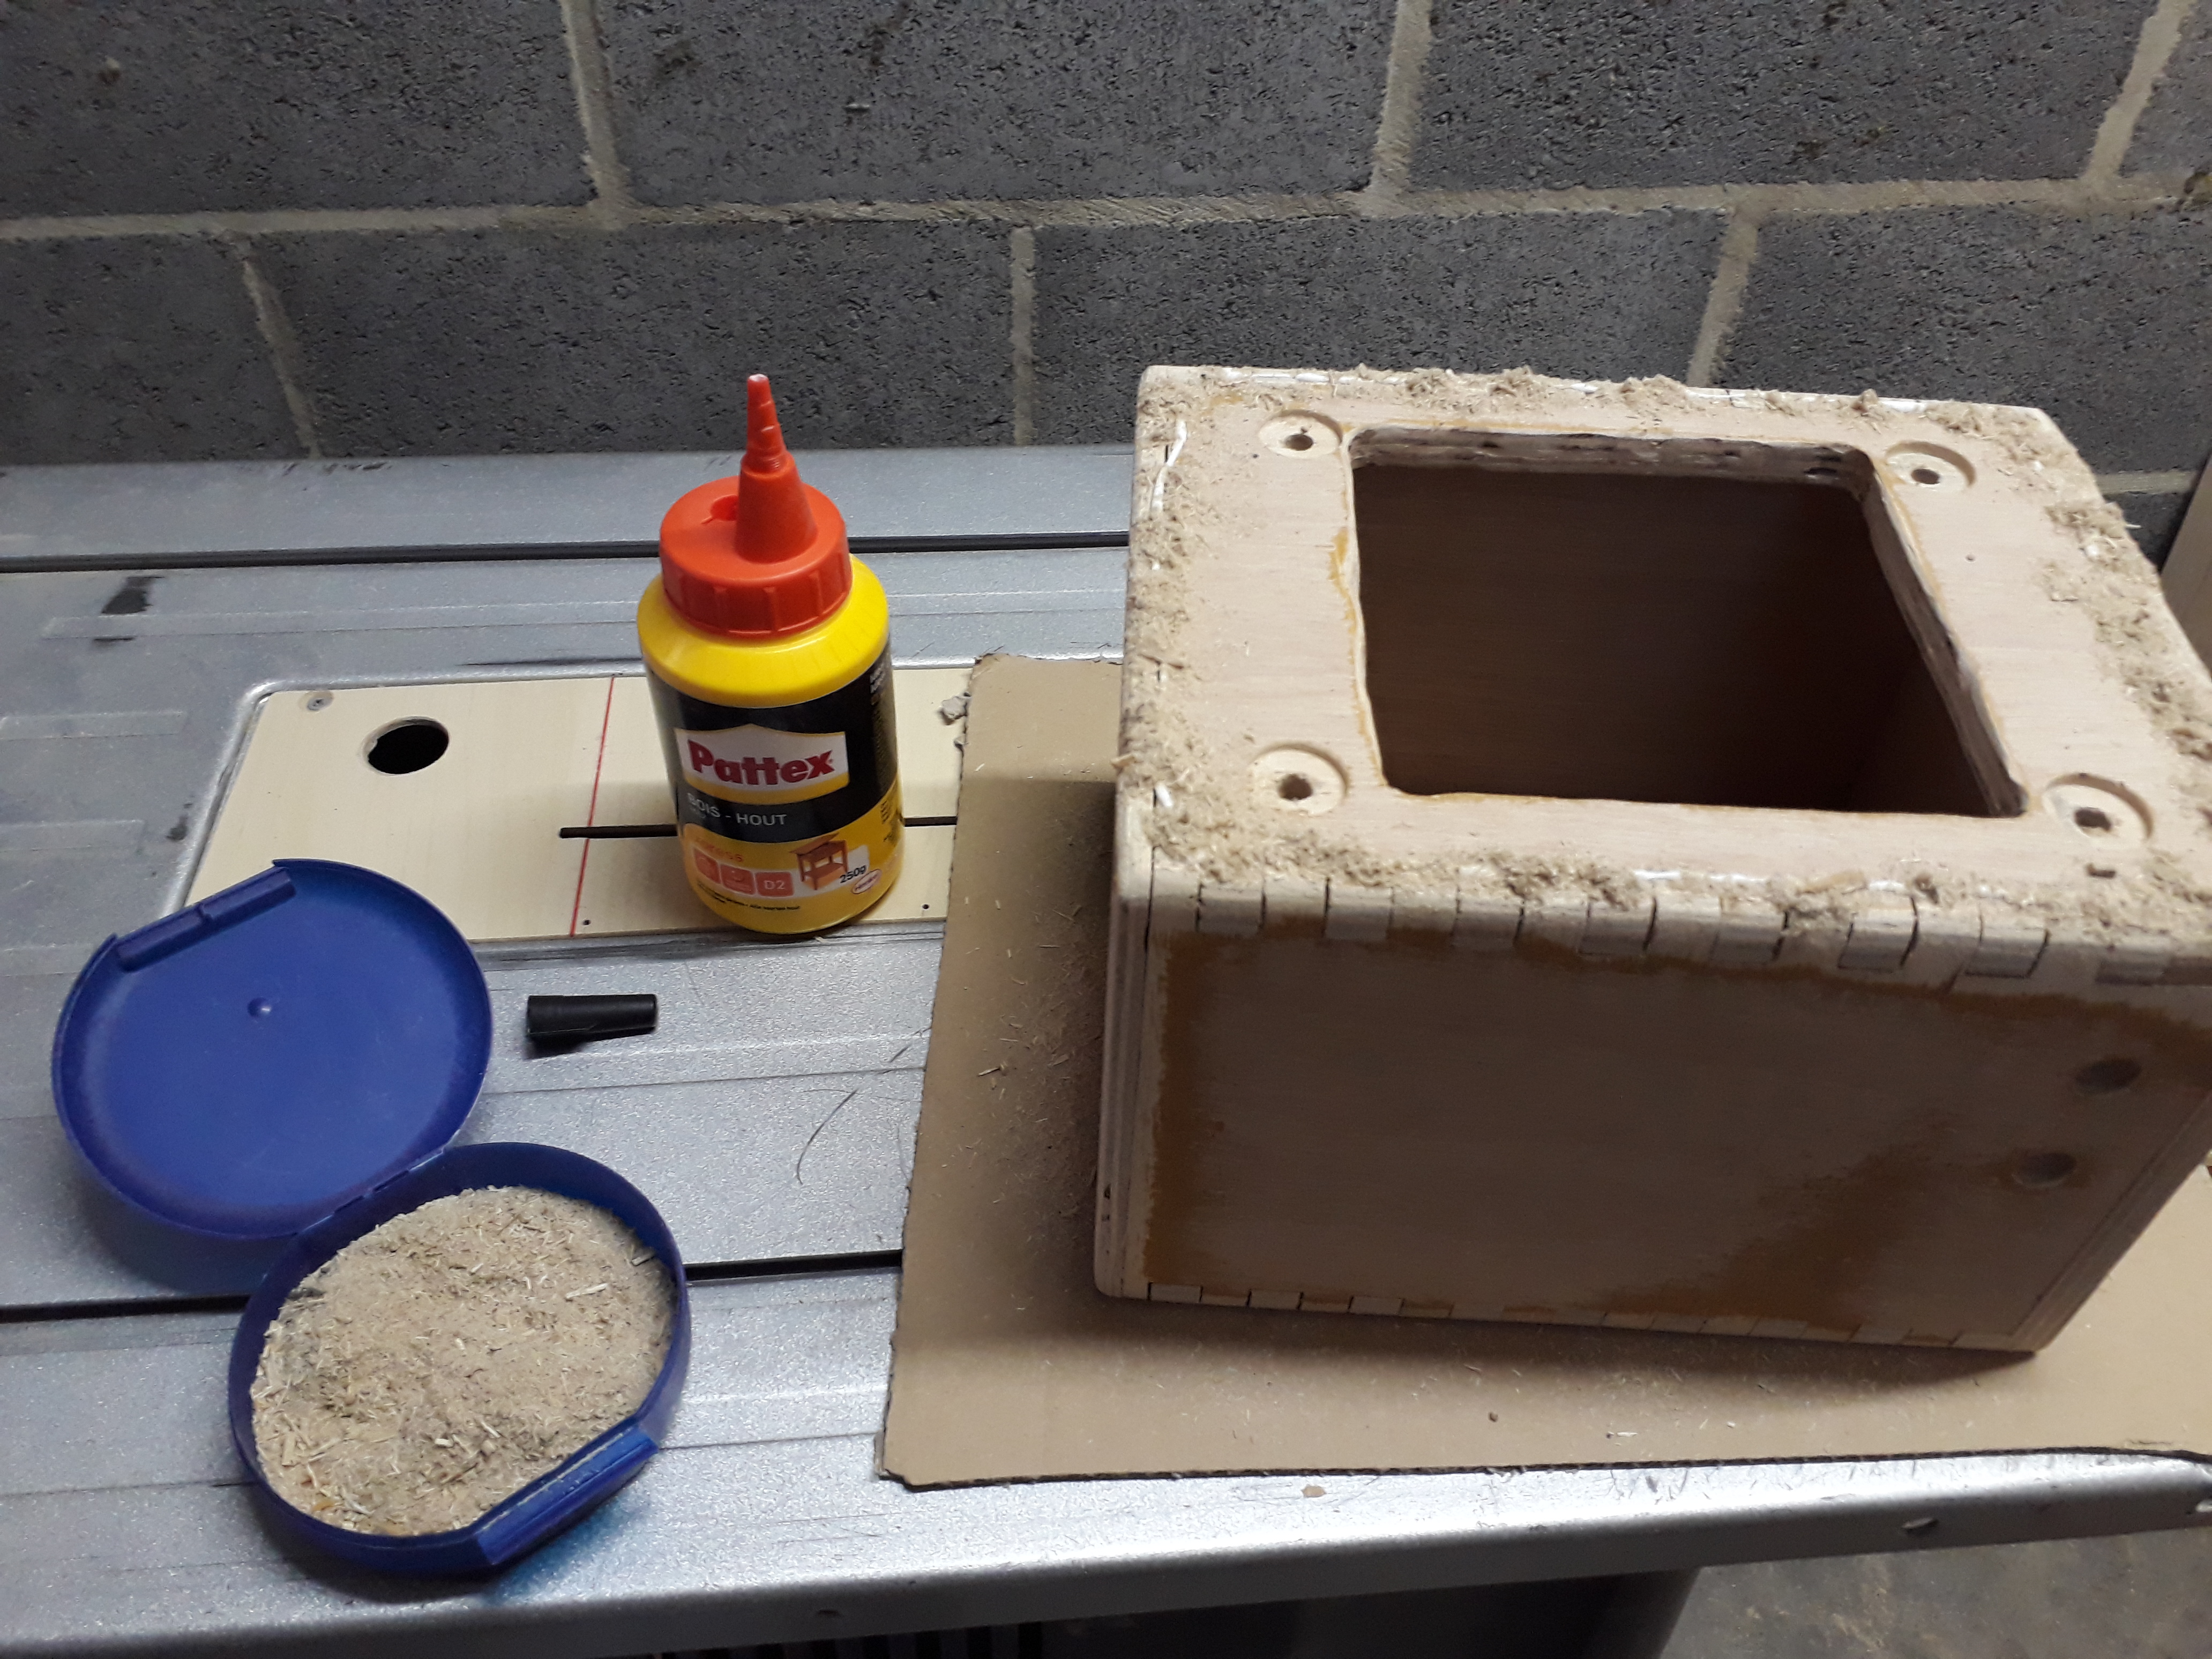
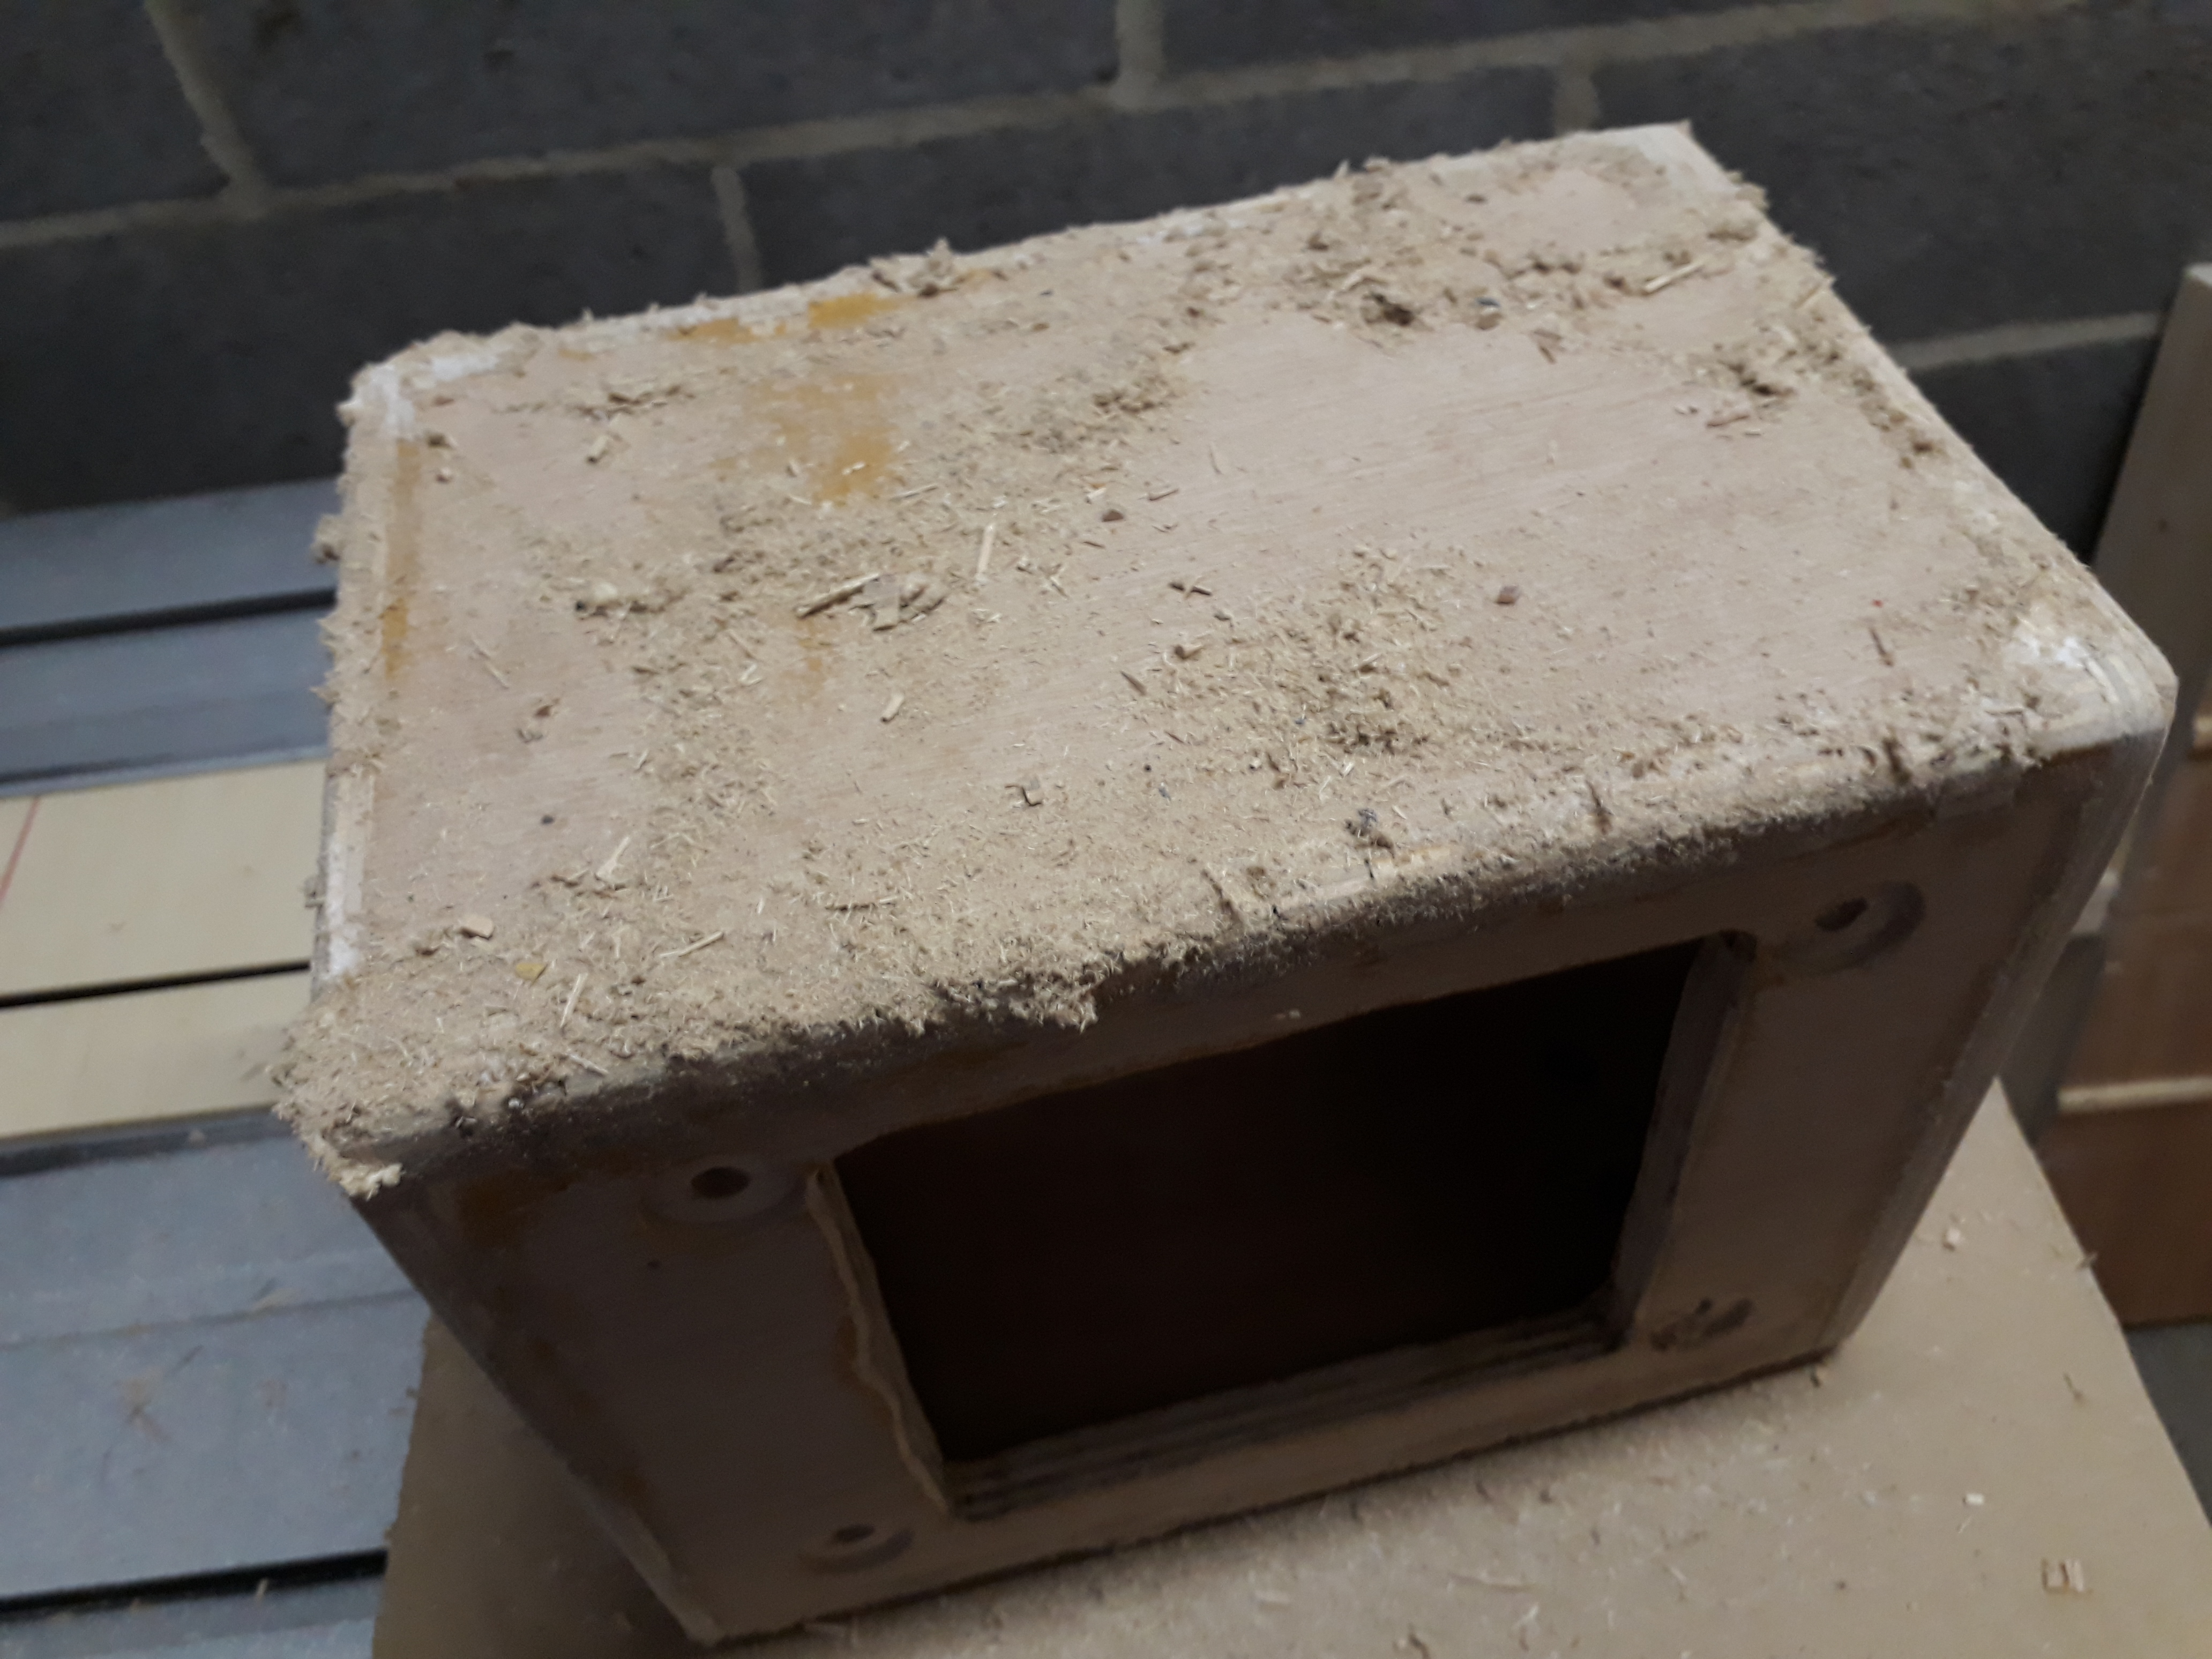
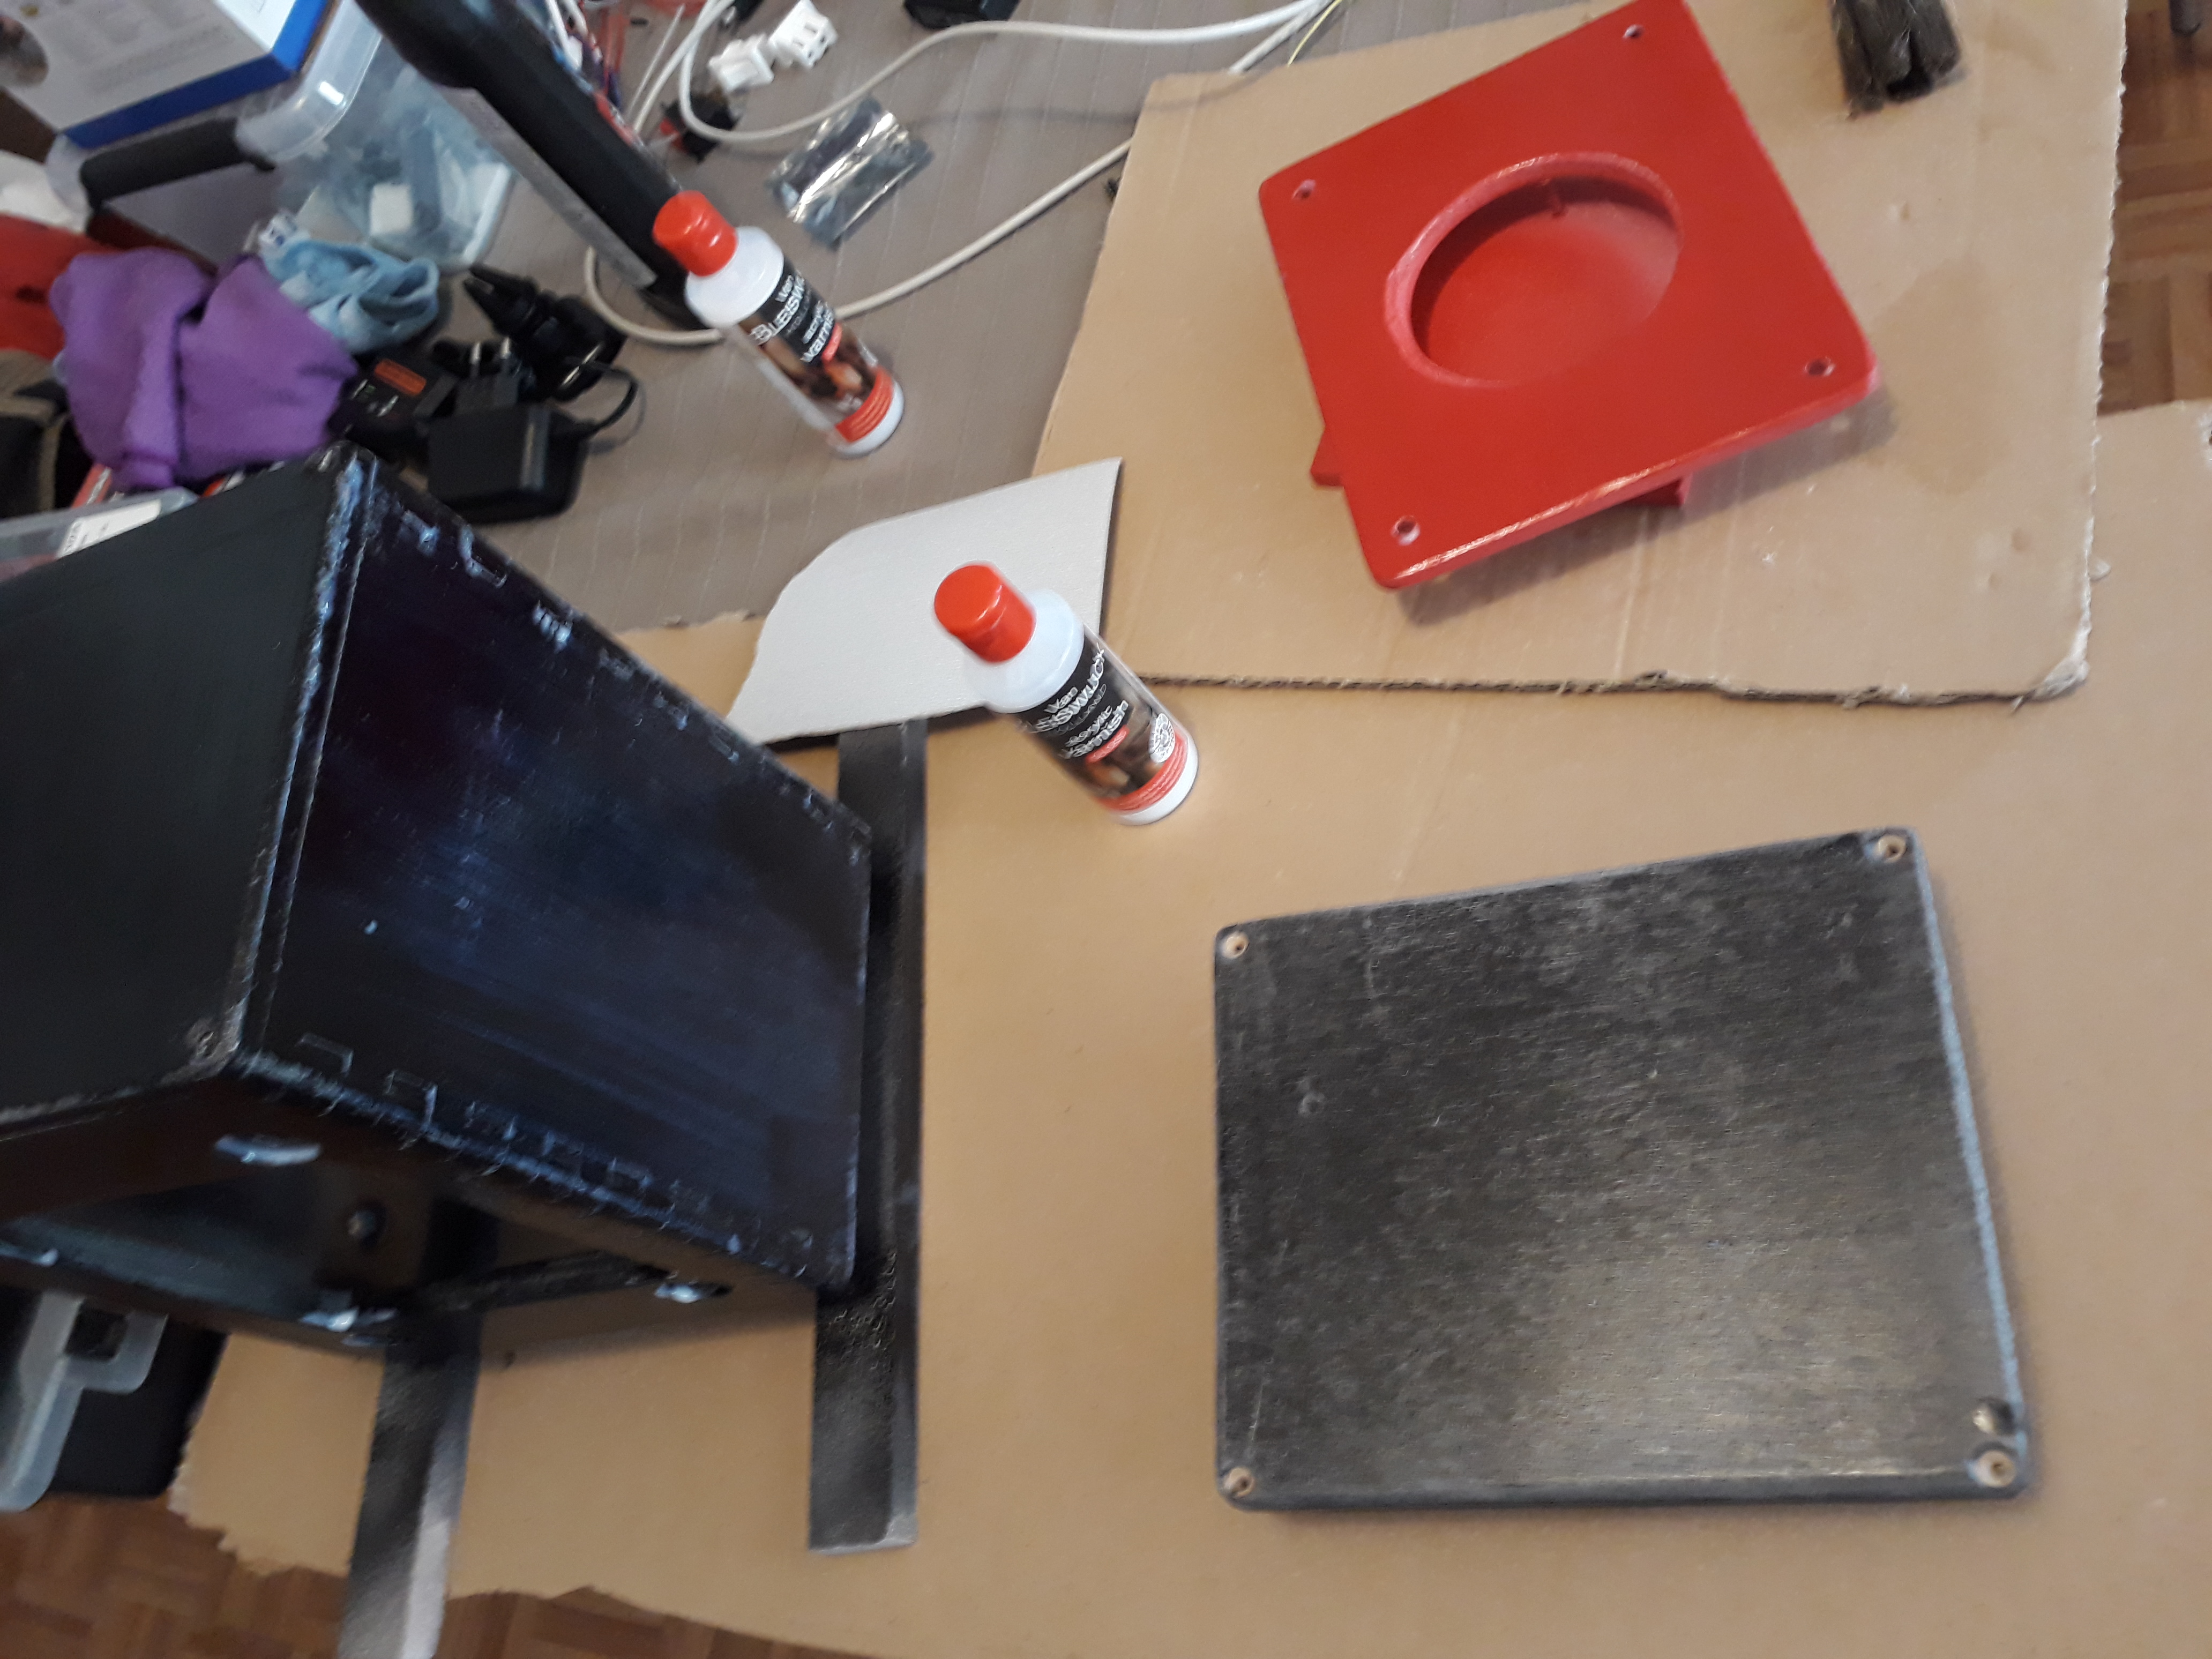
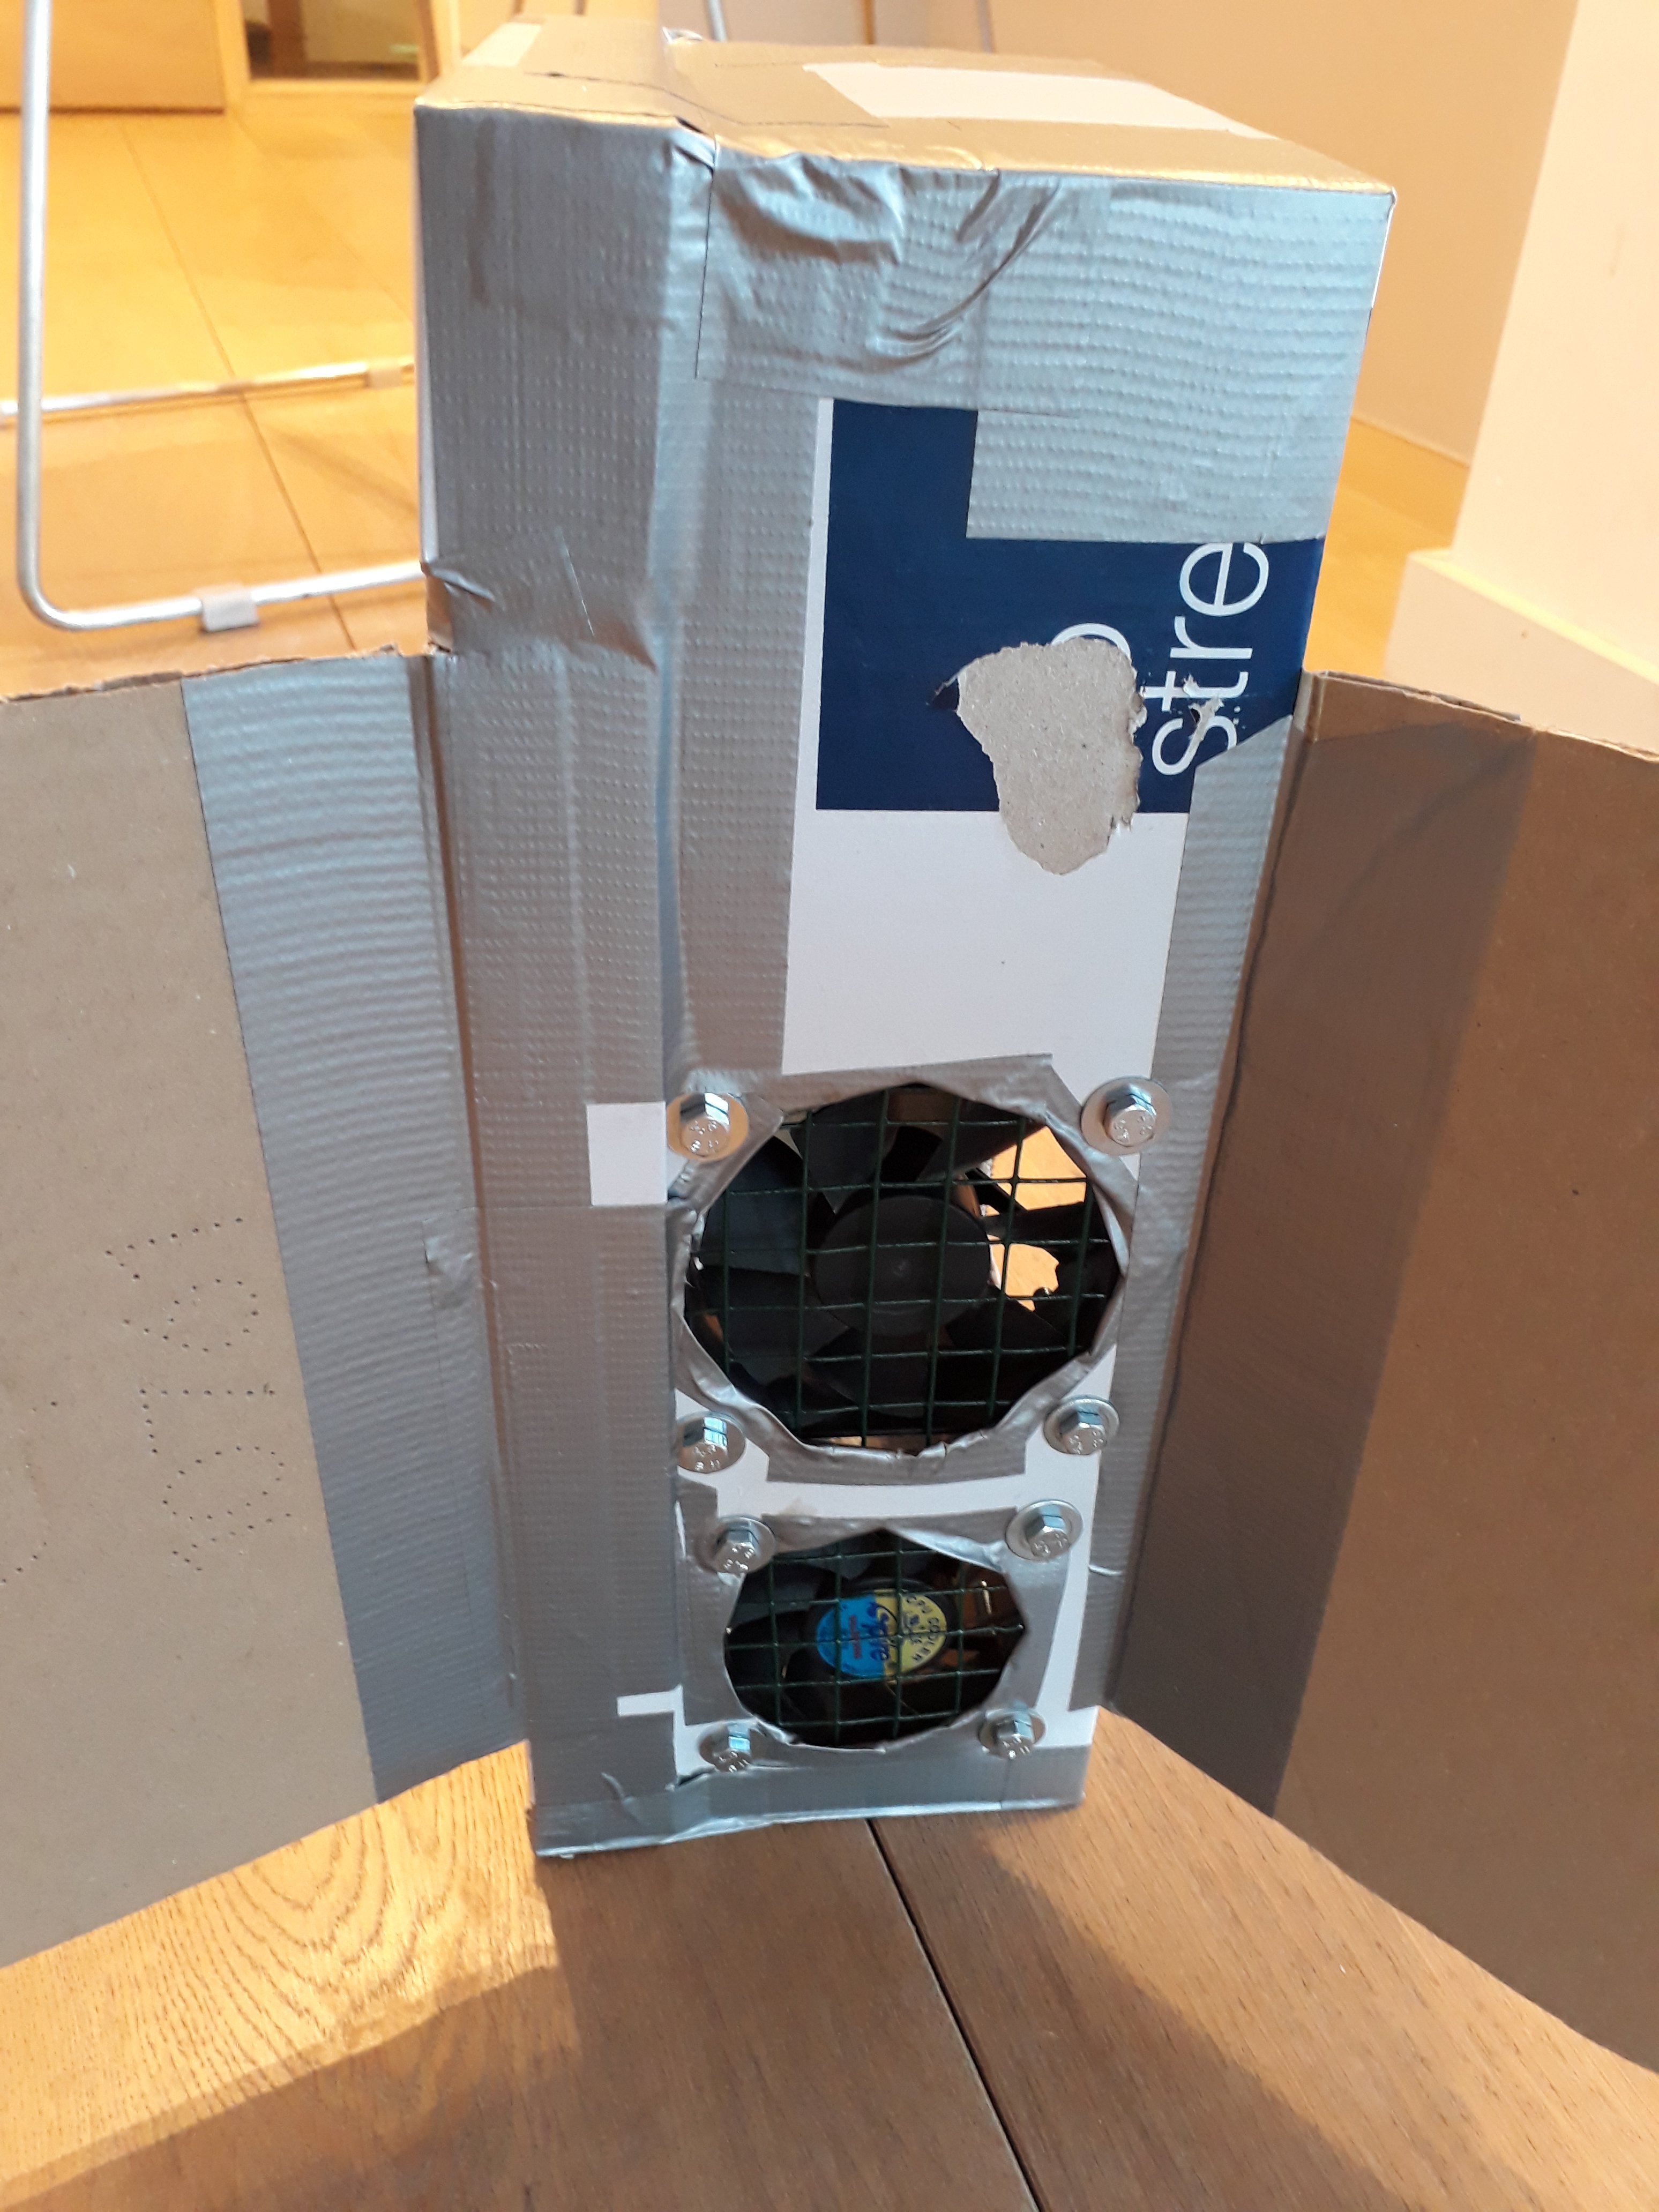
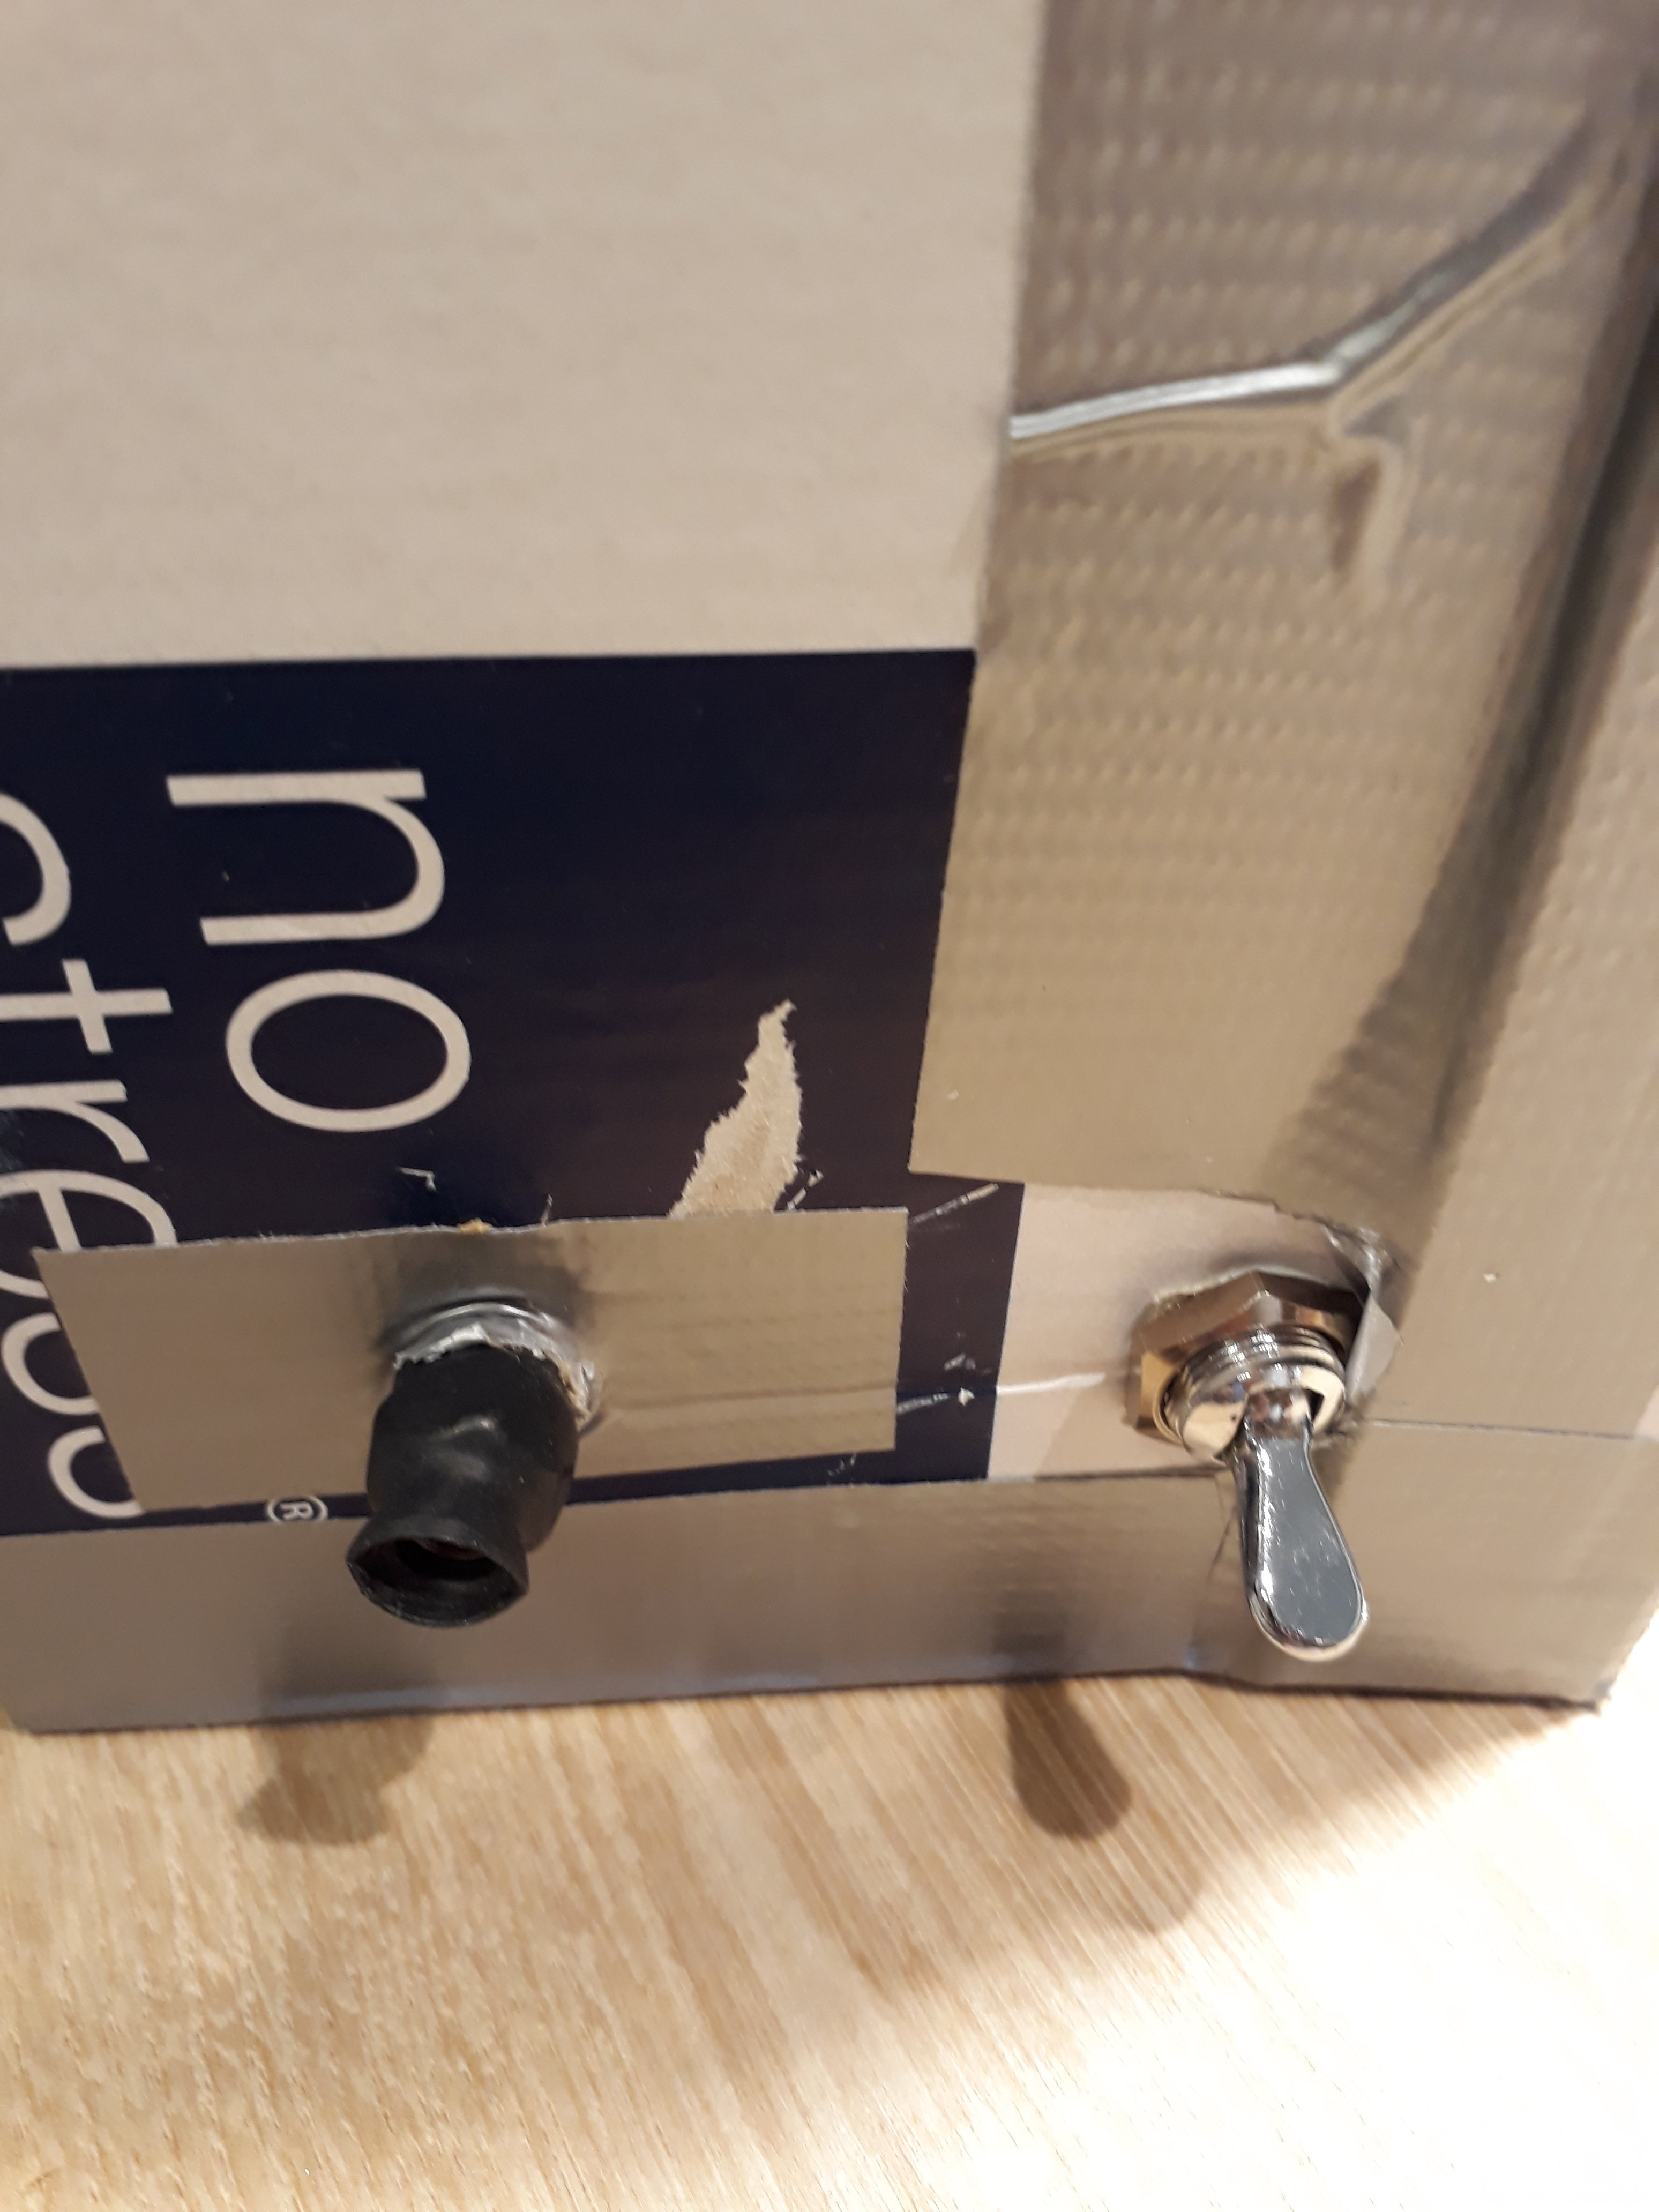
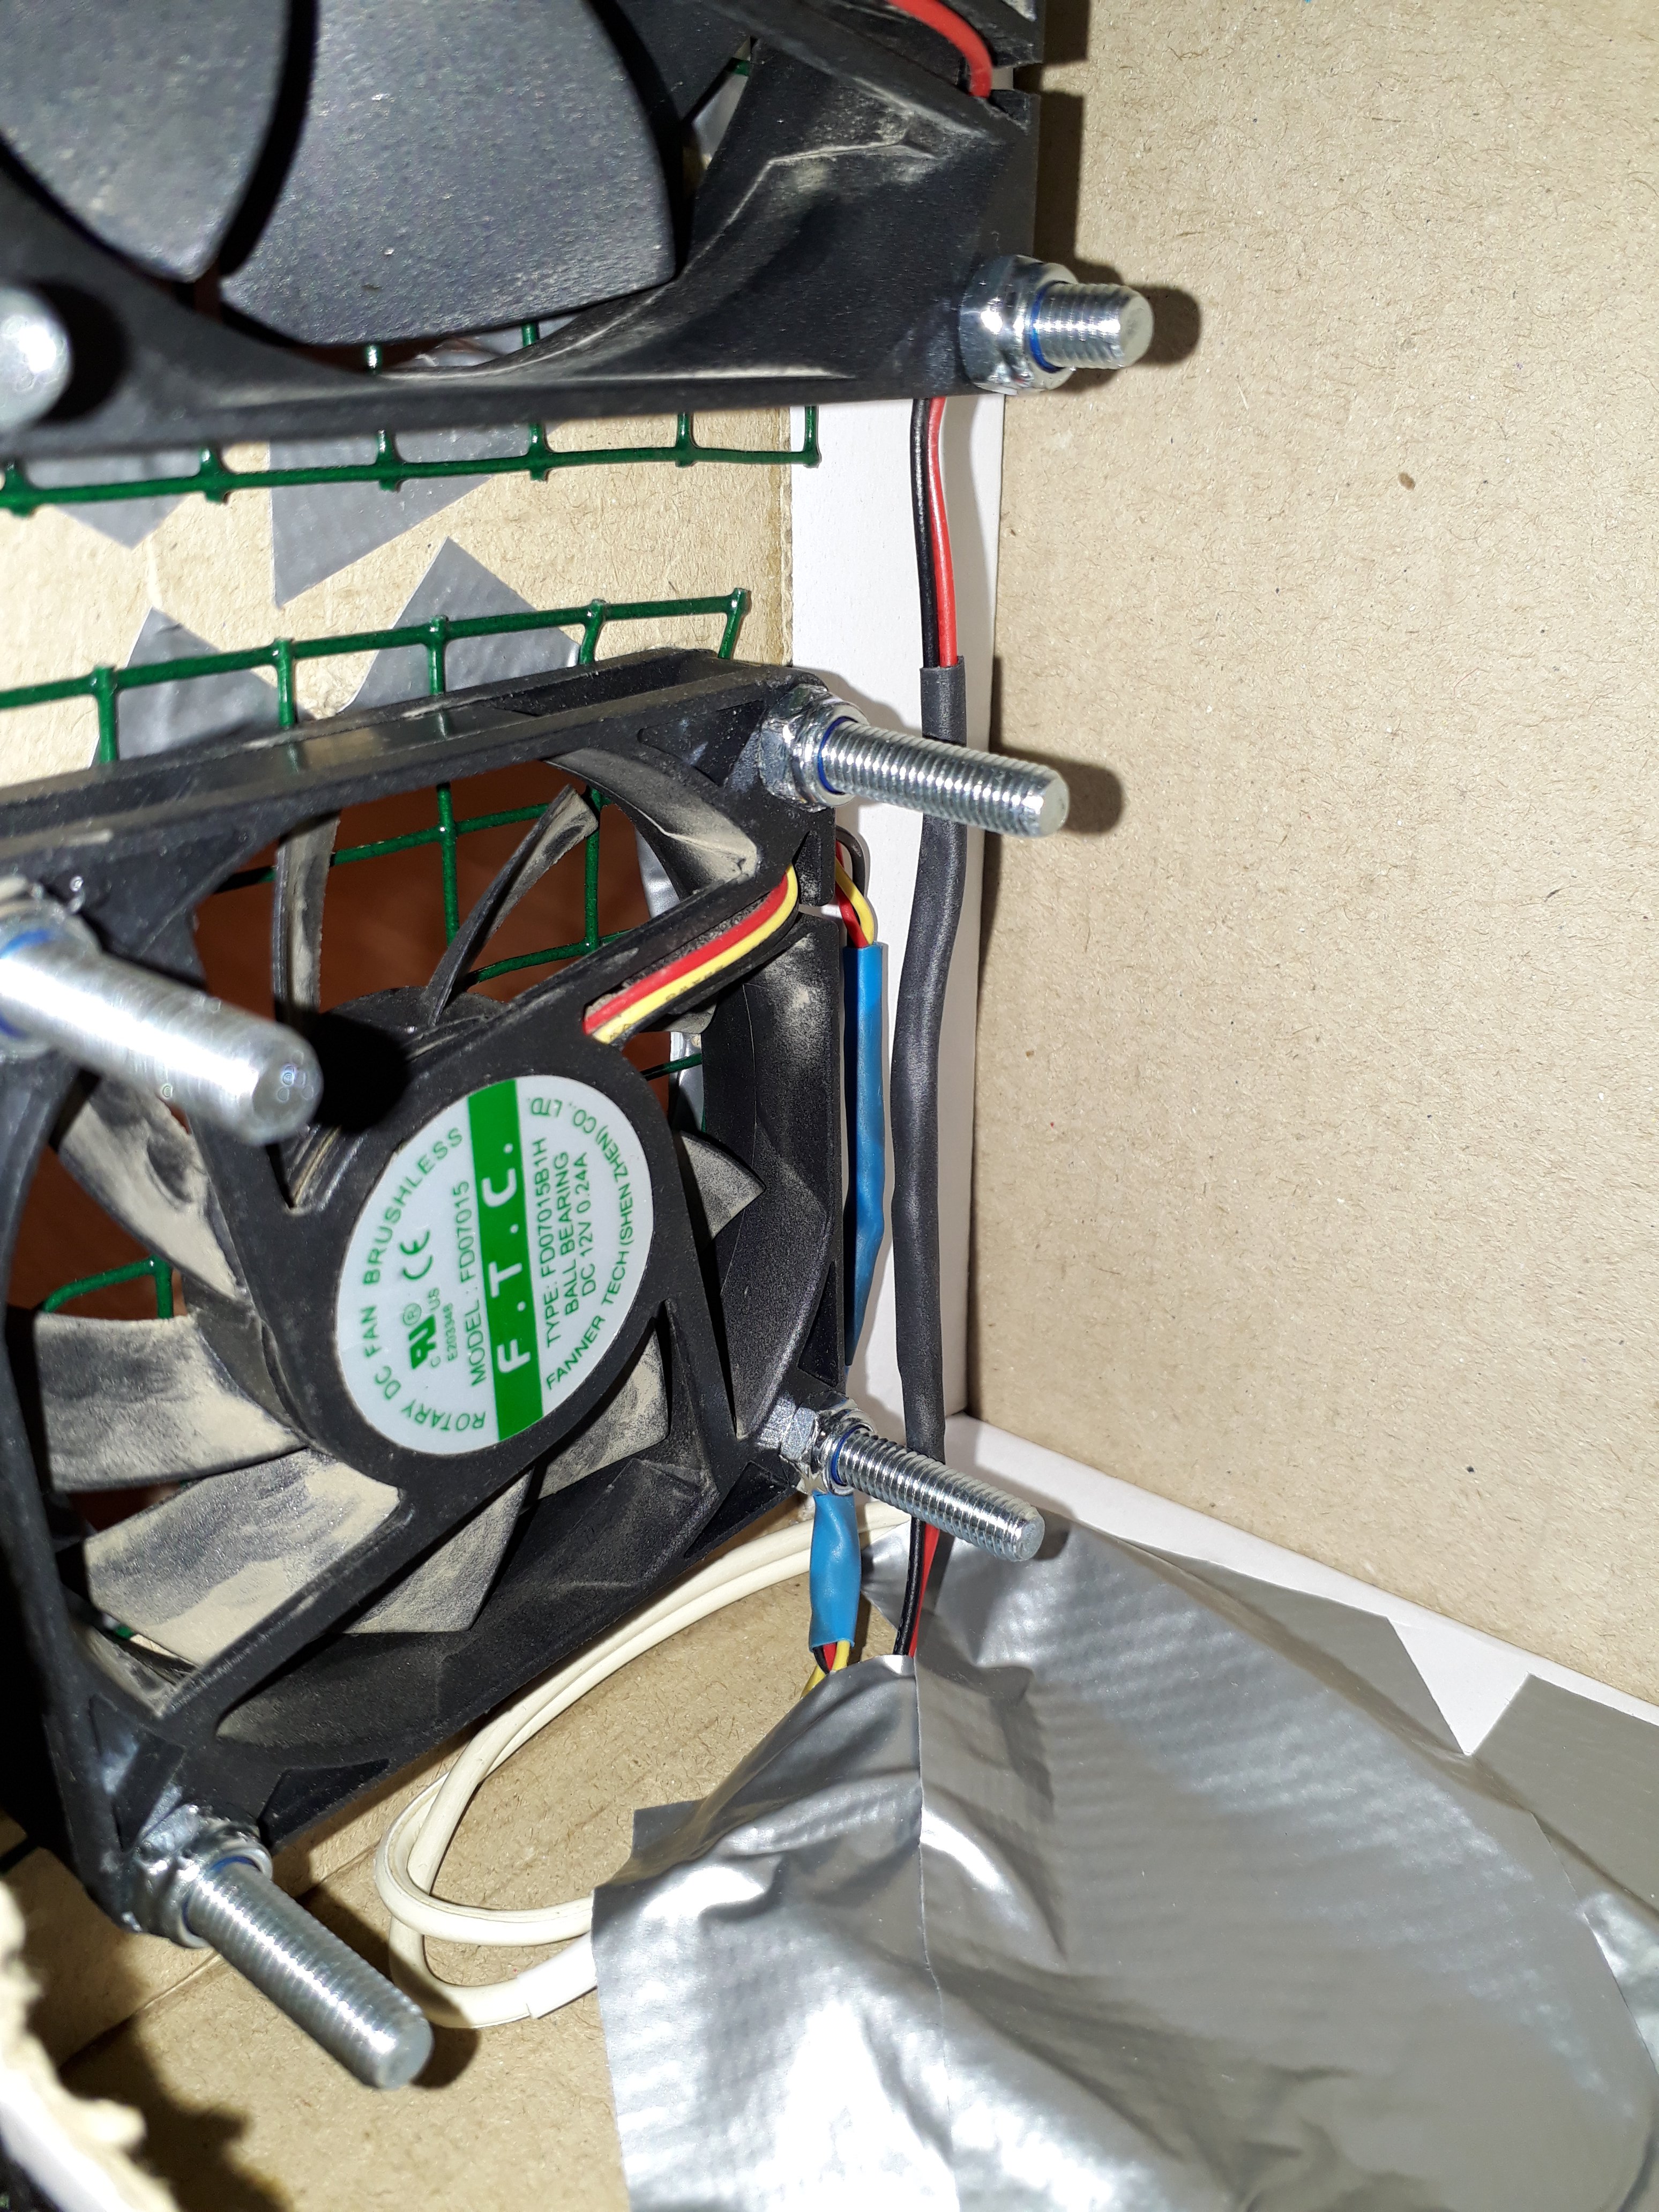
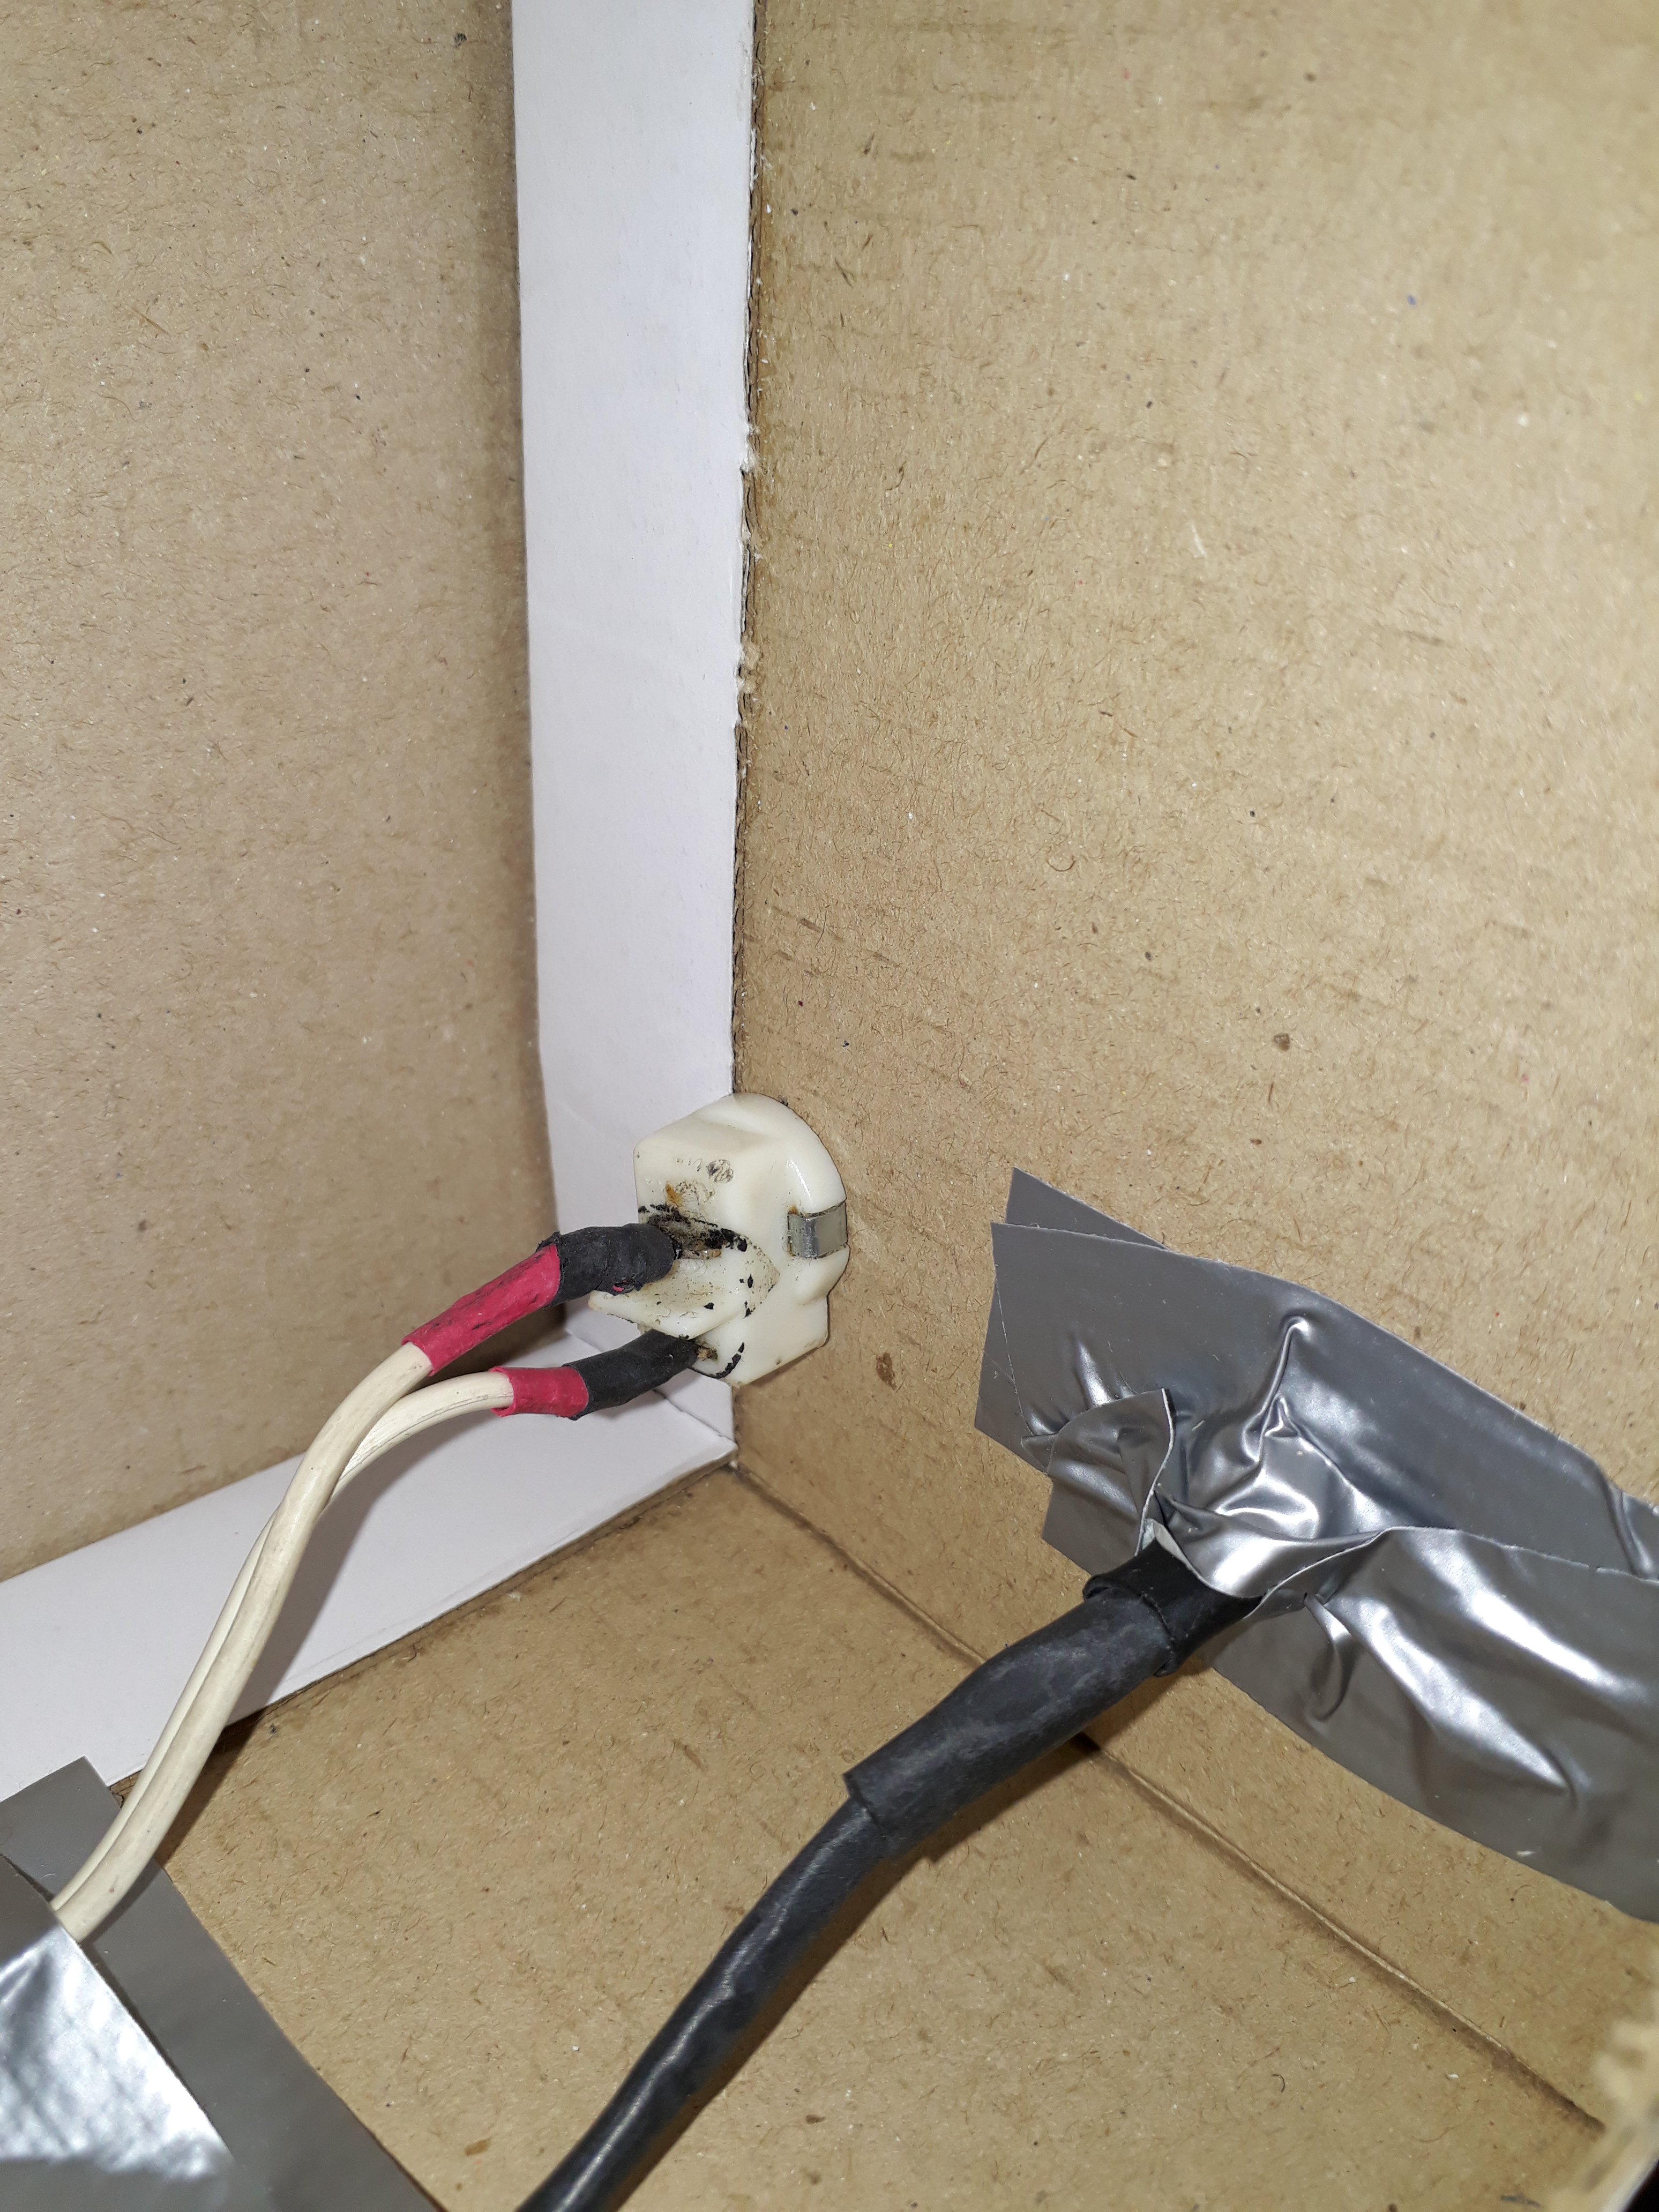
Cardboard version (deprecated)
In order to get rid of the toxic fumes when soldering, I created a fume extractor out of a cardboard shoebox. The box contains two 12V fans, wired in parallel. They are turned on and off using a toggle switch. Power comes from an external power adapter. The fans are mounted in the sides of the box, with extendable flaps to help direct the air flow inwards. There is a big hole in one of the sides, which stores a flexible ventilation hose that can be extended outwards using velcro.


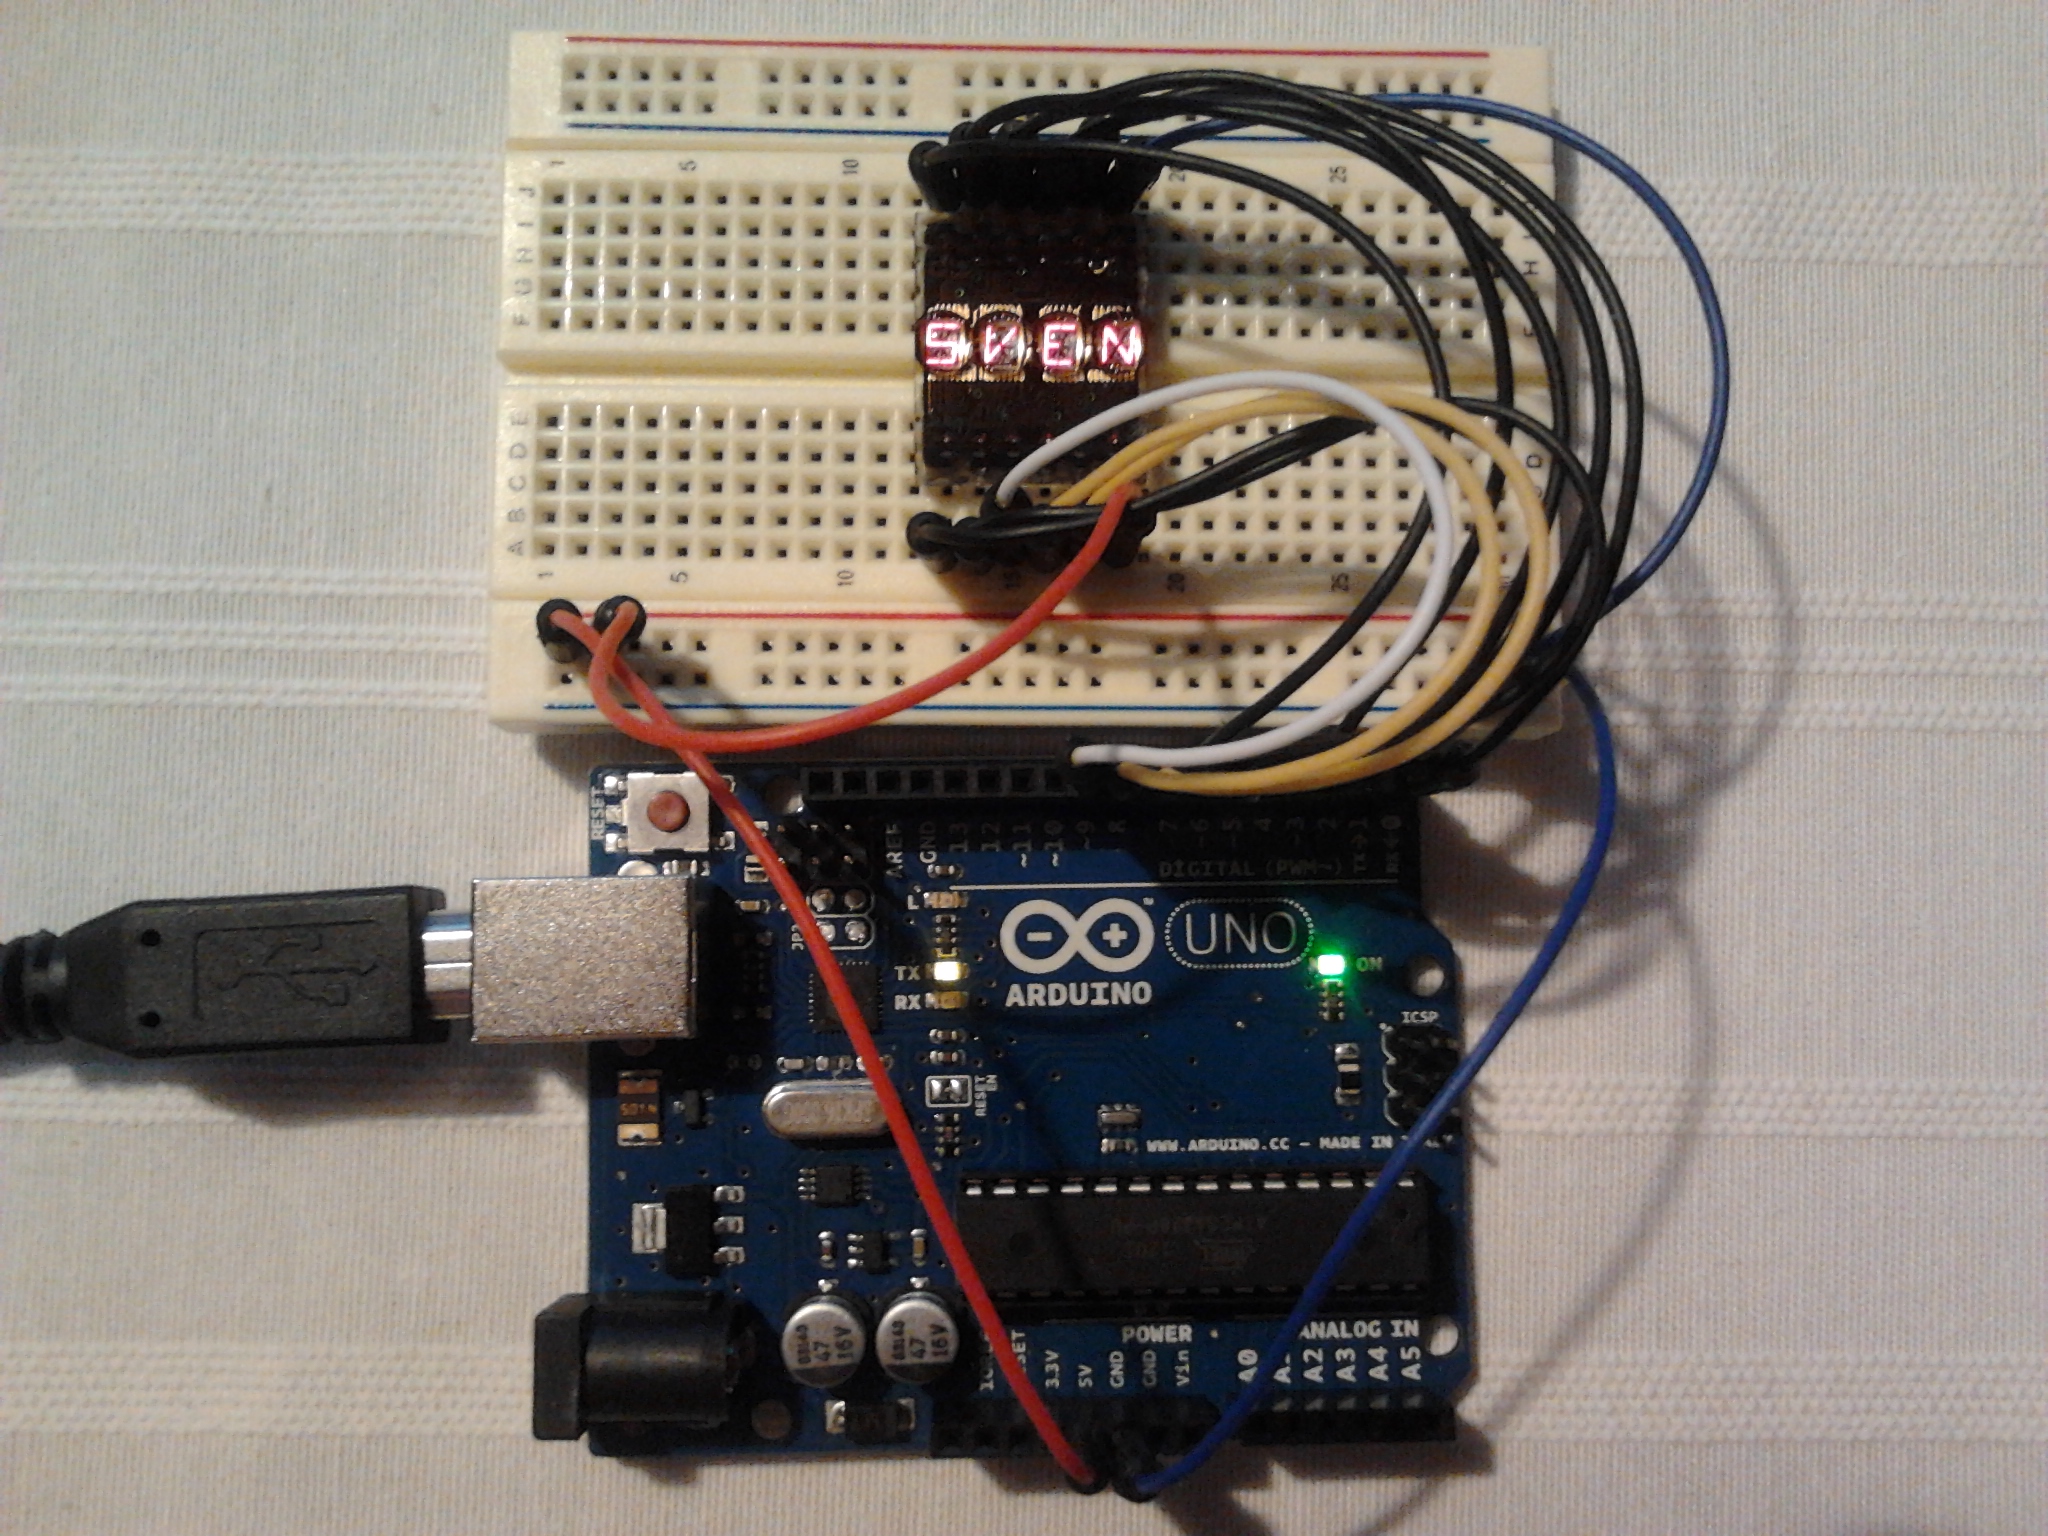
Custom Libraries: Siemens DL1414T
The DL1414T is a .112" red, 4-character 16 segment plus decimal alphanumeric intelligent display with memory/decoder/driver.
Its Arduino Uno implementation uses 7 data input pins (0 to 6), 2 pins for digit selection (7 and 8) and 1 pin for writing (9). The library provides functions for setting individual digits (both as complete characters, or their individual bits), showing a string, integer, and float, as well as ticker-taping a longer string.
- Class methods:
void setDigitRaw(int digit, boolean bit6, boolean bit5, boolean bit4, boolean bit3, boolean bit2, boolean bit1, boolean bit0);void setDigit(int digit, char character);void clearDigits();void showStr4(char c3, char c2, char c1, char c0);void showStr4(String s);void showInt(int i);void showFloat(float f);void ticker(String s);
Custom Libraries: Button Debouncer
The ButtonDebouncer class provides an easy way to check the
status of a series of push buttons. It allows for monitoring of debounced
presses, as well as distinguishing between short and long(er) presses.
Custom Libraries: Simple Tune Player
The SimpleTunePlayer class provides an implementation to play a
sequence of notes via a small speaker.
Custom Libraries: Linked List
The LinkedList class provides an implementation of a linked list.
Custom Libraries: RTCDS130x
The RTCDS130x class provides an implementation to uniformly access the real-time clocks RTC of the DS1302 and DS1307 ICs.
Custom Libraries: SD
The SD class provides an implementation to read from and write to an SD card.
Custom Libraries: GeneralTools
The GeneralTools class provides general utility methods, to lower
power consumption, and a lookup table with 256 entries to convert absolute LED
brightness to a logarithmic one as perceived by the human eye.
Custom Libraries: CapacitiveTouchSensor
The CapacitiveTouchSensor class provides an easy method to assess
the state of a capacitive touch surface, based on a single pin (it uses the ADCTouch library).
Custom Libraries: Tones
The Tones library provides in first instance a series of classes
to generate tones, either at full volume (DefaultToneGenerator
class), or at a user-specified volume (VolumeToneGenerator class)
using the Volume
library. In addition it also provides the TunePlayer class
that allows to play songs, whereby a LED can be flashed for each note, as well
as providing a callback function handle to interrupt and abort the music
(e.g., using a (capacitive touch) sensor). Finally, it provides over 20
songs/tunes that can be played.
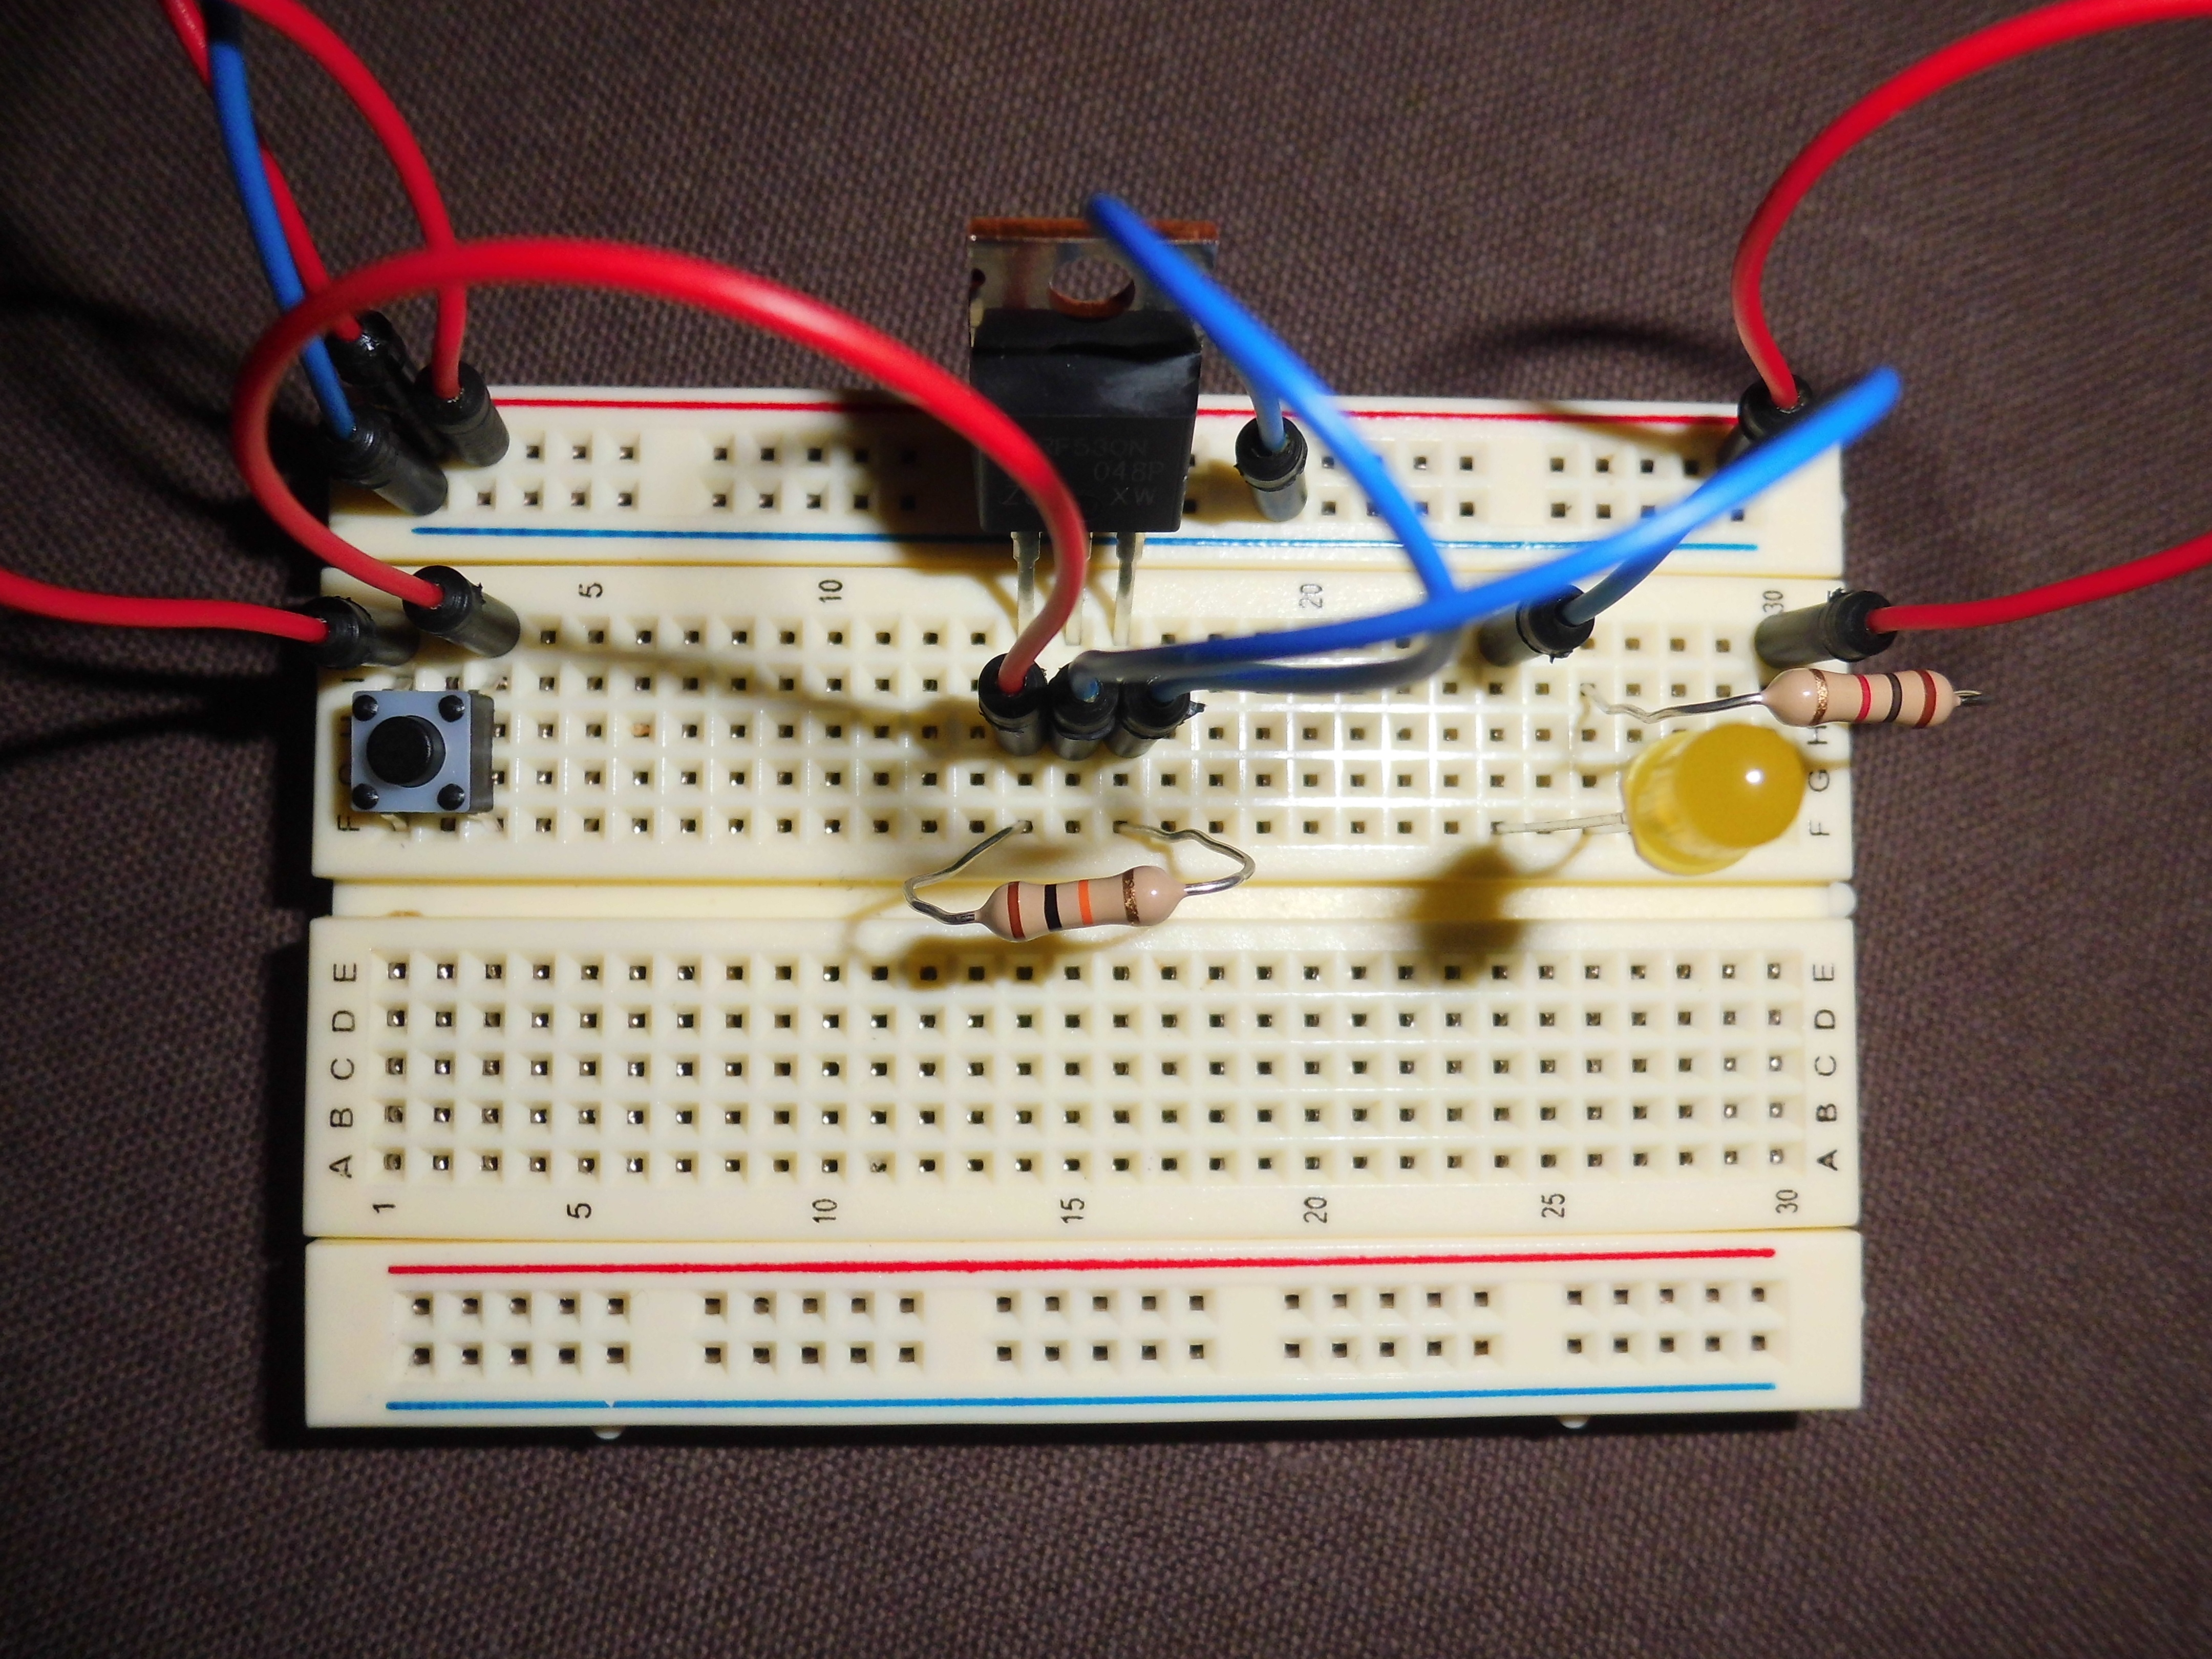
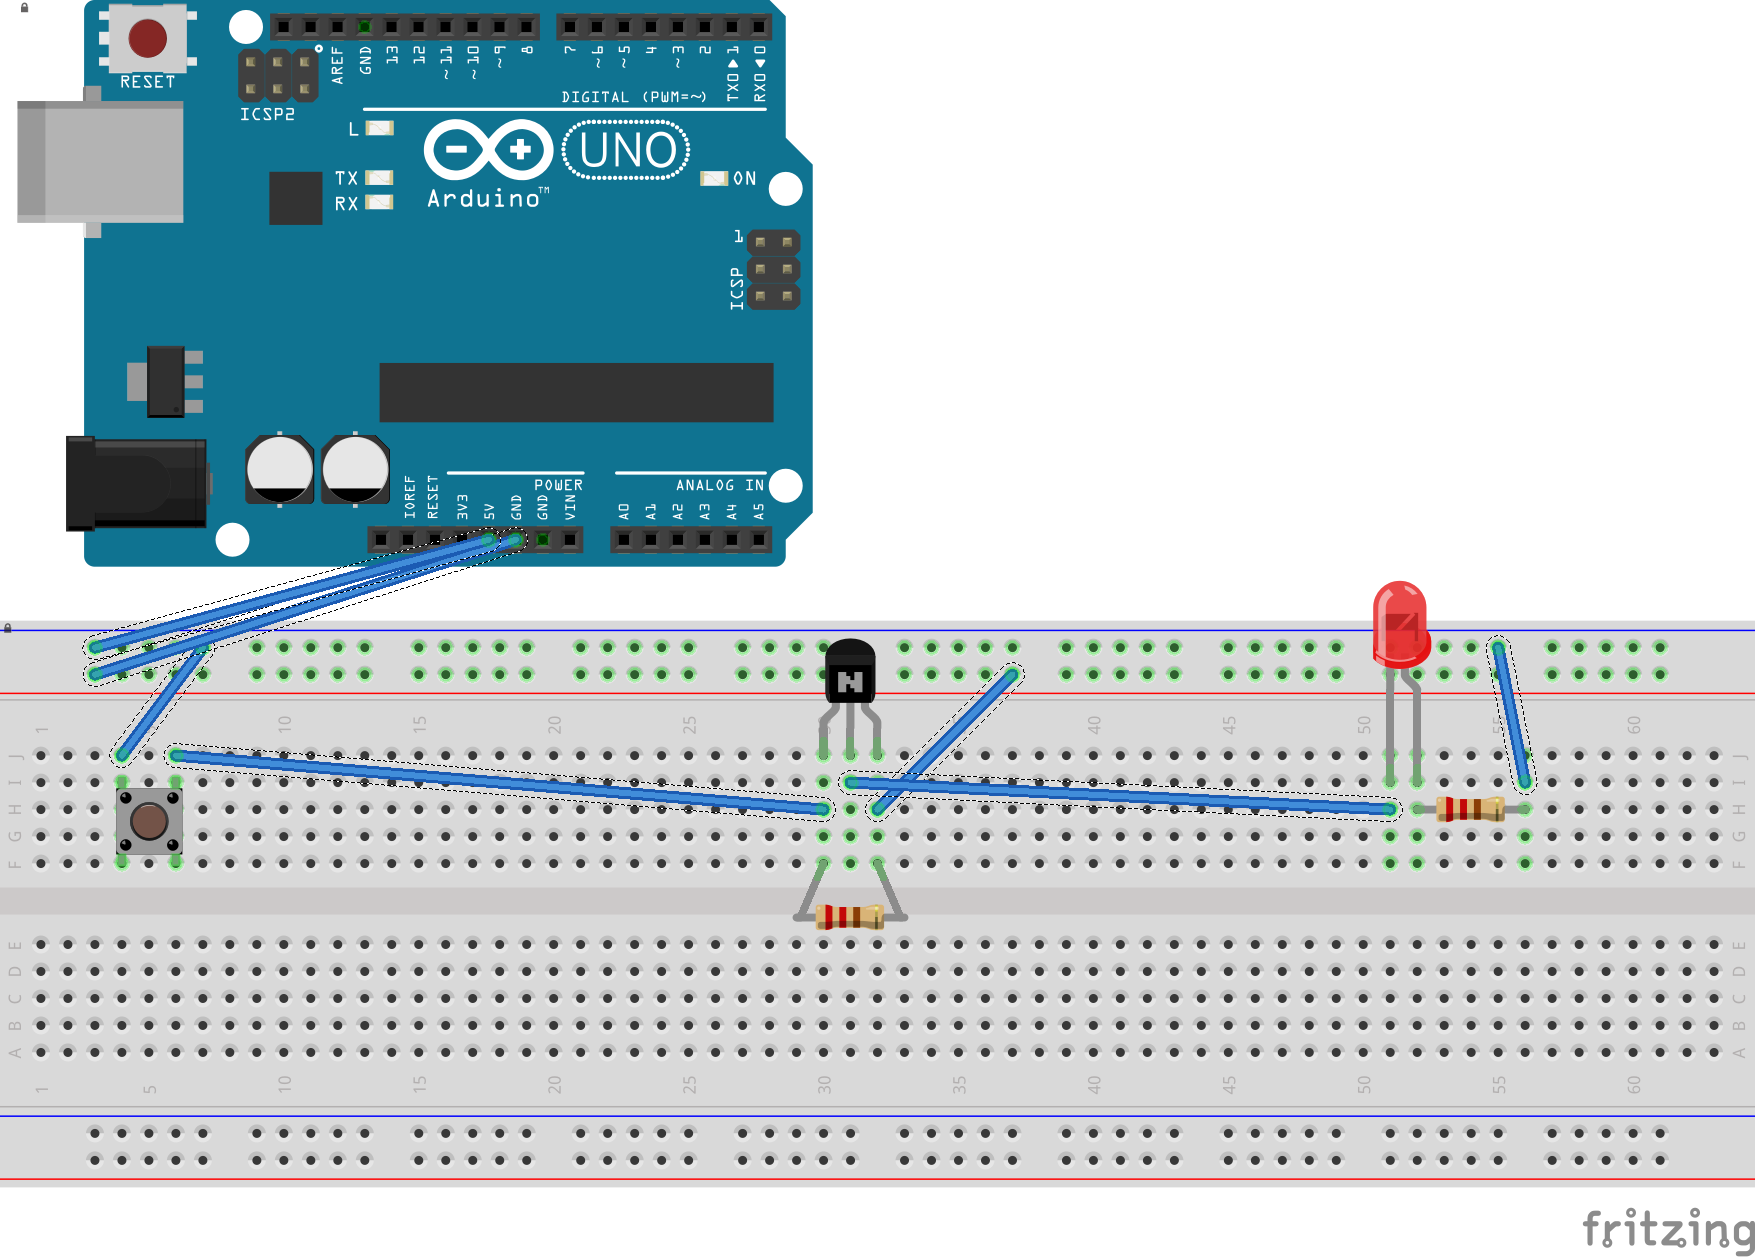
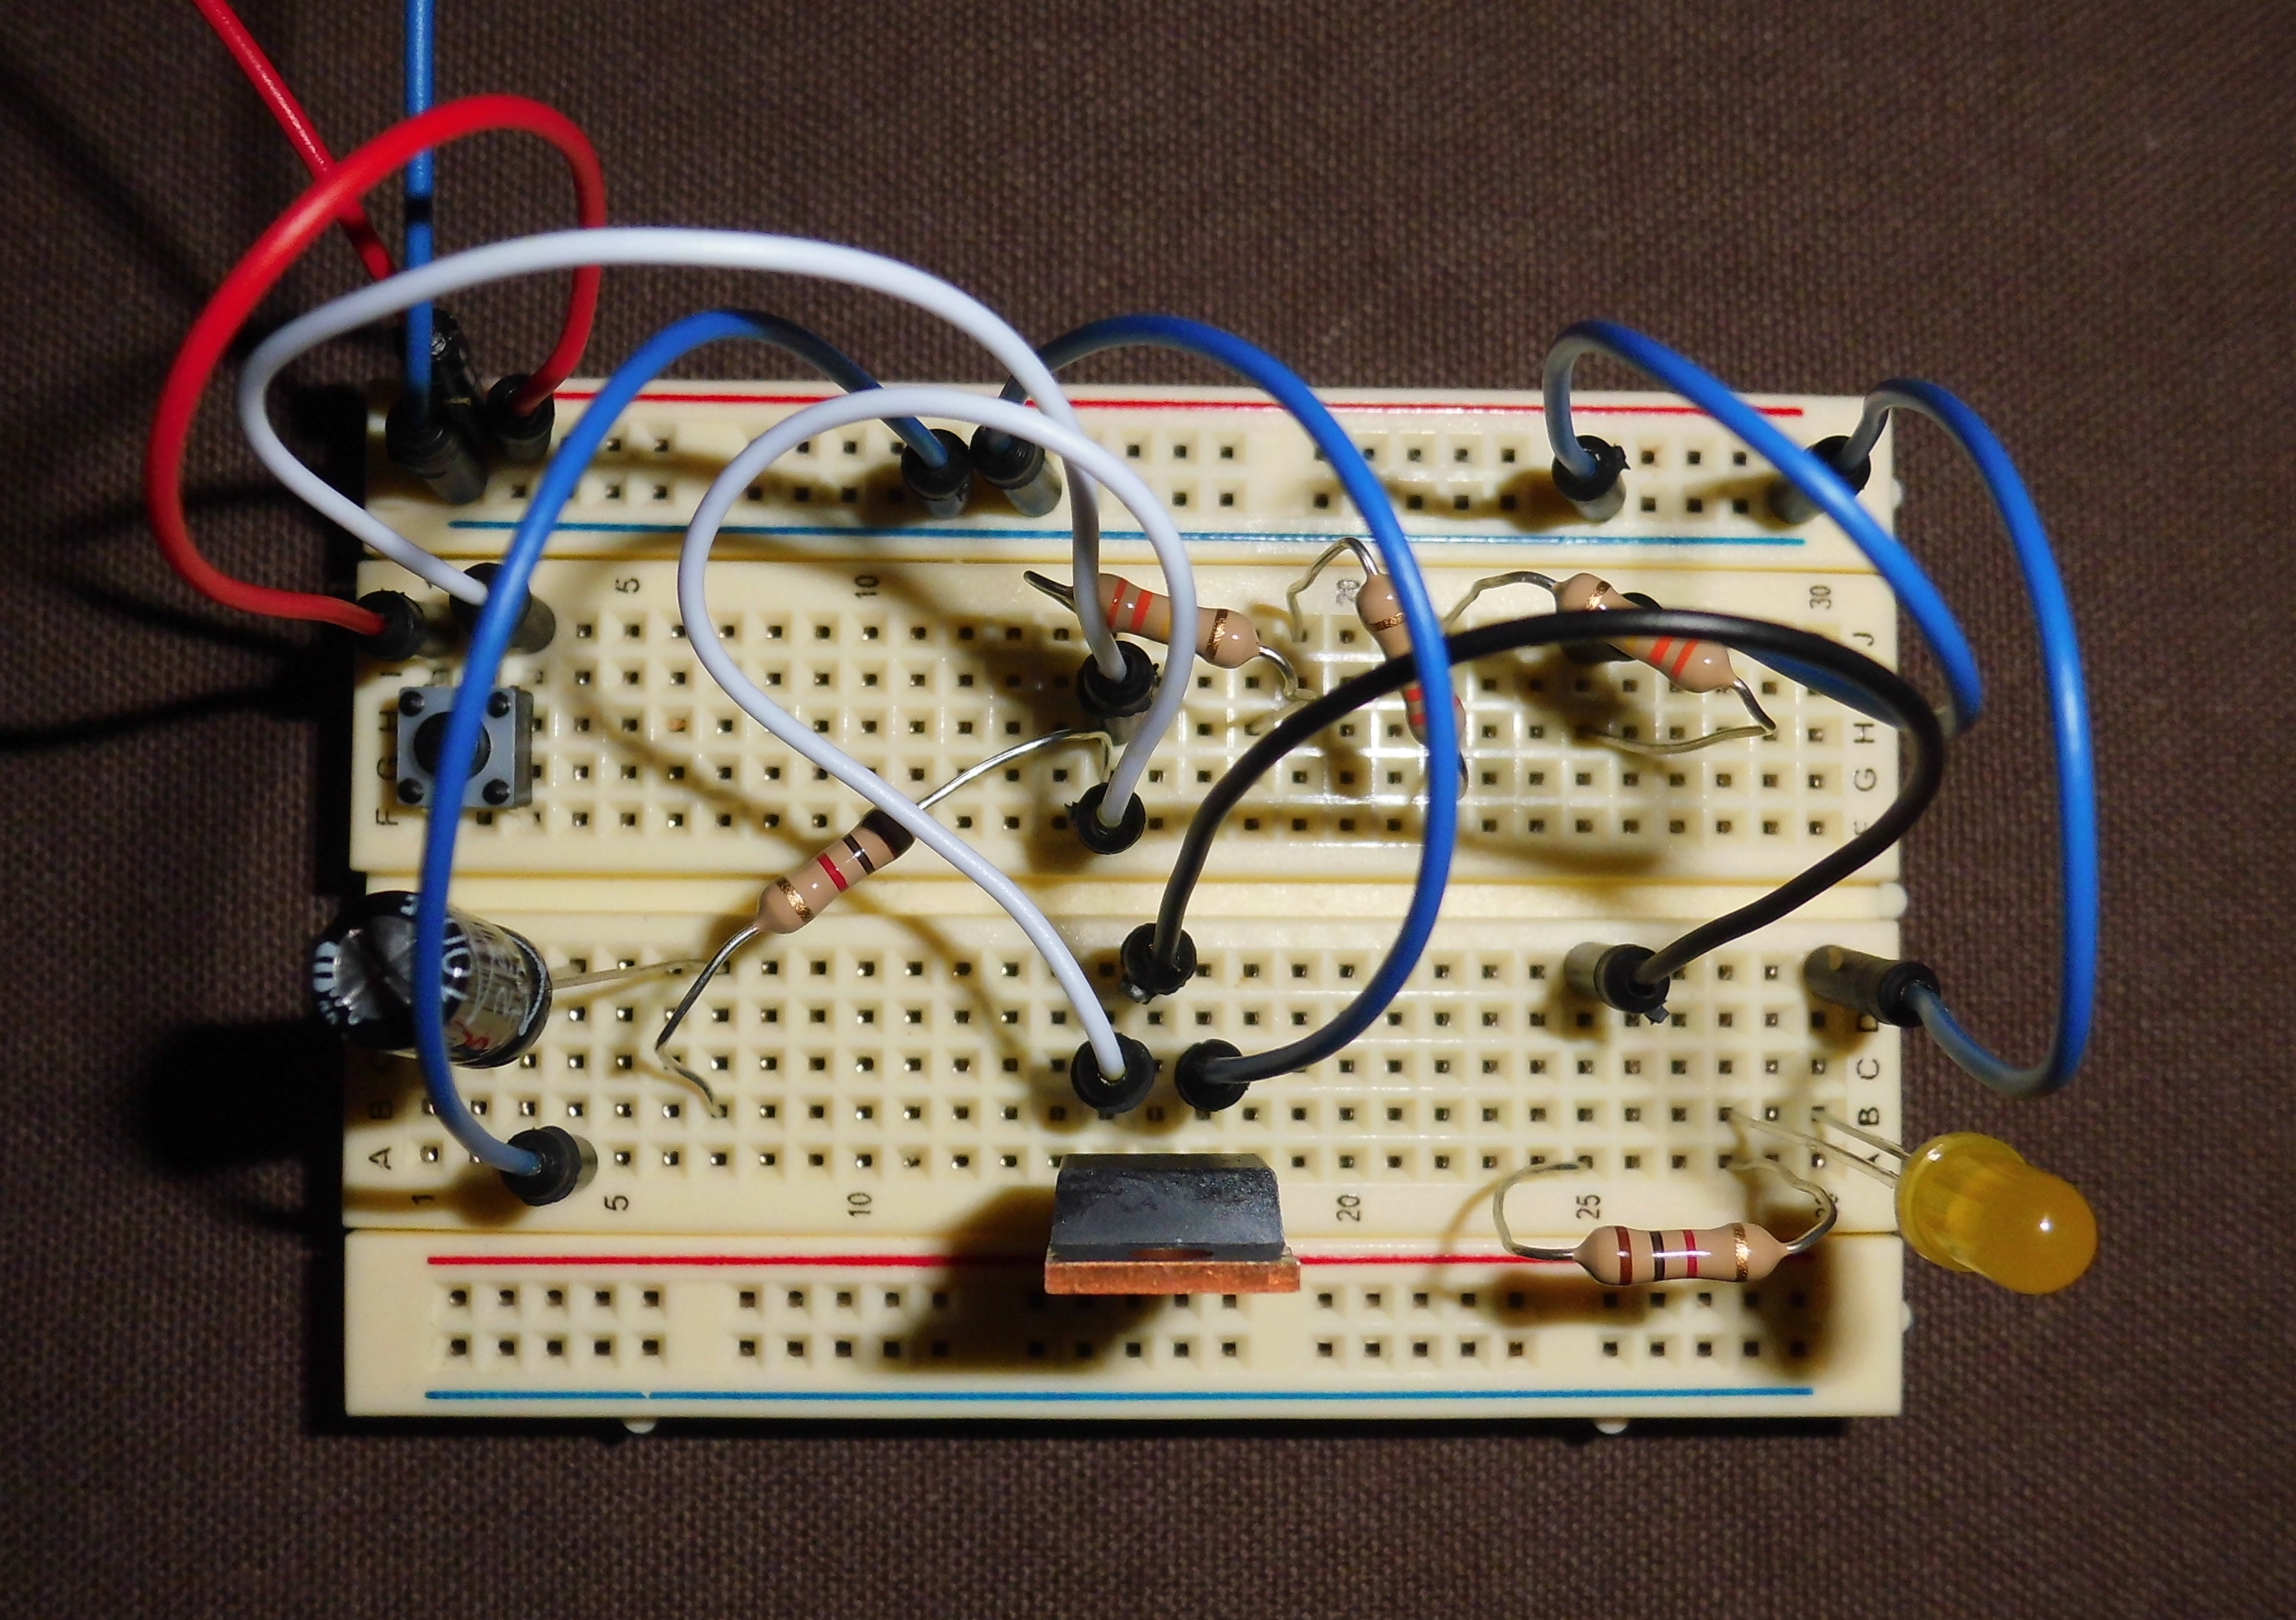
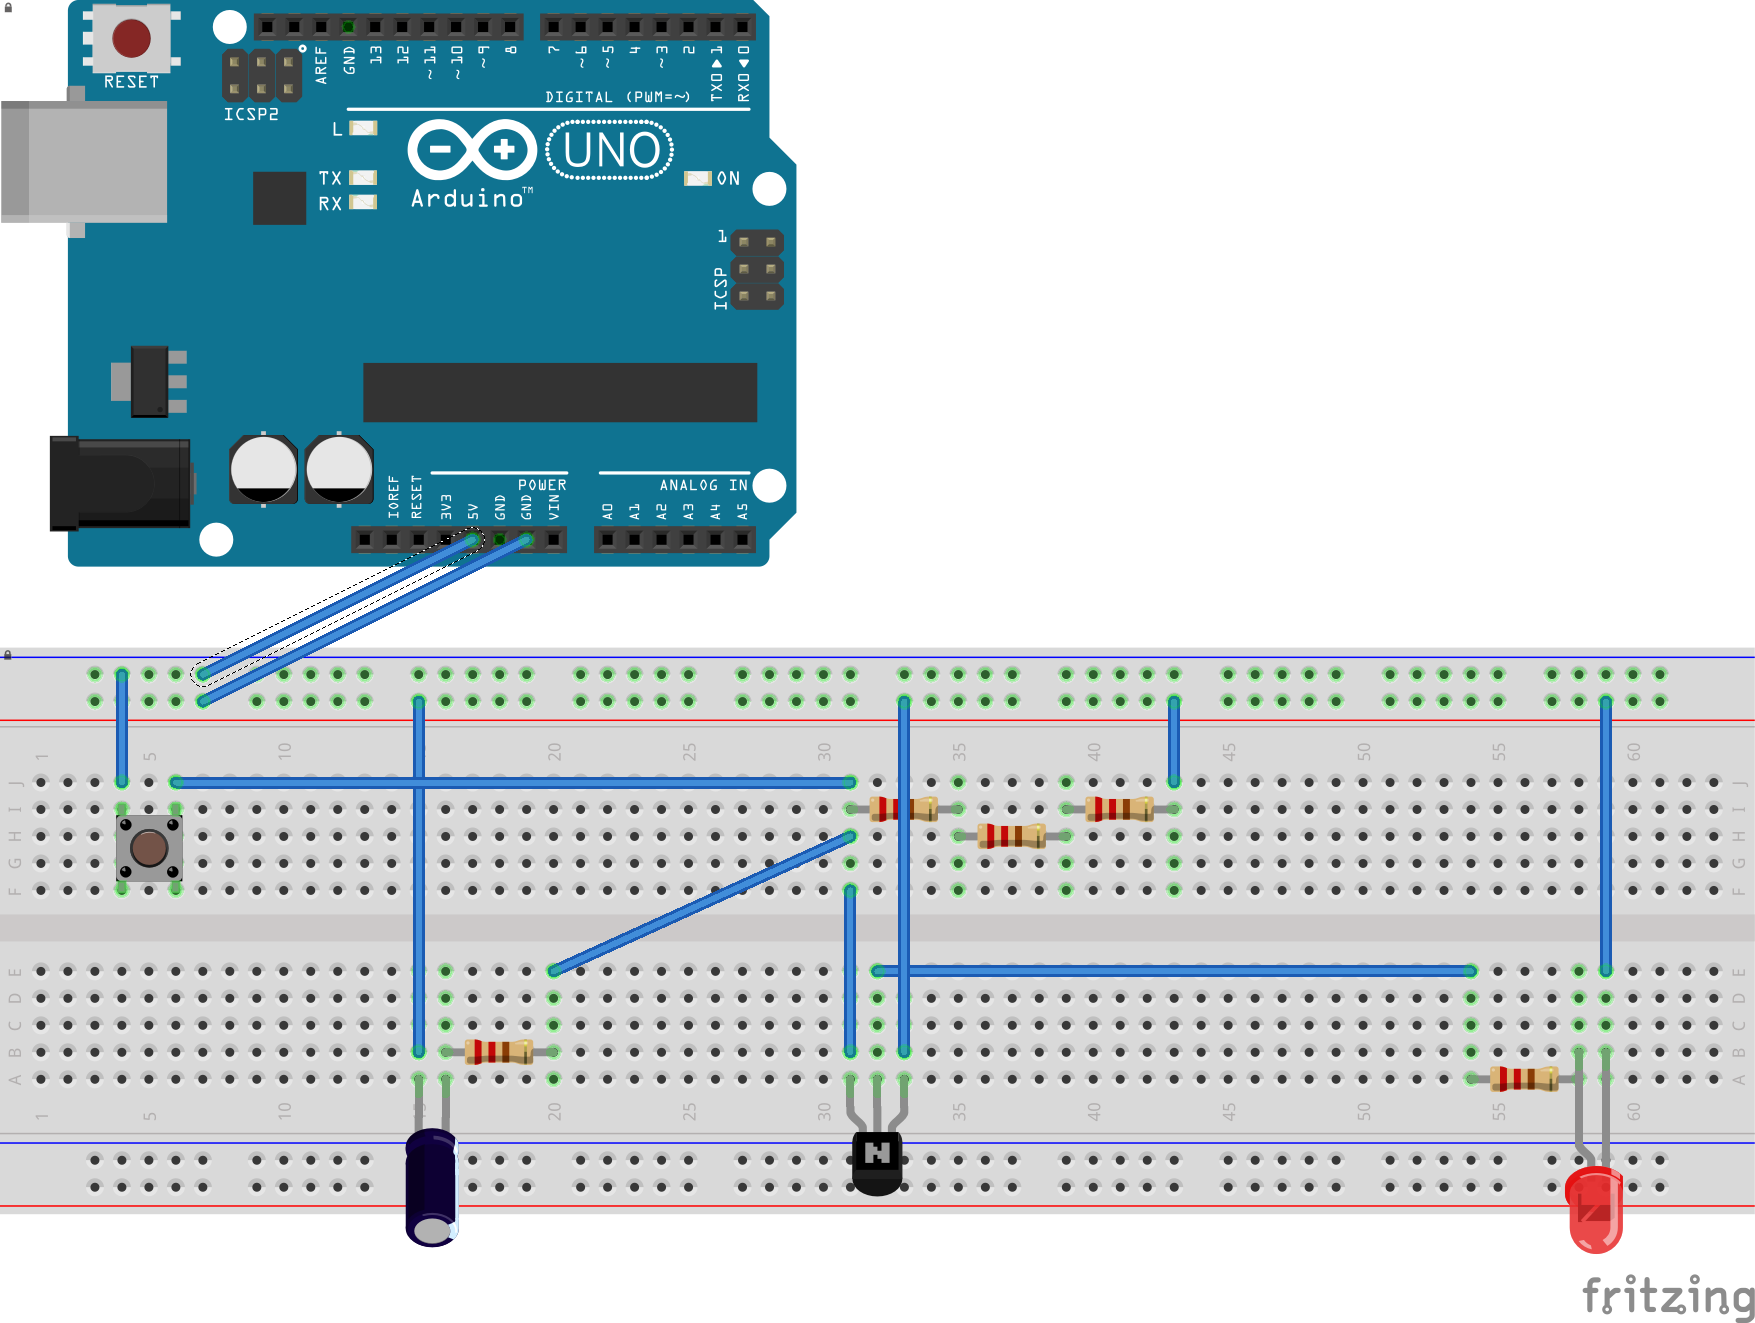
Prototyping: MOSFETs
MOSFETs are metal-oxide-semiconductor field-effect transistors used for amplifying or switching electronic signals. The following two photographs show examples of a MOSFET connected to the Arduino Uno R3. Each time a pushbutton drives a yellow LED. In the first case we use a simple setup, whereas in the second one we use a more complex setup involving a capacitor.
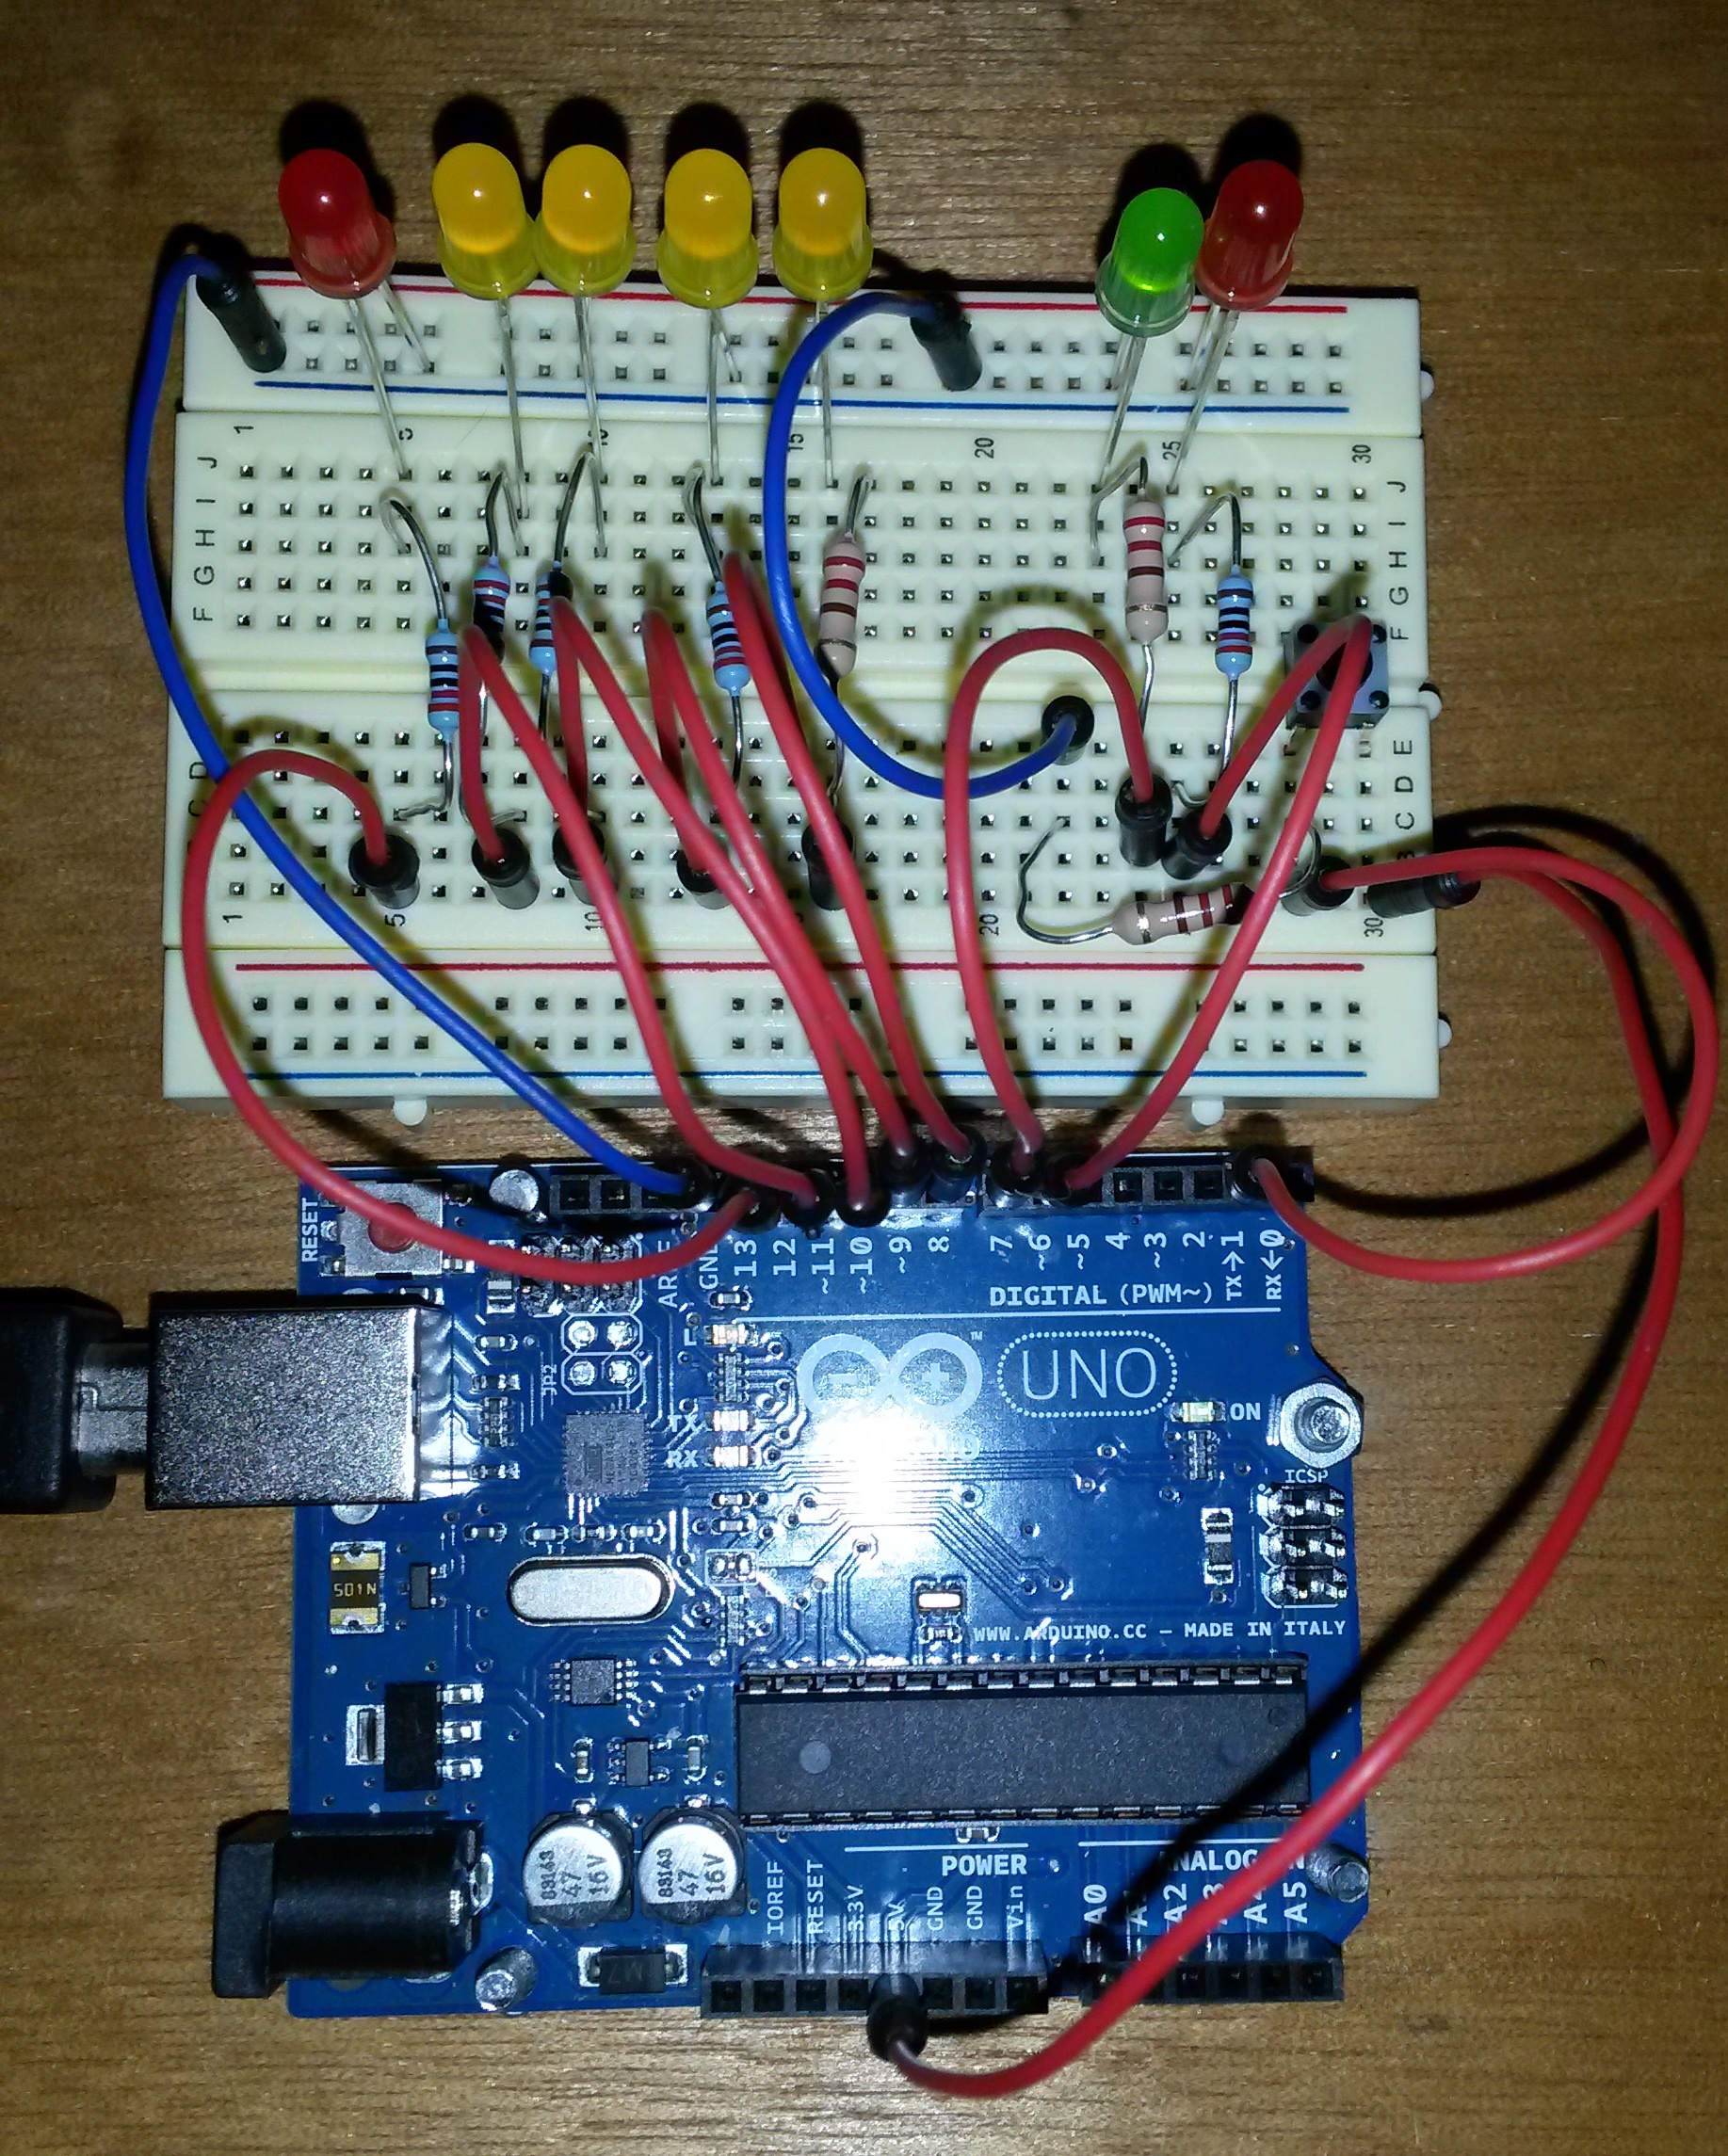
Prototyping: Arduino in Action: Reactometer
The ReactoMeter measures your reaction time. When activated, the red LED initially shines. Once it goes out and the green LED turns on (start indicator), press the push button as fast as possible. In between, the yellow LED sequence lights up. Your reaction time is measured and reported via the serial connection.
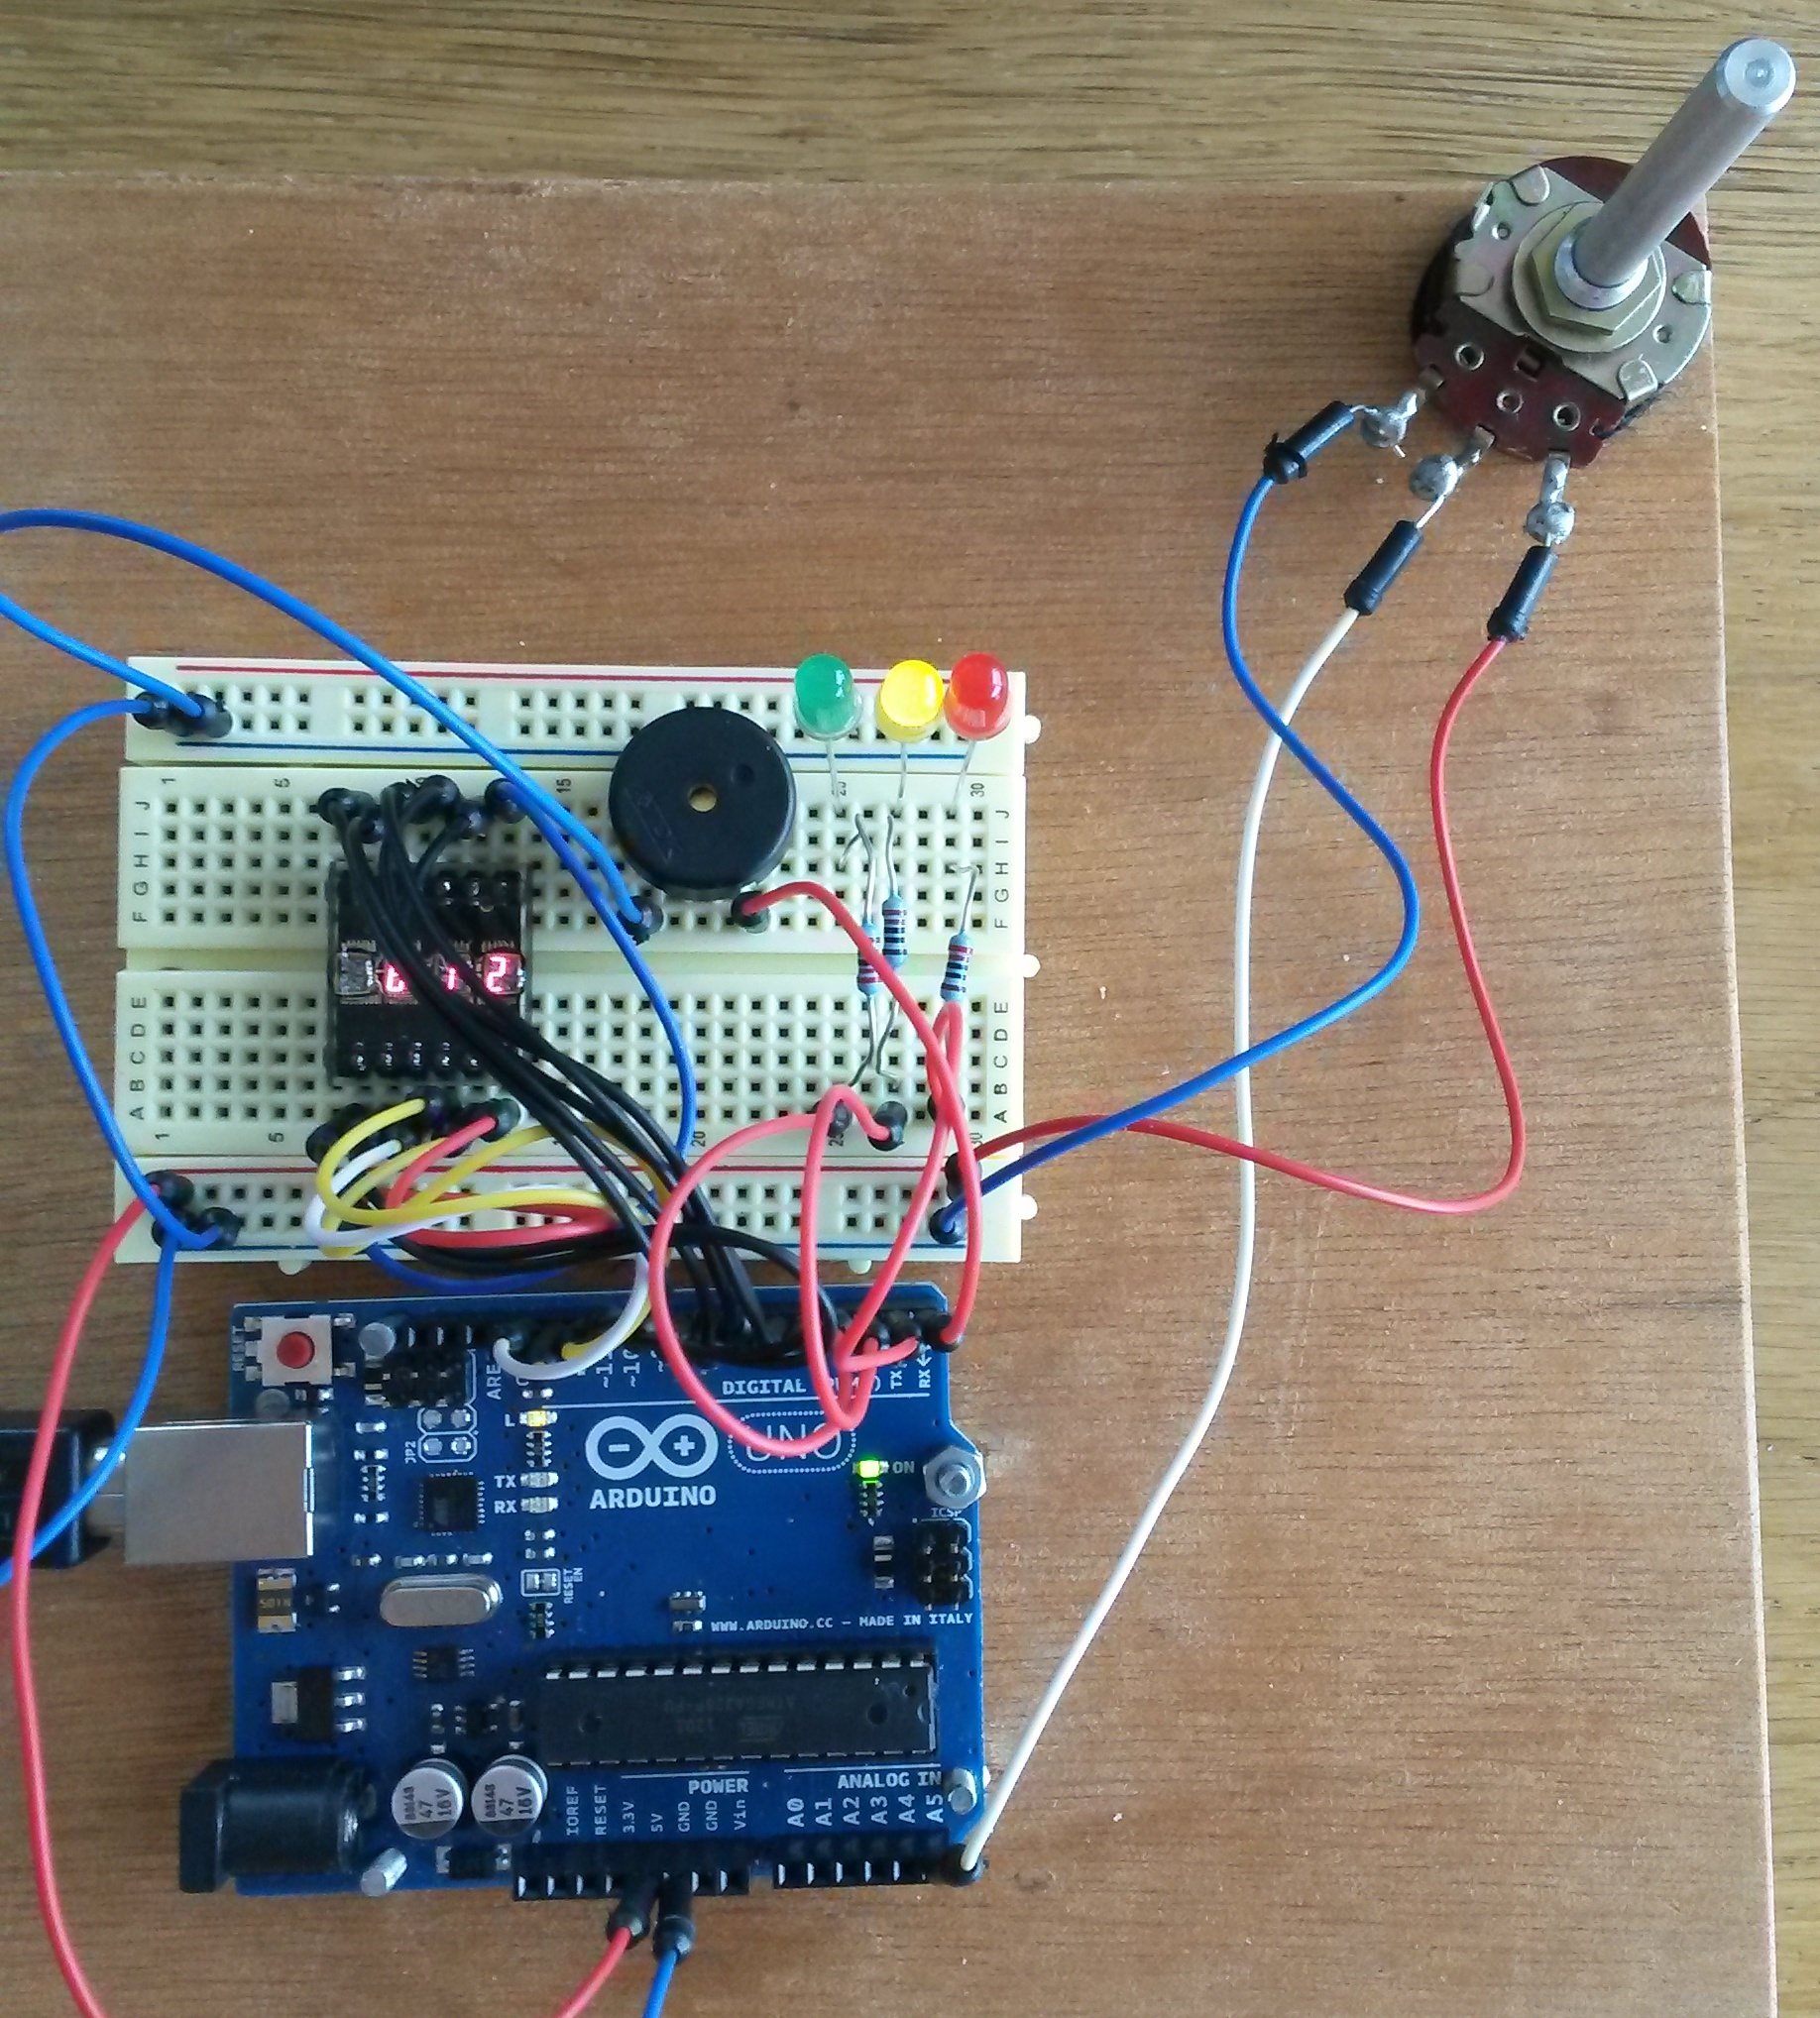
Prototyping: Potentio Meter
The potentio meter controls two actuators: the red-yellow-green LEDs, as well as the pitch of the speaker. The LEDs are grouped per thirds of the potentio meter's full range.
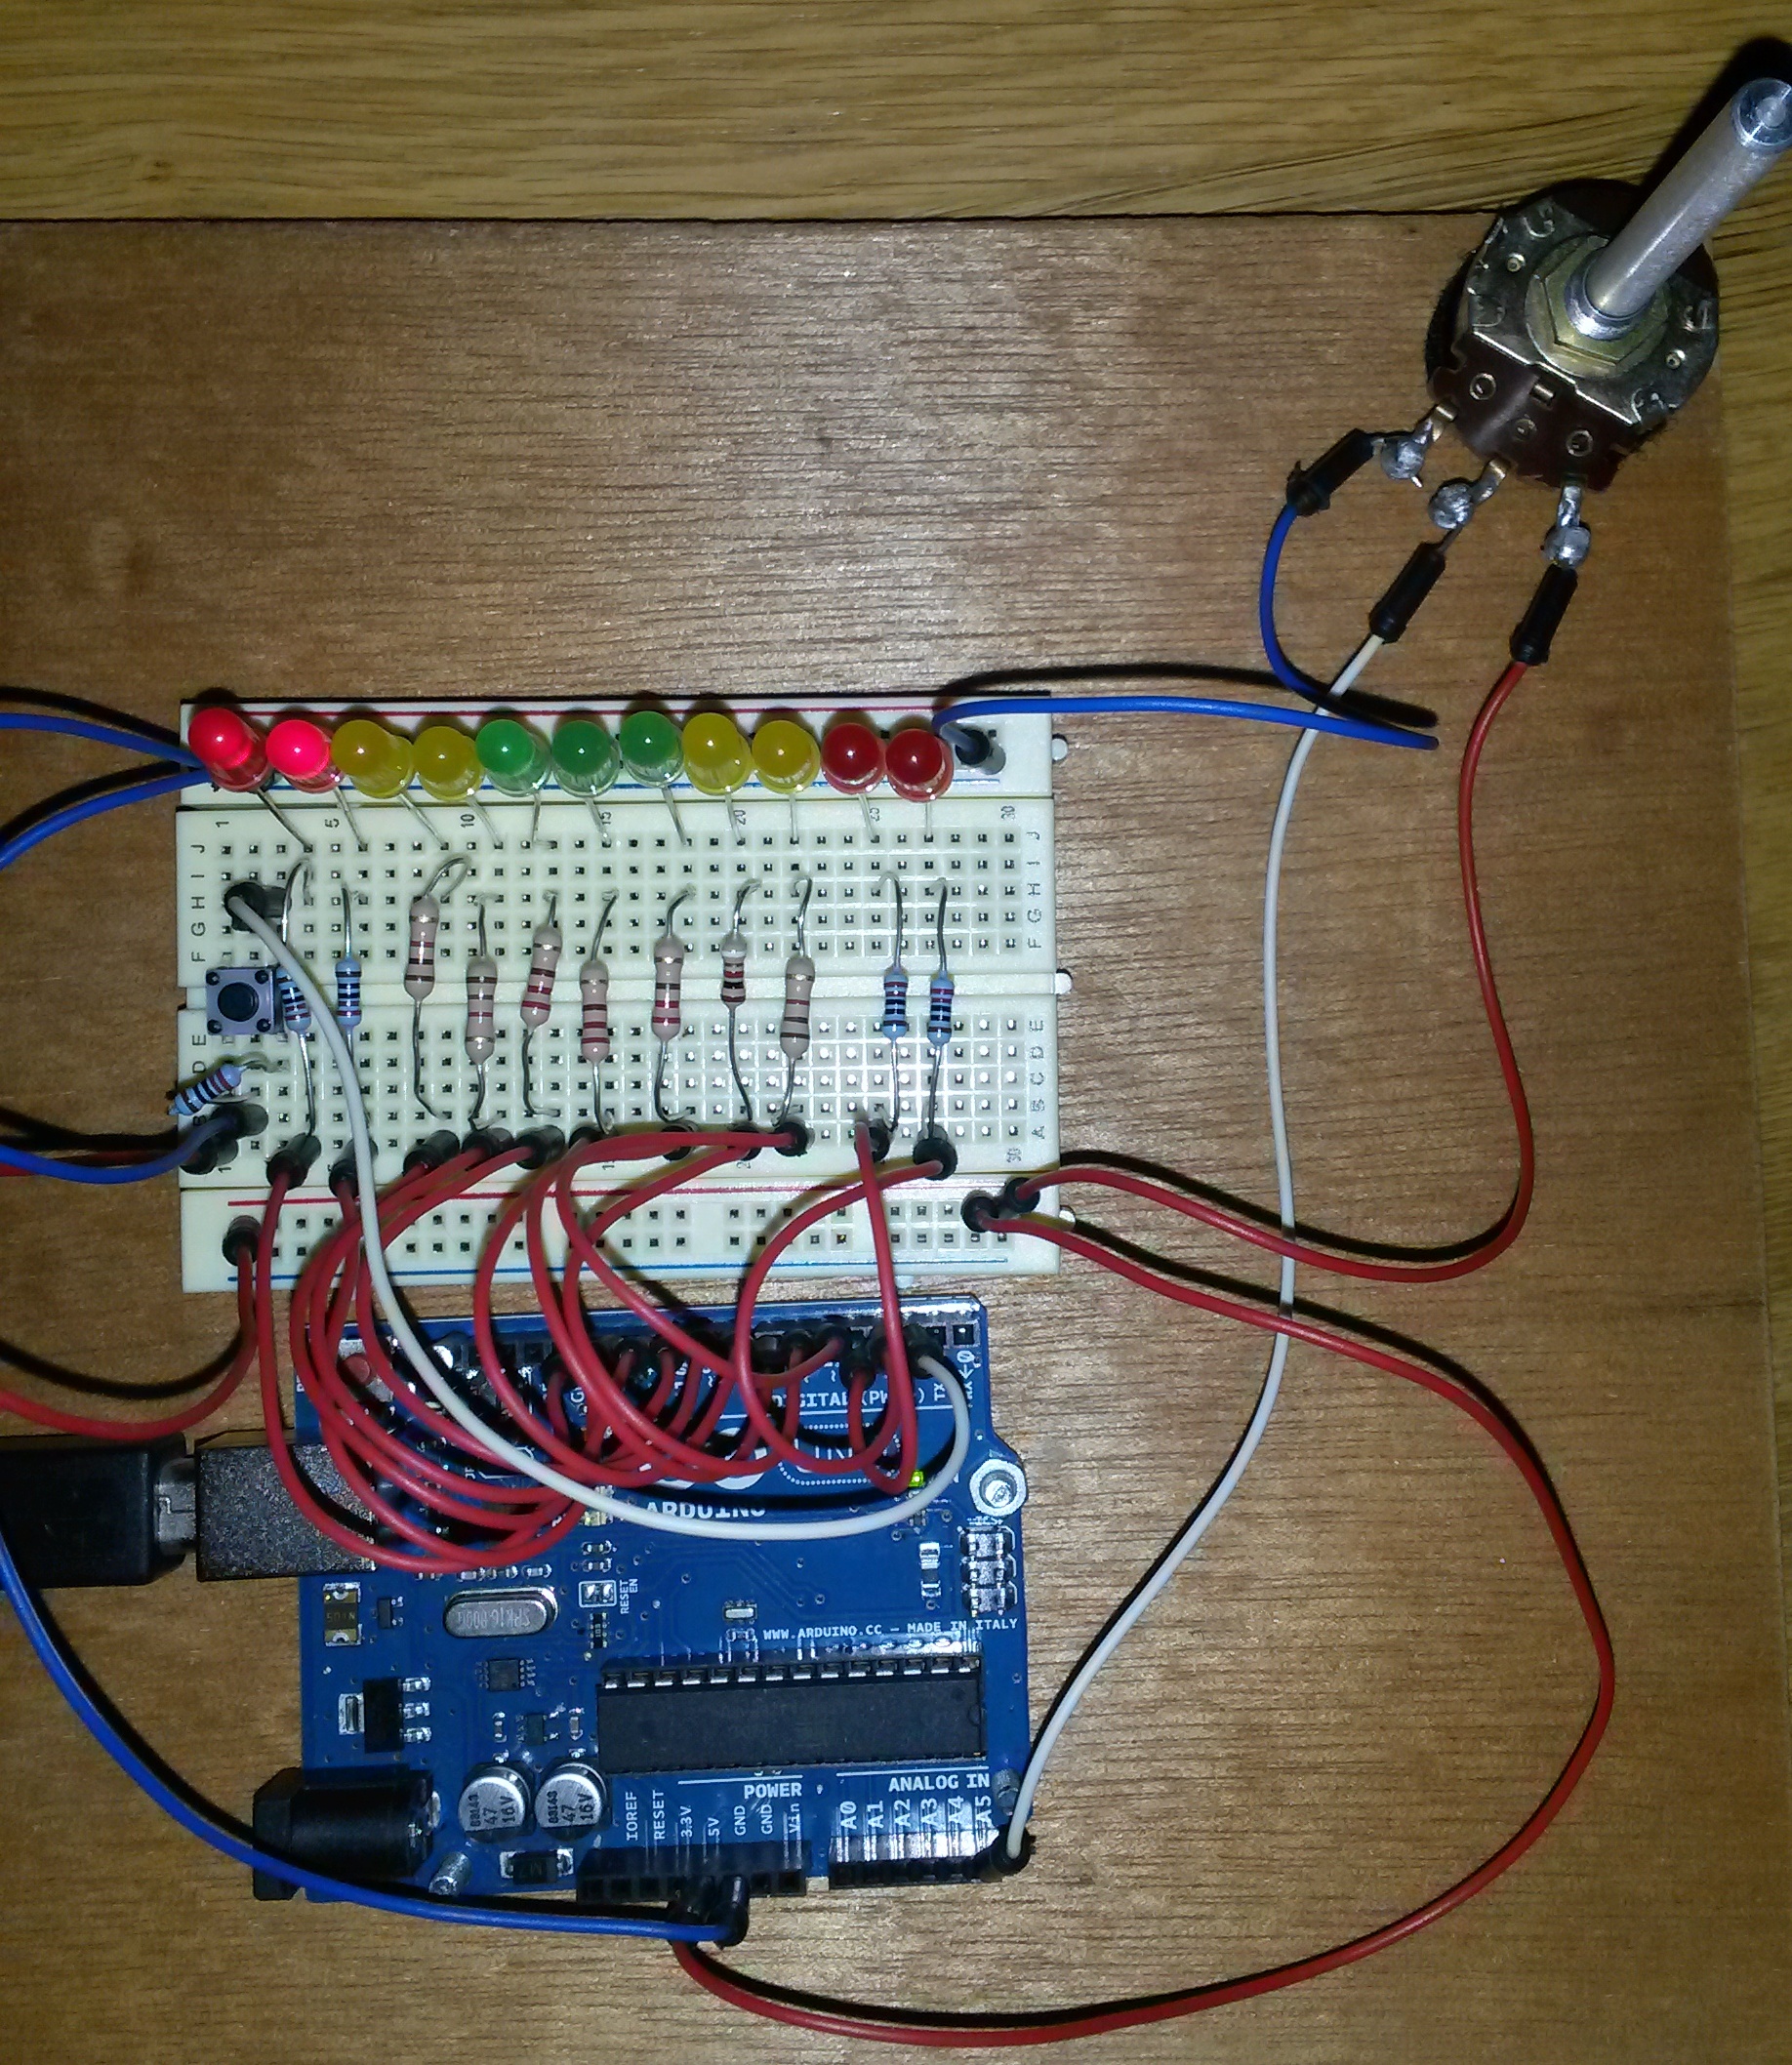
Prototyping: LED Cycler
The LED cycler traces a sequence of two adjacent LEDs from left to right and back, like a Cylon's eye. If the push button is pressed, the cycler changes its operational mode and mimicks a voice VU meter, randomly expanding LEDs from the centre on. The potentio meter controls the speed of cycling for both operational modes.
![]() Demonstration (AVI, 35.09 MiB)
Demonstration (AVI, 35.09 MiB)
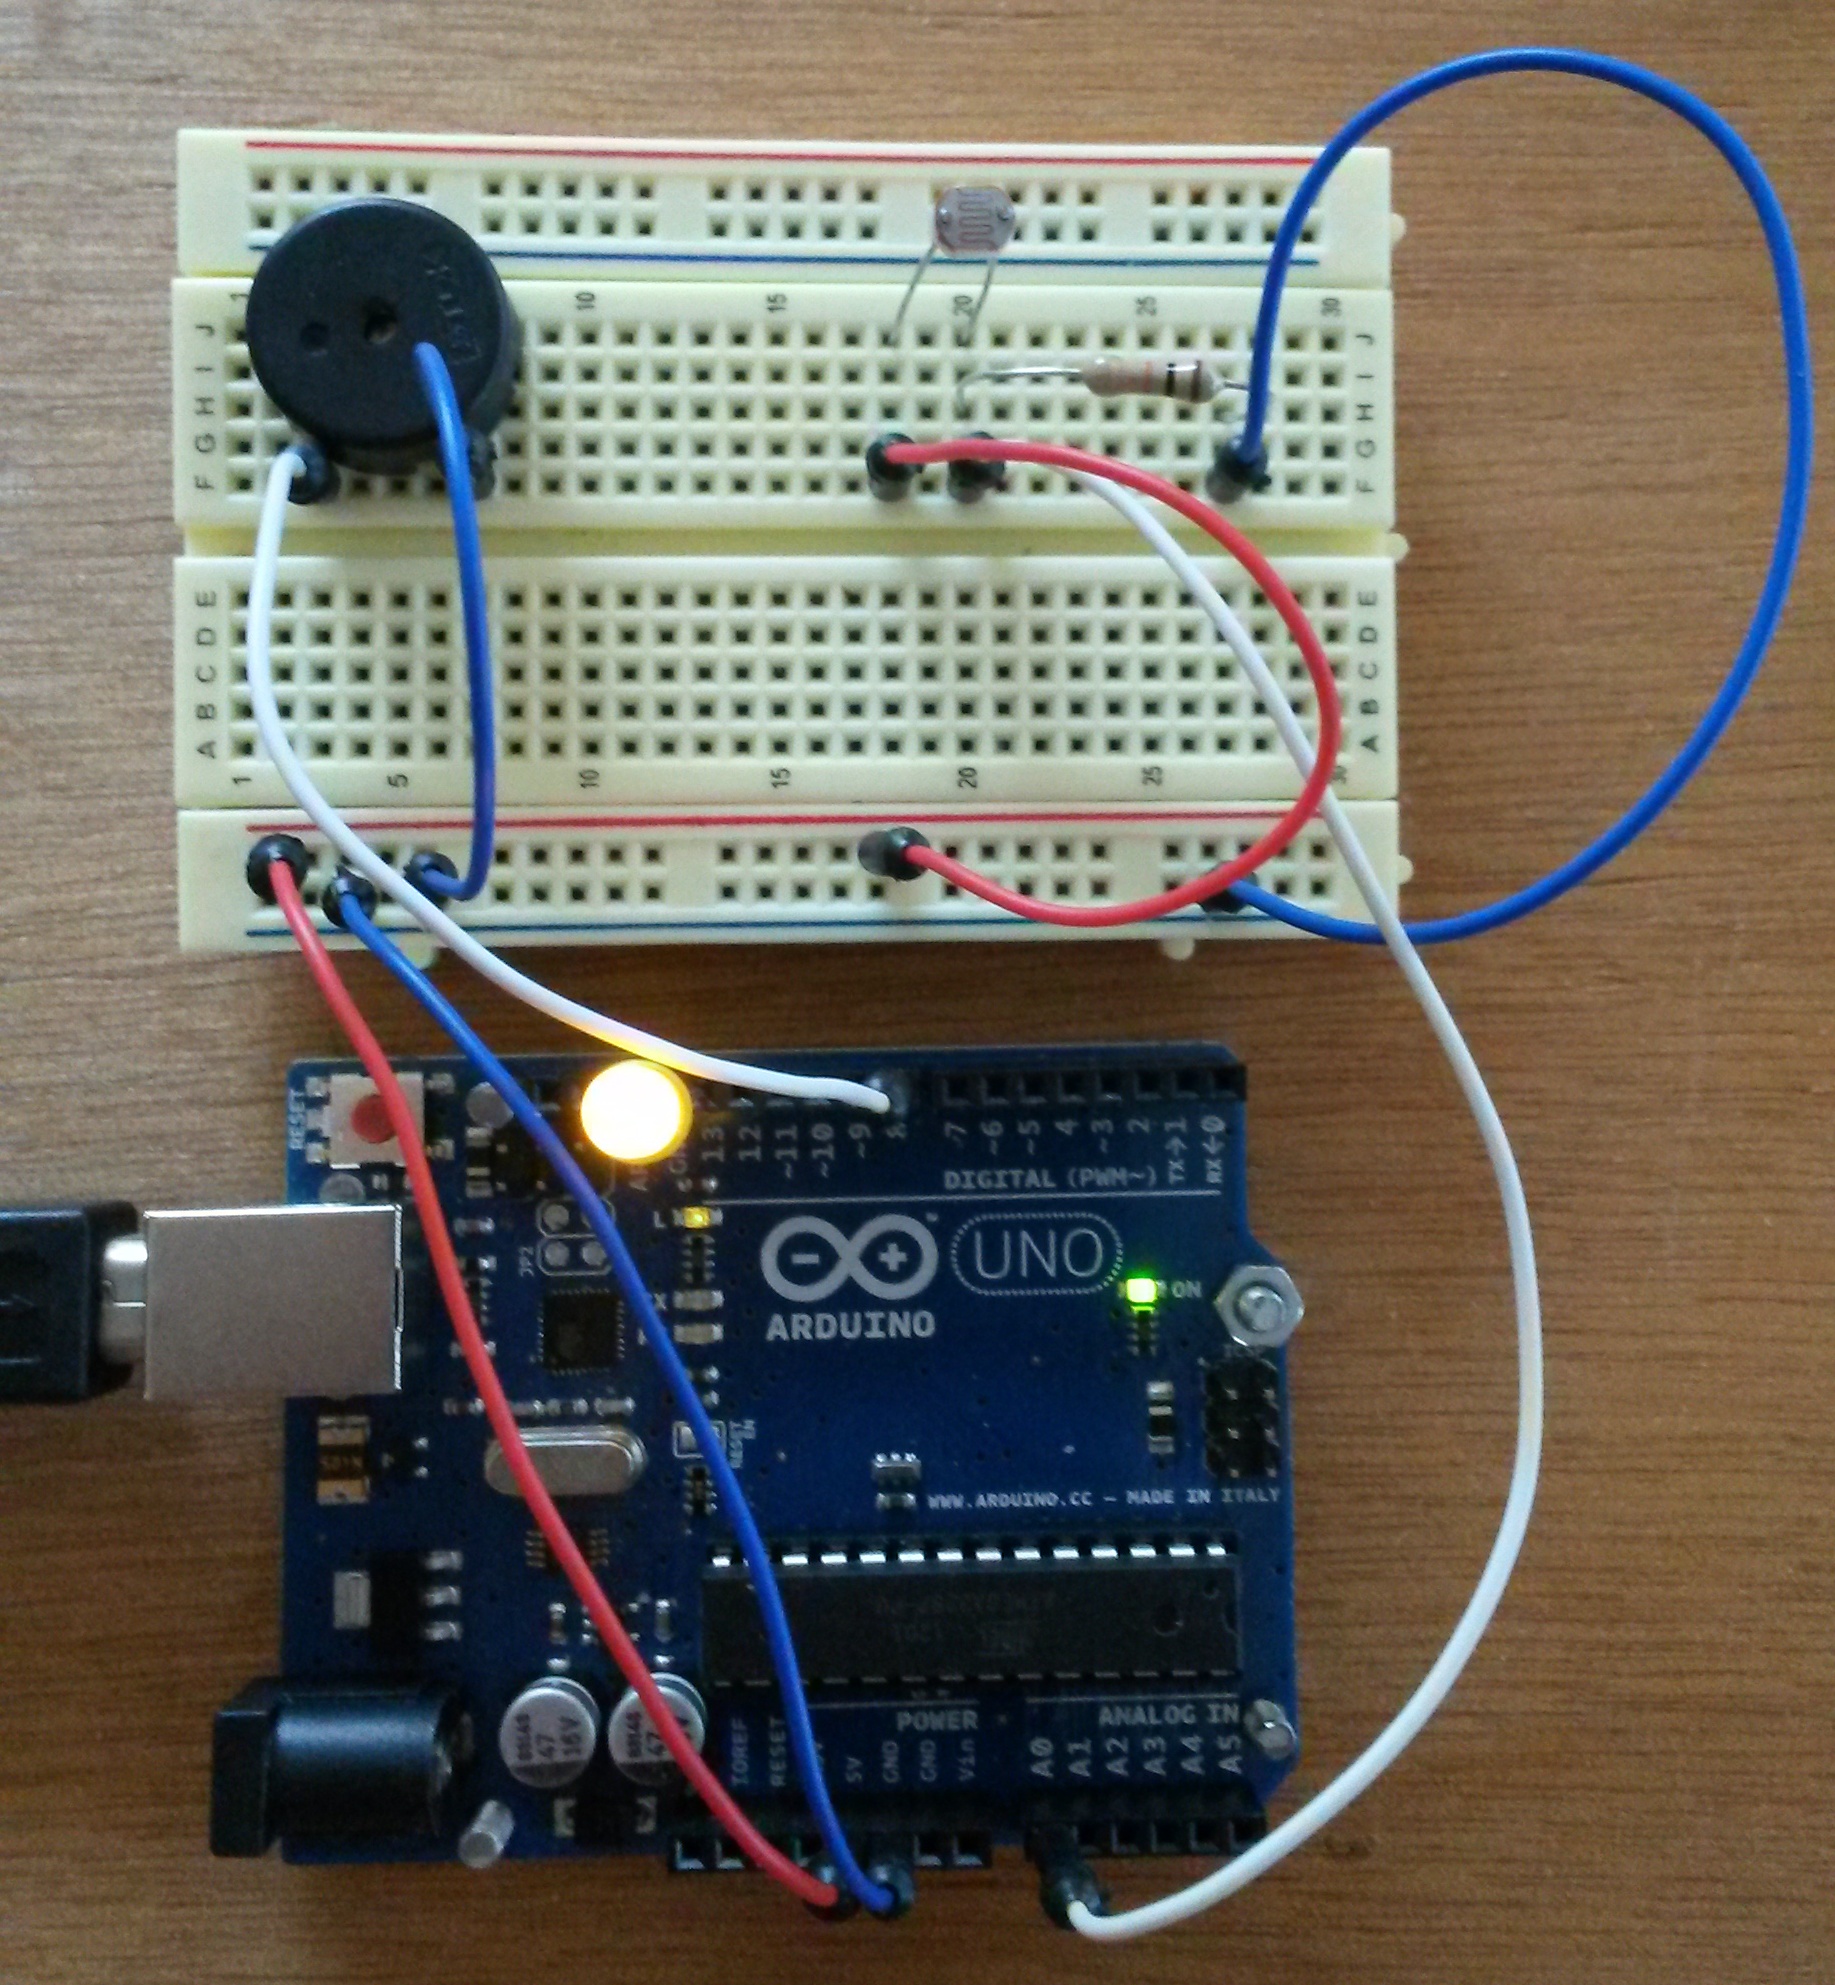
Prototyping: Light-Controlled Theremin
When activated, the yellow LED is turned on for 5 seconds, during which you should move your hand back and forth over the light-dependent resistor (LDR). When the yellow LED goes out, the pitch of the speaker is controlled by the amount of light received by the LDR.
![]() Demonstration (MP4, 32.27 MiB)
Demonstration (MP4, 32.27 MiB)