After having worked with a handheld plunge router, I decided to create a router table for more convenience. With a handheld plunge router, it is not always easy to, e.g., trim sides of wooden beams and panels, as this requires each time quite an elaborate setup process of clamping/fixing and aligning things. With a router table however, such tasks become trivial.
Routers
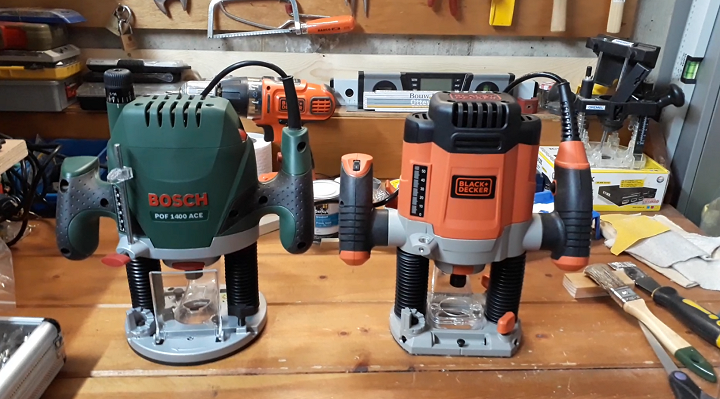
My handheld plunge router is a Bosch POF 1400 ACE, a solid, reliable, and very comfortable to use tool. It is 1400 W, rotates between 11,000 and 28,000 RPM with an adjustable variable rotation speed, and has a weight of 3.5 kg. The router has built-in LED lighting and comes with all sets of accessories (a guiding rail as well as a tool for making circles). One of the most interesting features about this router is that it has a slow-to-start function, meaning the router does not cause a sudden jolt when you activate it.
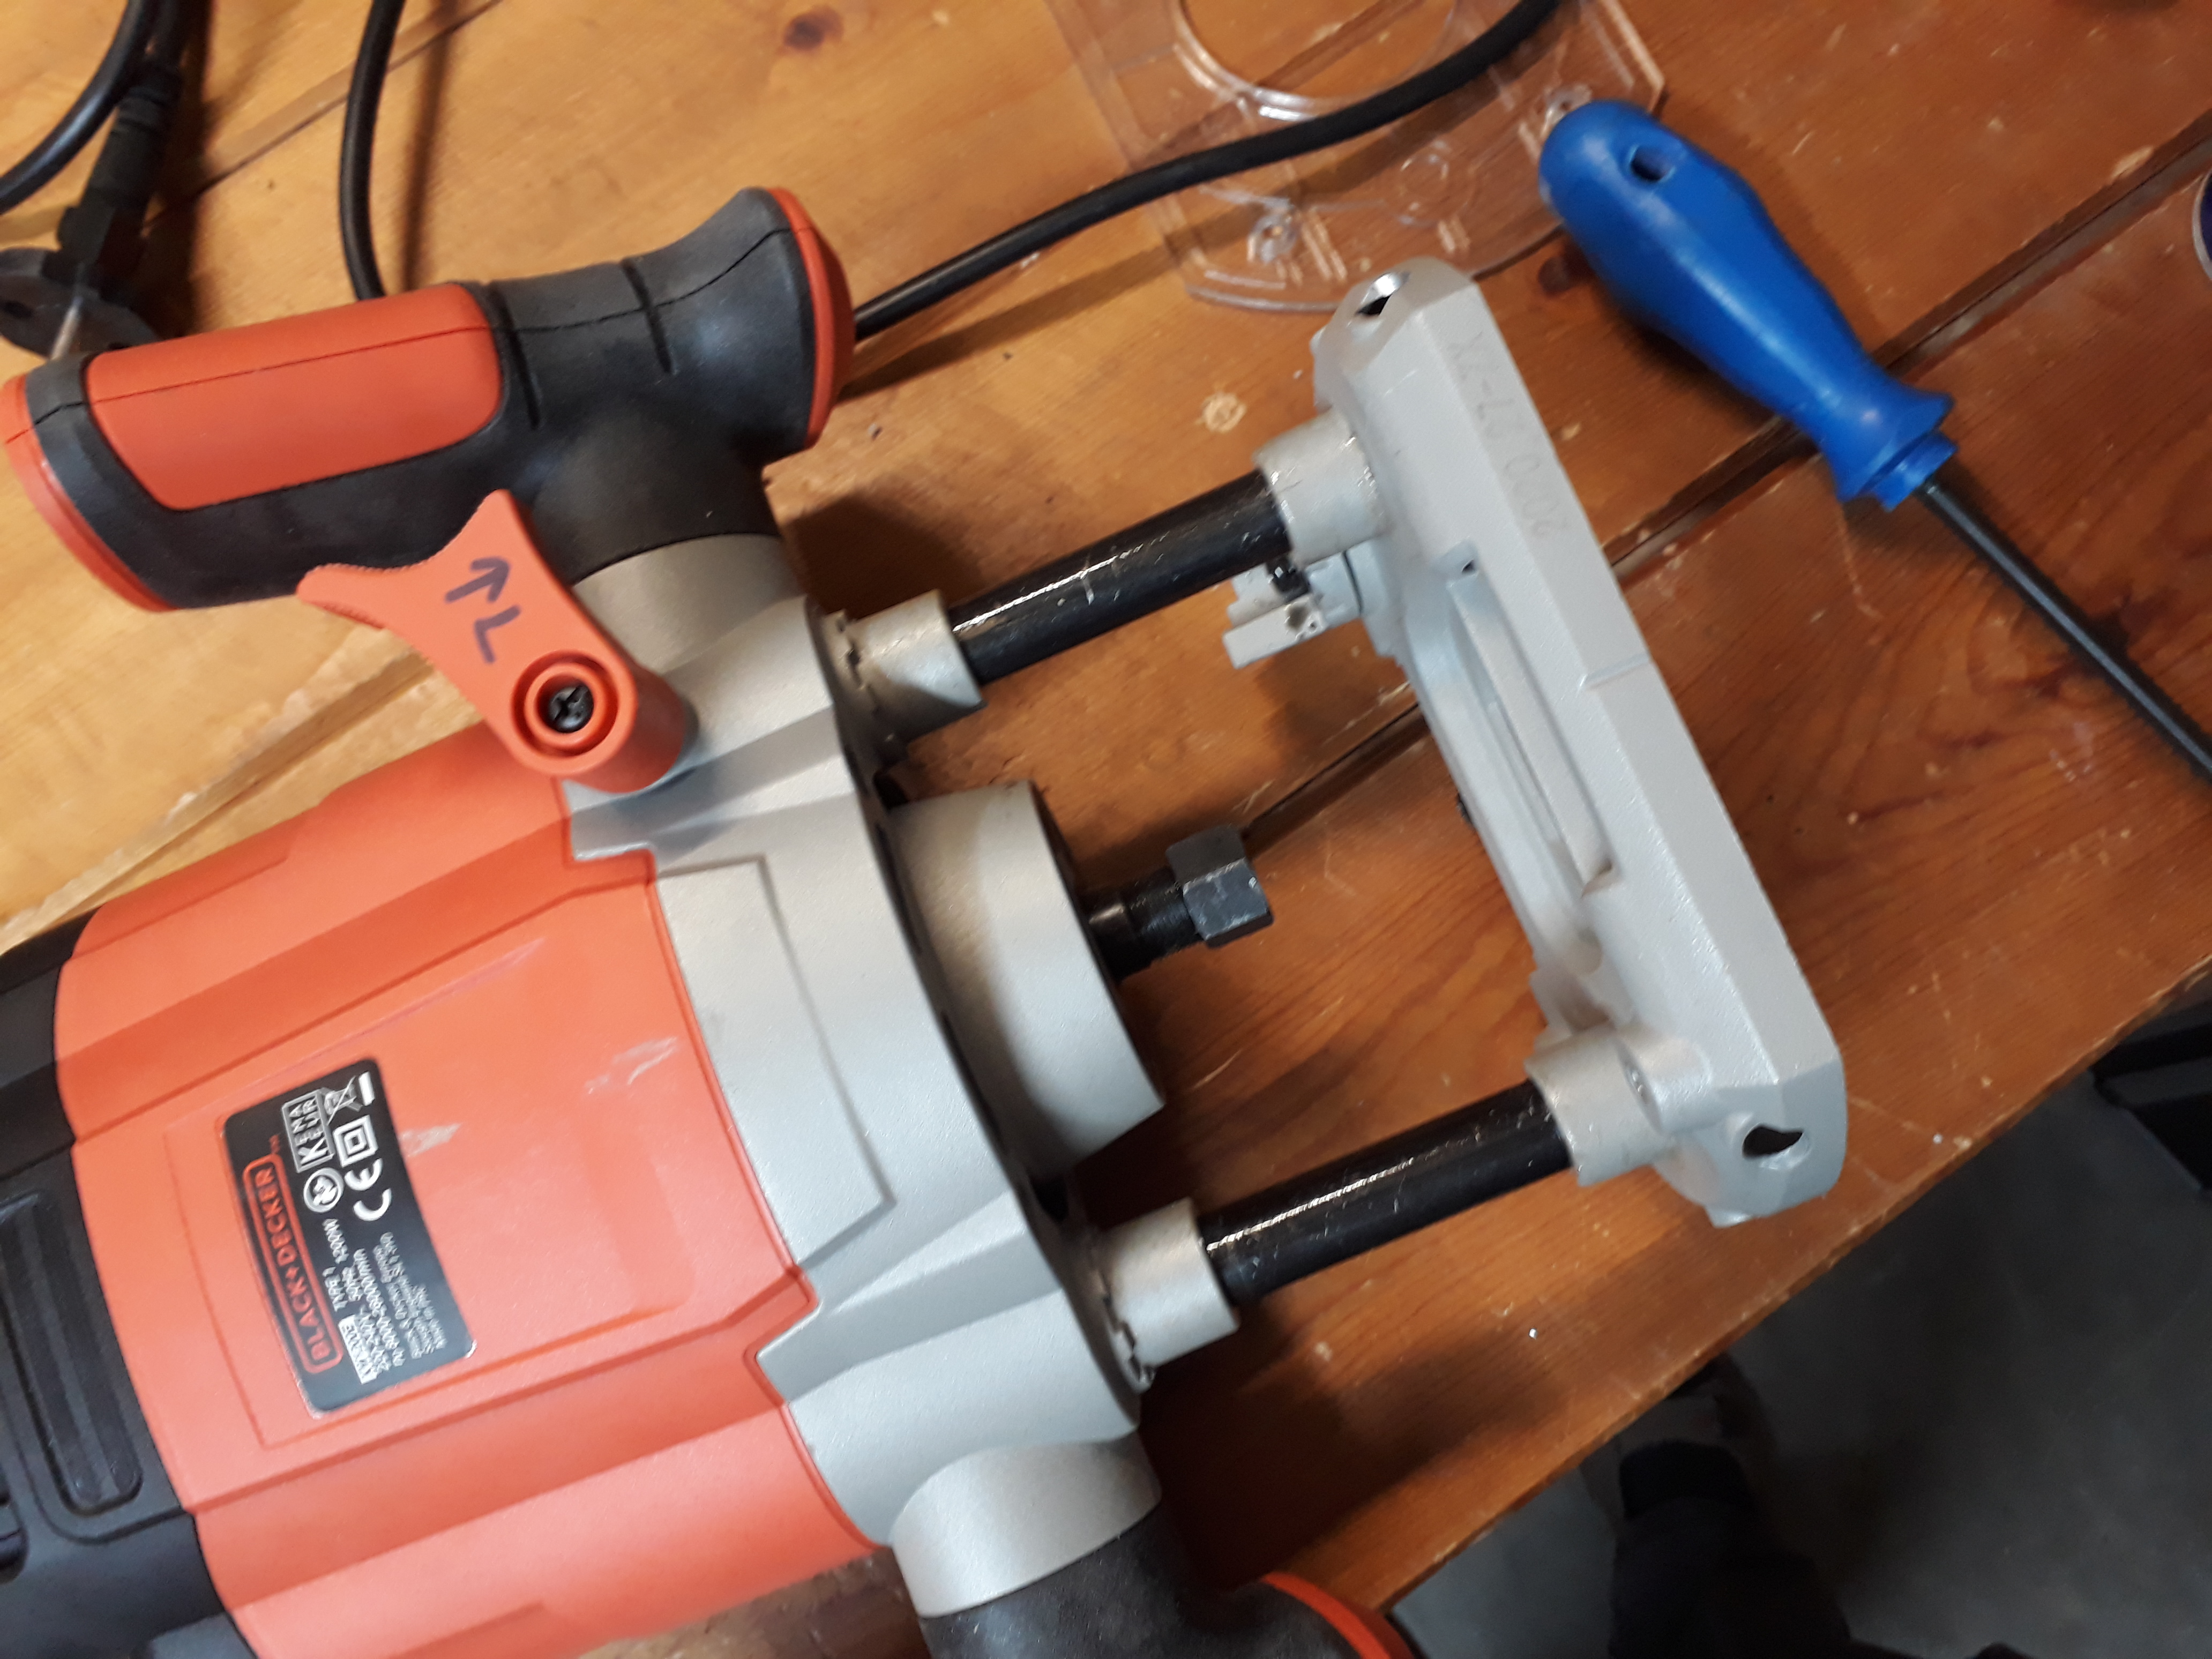
In addition to the previous one, I also bought a Black & Decker KW1200EKA-QS to permanently mount upside down in my router table. It is 1200 W, rotates between 8,000 and 28,000 RPM with an adjustable variable rotation speed. However, this router does not have the slow-to-start functionality, meaning it jolts when starting at high speeds. It does come with all the required accessories, but does not have LED lighting.
The following video clip shows the difference when starting both routers.
The router table
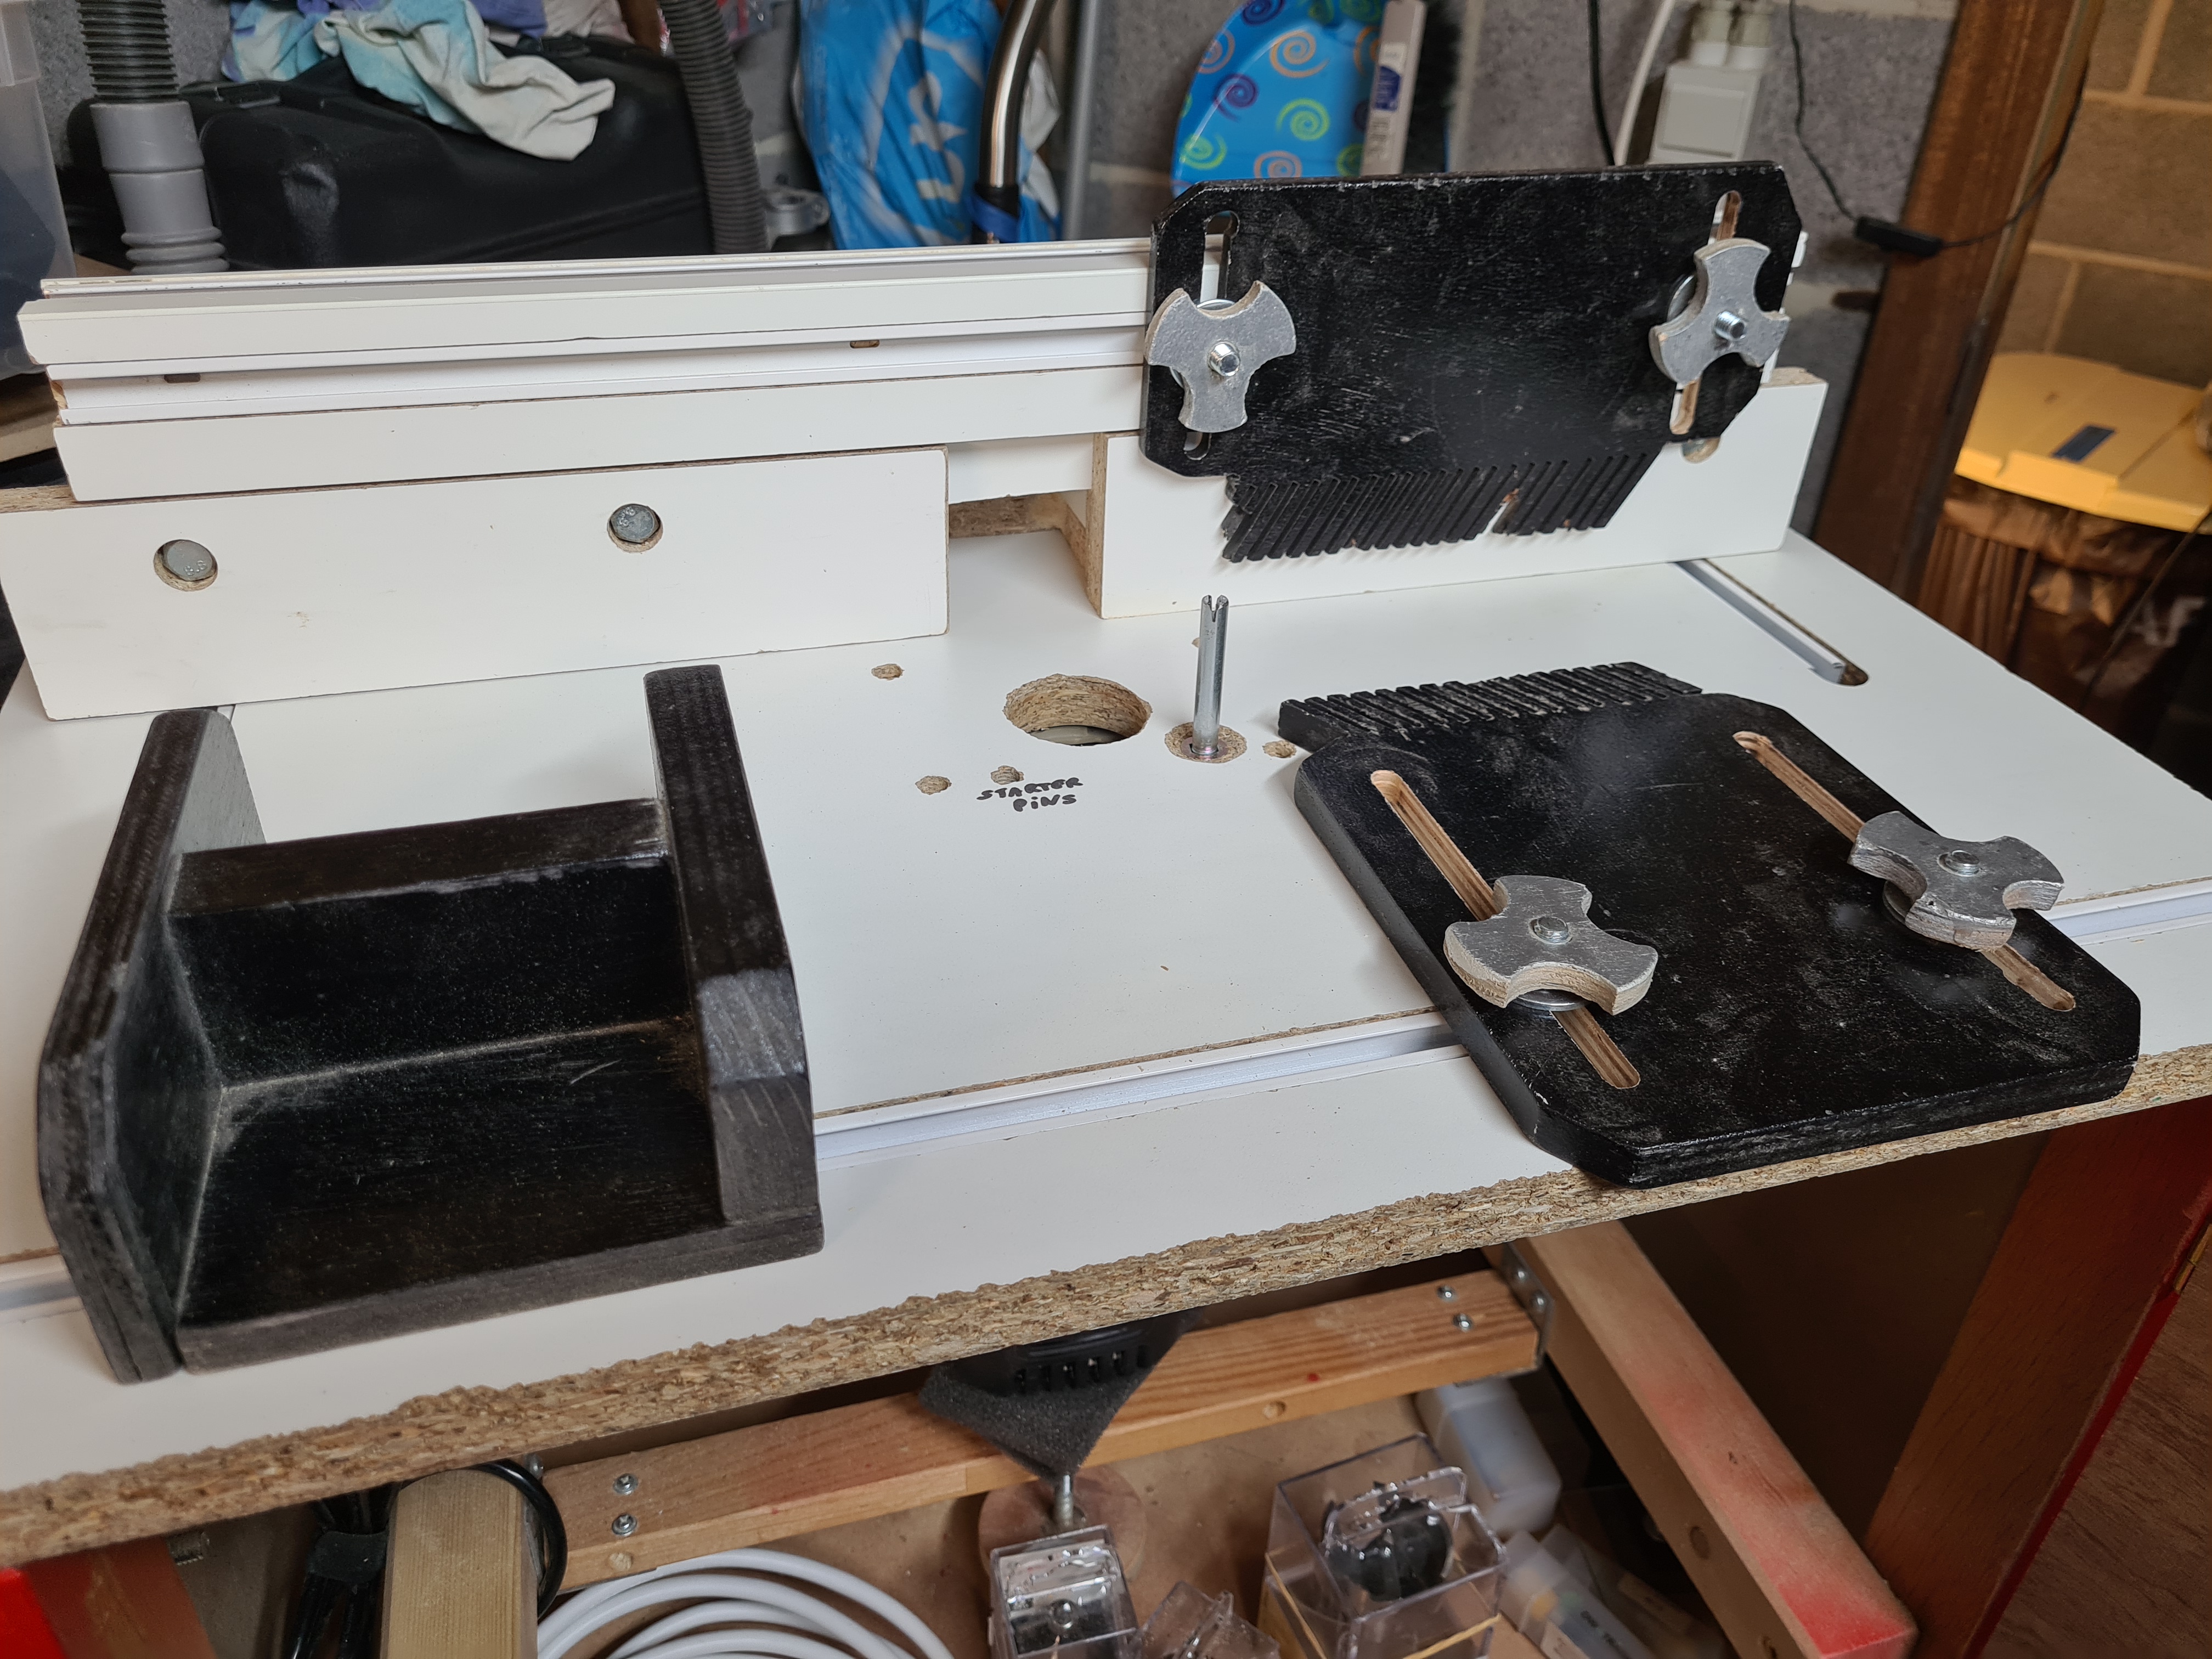
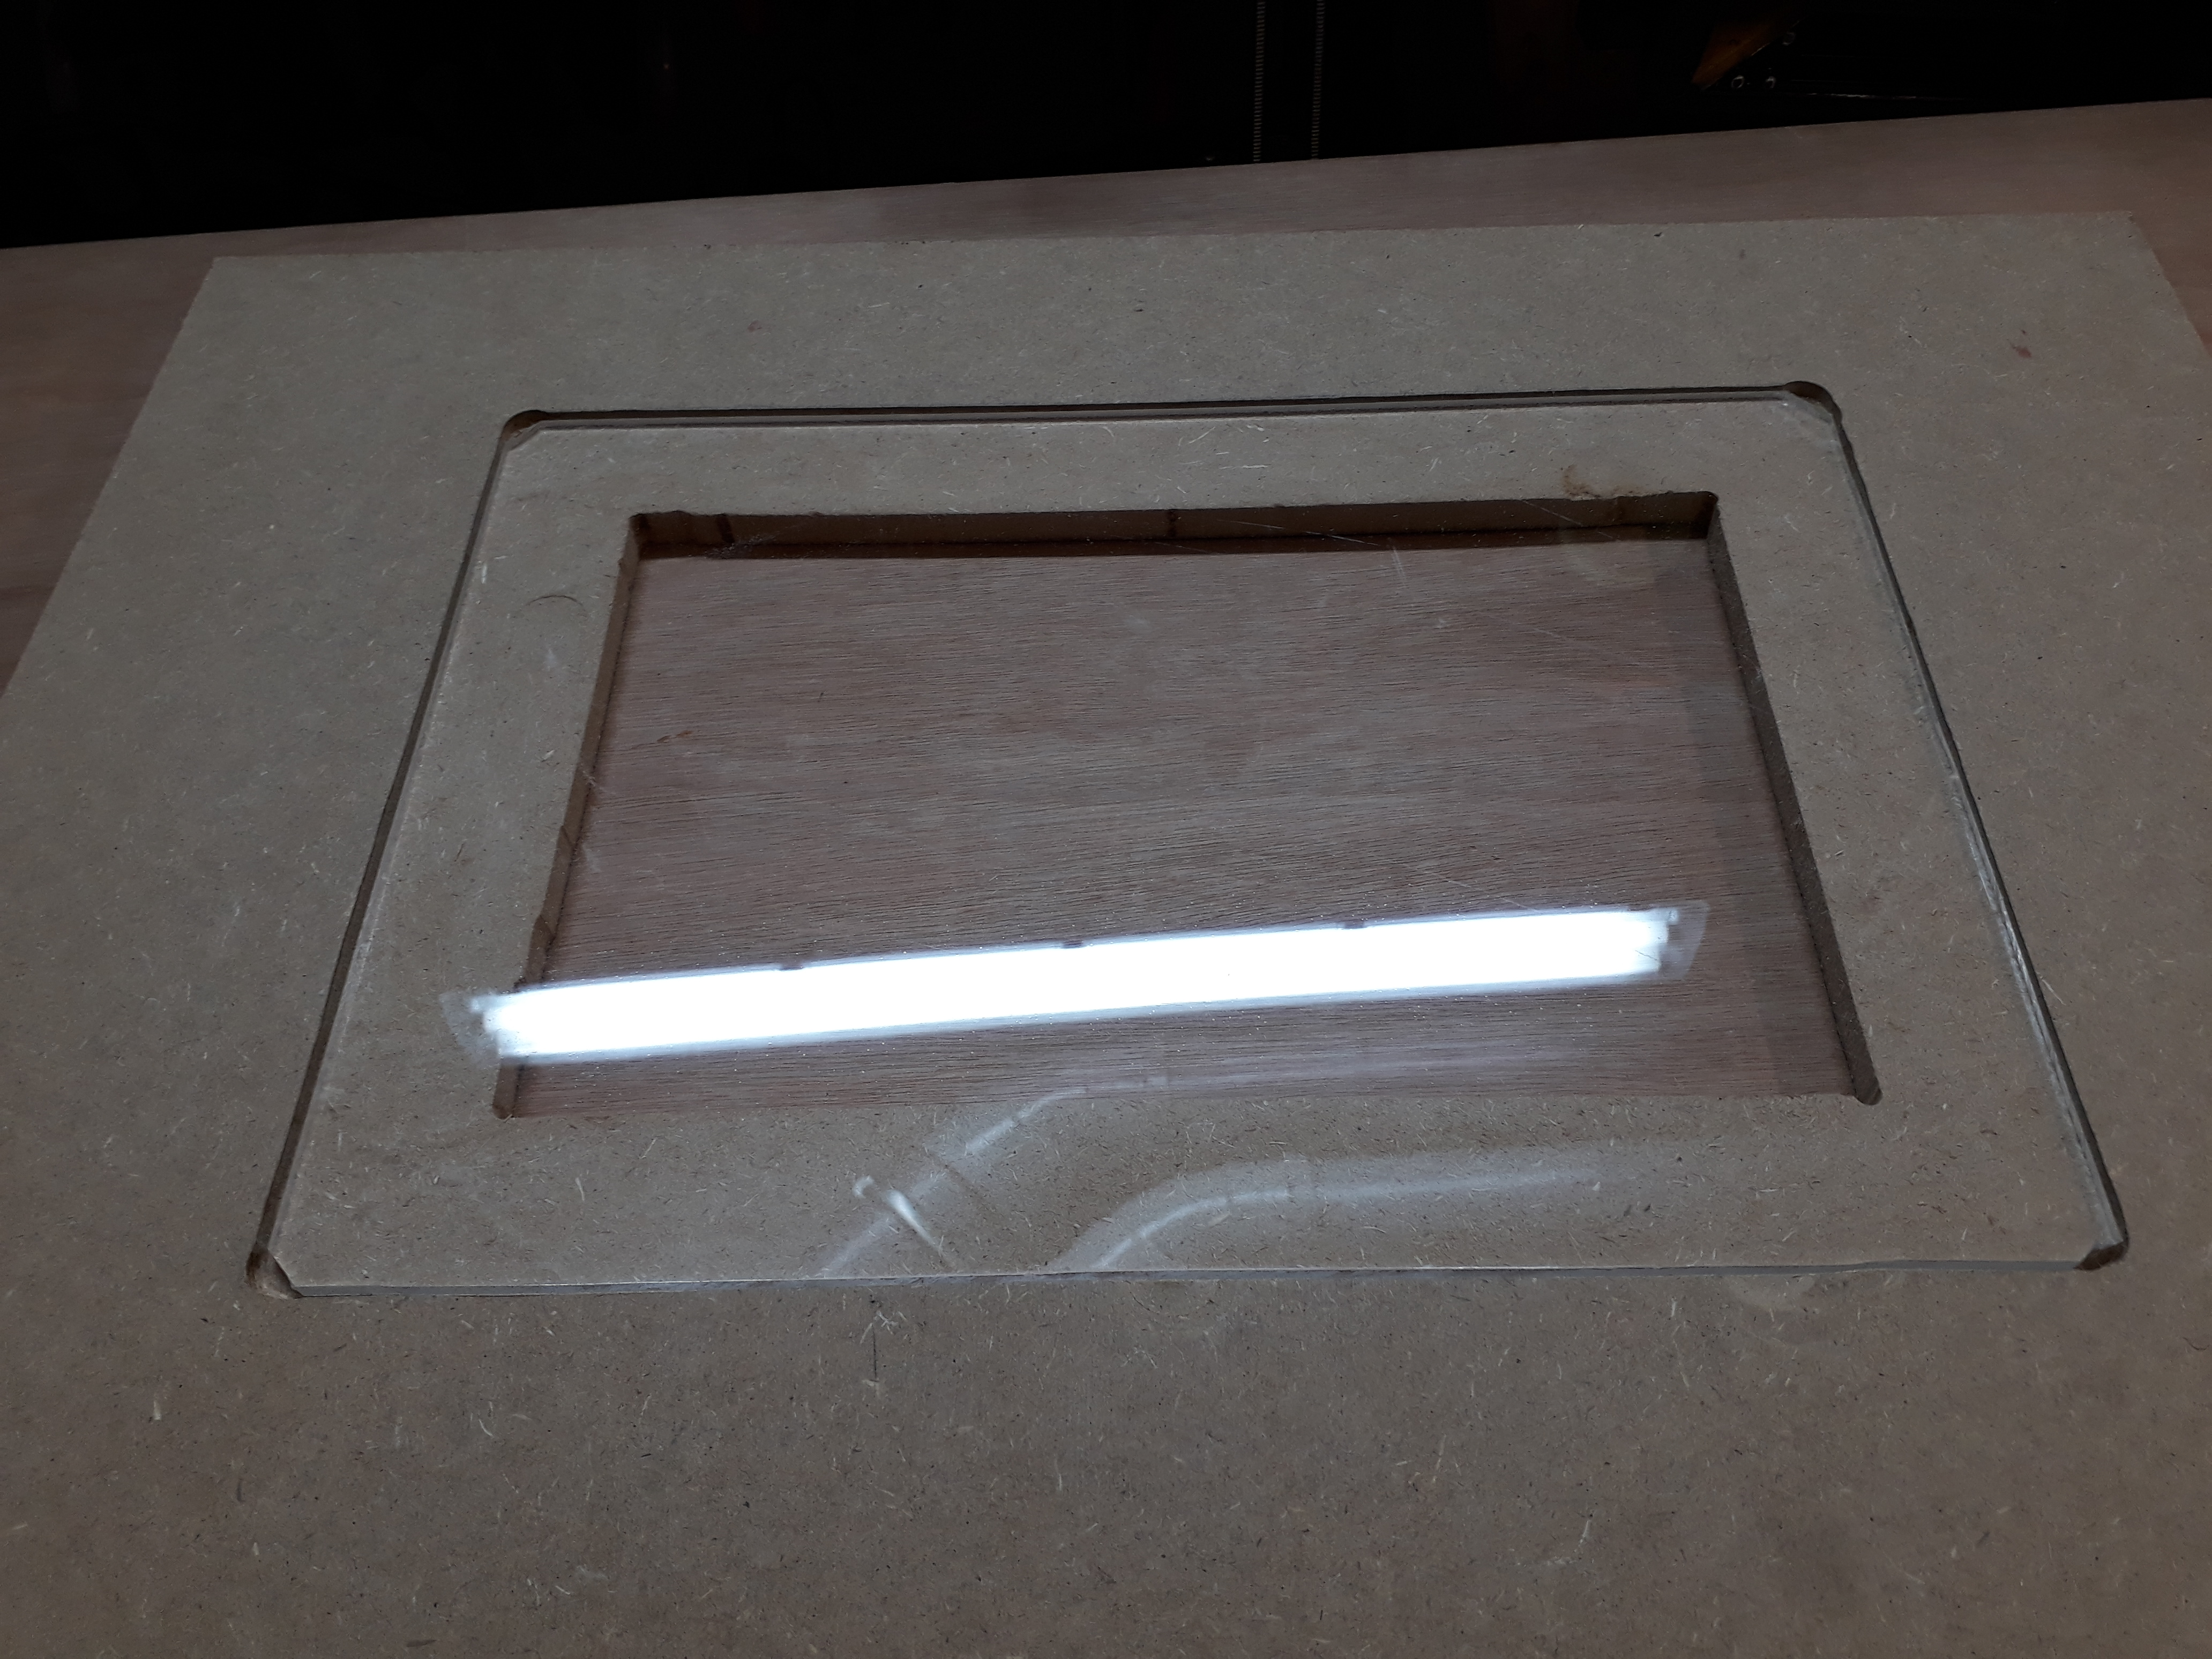
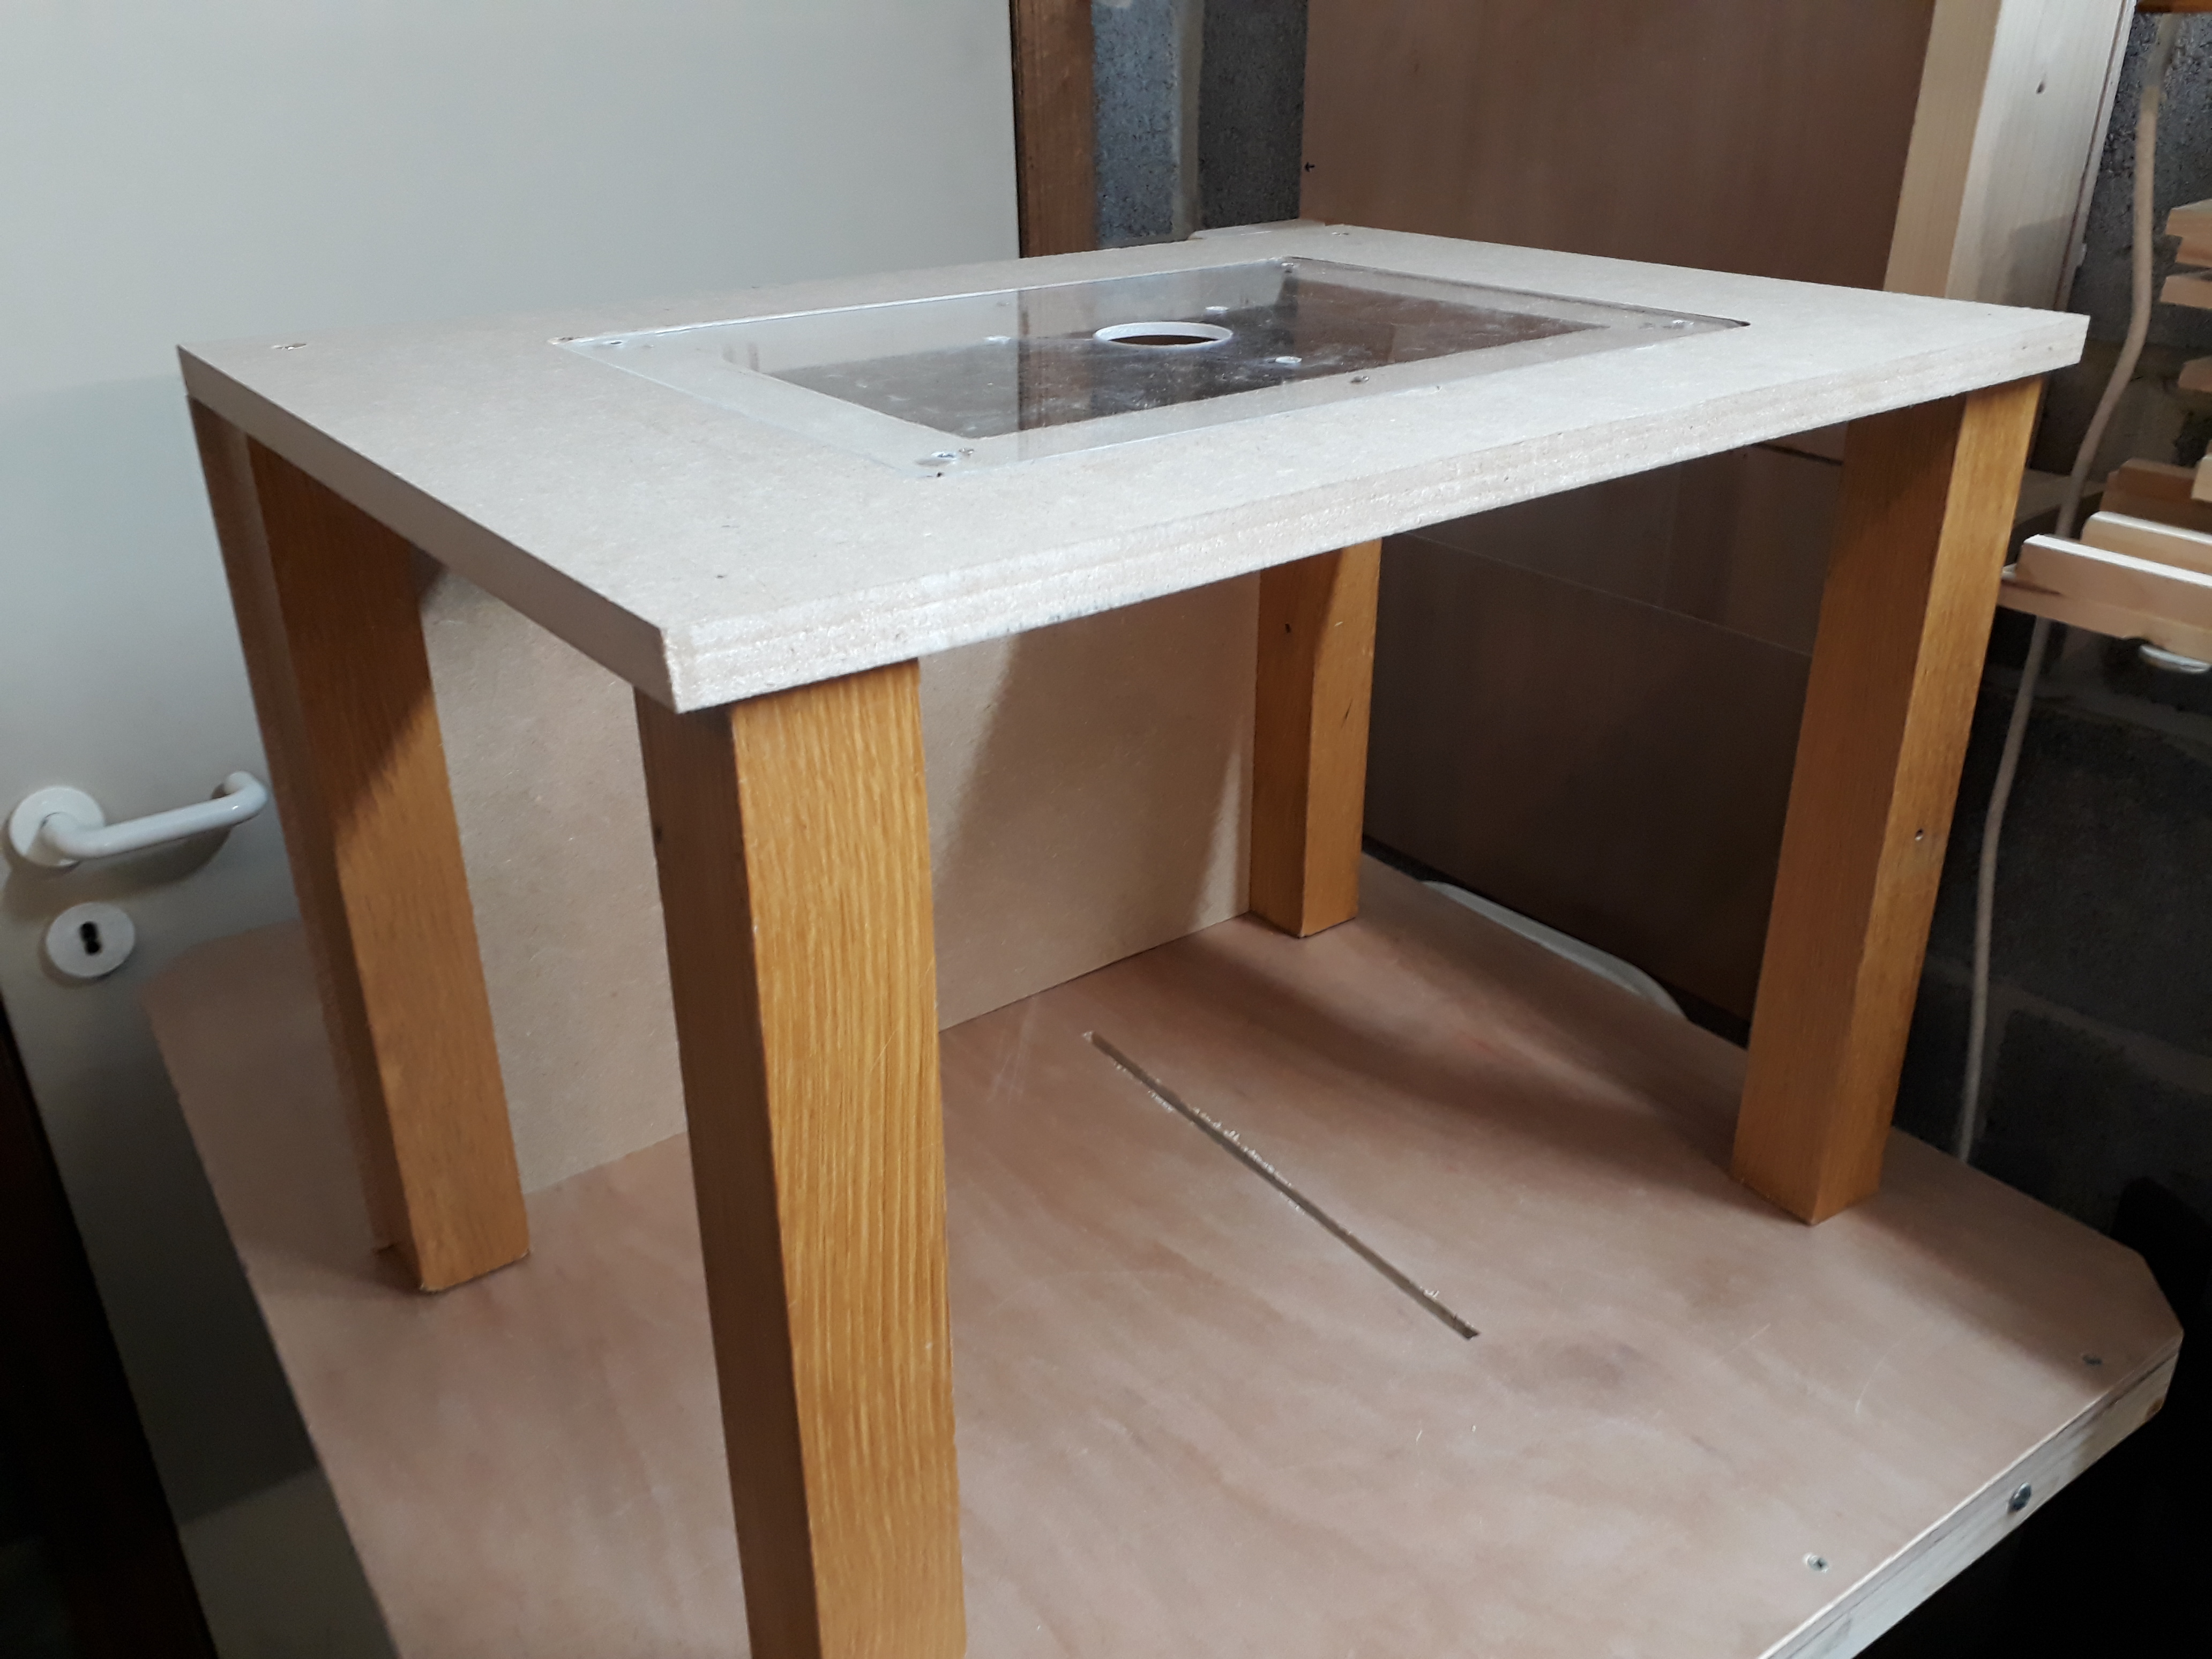
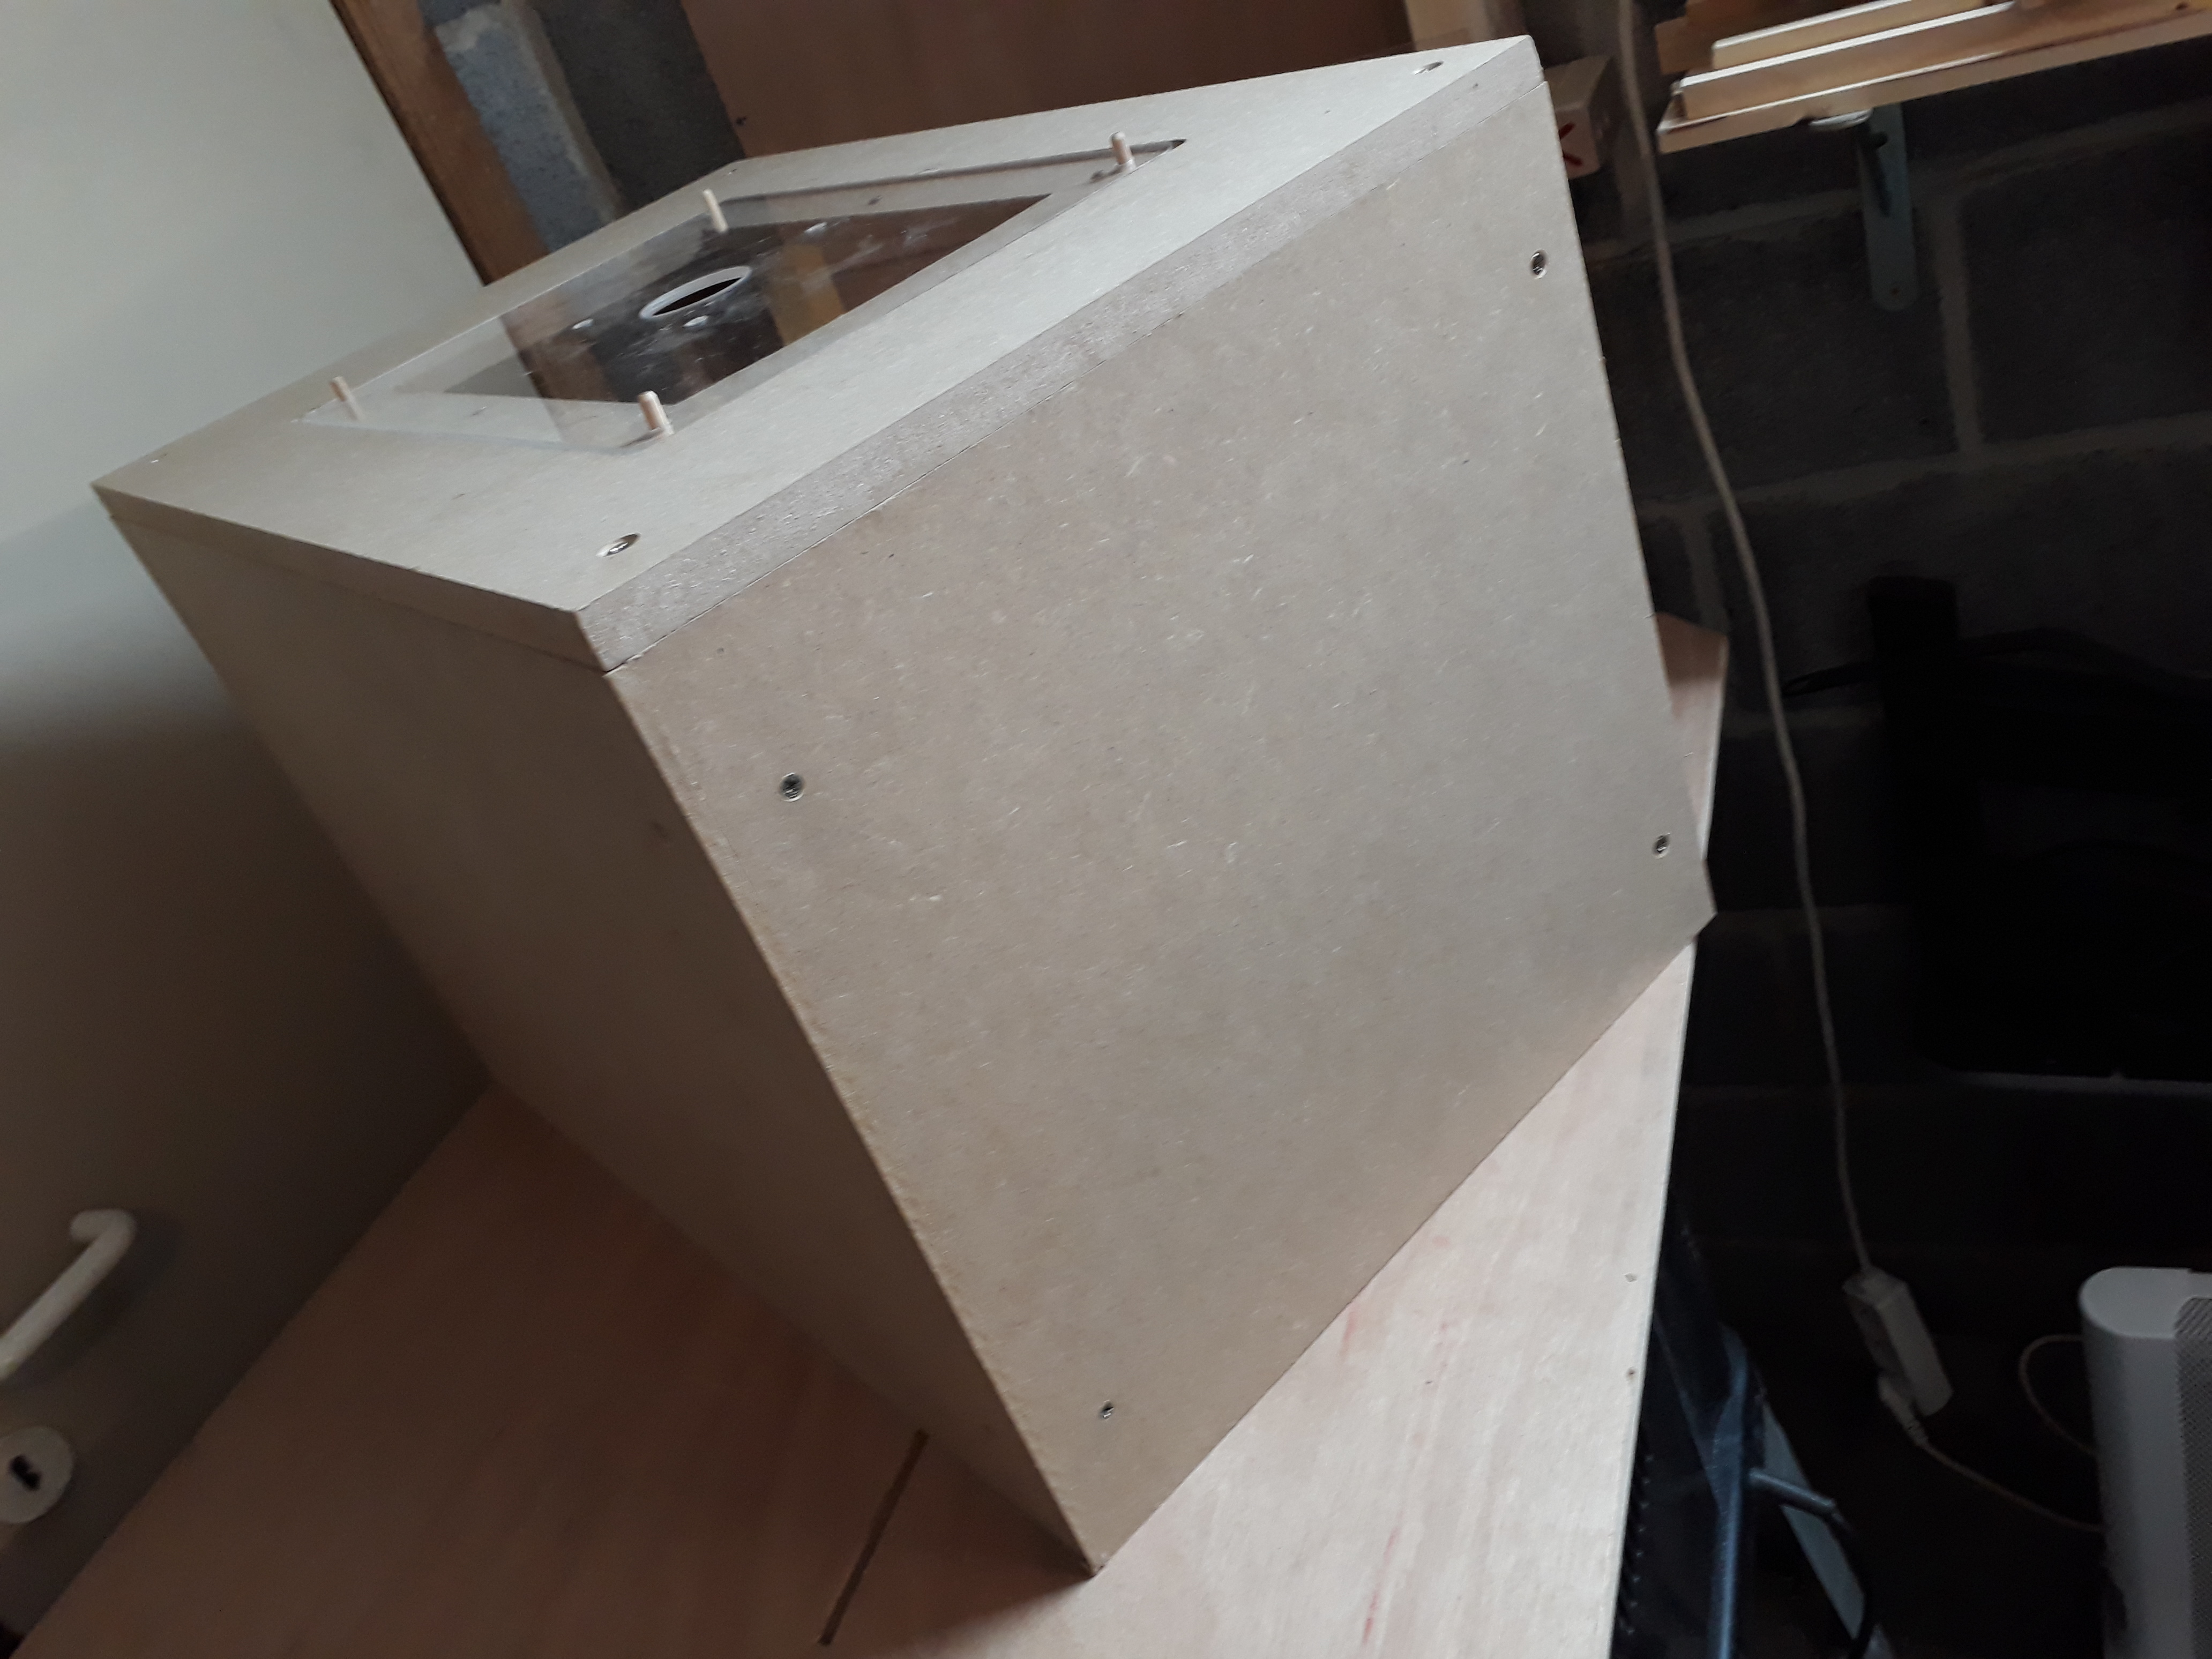
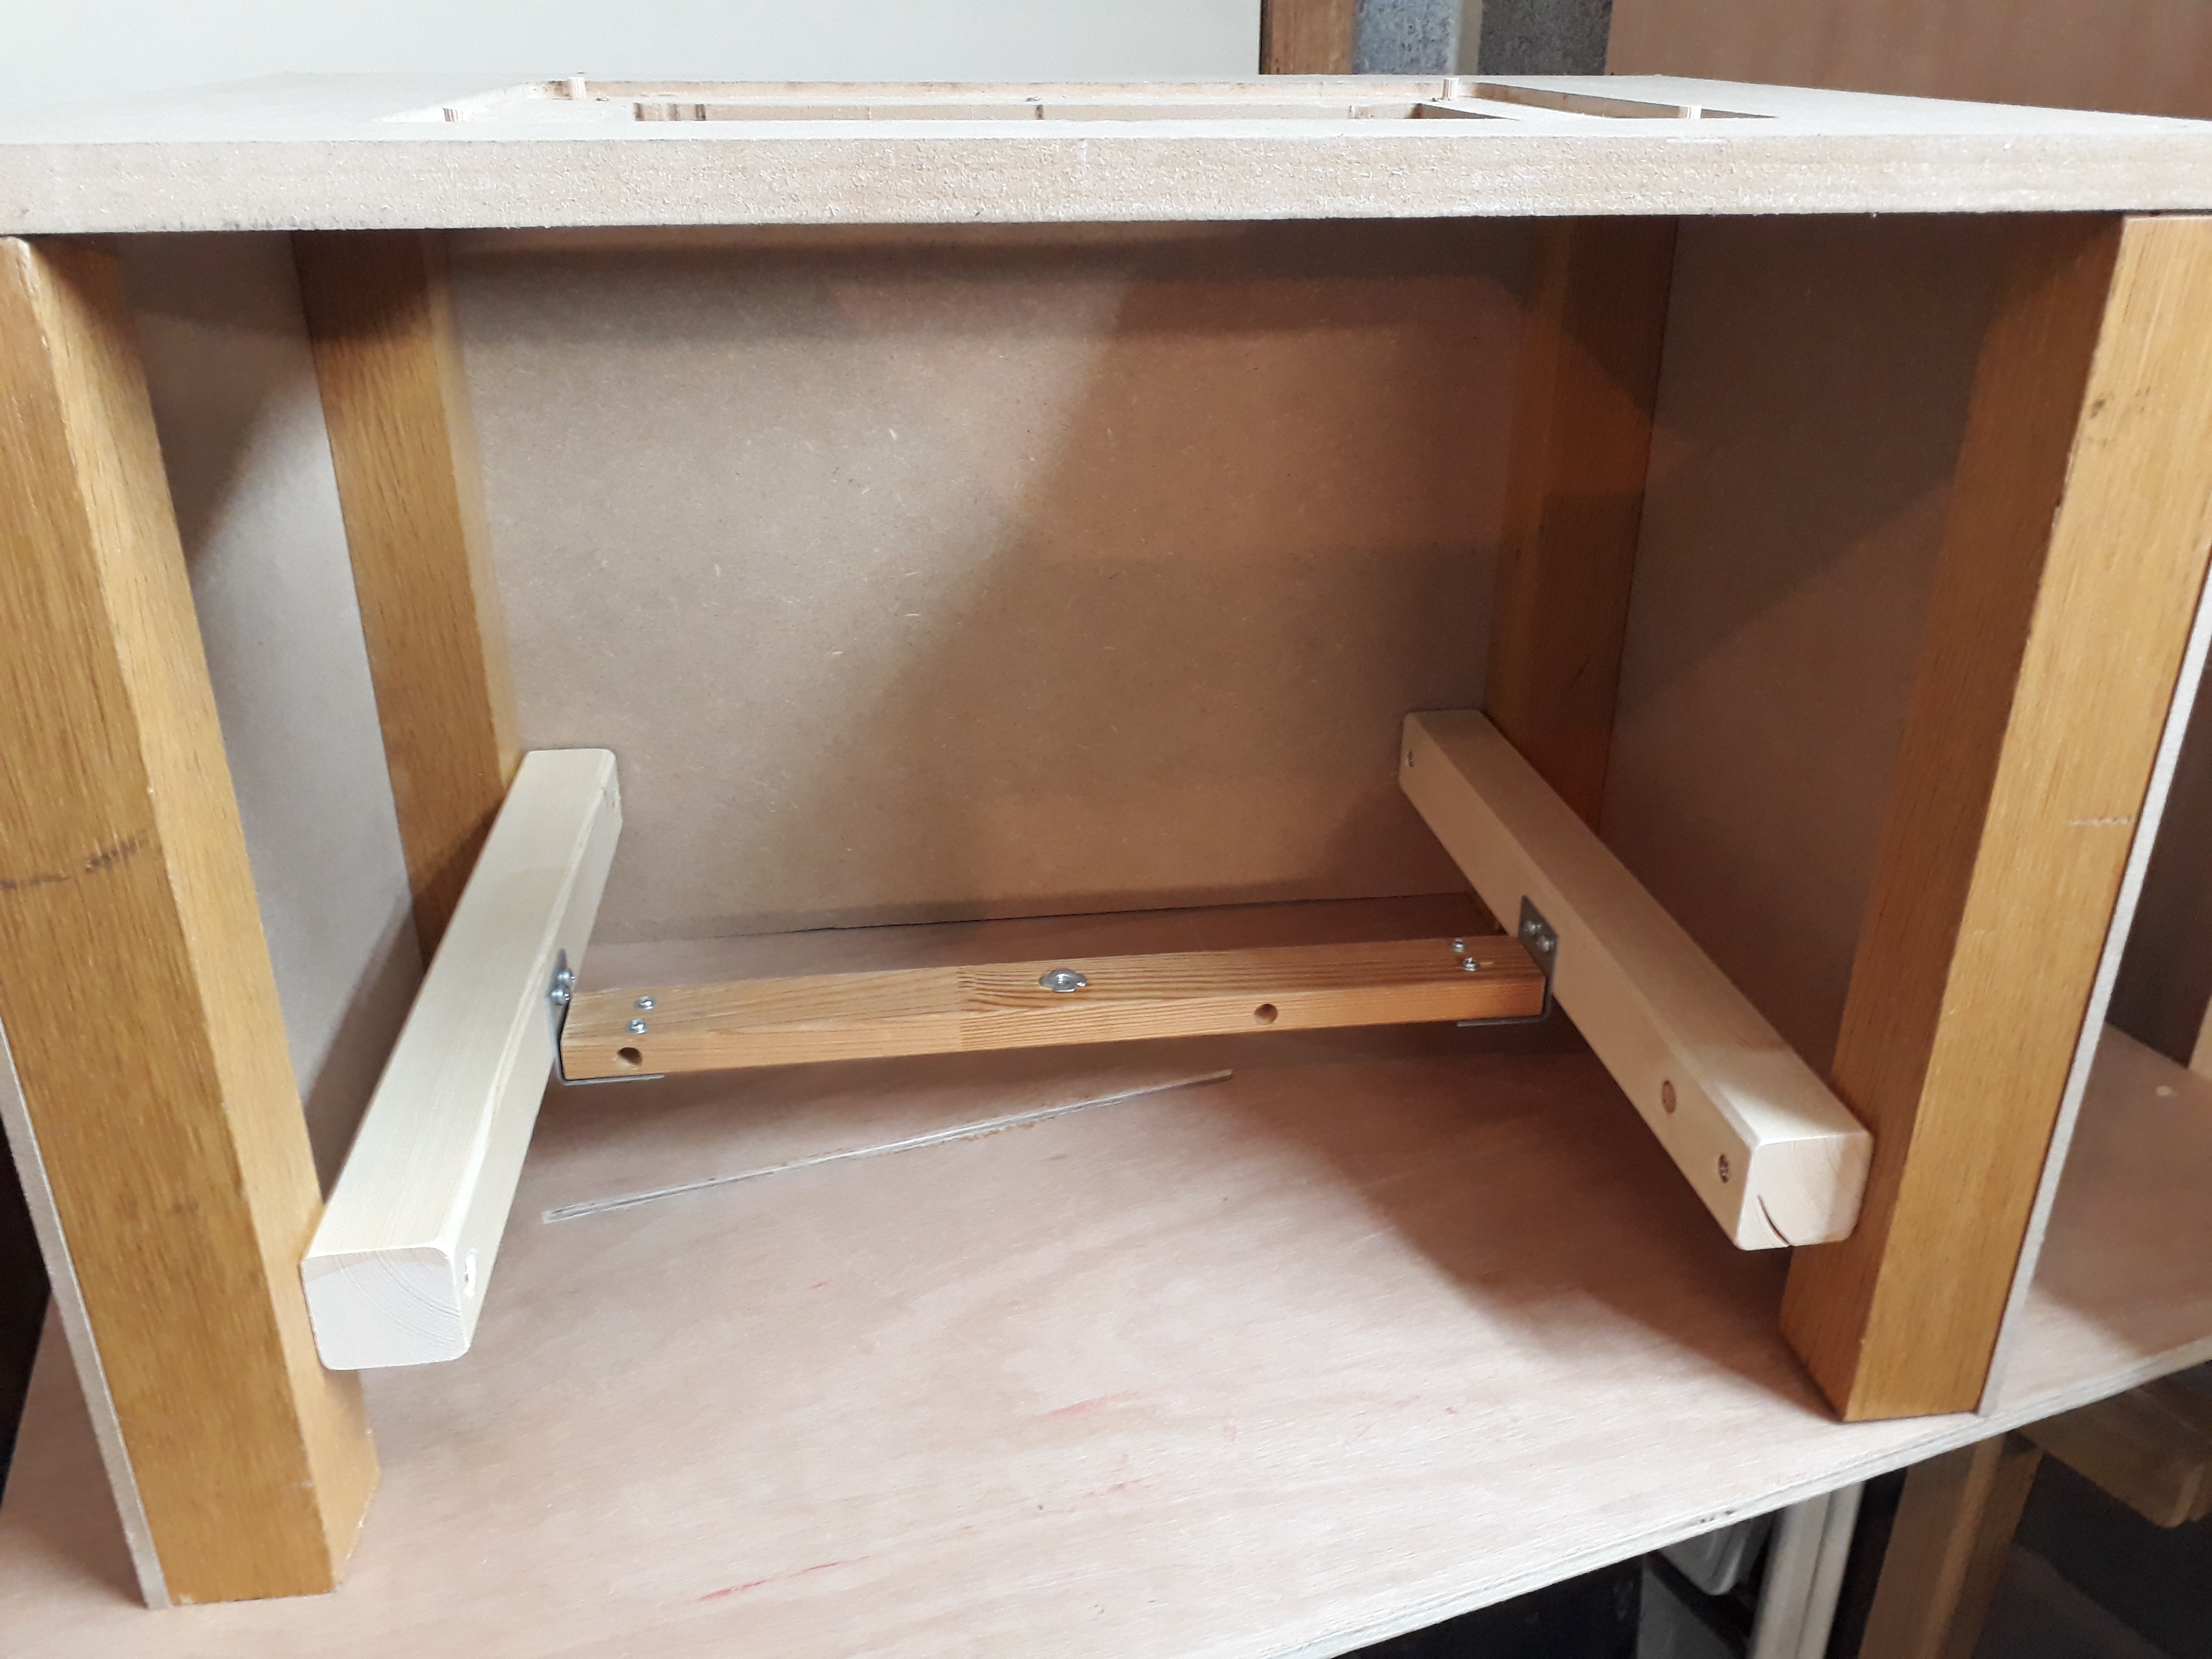
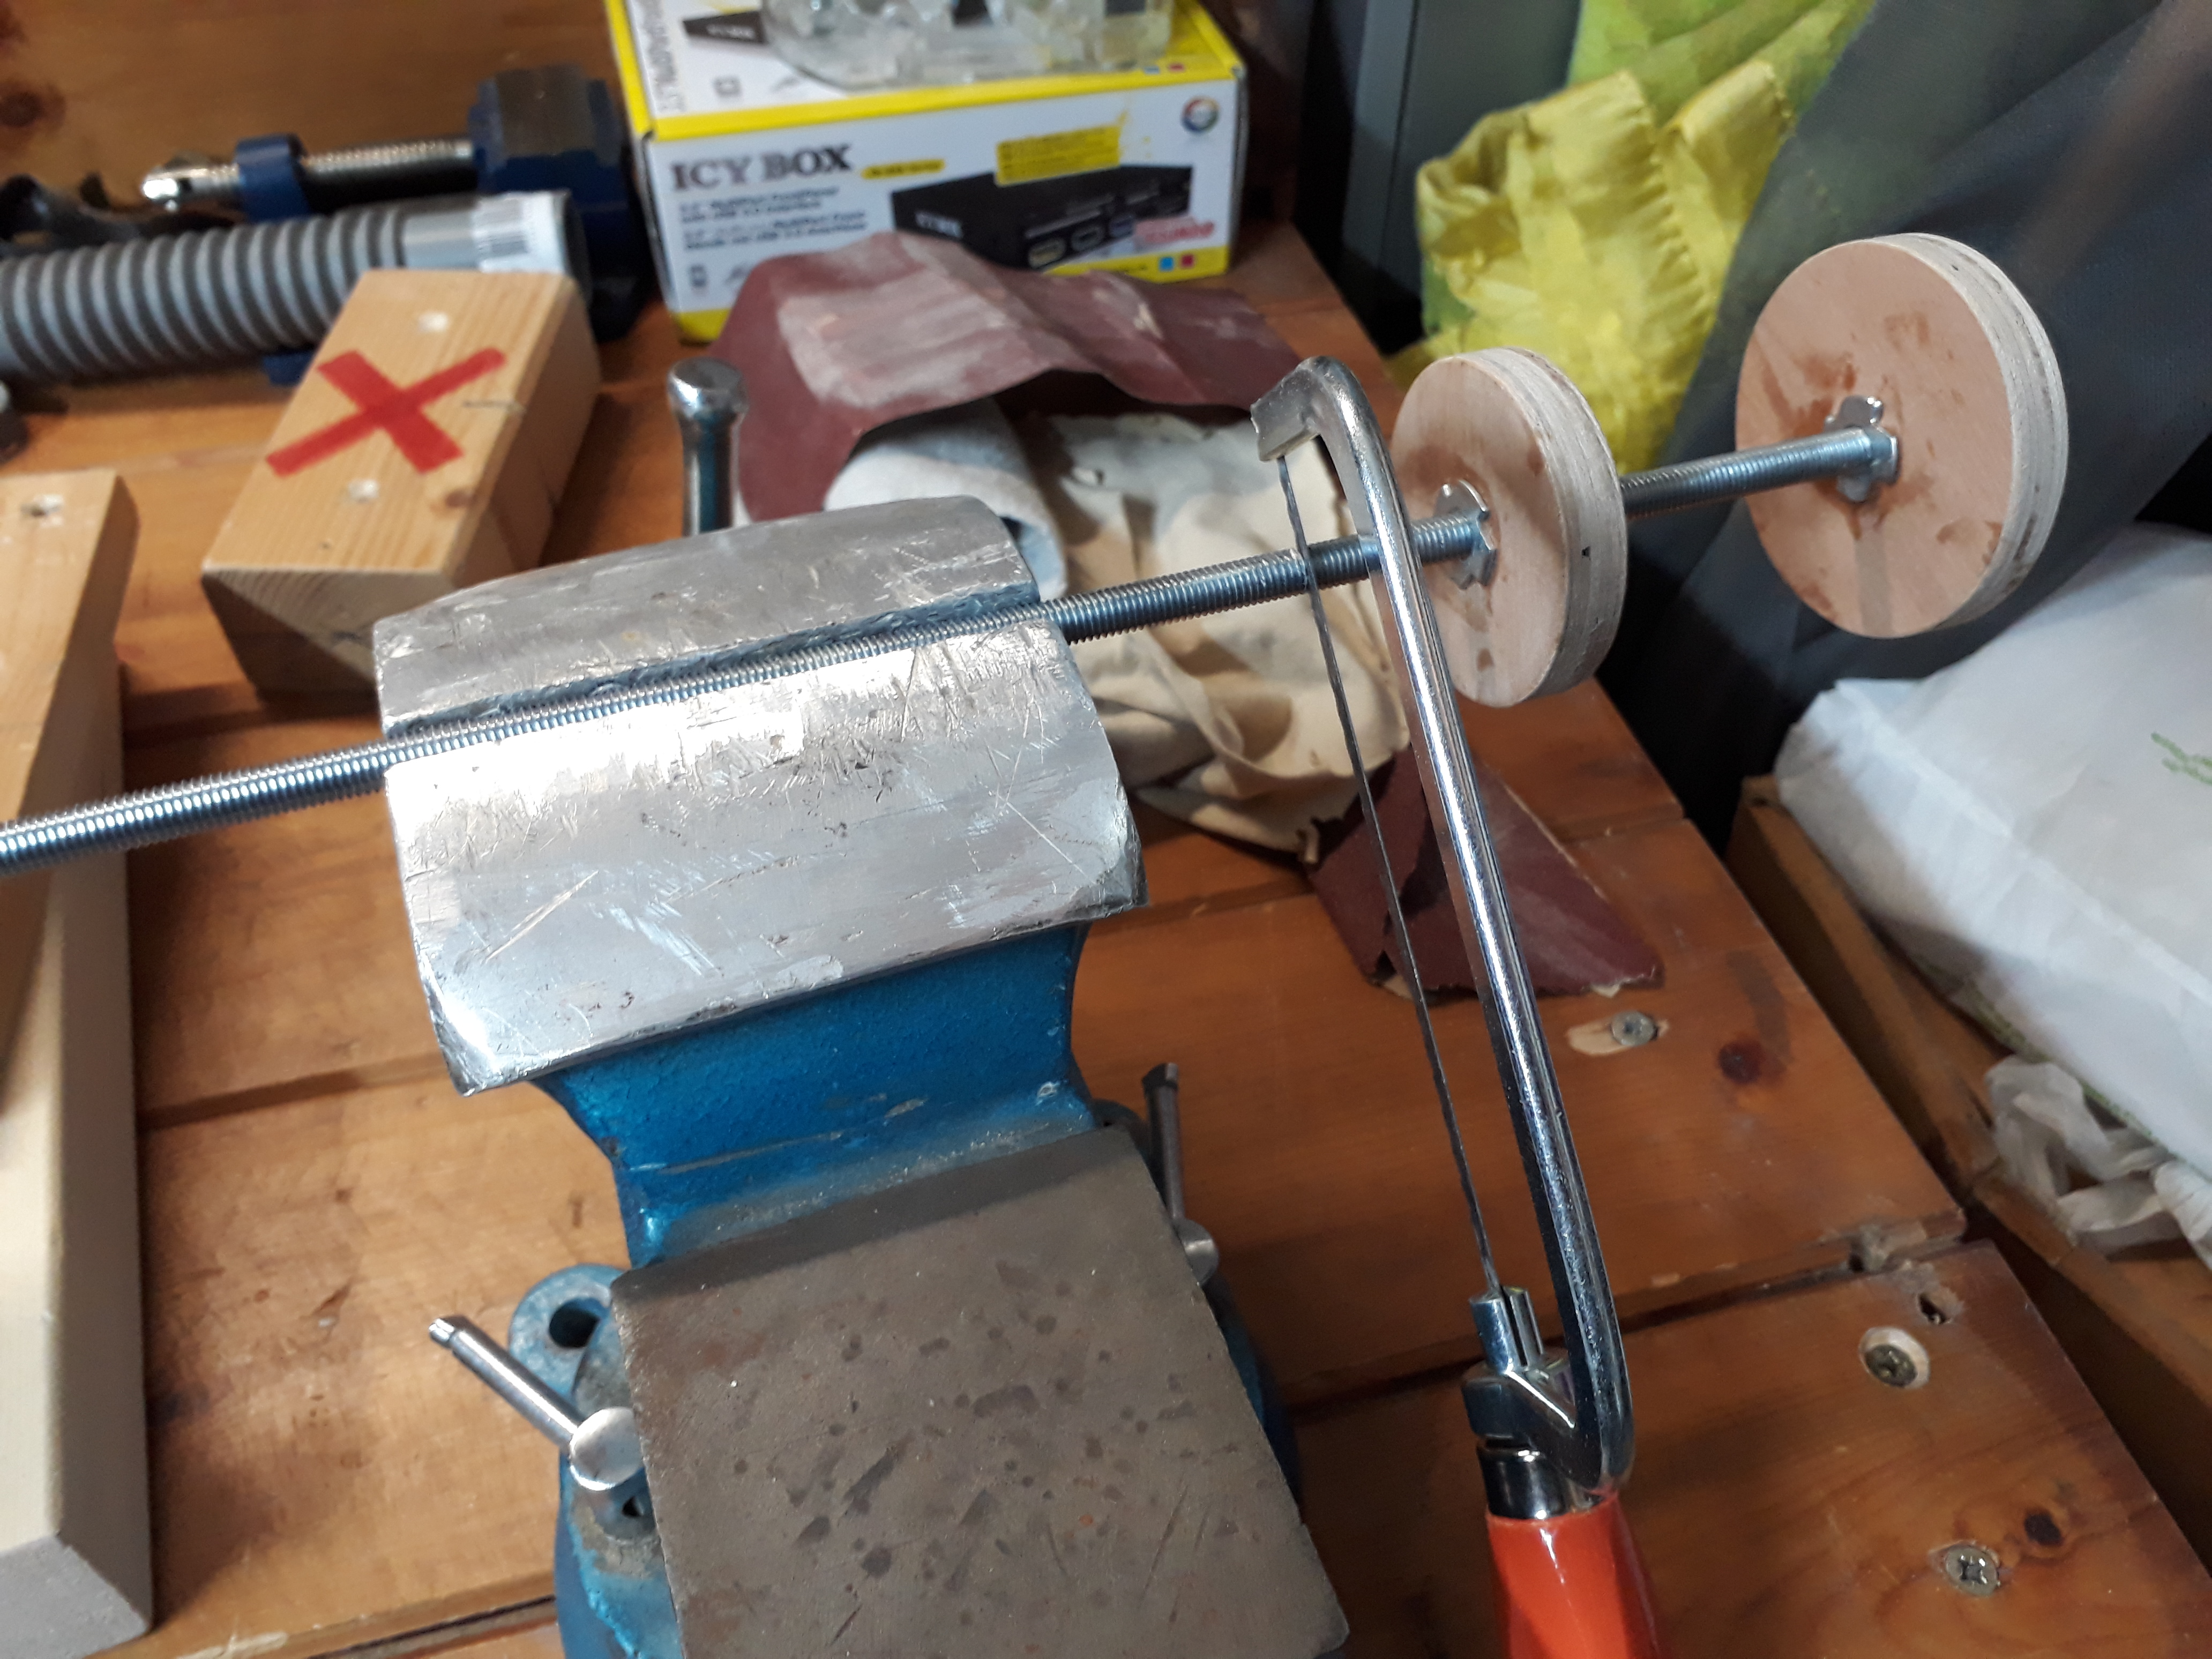
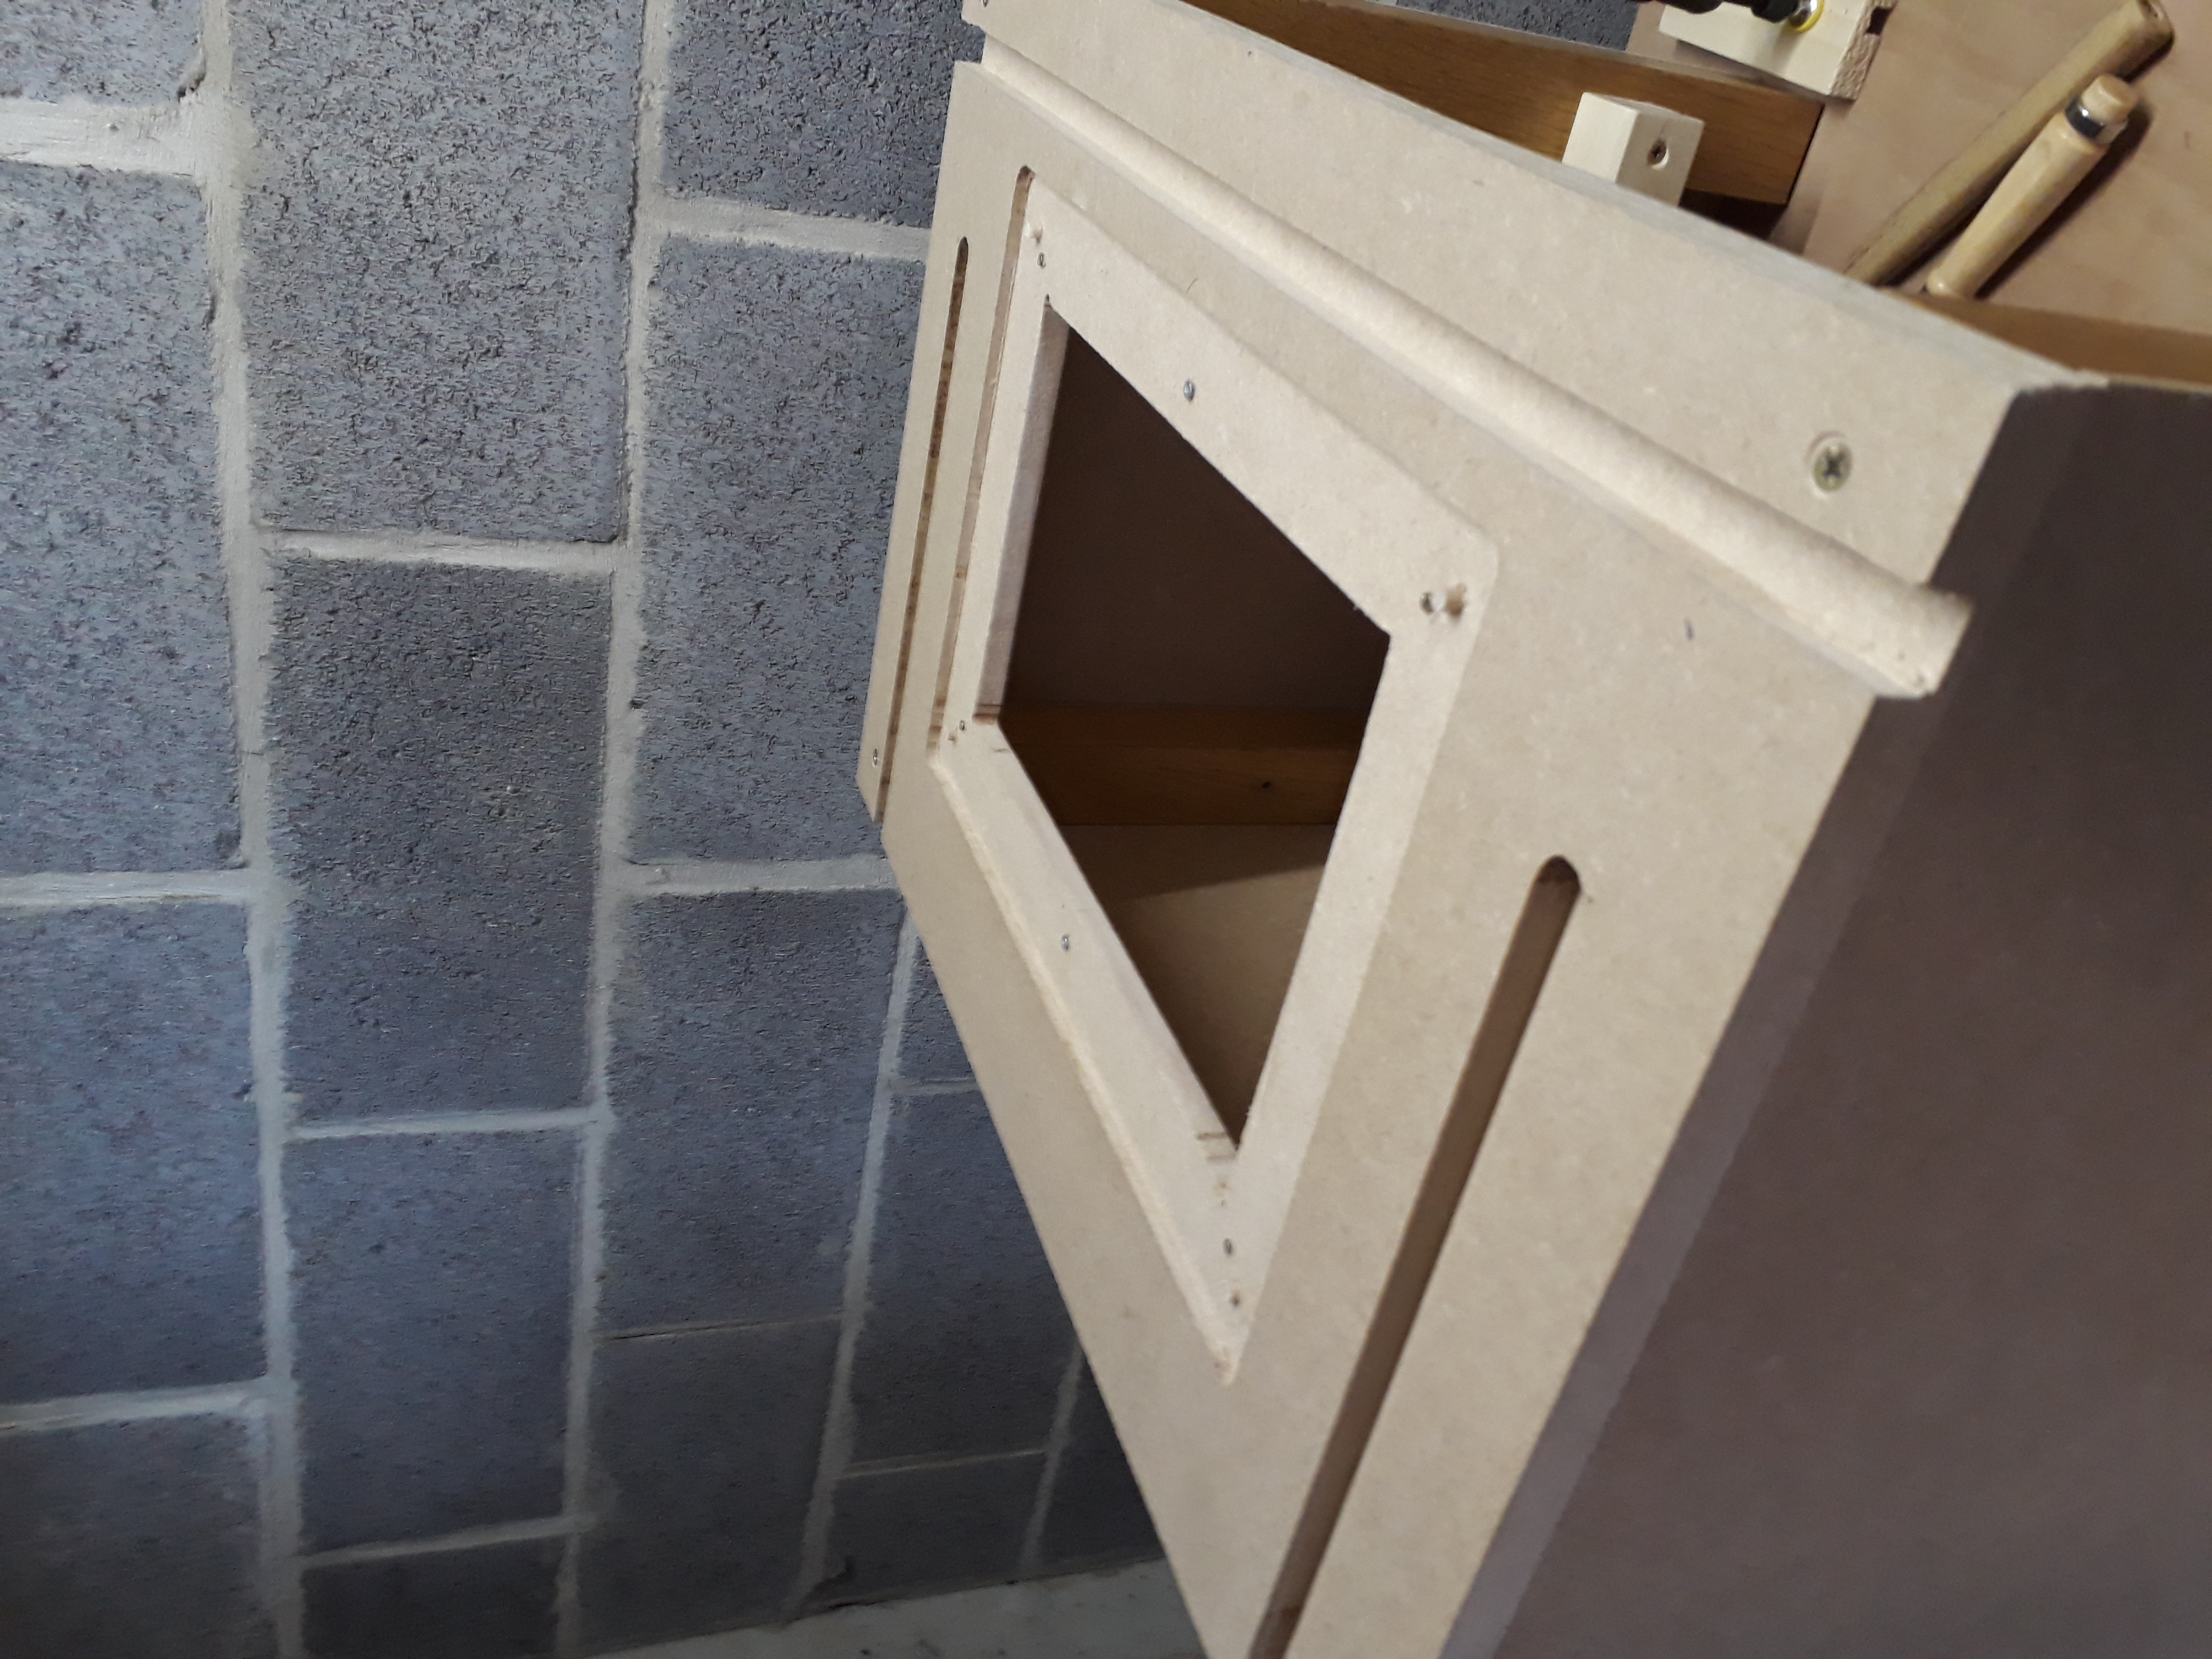
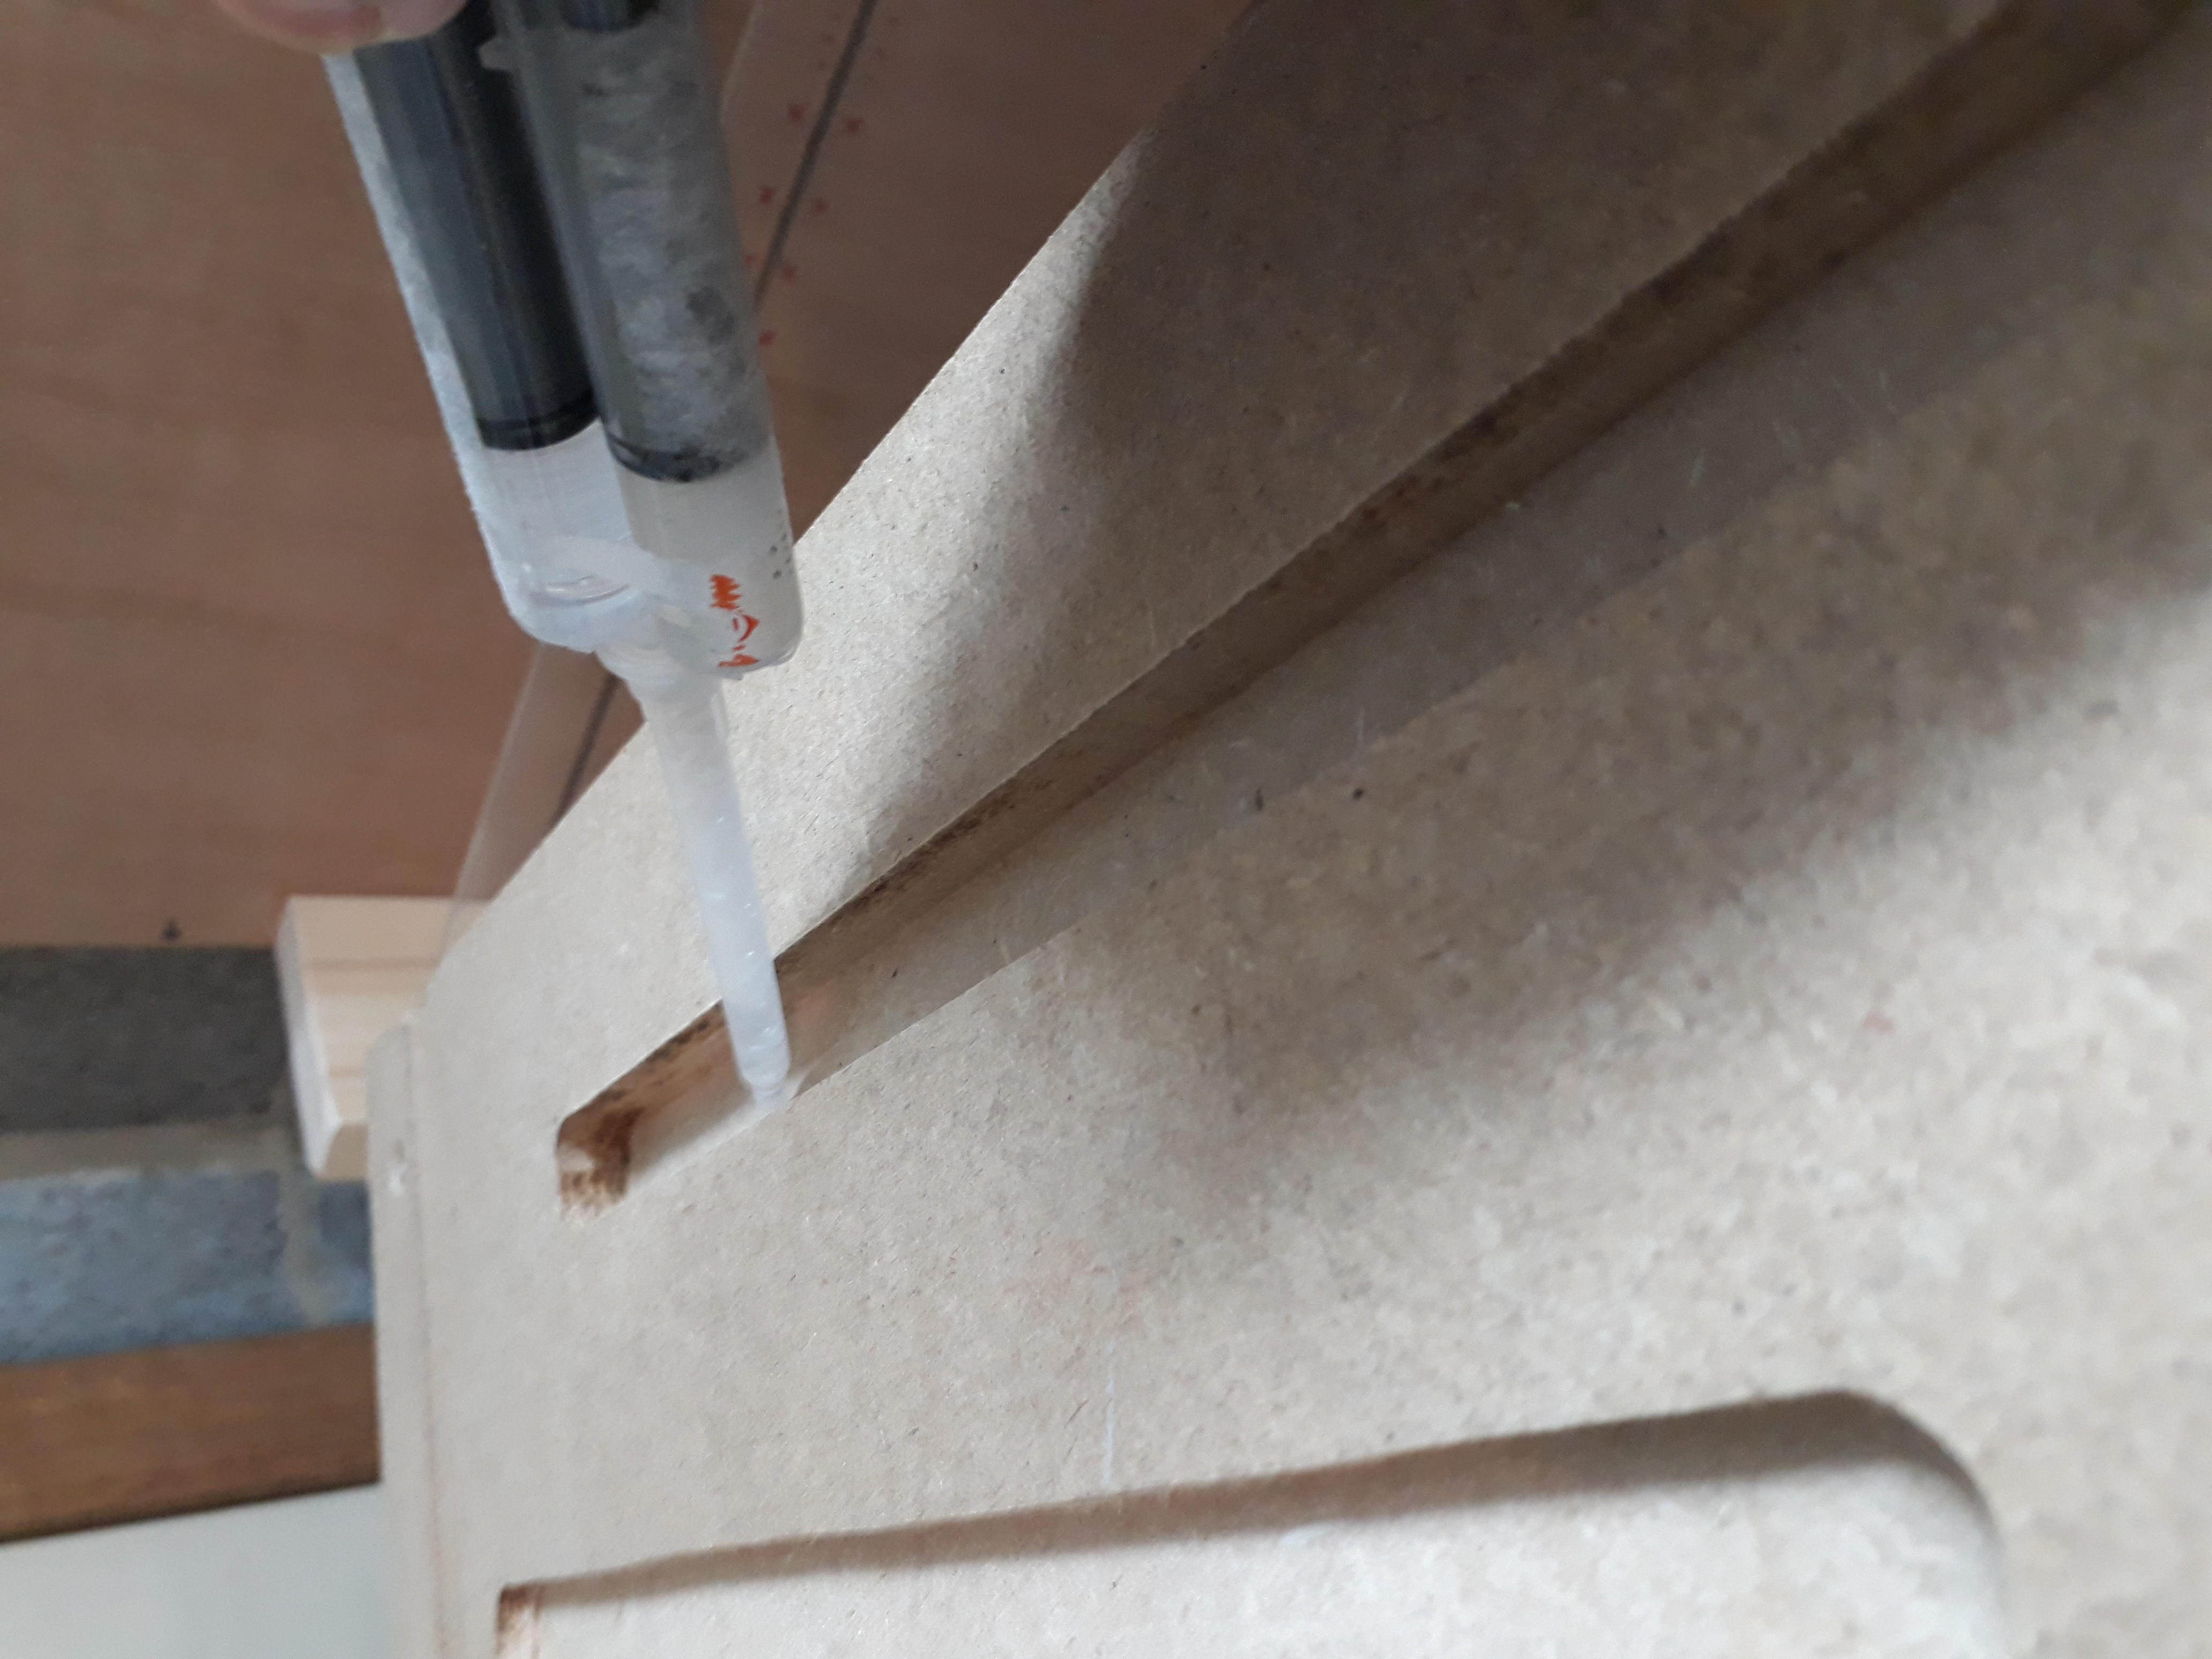
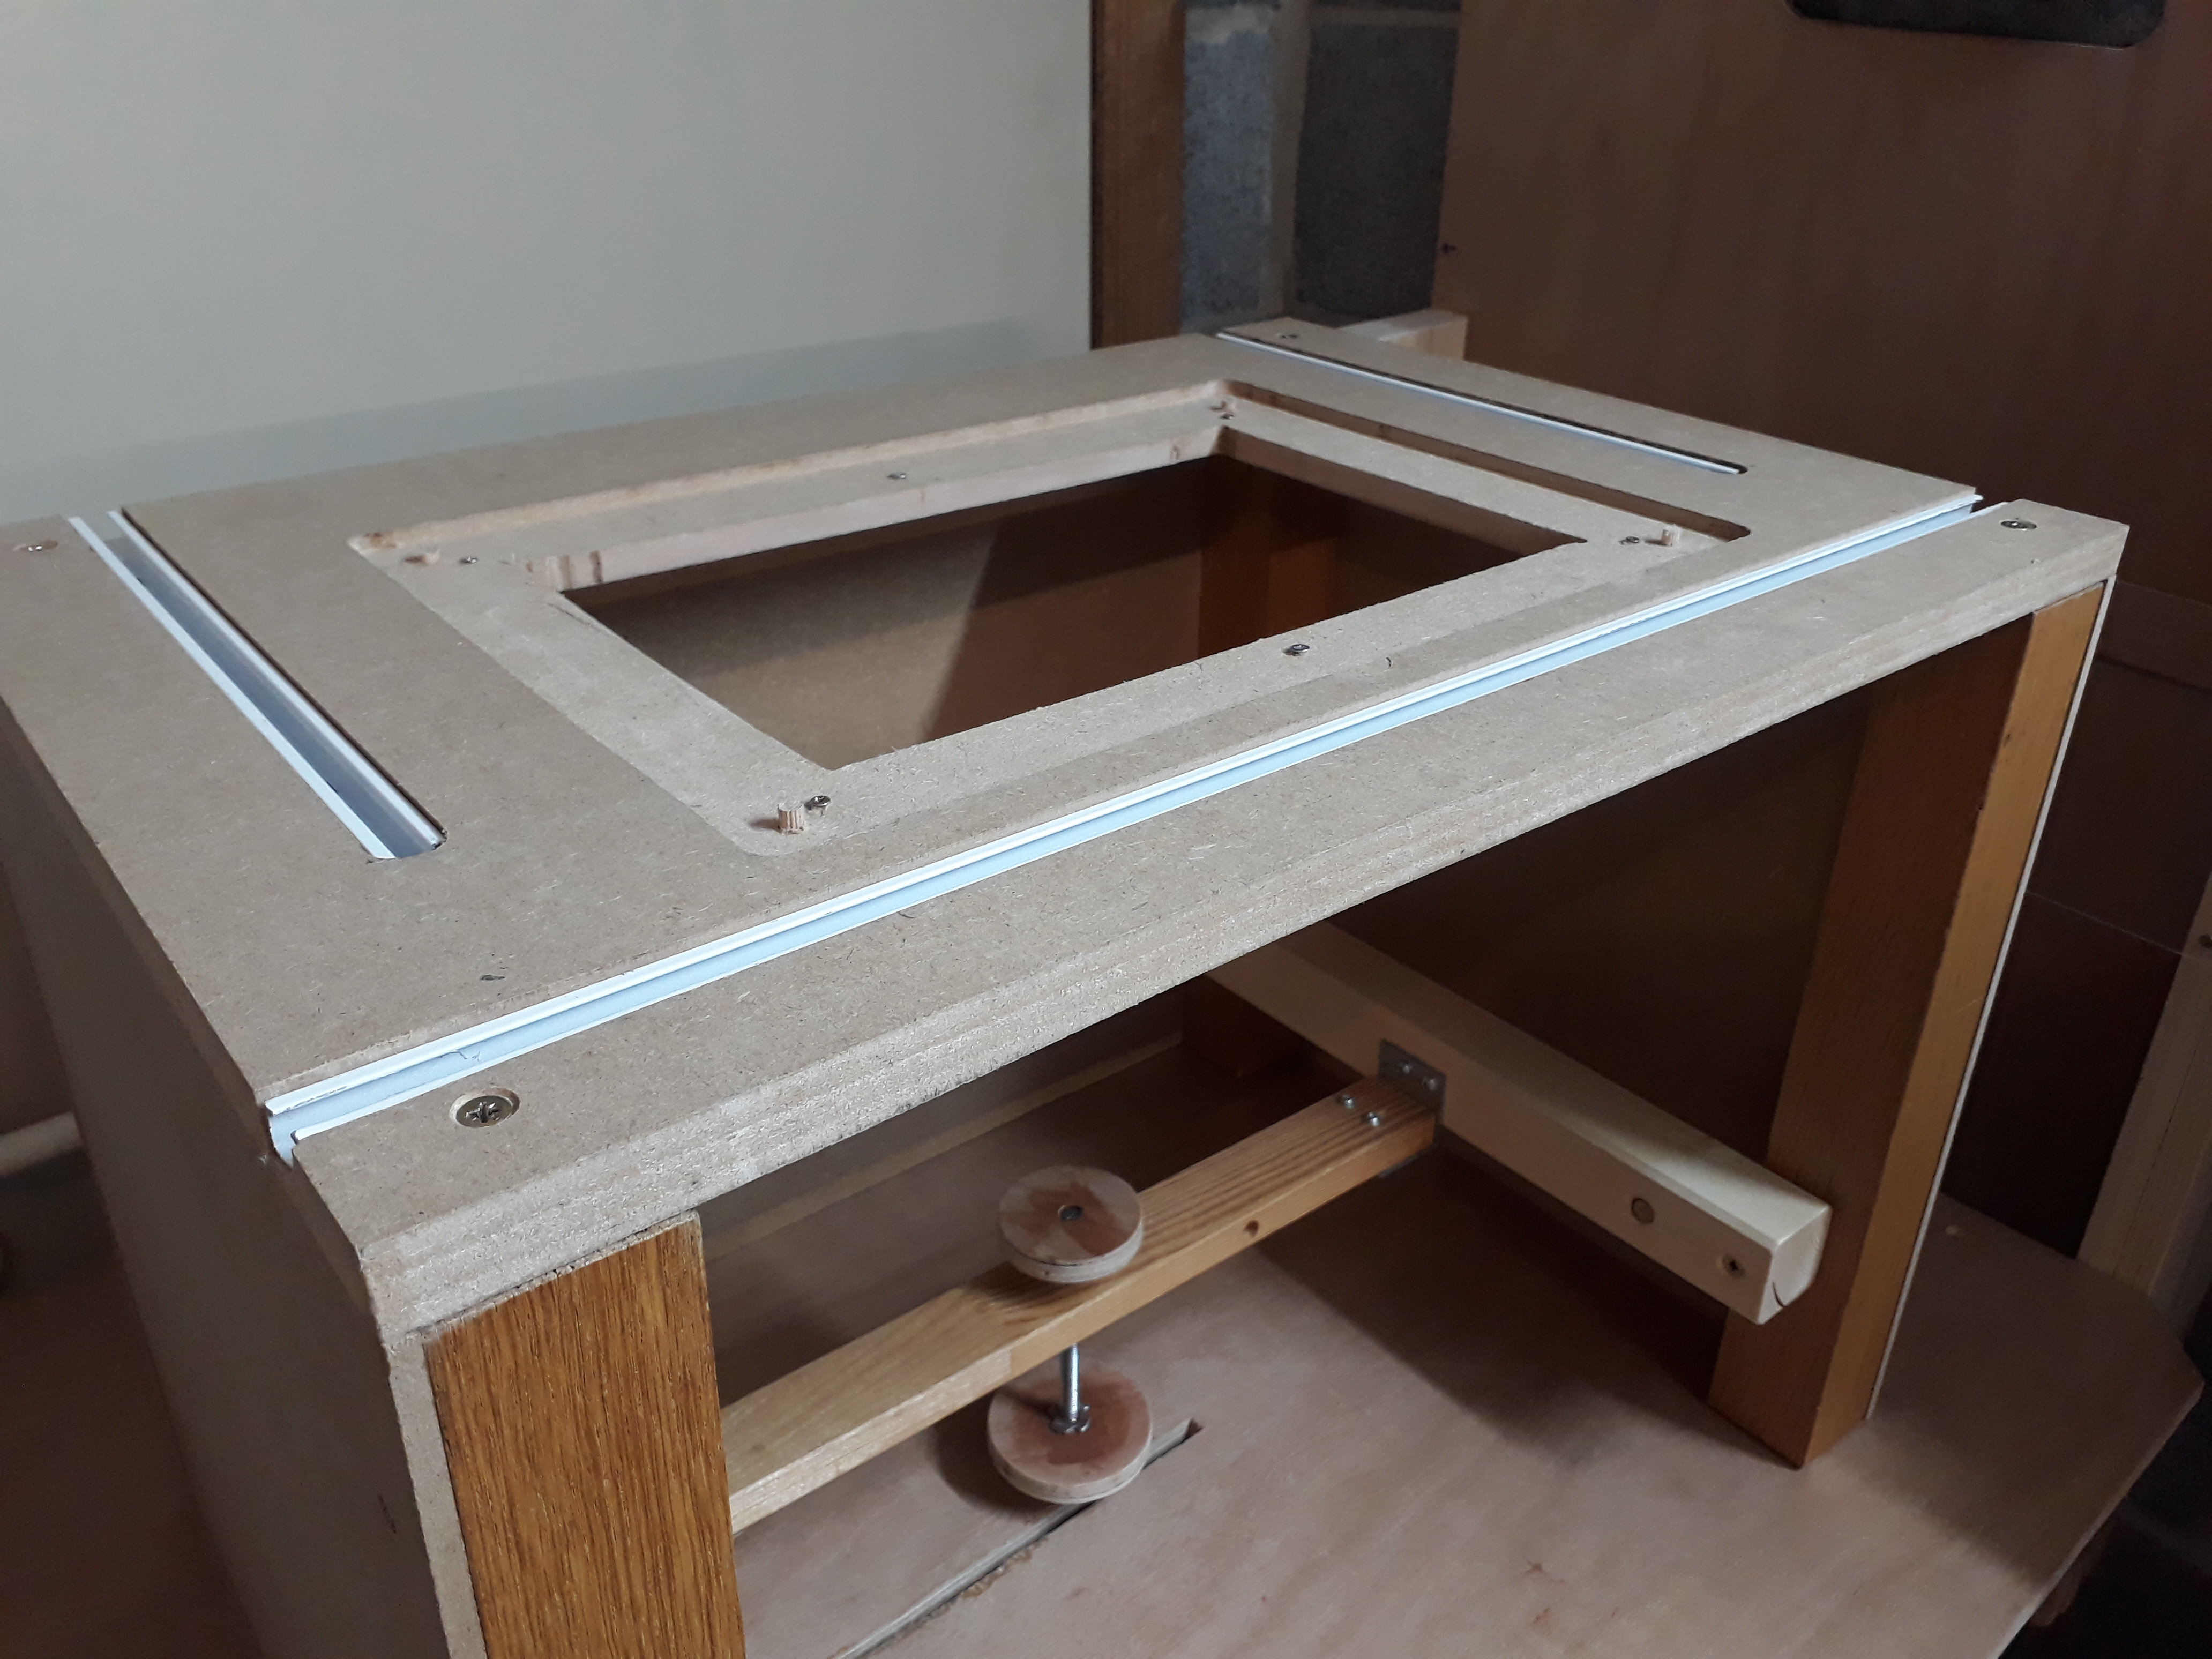
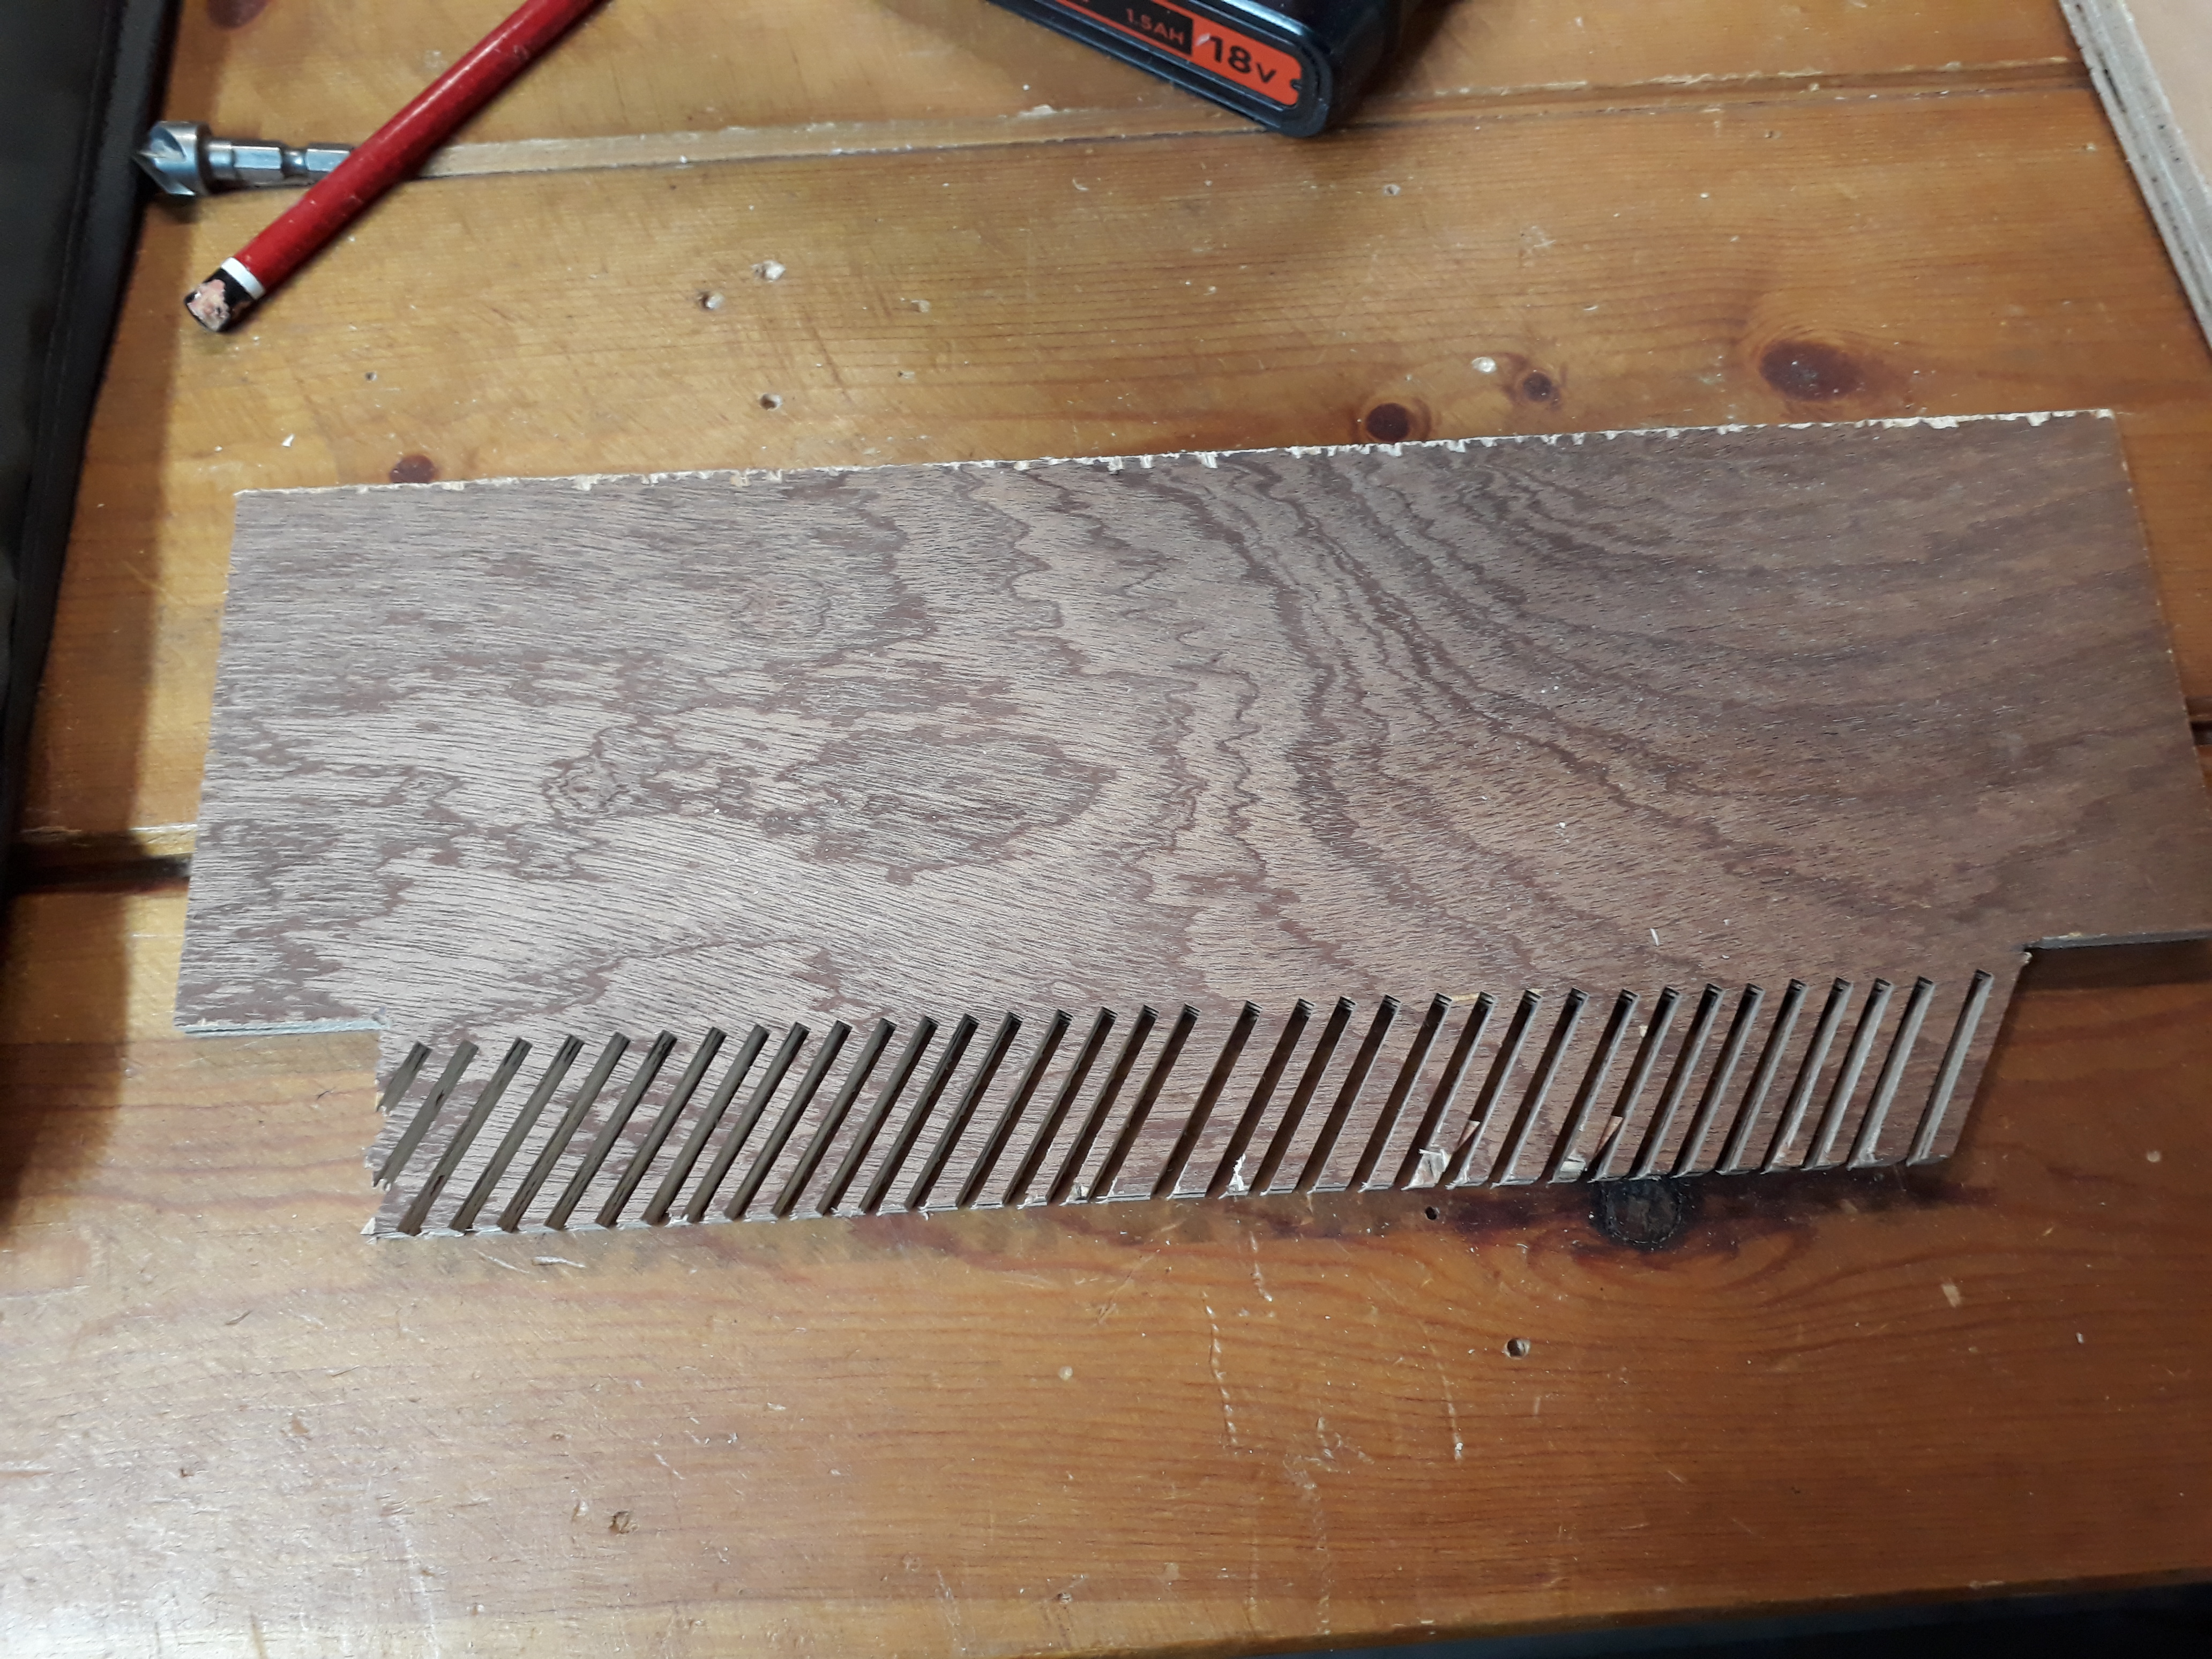
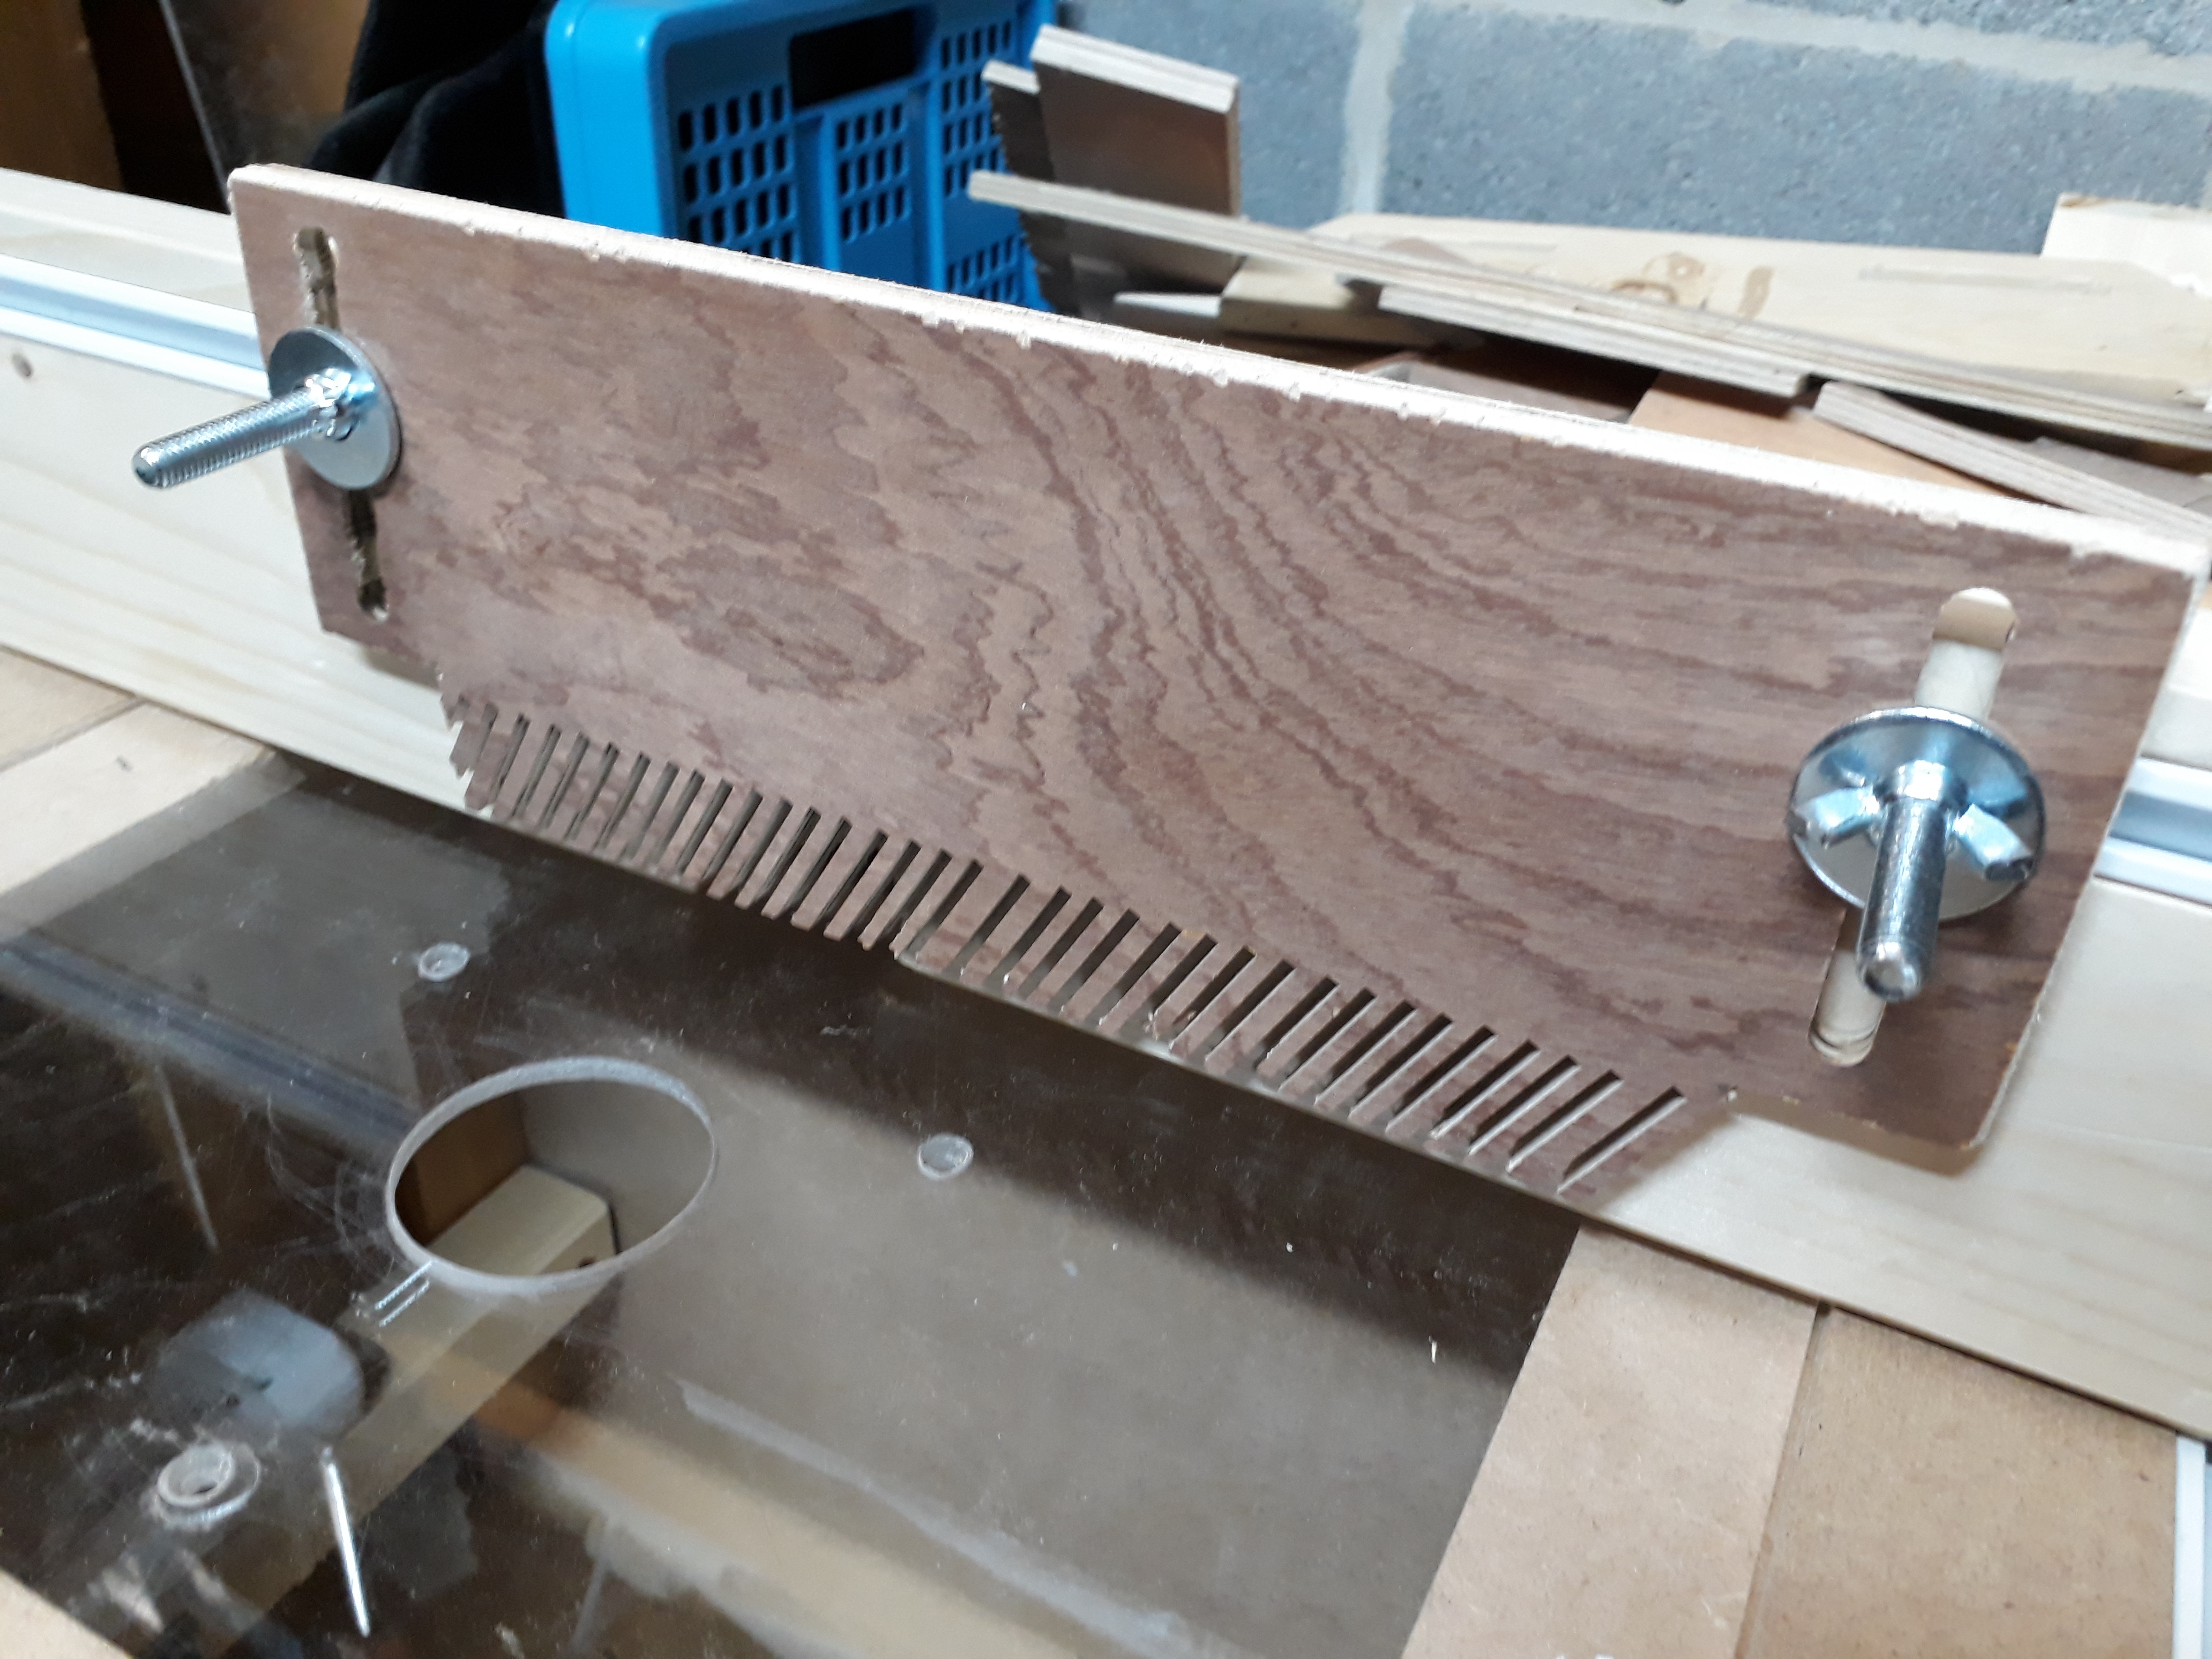
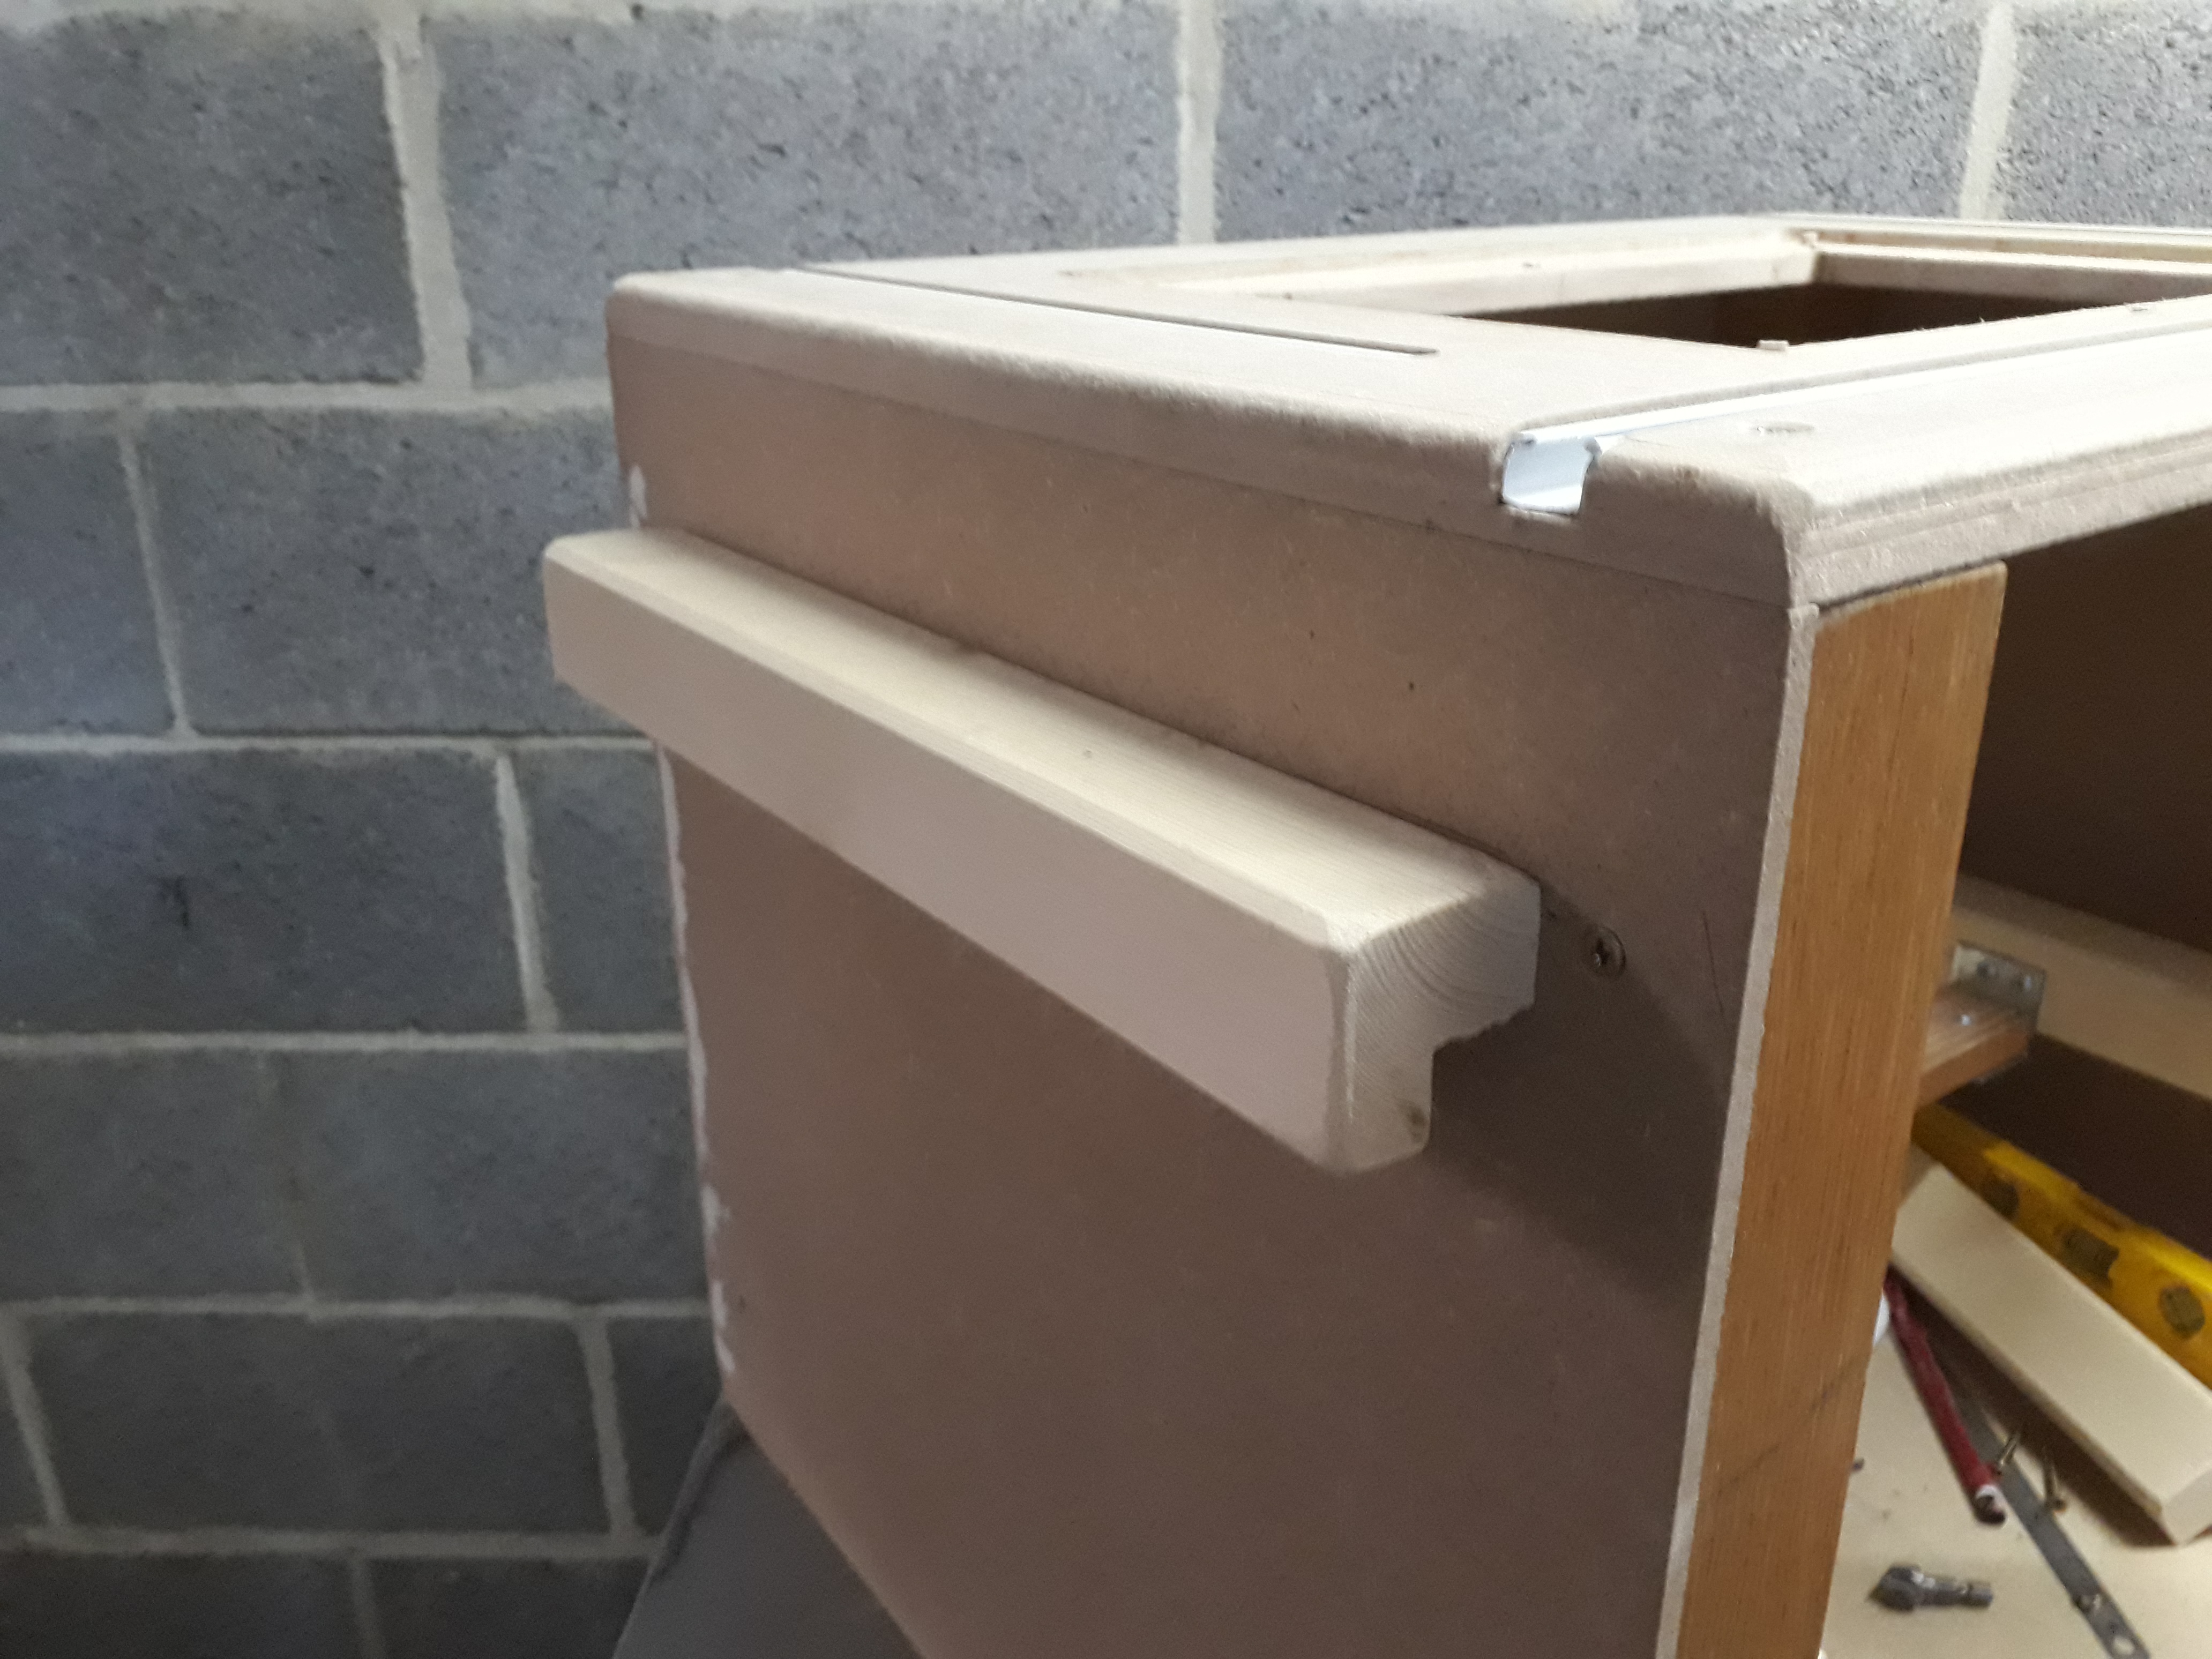
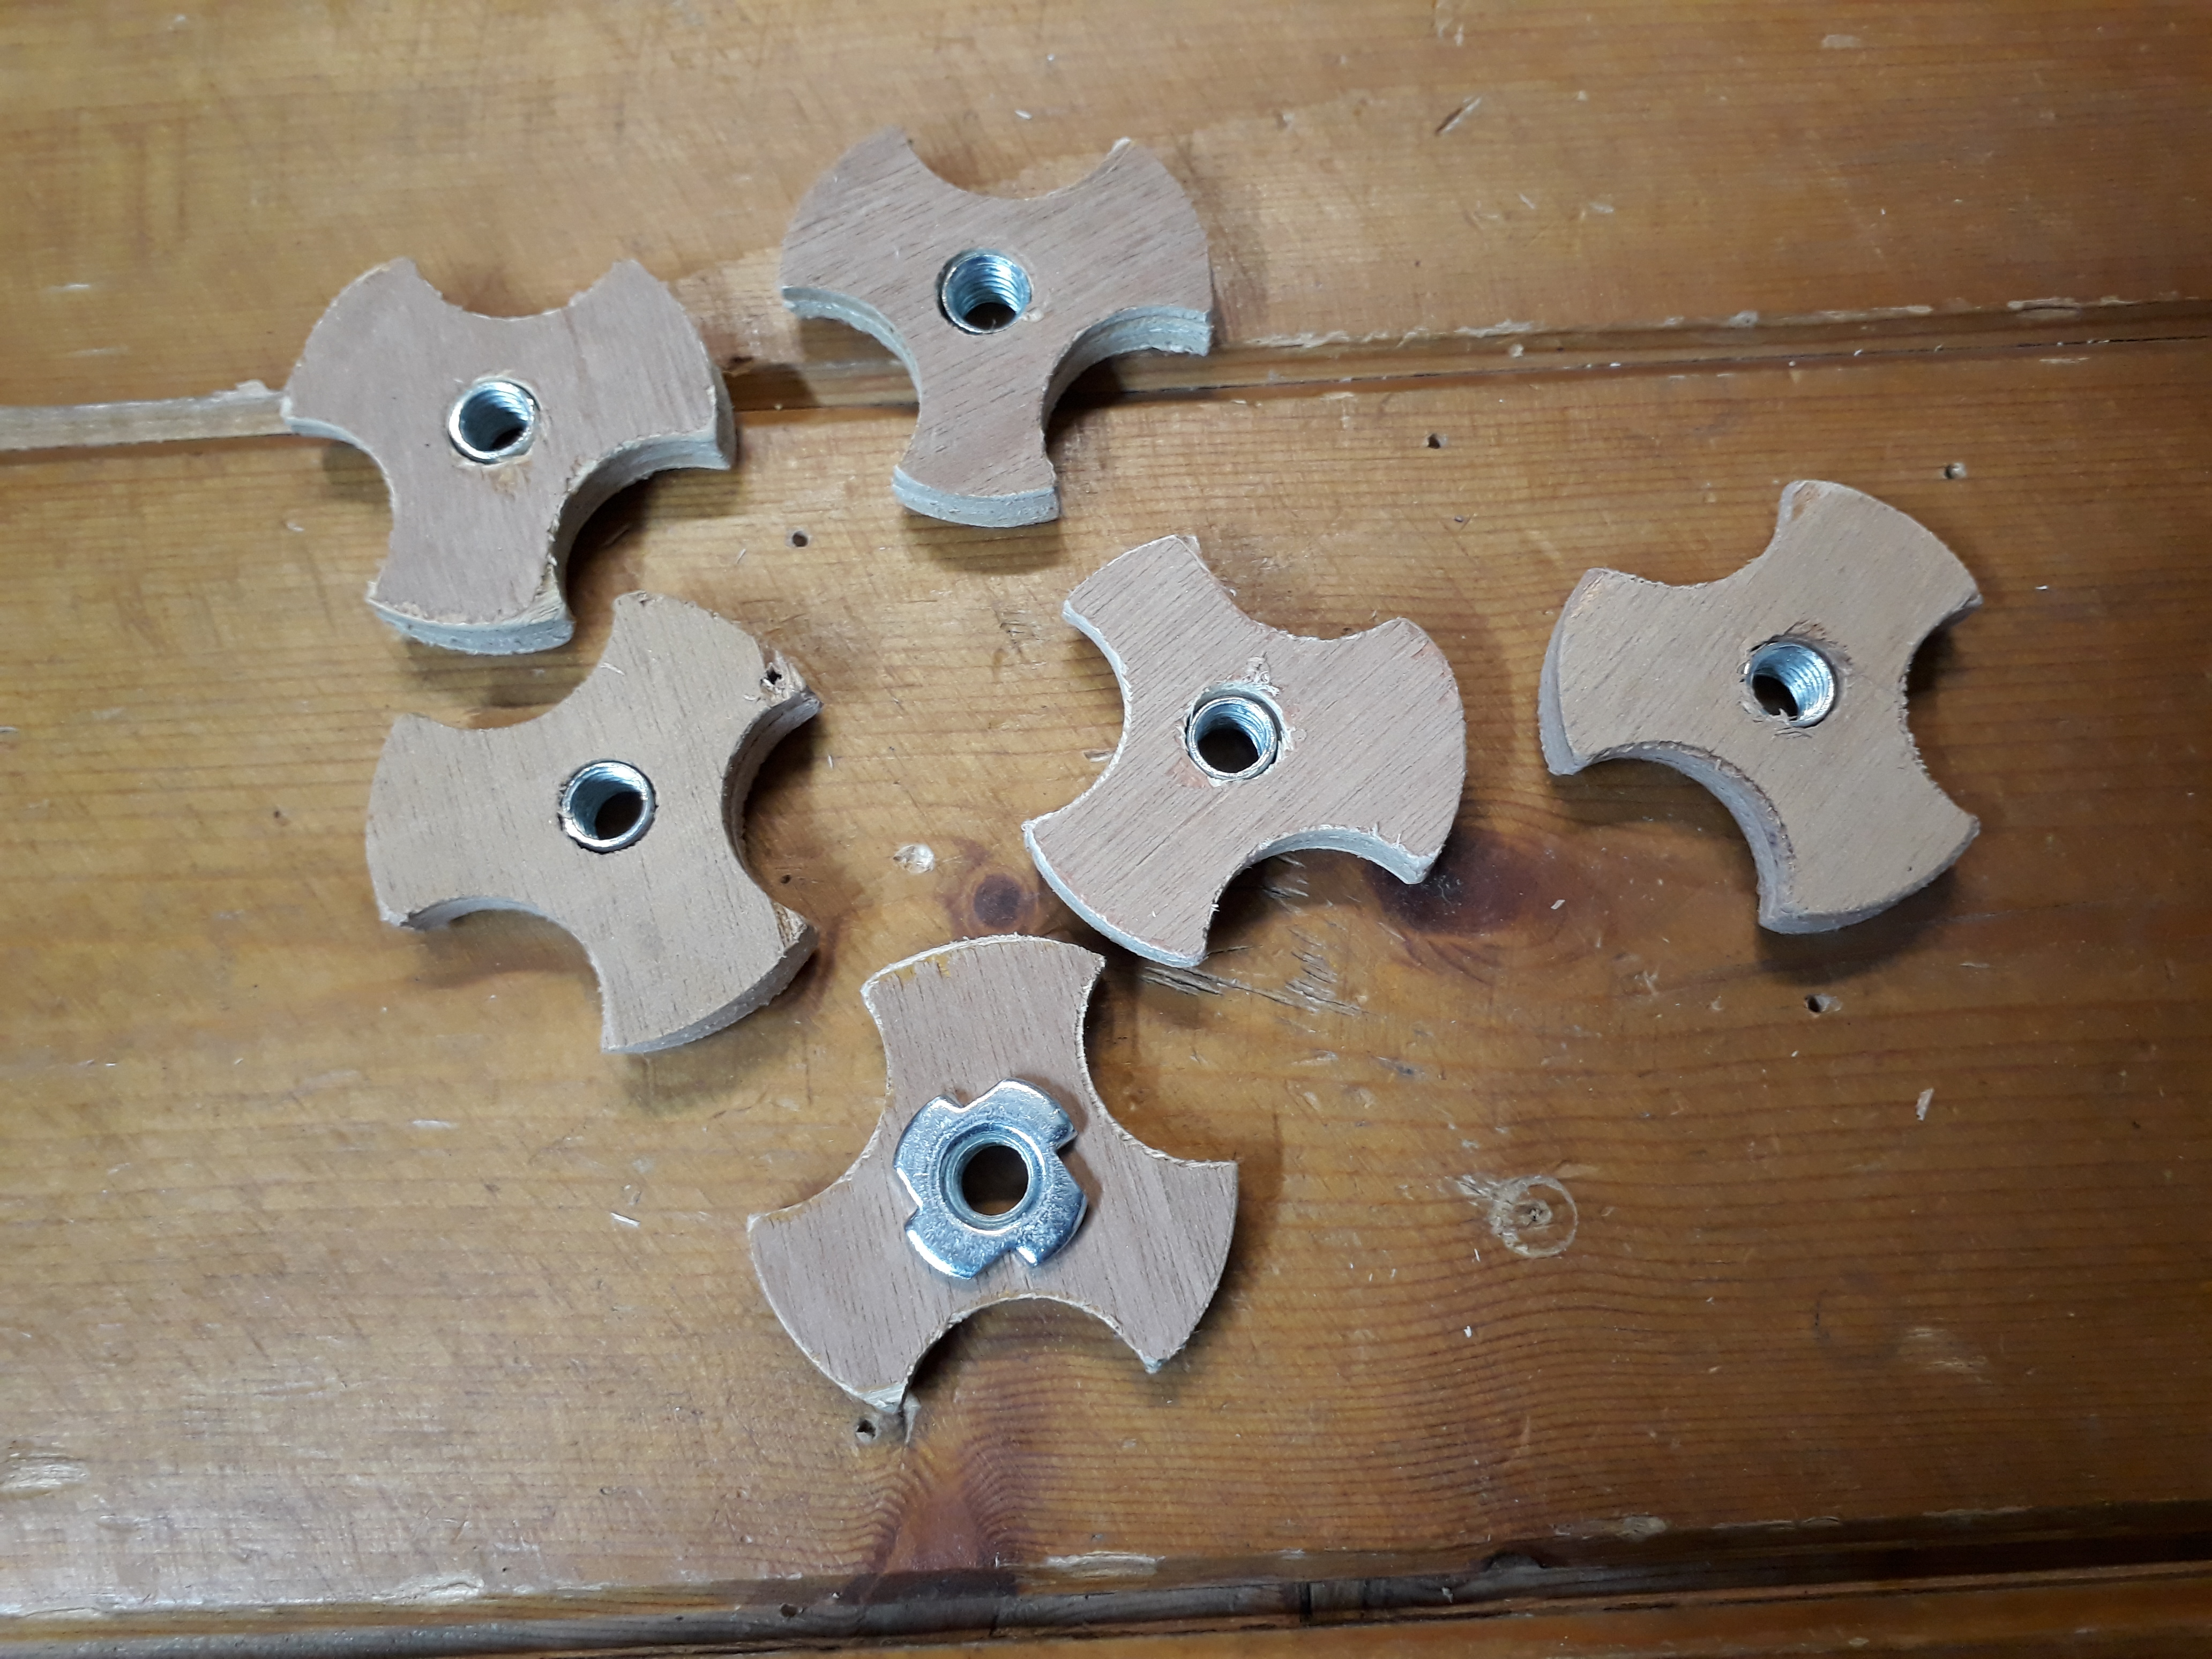
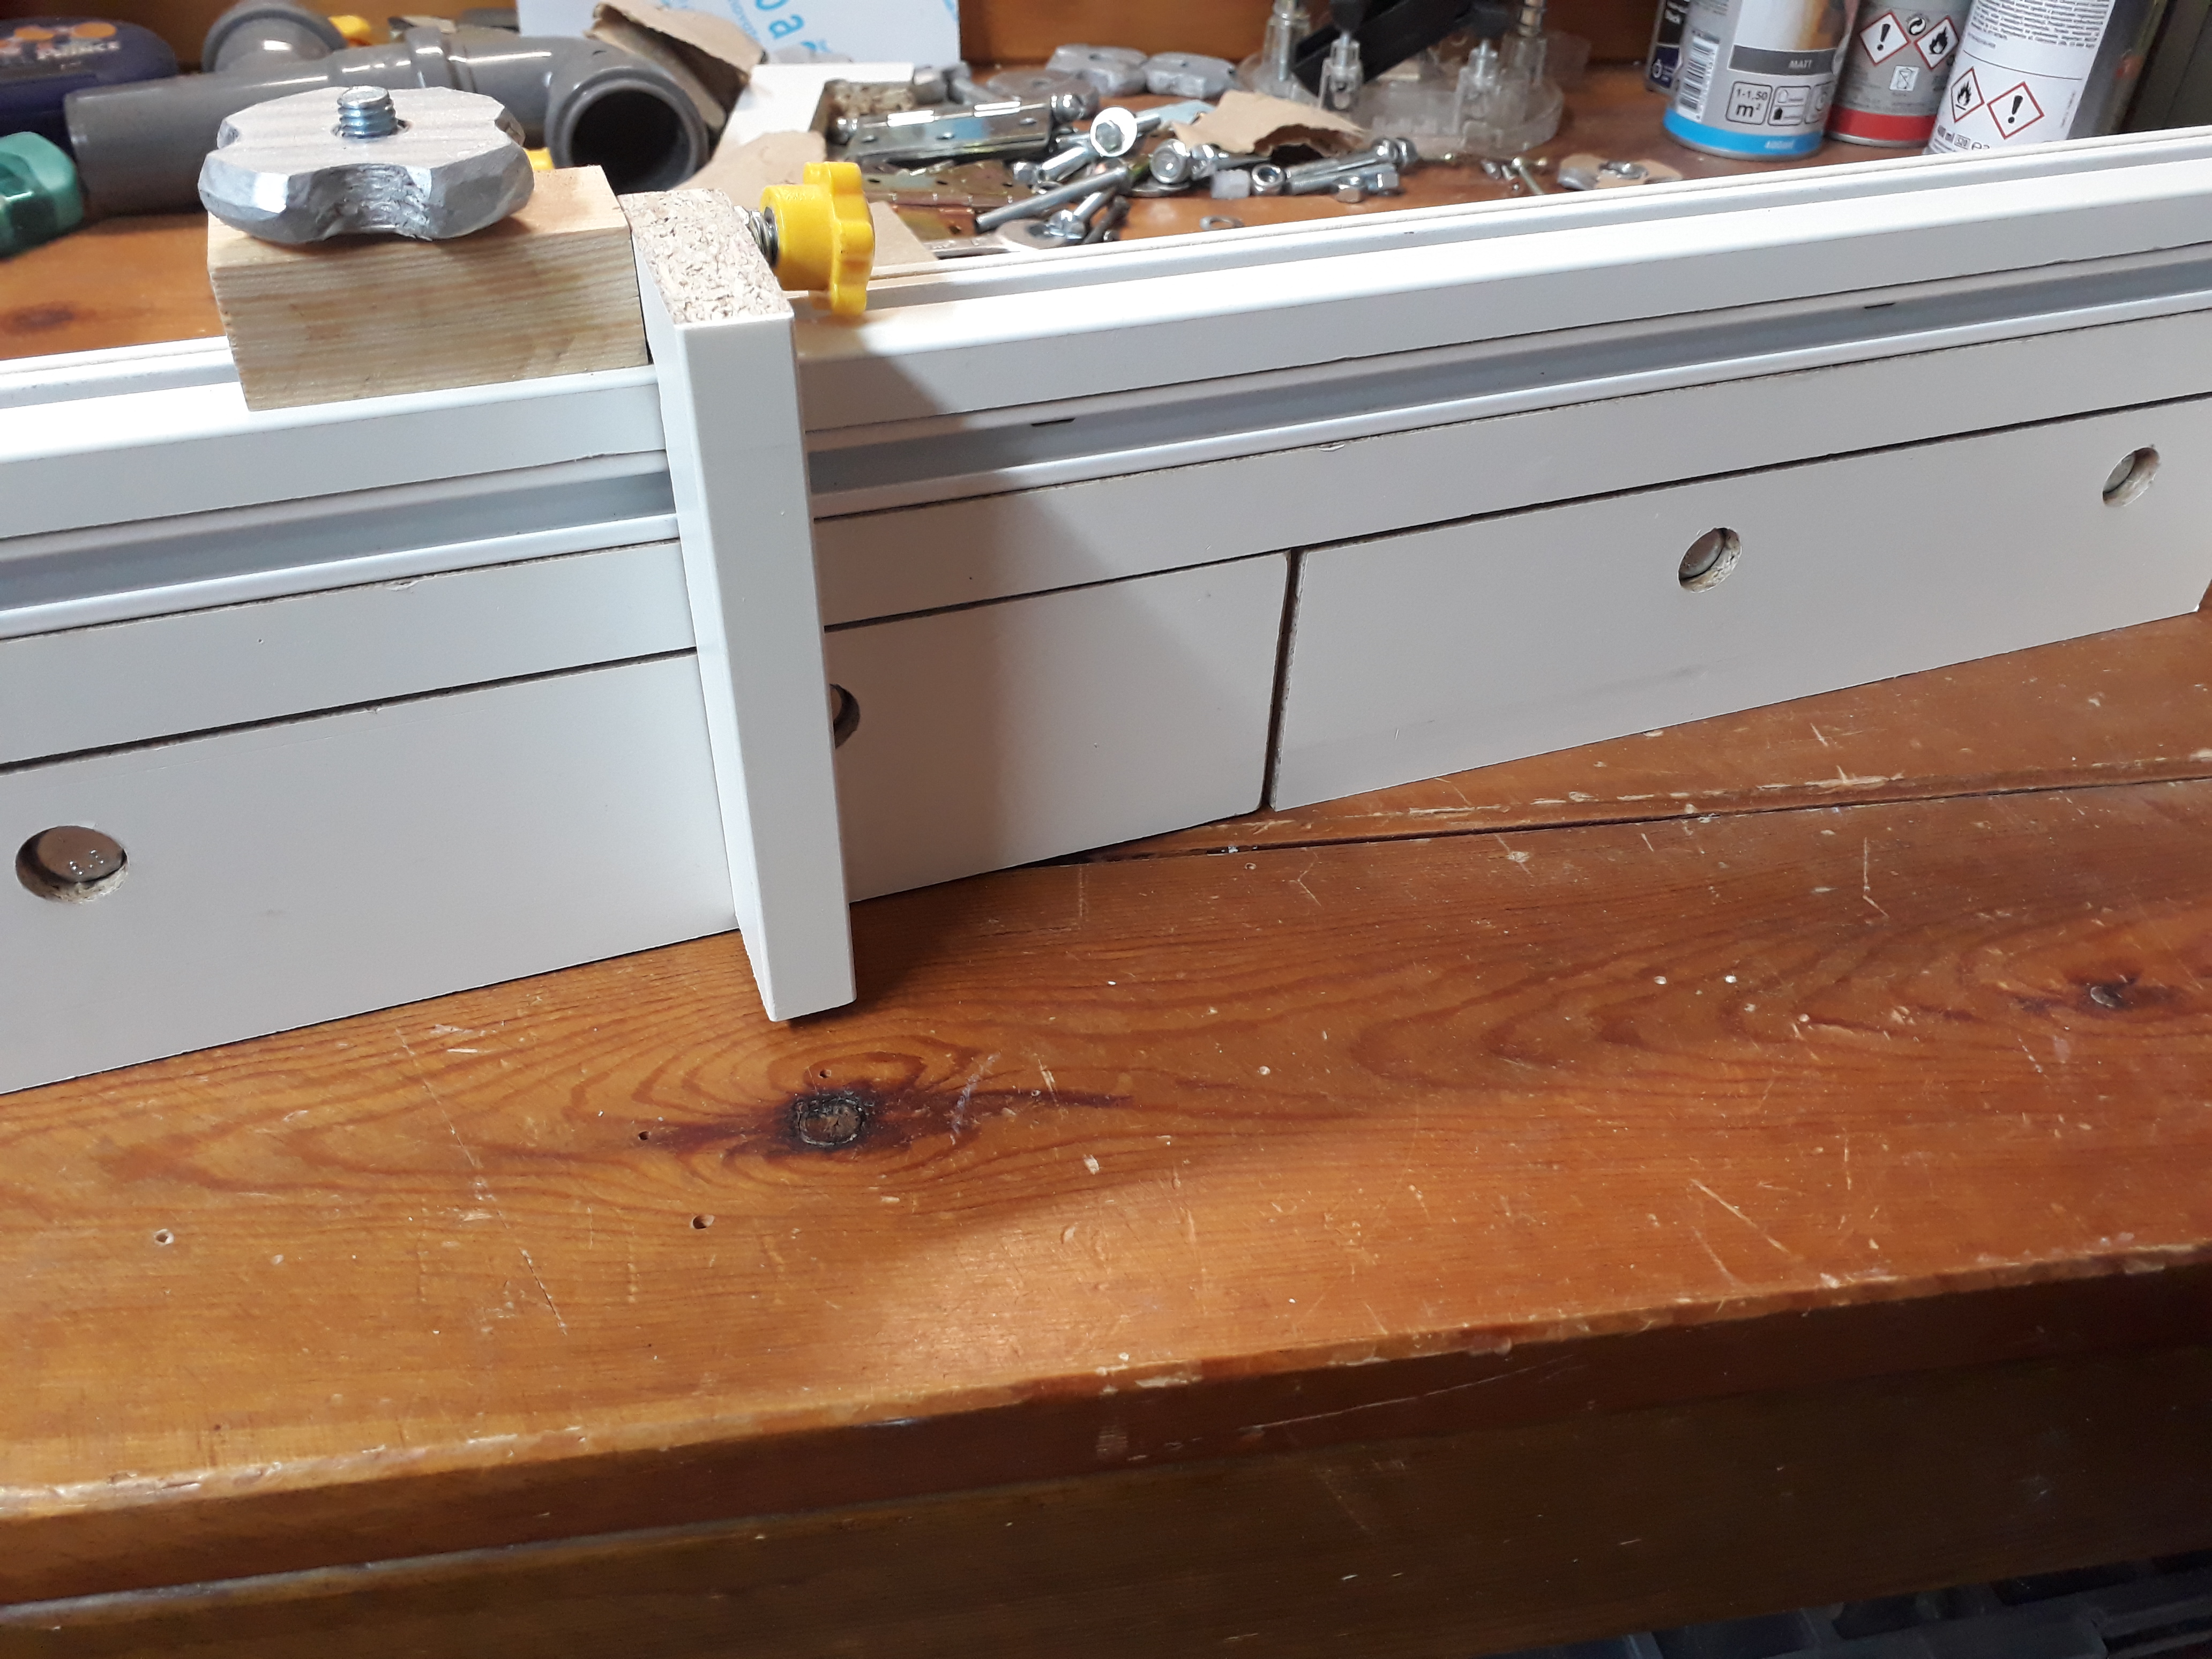
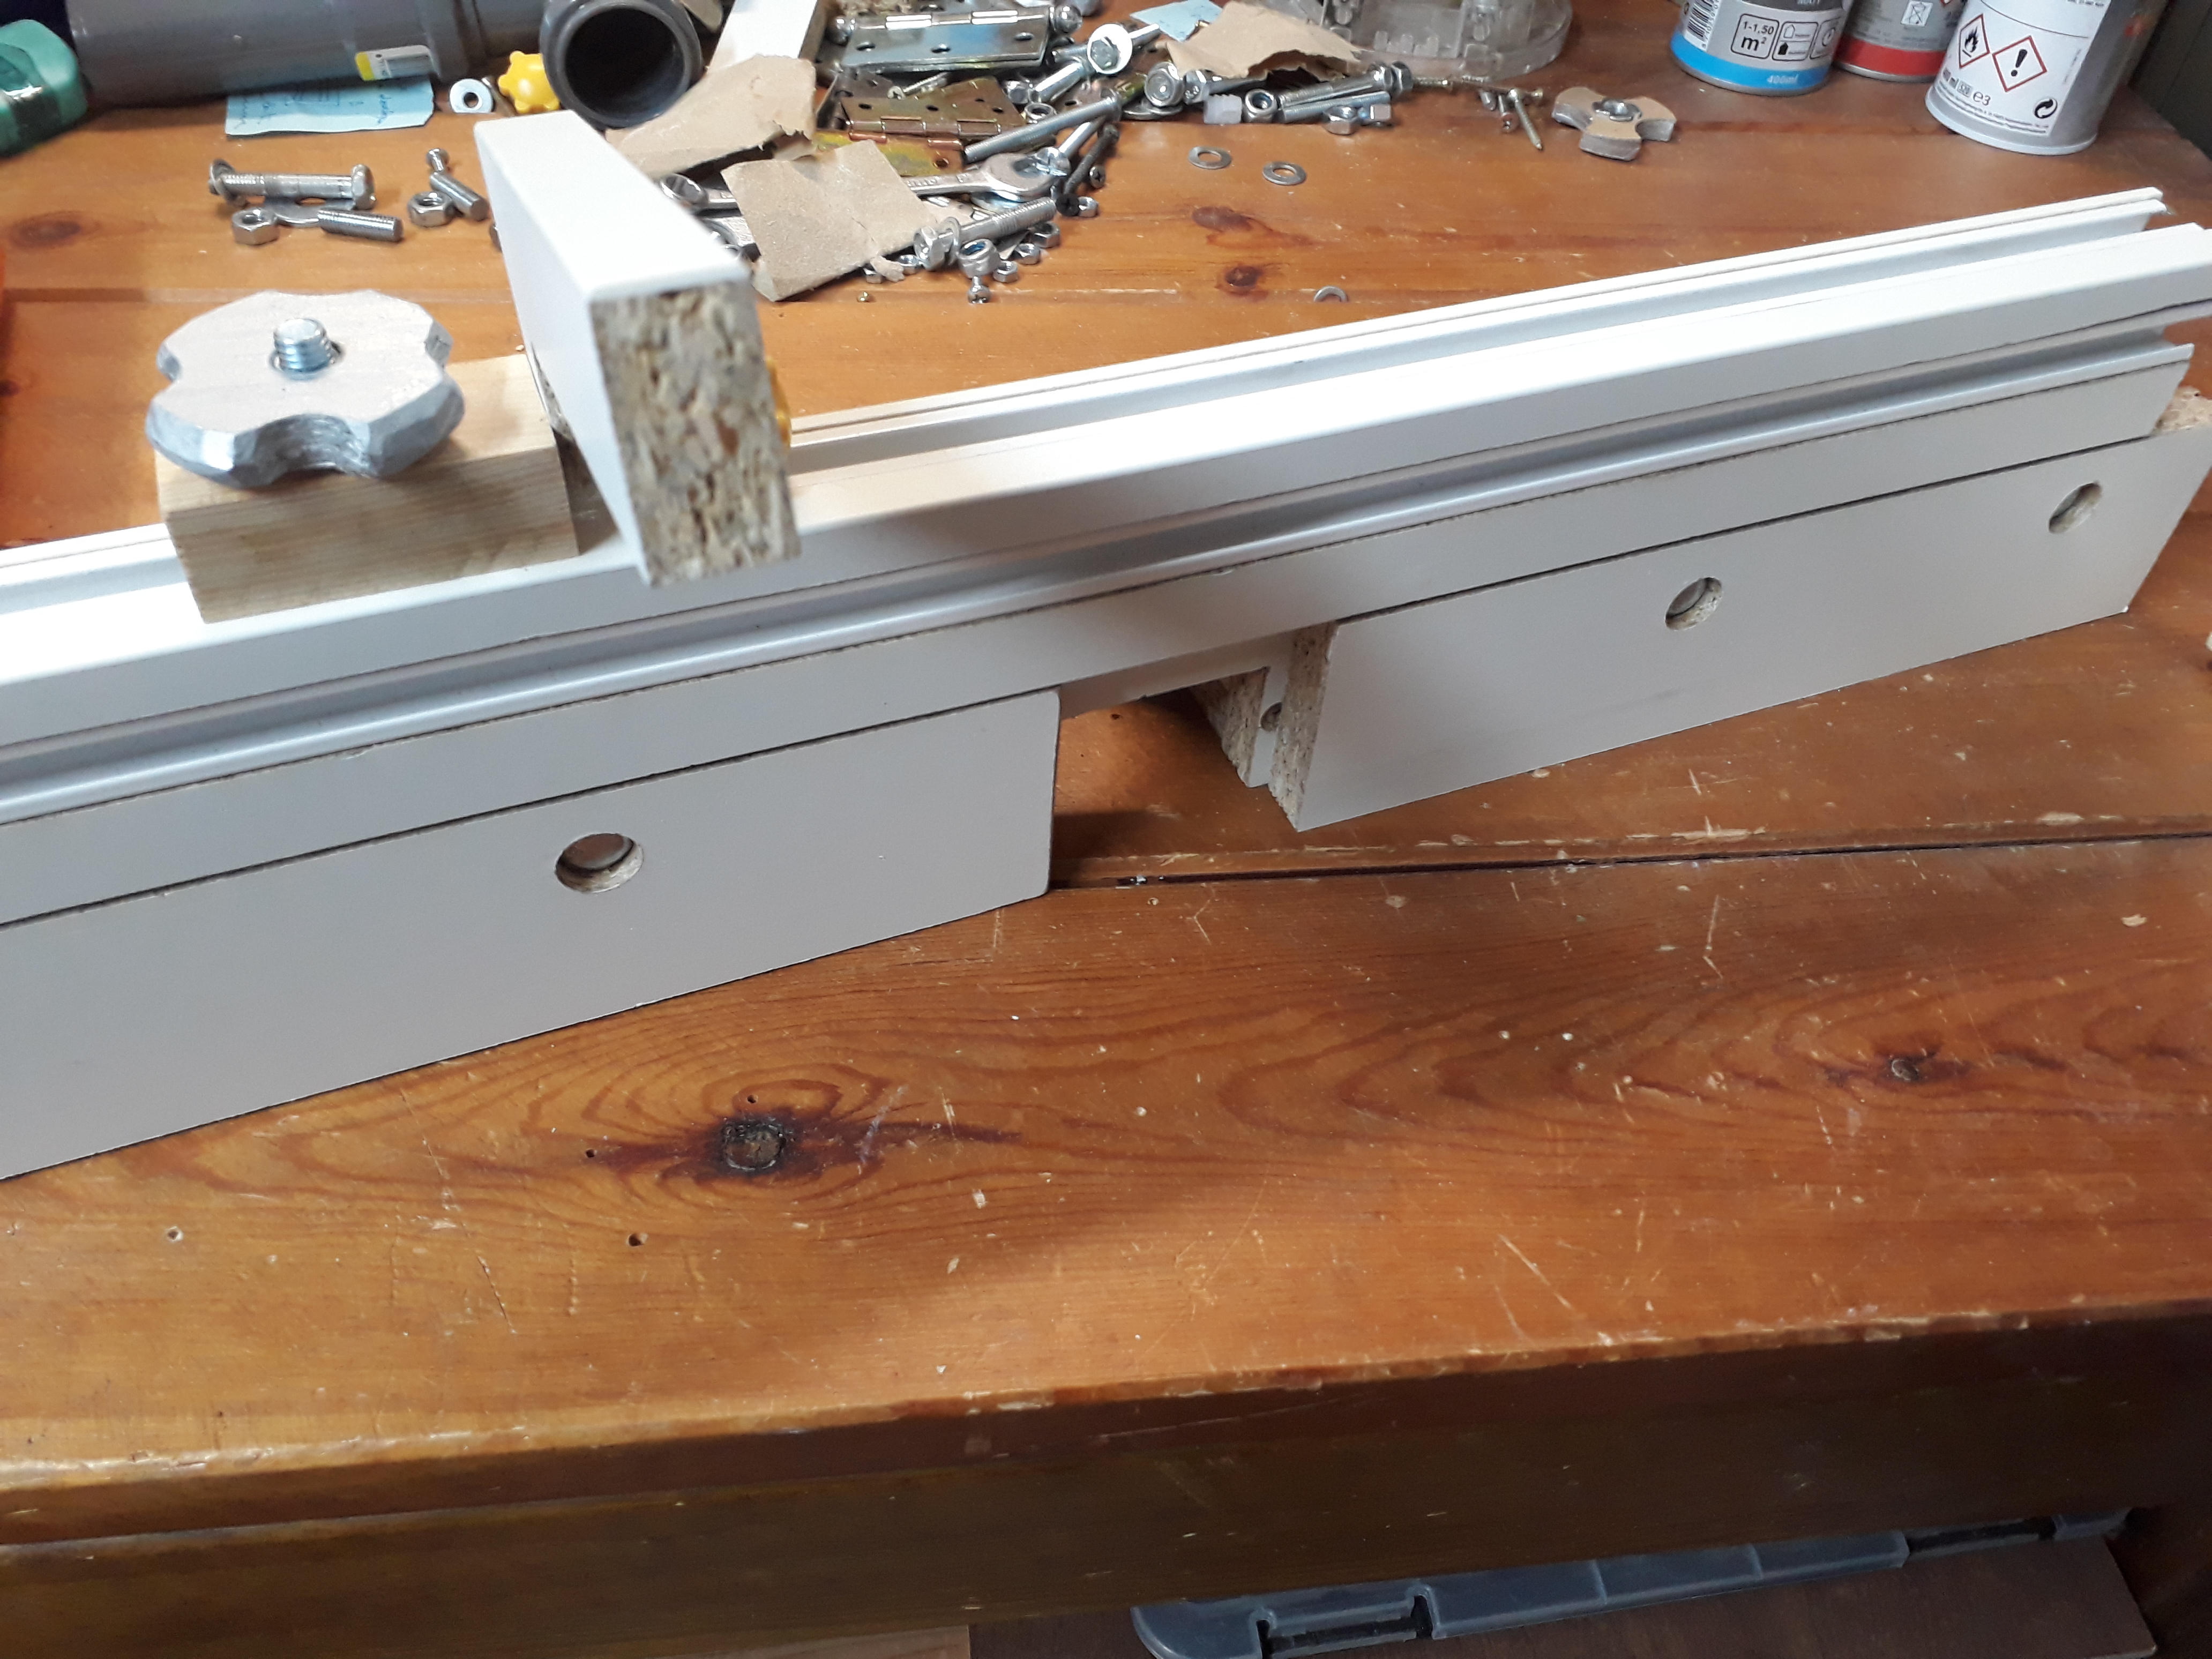
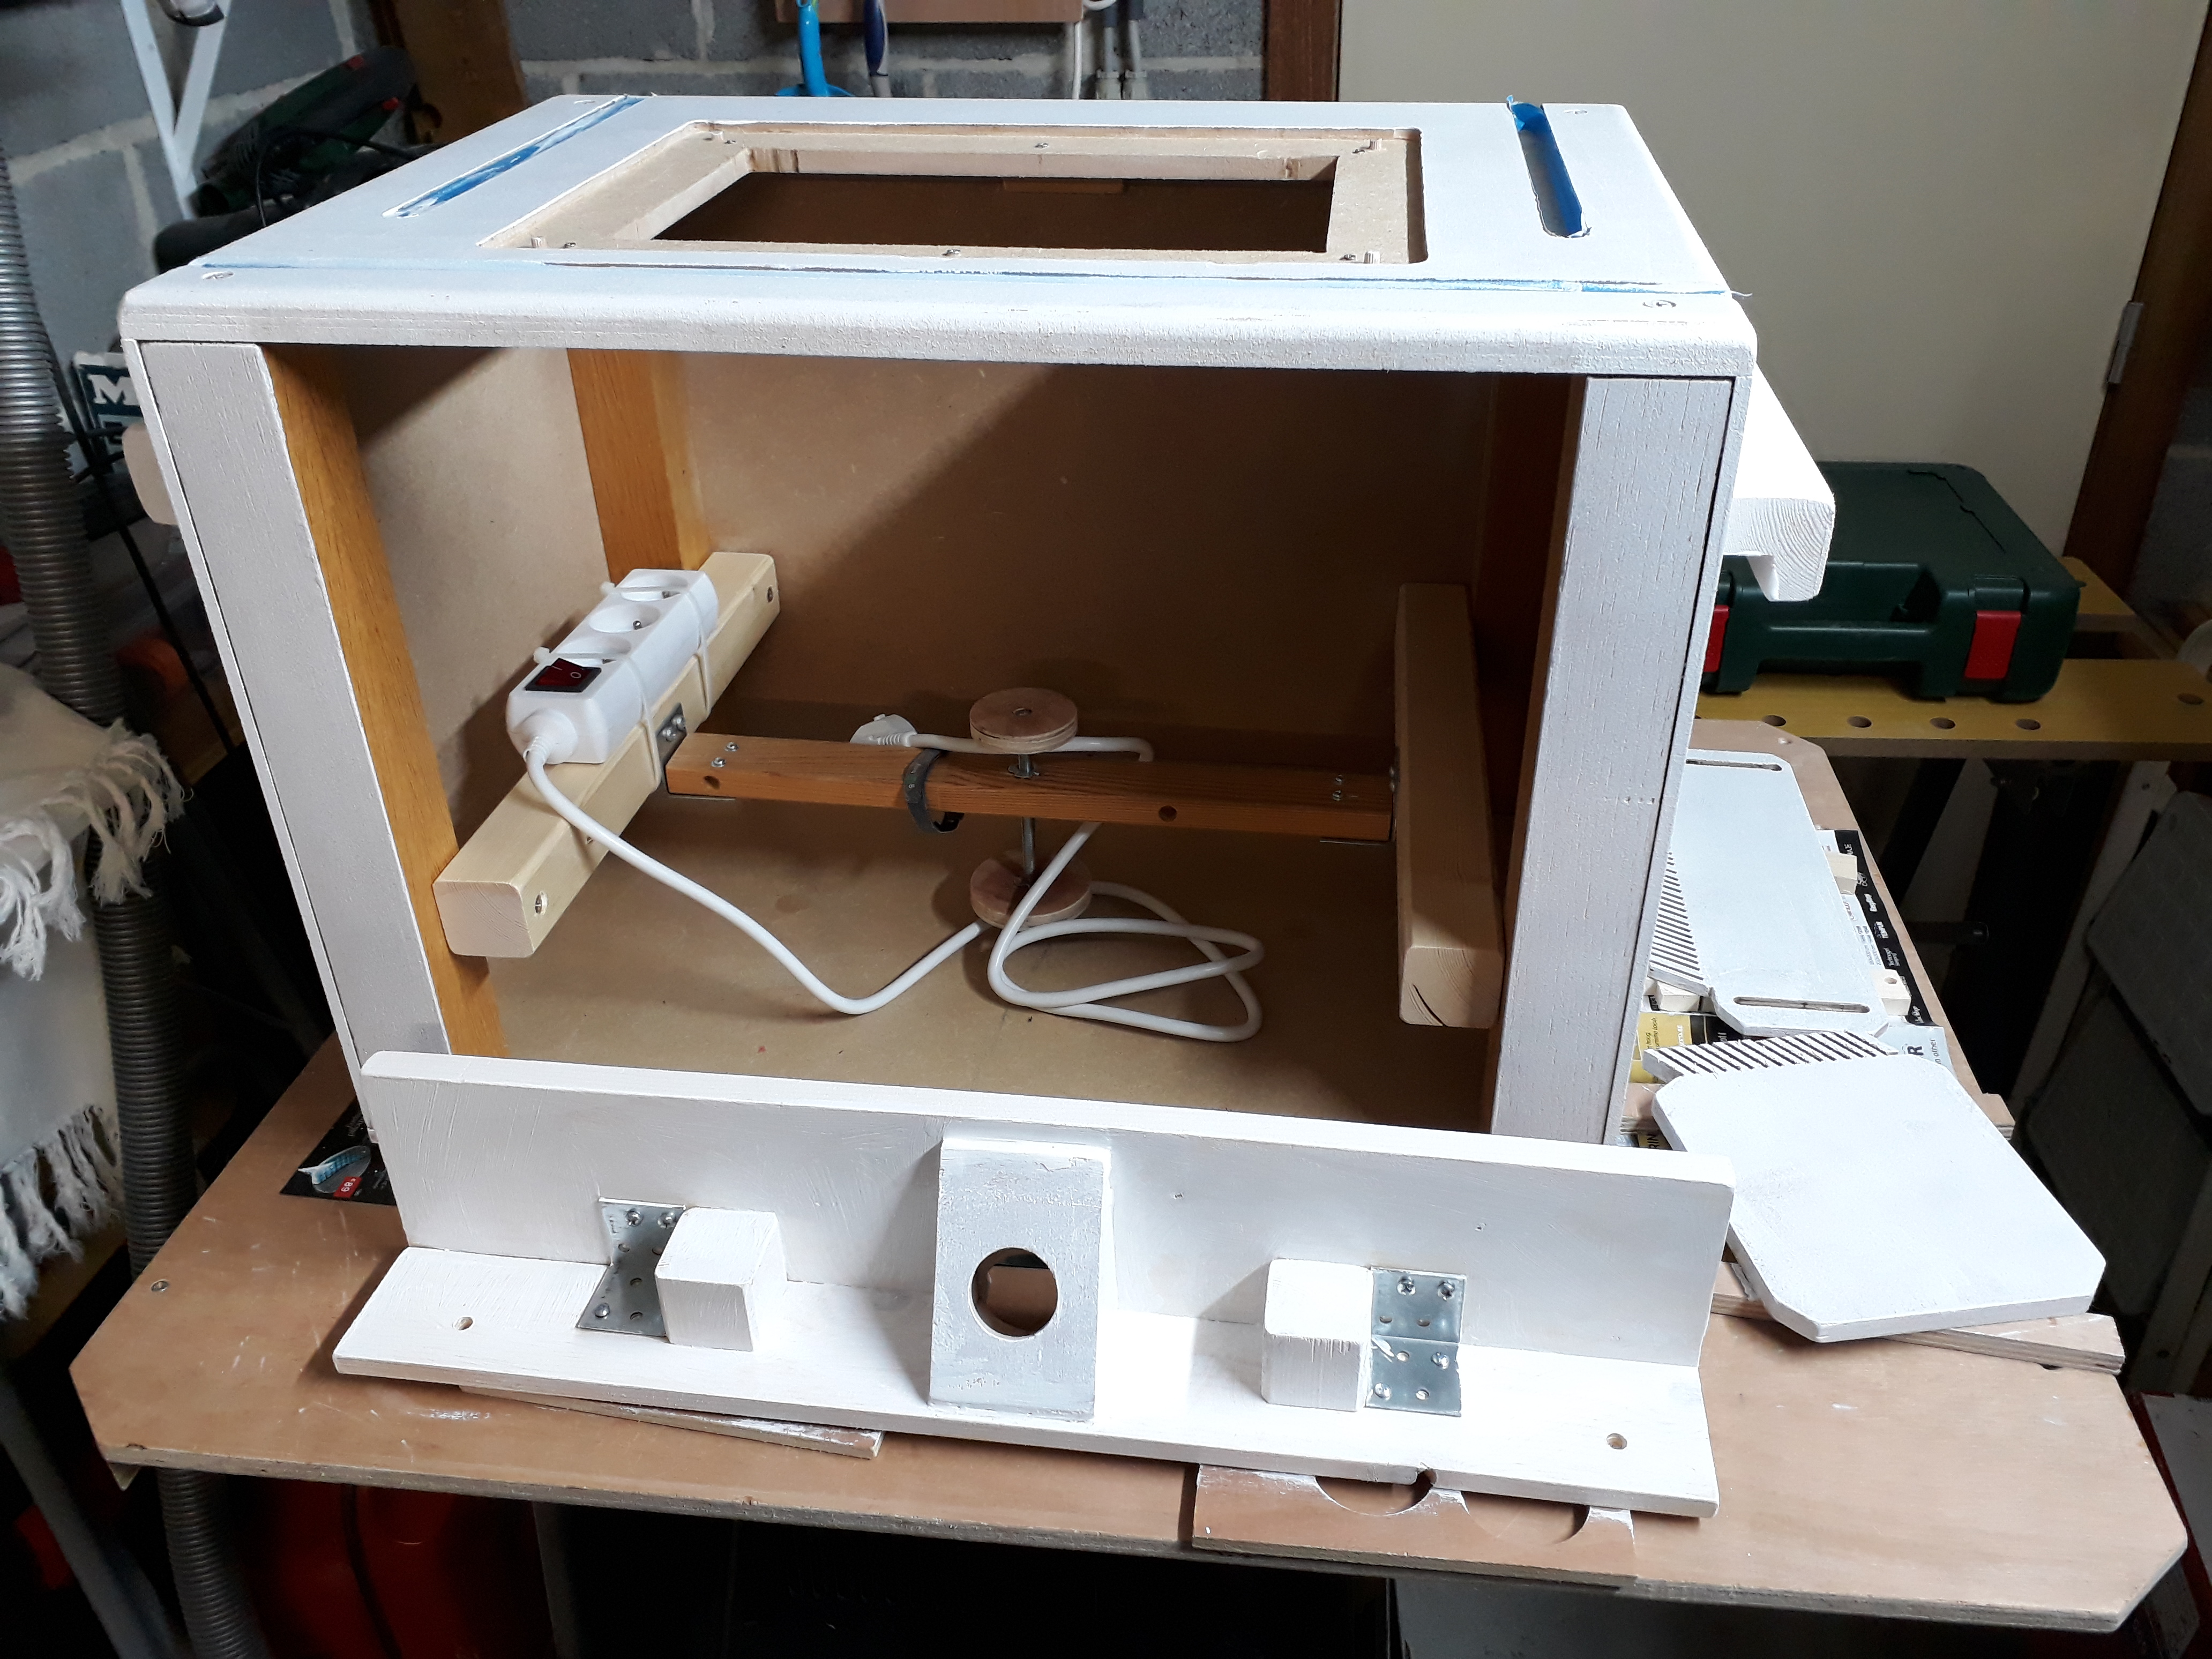
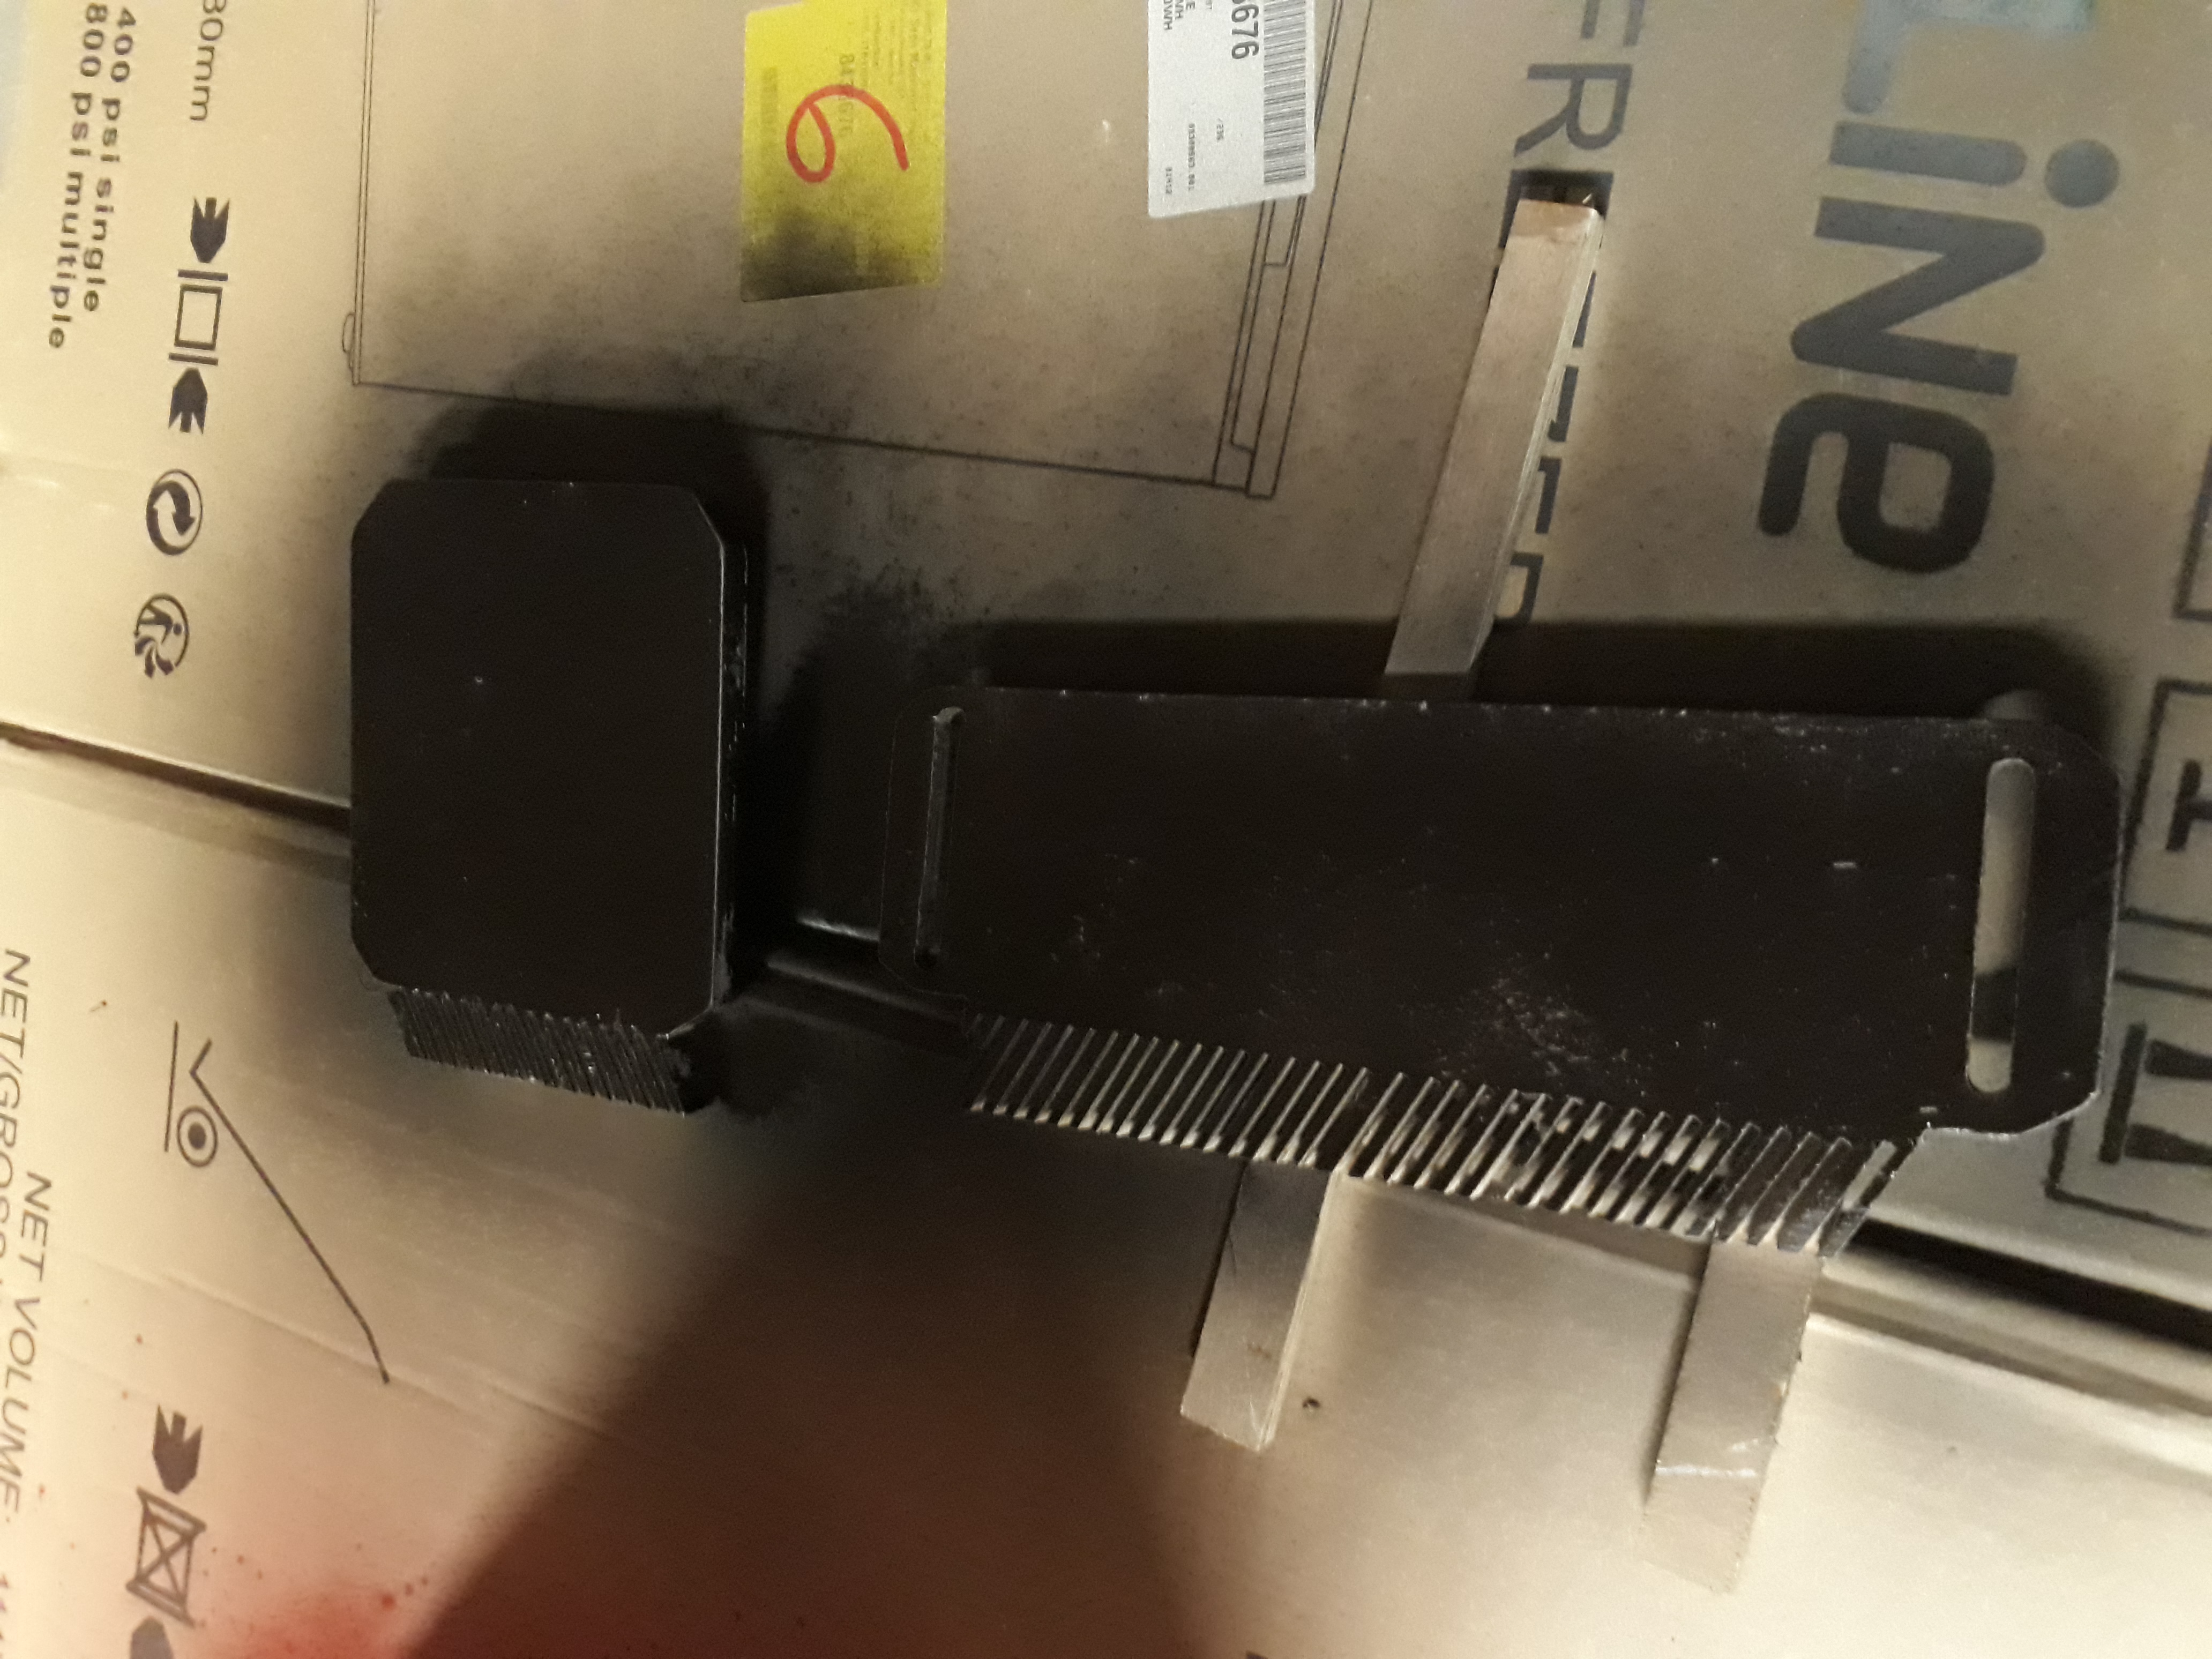
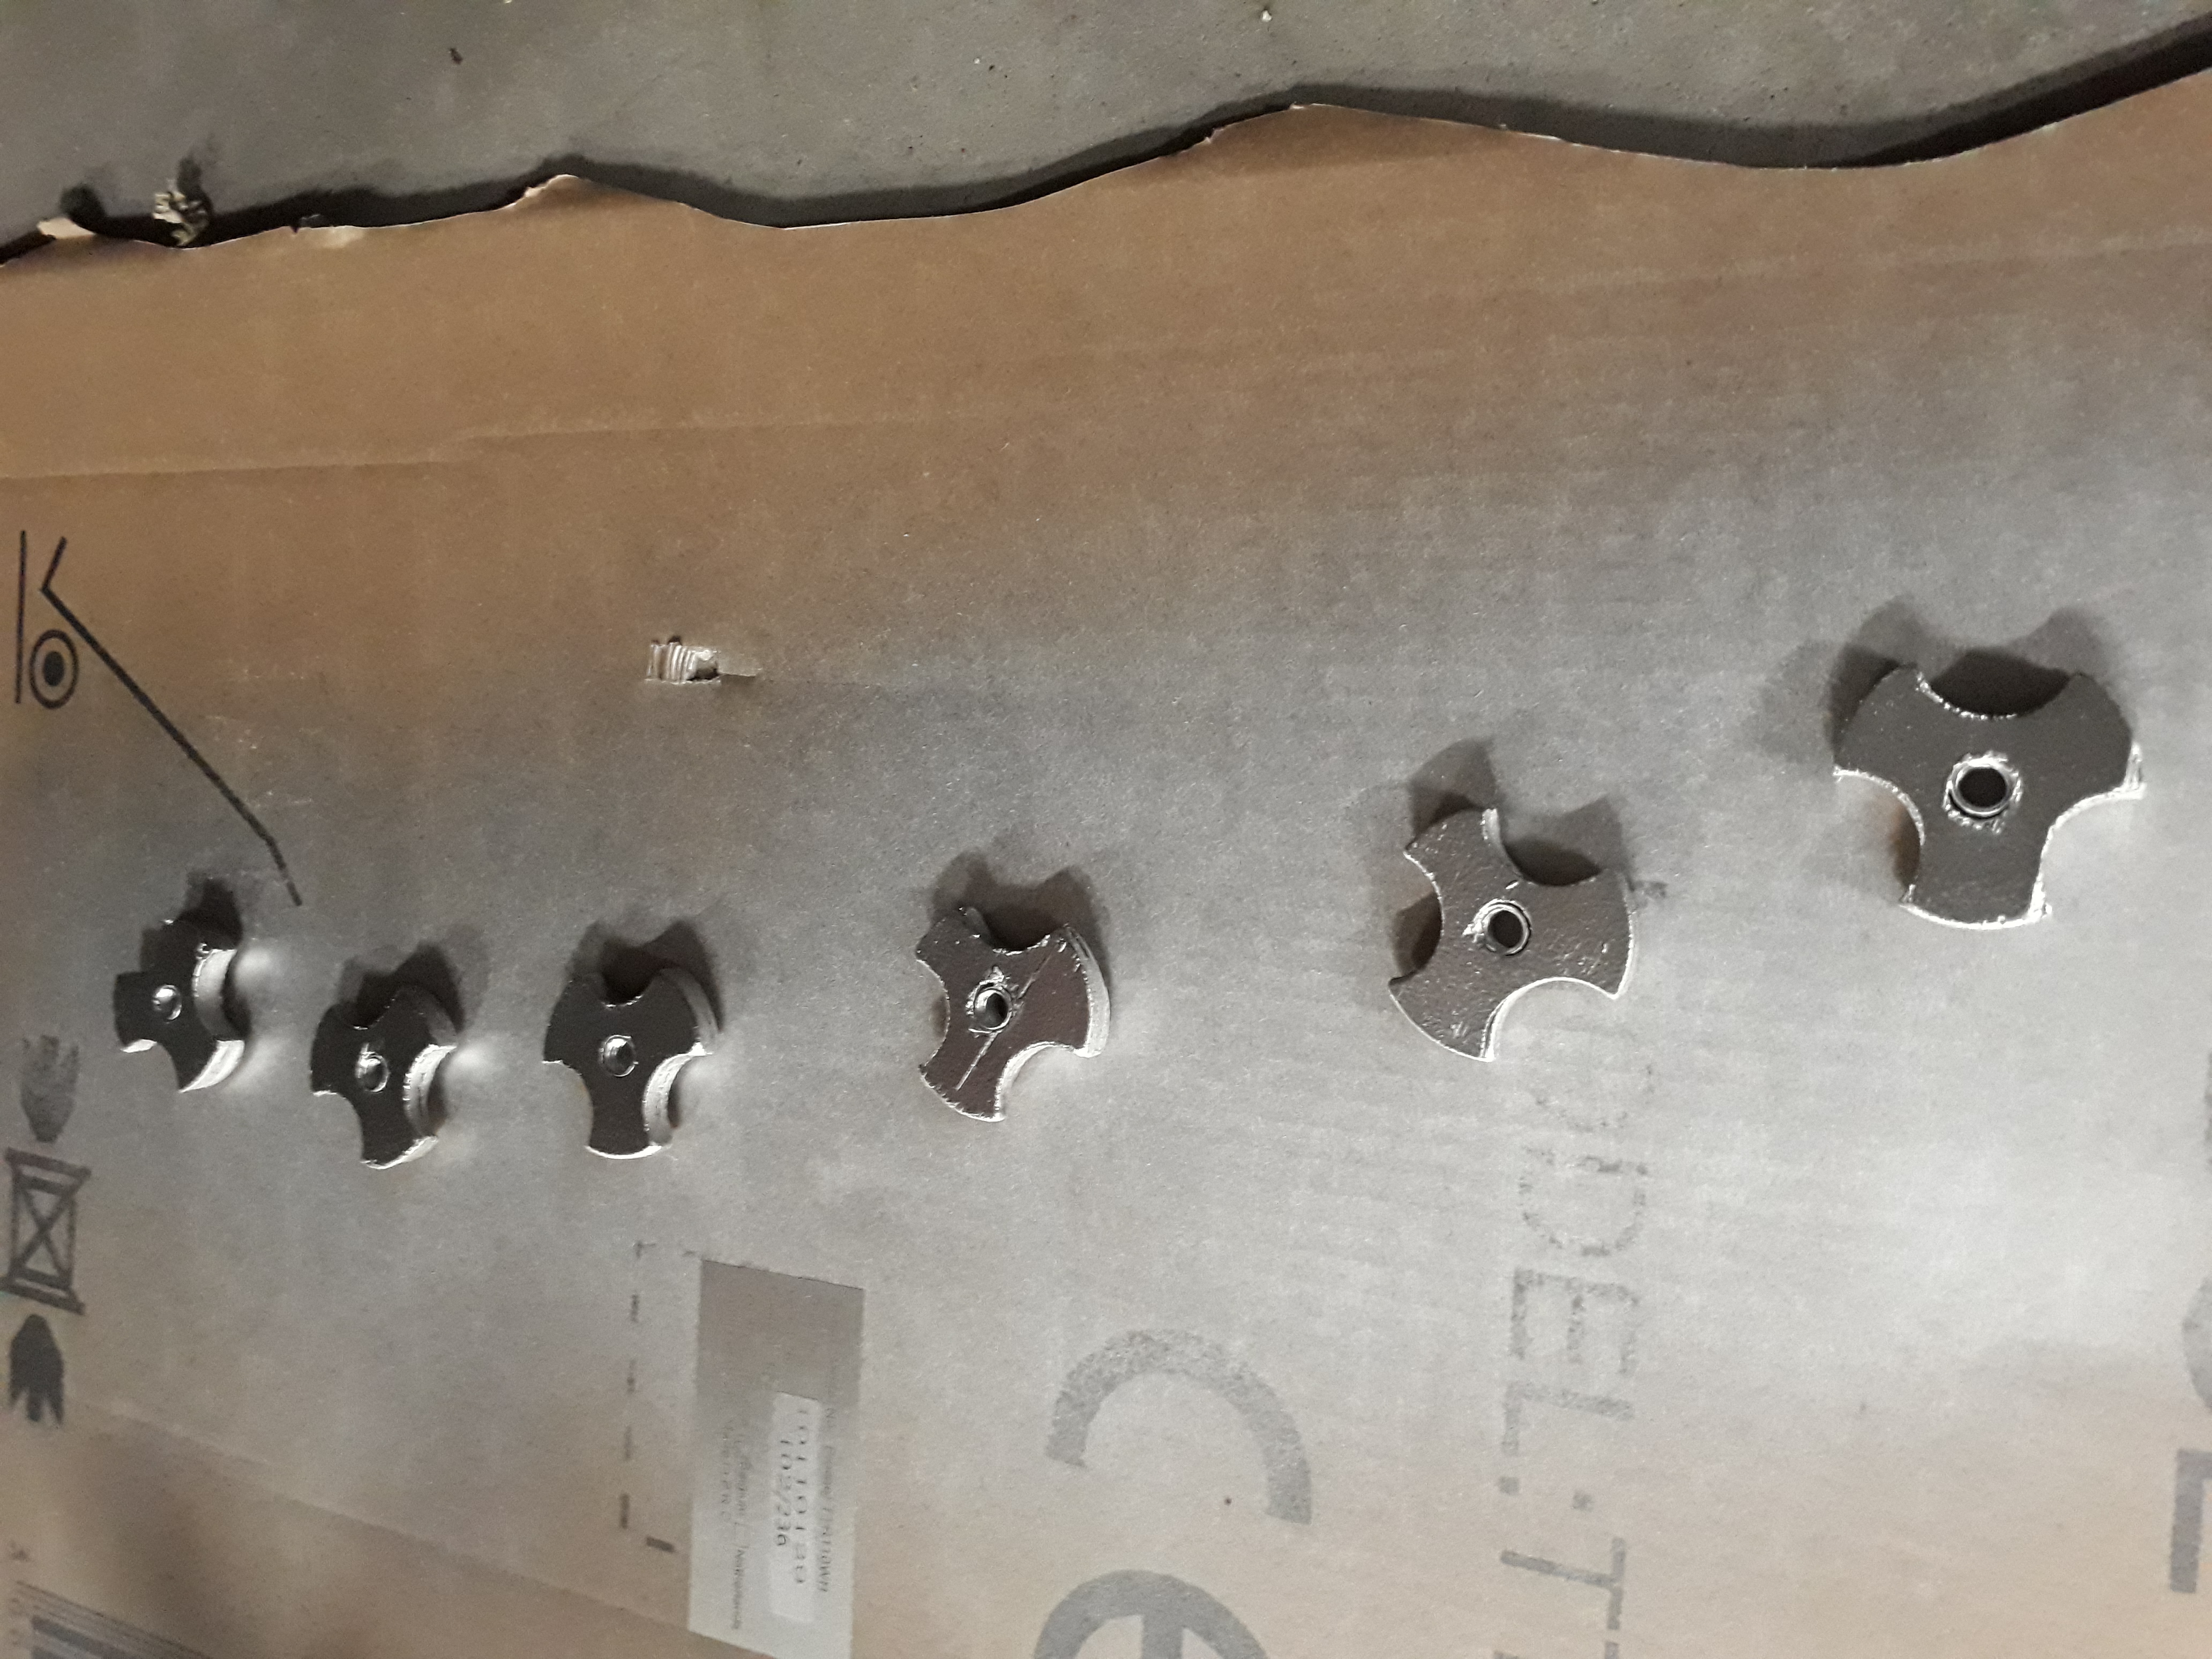
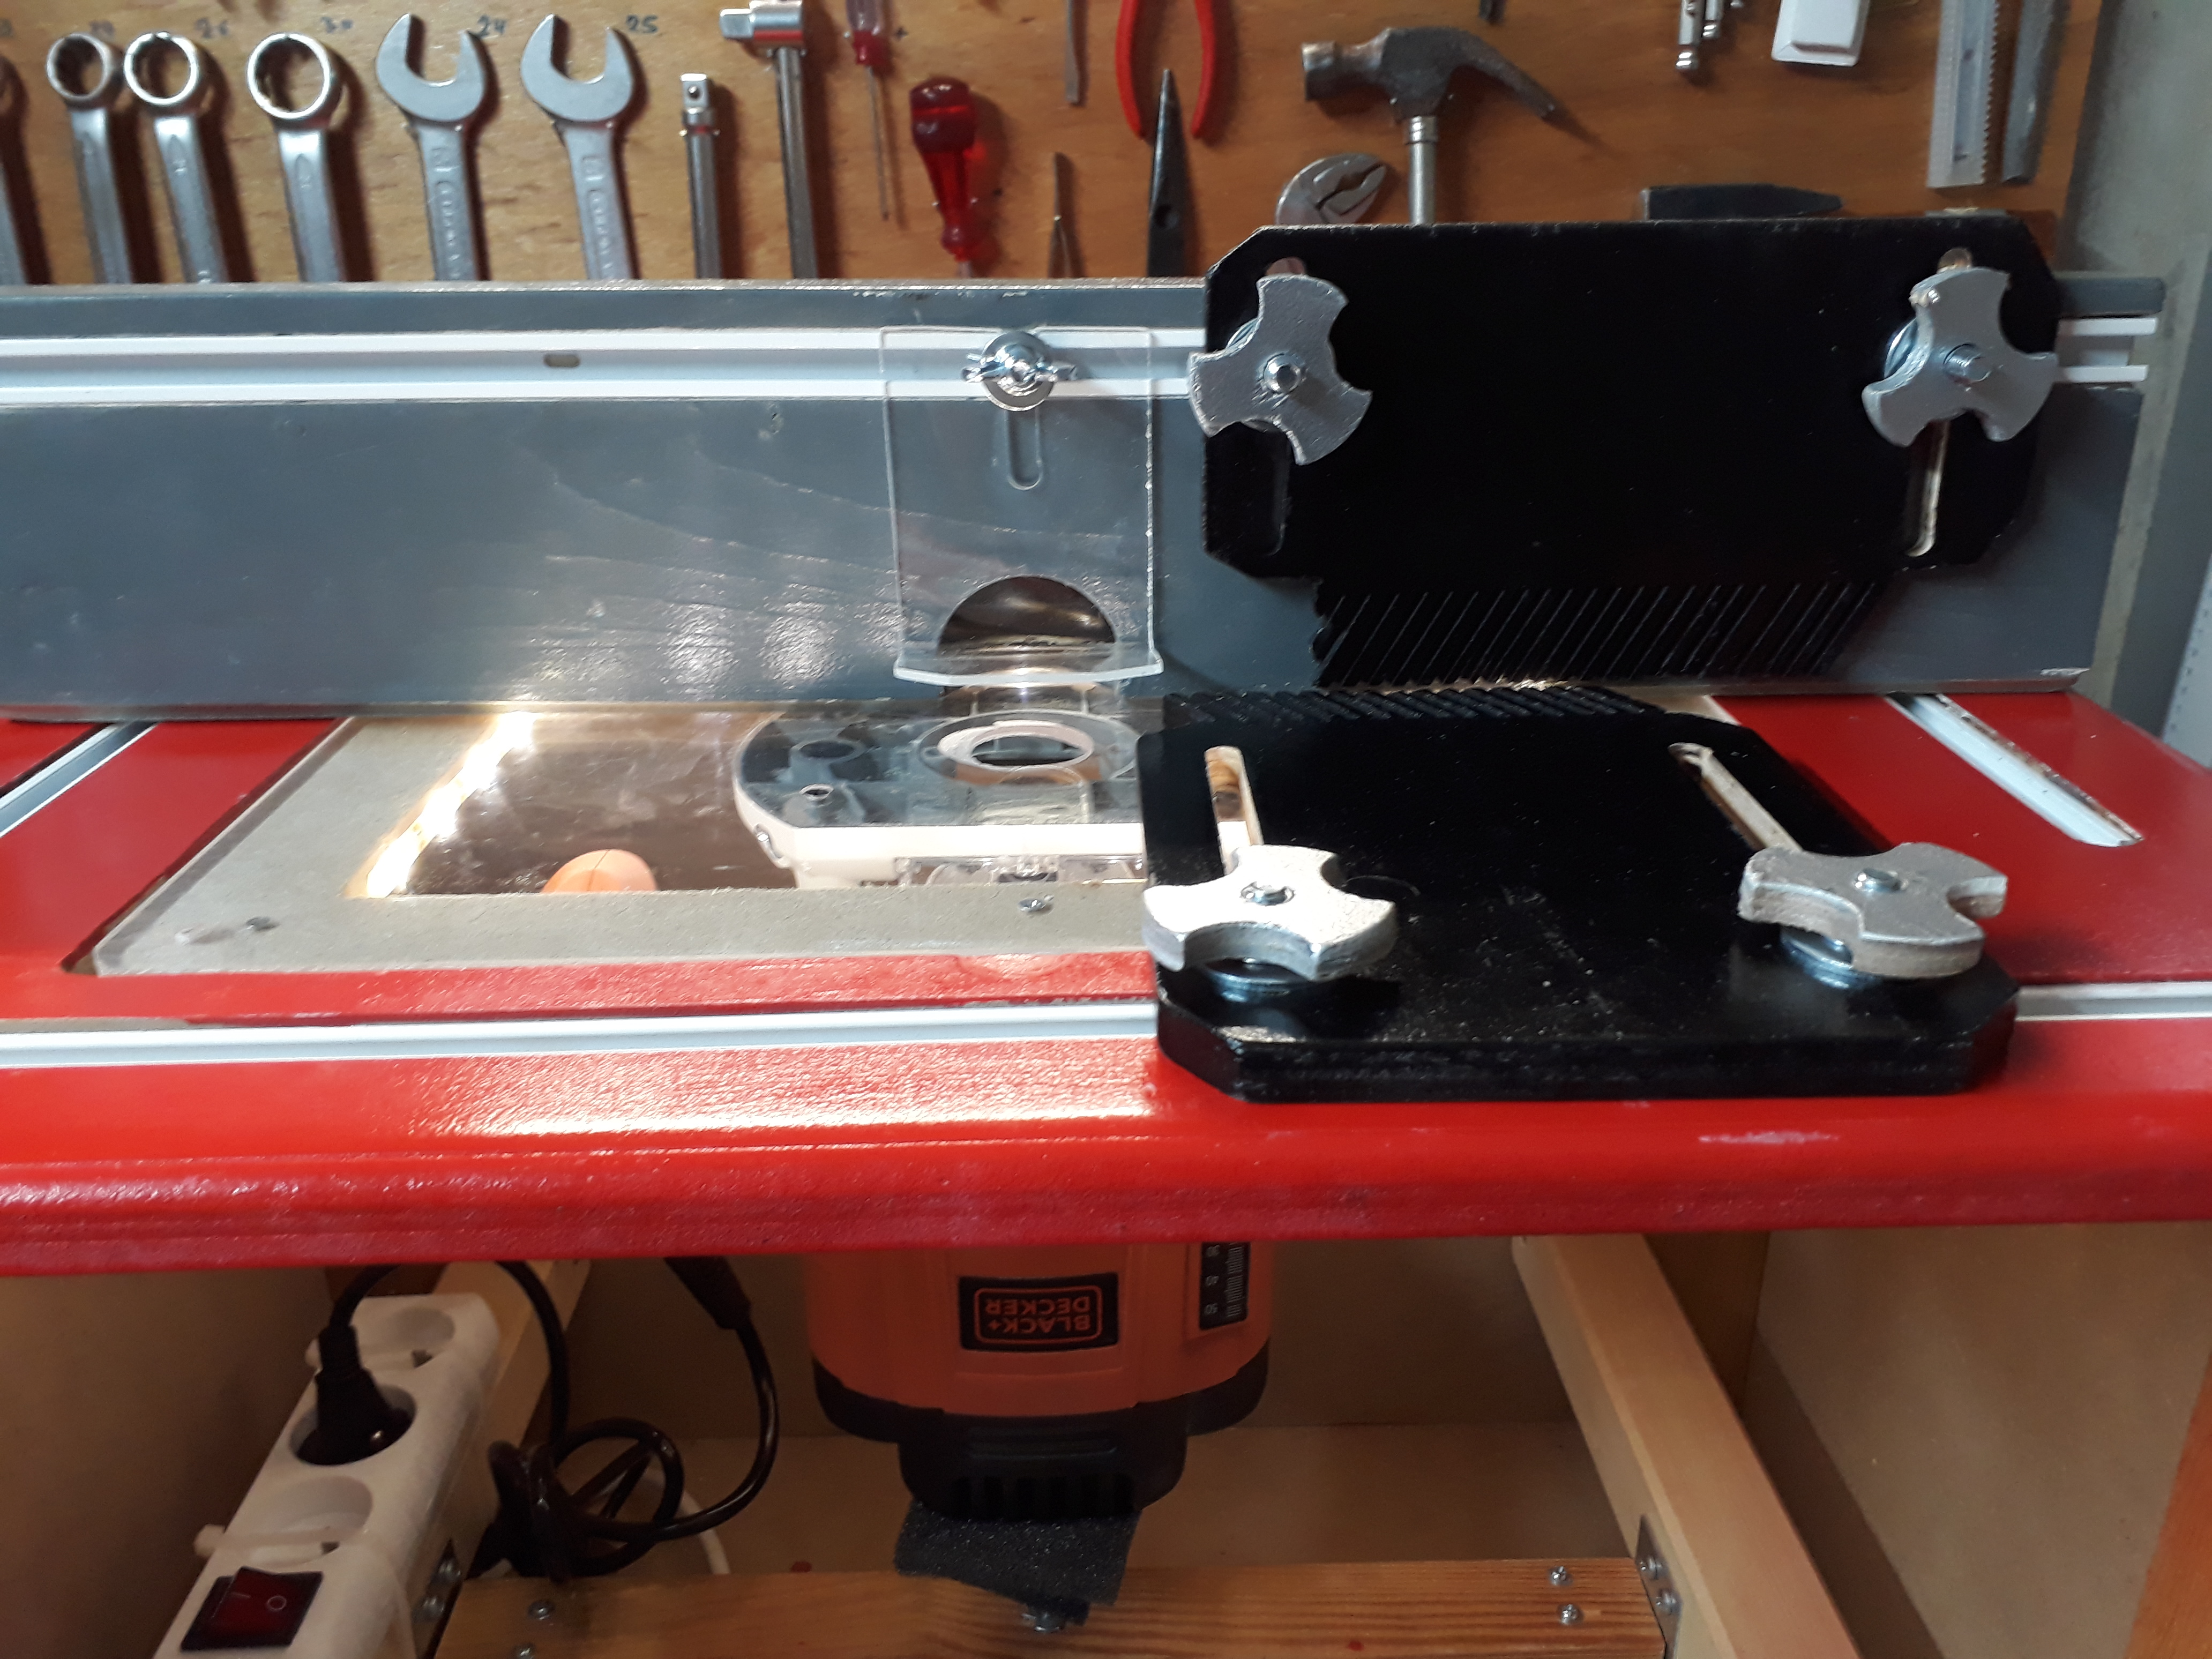
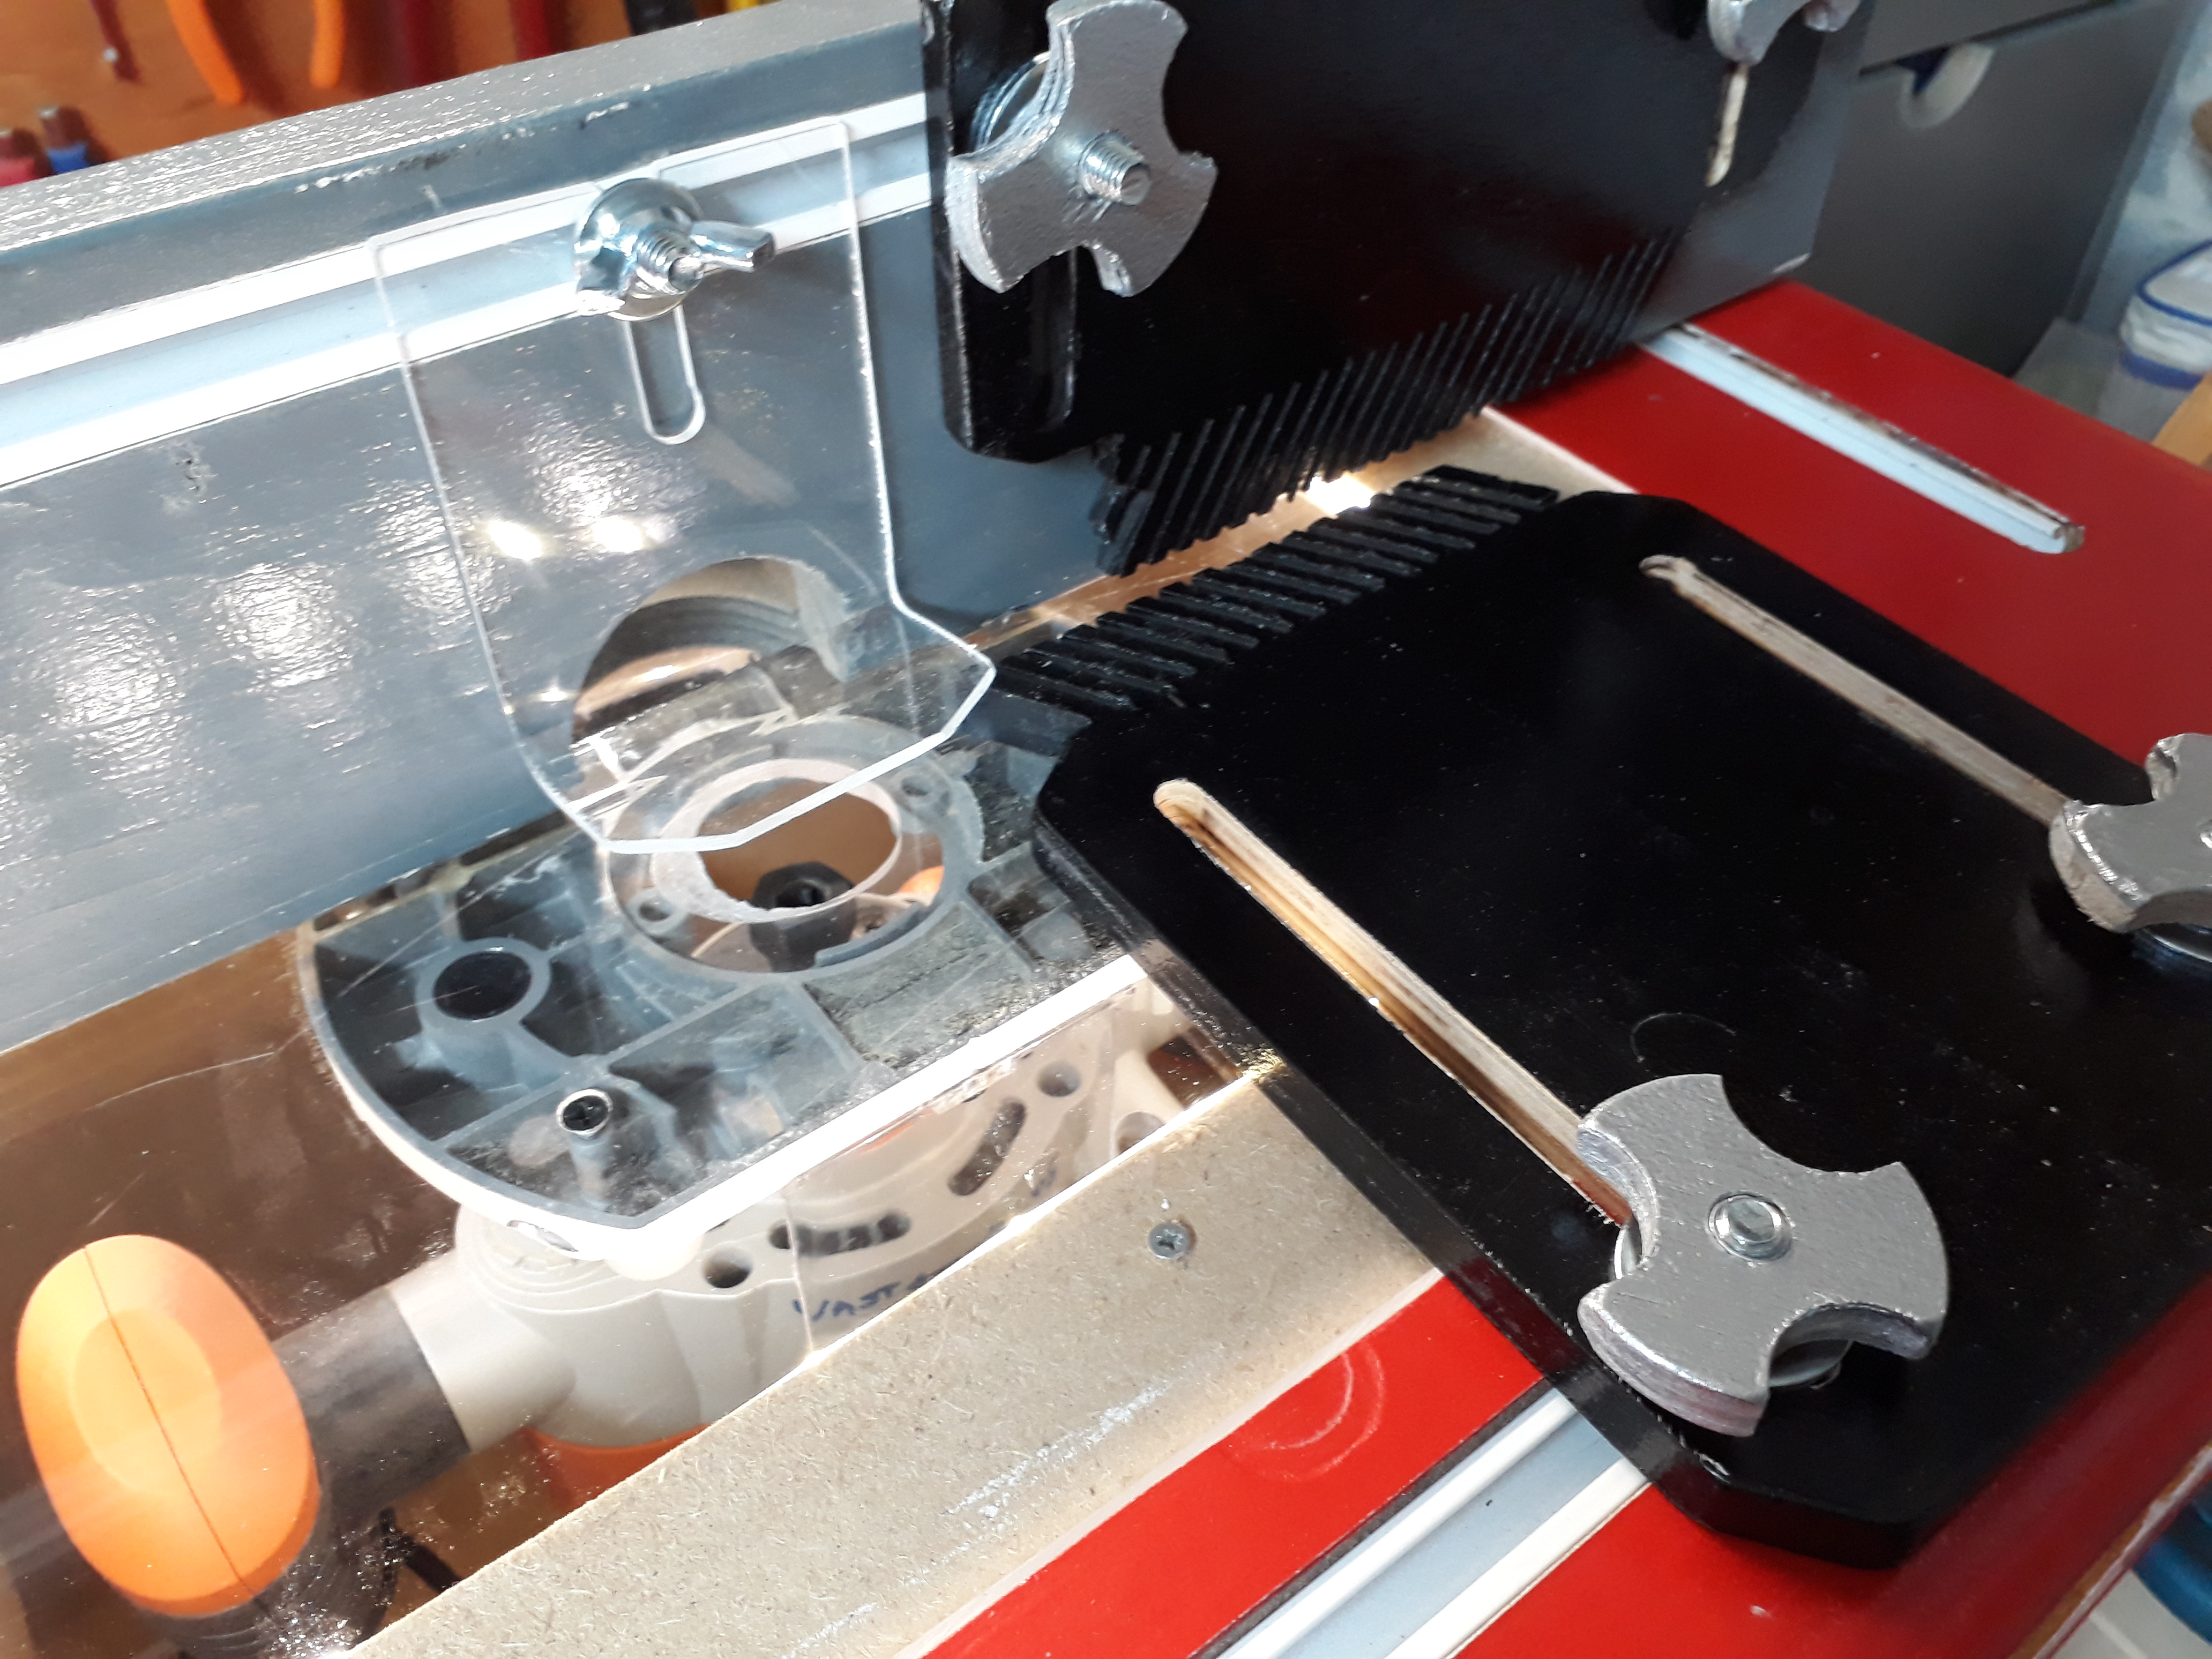
The router table is constructed from thick MDF, solidified in the corners with recycled IKEA coffee table legs. The top of the table contains the cut-out for the router, in which a thick plexiglass is recessed. The top panel also contains routed grooves in which I epoxied curtain rails to create T-tracks. The router contains a straightforward lifting mechanism based on a long threaded rod that moves a platform up and down. The router is fixed upside down to the plexiglass and rests on top of the lifting mechanism. Note that I removed the springs from the router's legs so it moves more swiftly. Because the router requires constant hand contact with the safety activation switch, I fixed it in the always-on position with velcro tape. The power is then routed through a separate on/off switch. In addition I provided some basic LED lighting at the bottom of the translucent plate. I also made two feather boards to support the work pieces, thereby freeing your hands from being near the fast-spinning router bit. The back fence also contains a port on the rear for attaching a vacuum hose for dust extraction.
- Constructing the router table
- Painting, sealing, and waxing
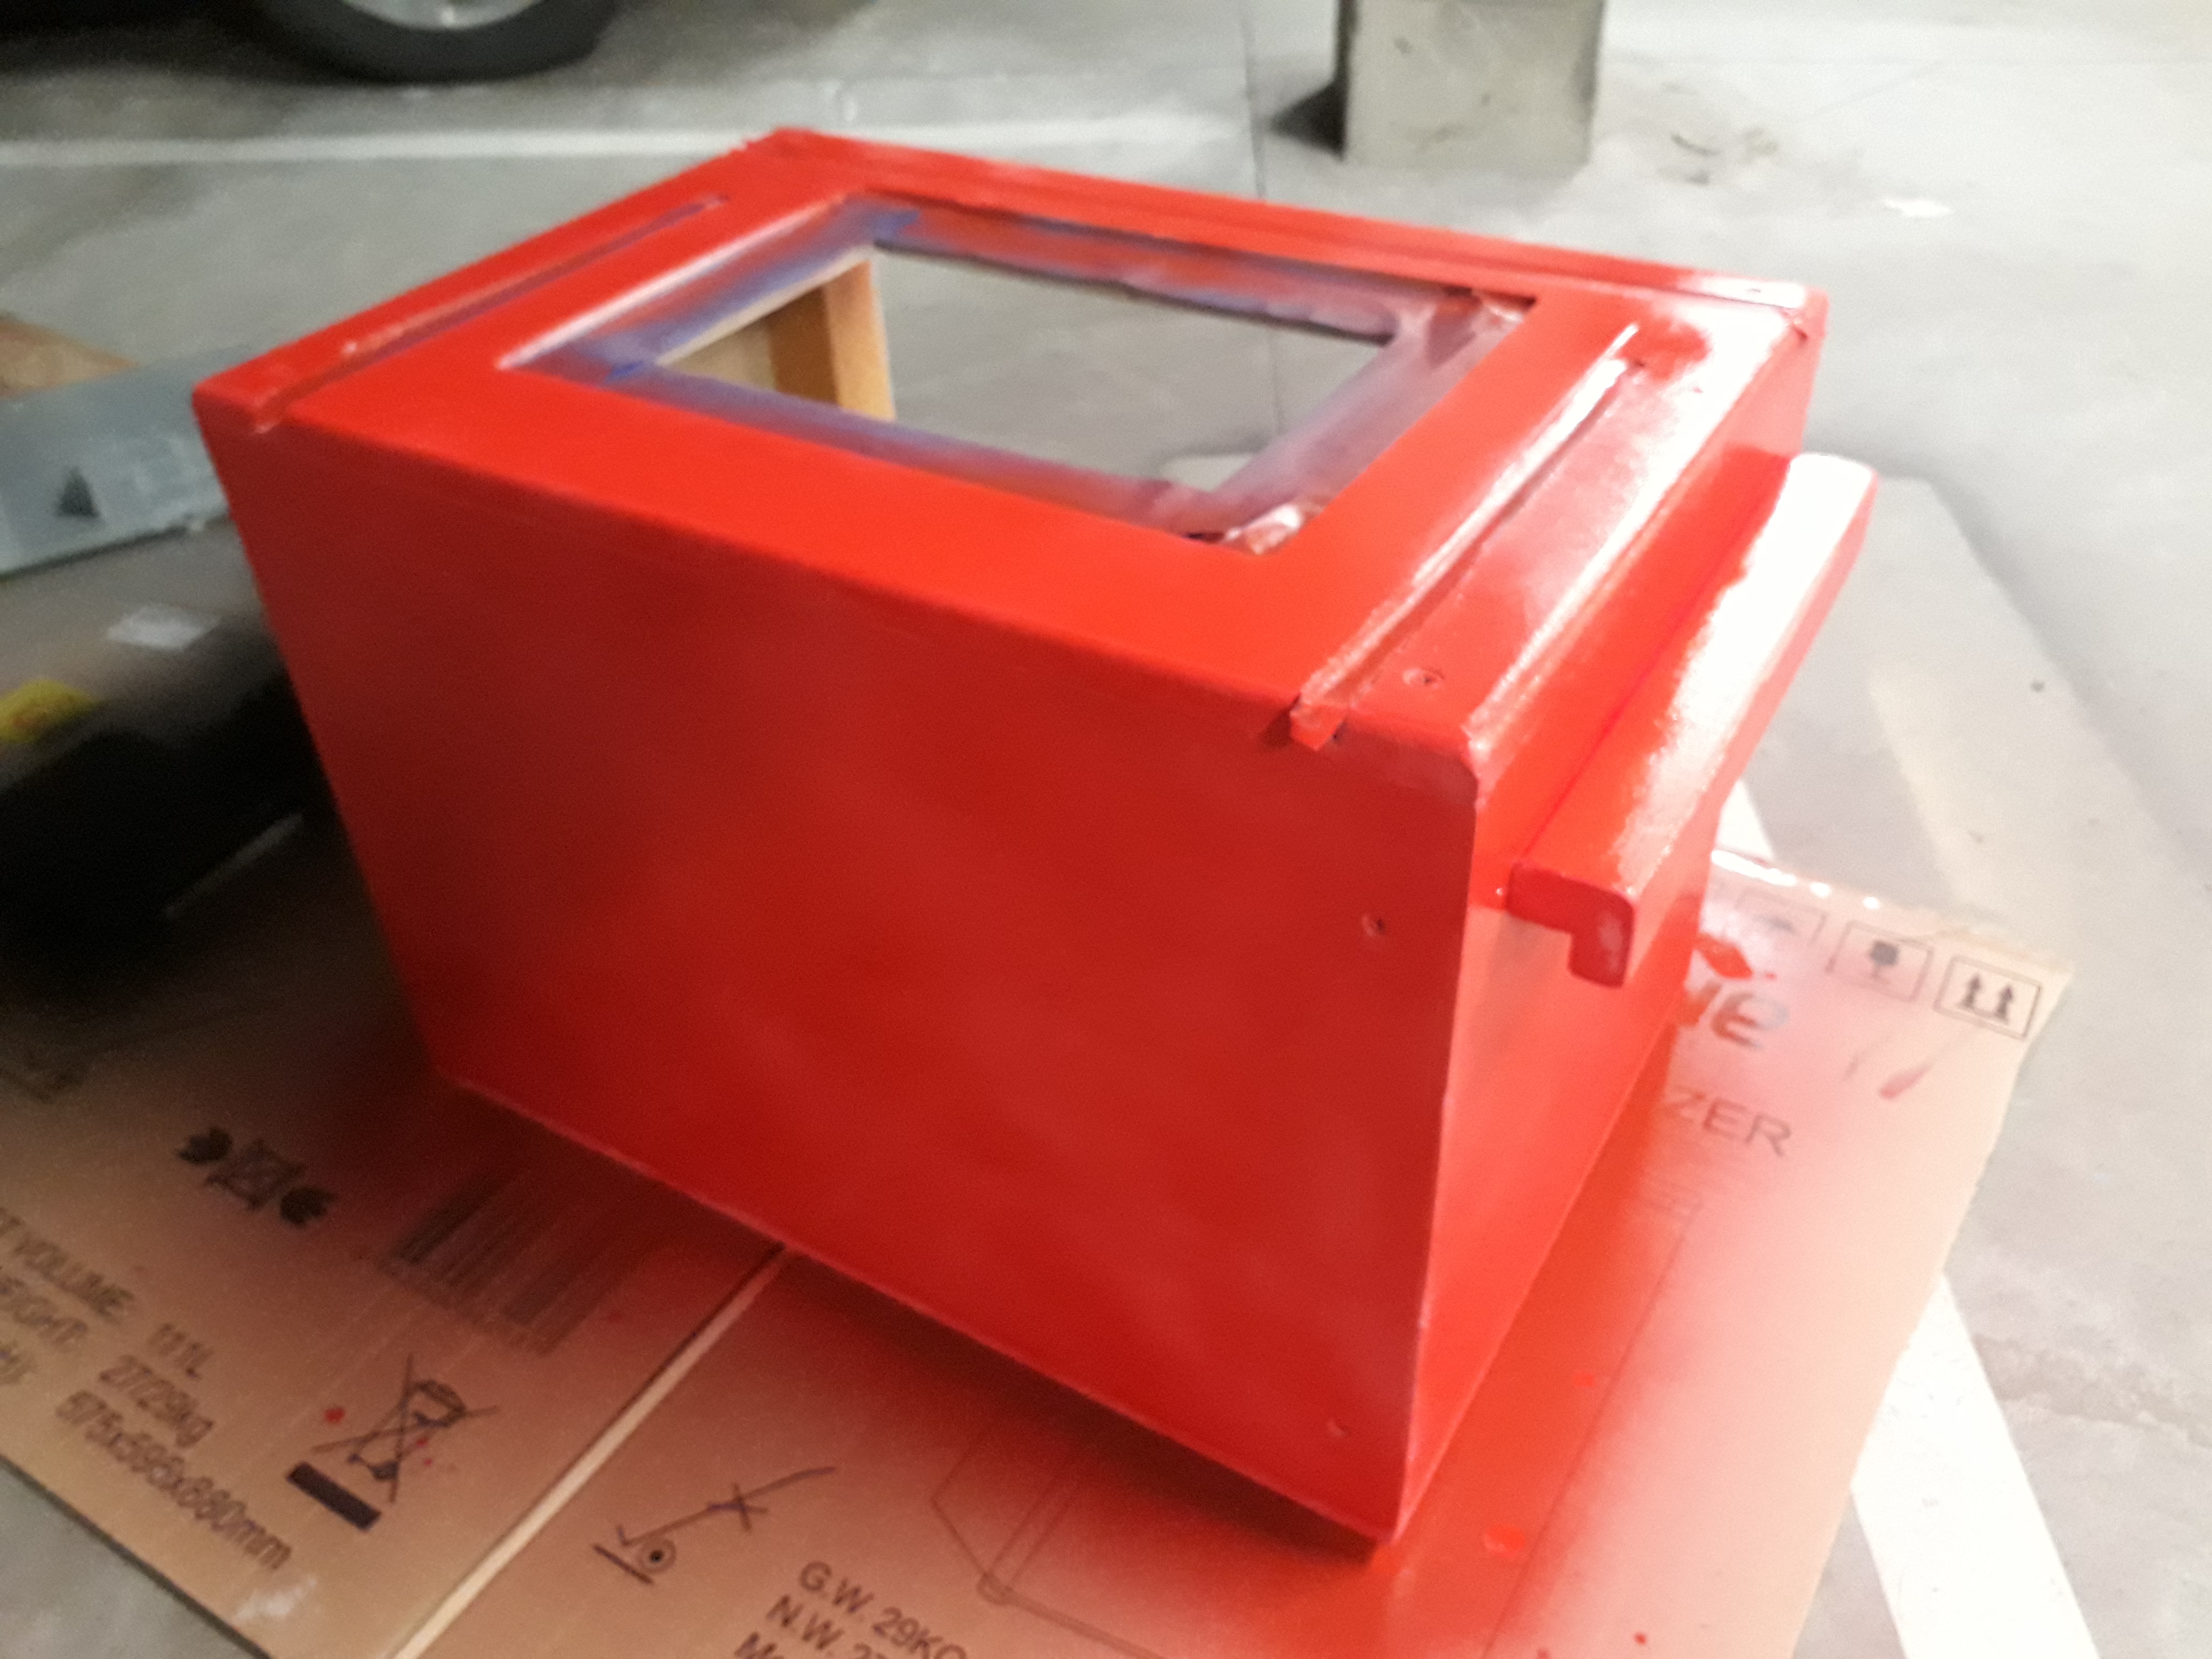
- Finished product

- Updated product